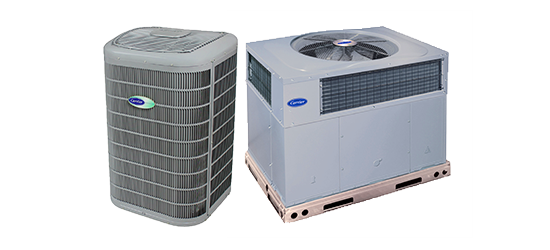
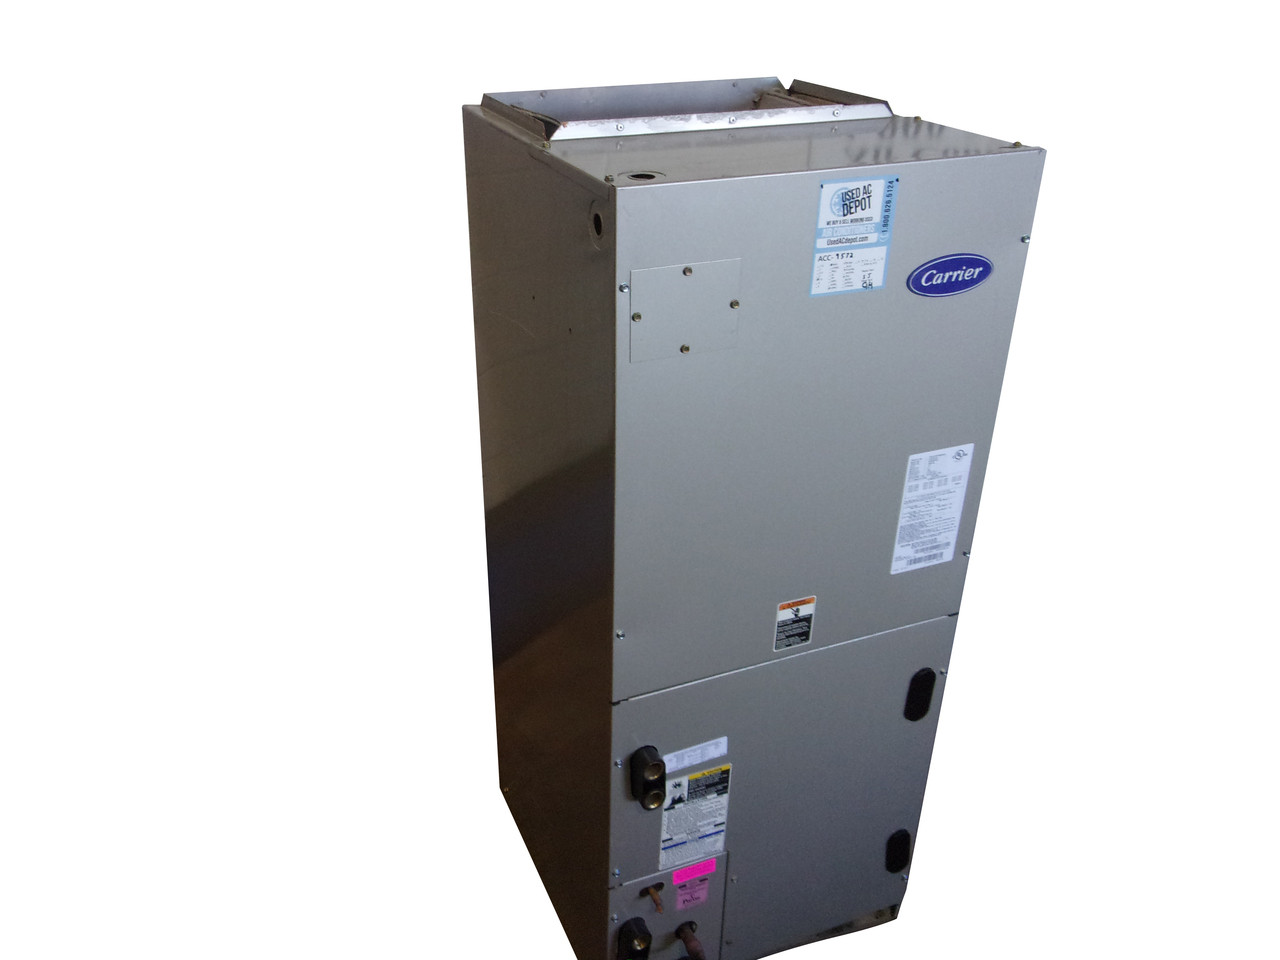
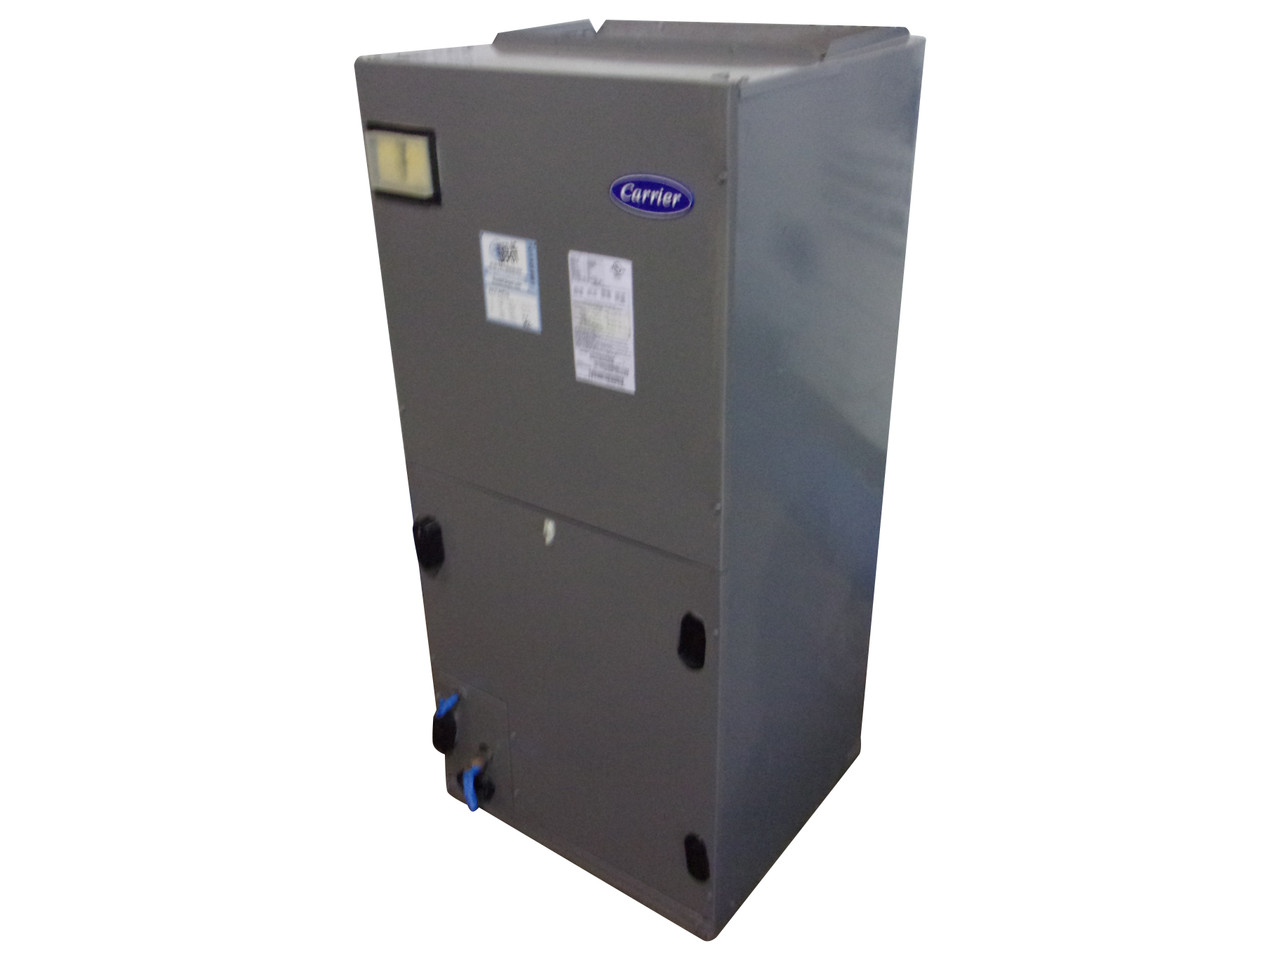
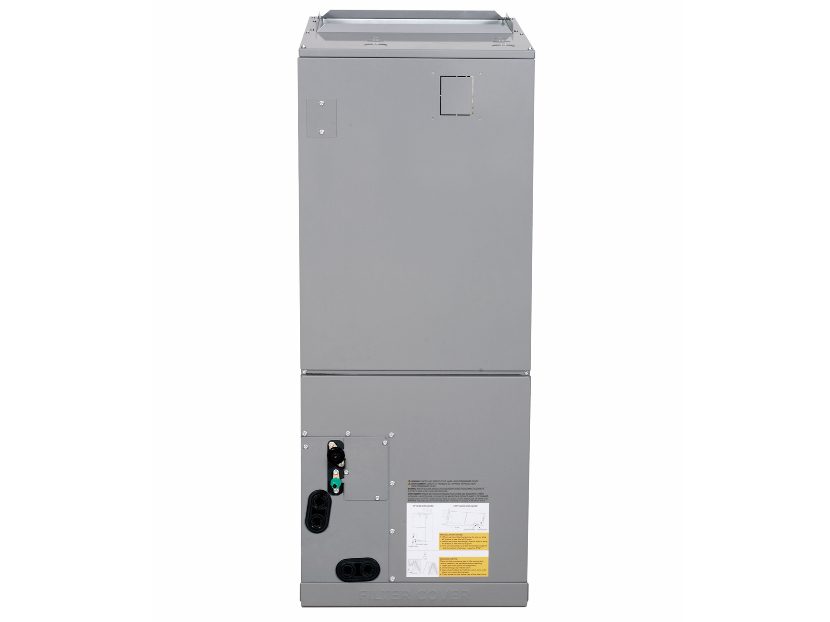
Carrier Residential Air Handlers
One of the most frustrating experiences for any homeowner is when their Carrier residential air handler stops blowing air, or is blowing weakly, especially during extreme weather. Before you resign yourself to a costly service call, there are several troubleshooting steps you can take to potentially resolve the issue yourself. This guide provides a methodical approach to diagnosing and addressing common problems, empowering you to regain control of your home comfort.
Initial Assessment and Safety First
Before touching anything, it’s crucial to ensure your safety. Follow these initial steps:
- Turn off the power: Locate the circuit breaker that controls your air handler. It’s usually labeled “Air Handler,” “Furnace,” or “HVAC.” Flip the breaker to the "off" position. This is non-negotiable. Never work on electrical components without disconnecting the power first.
- Visual Inspection: Take a quick look around the unit. Are there any obvious signs of damage, such as loose wires, burnt components, or visible leaks? Note anything that seems out of the ordinary.
Step 1: Check the Thermostat
The simplest problems are often overlooked. Begin with the thermostat:
- Verify Settings: Ensure the thermostat is set to "Cool" (for cooling) or "Heat" (for heating) and that the temperature is set lower (for cooling) or higher (for heating) than the current room temperature. It seems obvious, but accidentally switching it off or setting the temperature incorrectly is surprisingly common.
- Fan Setting: Make sure the fan is set to "Auto" or "On." If it's set to "Off," the fan will only run when the heating or cooling system is actively working.
- Battery Check: If your thermostat is battery-powered, replace the batteries. Low batteries can cause erratic behavior.
- Thermostat Wiring: If you're comfortable, carefully remove the thermostat cover and inspect the wiring. Ensure all wires are securely connected to their terminals. A loose wire can disrupt communication with the air handler. If you are not comfortable with this step, skip it and move on.
If the thermostat seems to be working correctly, proceed to the next step.
Step 2: Inspect the Air Filter
A dirty air filter is the most common cause of reduced airflow and can even damage your air handler over time:
- Locate the Air Filter: The air filter is typically located either at the air handler itself or in a return air vent somewhere in your home. Consult your owner's manual if you're unsure.
- Remove the Filter: Slide out the old filter.
- Inspect the Filter: Hold the filter up to the light. If you can barely see through it, it's definitely time for a replacement. A severely clogged filter restricts airflow, causing the air handler to work harder and potentially overheat.
- Replace the Filter: Install a new, clean air filter of the correct size and type. Make sure the arrow on the filter points in the direction of airflow.
Once the filter is replaced, turn the power back on at the circuit breaker and test the system. If airflow improves, you've solved the problem. Replace your air filter regularly (typically every 1-3 months) to prevent future issues.
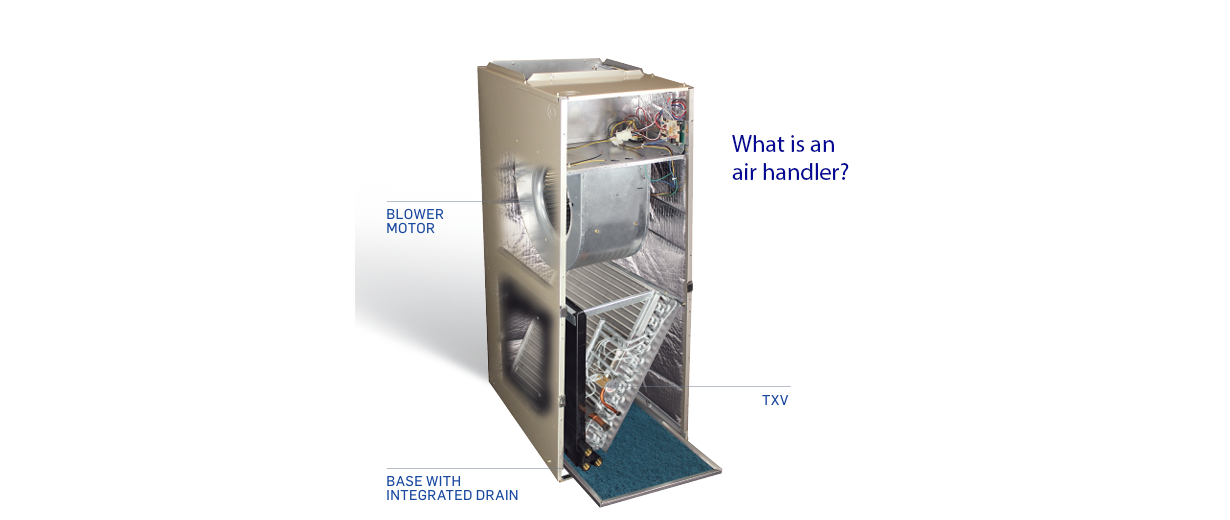
Step 3: Check the Blower Motor
If the air filter wasn't the issue, the blower motor itself might be the culprit. This step requires more caution:
- Ensure Power is OFF: Double-check that the circuit breaker is still in the "off" position.
- Access the Blower Compartment: Remove the access panel to the blower compartment on your air handler. This is usually held in place by screws or clips.
- Visual Inspection: Look for any signs of damage to the blower motor or its wiring. Are there any burnt wires, loose connections, or visible damage to the motor itself? Note anything suspicious.
- Manual Rotation Test: Try to manually spin the blower wheel. It should spin freely and easily. If it's difficult to turn or doesn't spin at all, the motor may be seized. Do not force it.
- Capacitor Check (Advanced - proceed with extreme caution): The blower motor uses a capacitor to start and run. A faulty capacitor is a common cause of blower motor failure.
- Discharge the Capacitor: This is extremely important and potentially dangerous. Use a well-insulated screwdriver with a plastic handle to short the terminals of the capacitor. Touch both terminals simultaneously. This discharges any stored electricity. Do this carefully, as there may be a small spark. If you are uncomfortable with this step, skip it and contact a professional.
- Visual Inspection: Look for any signs of bulging, leaking, or corrosion on the capacitor. If the capacitor looks damaged, it needs to be replaced.
If the blower motor is seized, visibly damaged, or the capacitor is faulty, you will need to contact a qualified HVAC technician for repair or replacement.
Step 4: Inspect the Condensate Drain Line
A clogged condensate drain line can cause the air handler to shut down or even leak water:
- Locate the Drain Line: The condensate drain line is a PVC pipe that exits the air handler and drains the condensation produced during cooling.
- Check for Clogs: Look for any obvious signs of blockage in the drain line. You may see water backing up or debris clogging the opening.
- Clear the Drain Line:
- Wet/Dry Vacuum: The easiest way to clear the drain line is with a wet/dry vacuum. Place the vacuum hose over the end of the drain line and seal it as best you can. Turn on the vacuum and let it run for a few minutes to suck out any clogs.
- Pouring Water: After vacuuming, try pouring a cup of water down the drain line. If it drains freely, the clog is likely cleared. If it backs up, you may need to repeat the vacuuming process or try a different method.
- Vinegar Flush: Pouring a cup of white vinegar down the drain line can help prevent future clogs by killing algae and mold.
If you cannot clear the drain line or suspect a more serious blockage within the air handler, contact a professional.
Step 5: Check for Frozen Coils
If your air handler is blowing warm air or very little air, and you suspect a cooling problem, frozen evaporator coils may be the issue:
- Ensure Power is OFF: Turn off the power to the air handler at the circuit breaker.
- Access the Evaporator Coils: Remove the access panel to the evaporator coil compartment. The evaporator coils are typically located inside the air handler.
- Visual Inspection: Look for ice buildup on the evaporator coils. If the coils are covered in ice, they are frozen.
- Allow Thawing: The best way to thaw frozen coils is to simply turn off the system and allow the ice to melt naturally. This can take several hours. Do not attempt to chip away the ice, as you could damage the coils.
- Identify the Cause: Once the coils have thawed, try to identify the cause of the freezing. Common causes include:
- Dirty Air Filter: As mentioned earlier, a dirty air filter restricts airflow and can cause the coils to freeze.
- Low Refrigerant: Low refrigerant levels can also cause the coils to freeze.
- Restricted Airflow: Blocked return air vents or closed vents can restrict airflow and cause the coils to freeze.
If you suspect low refrigerant or cannot determine the cause of the frozen coils, contact a qualified HVAC technician. Adding refrigerant requires specialized equipment and training.
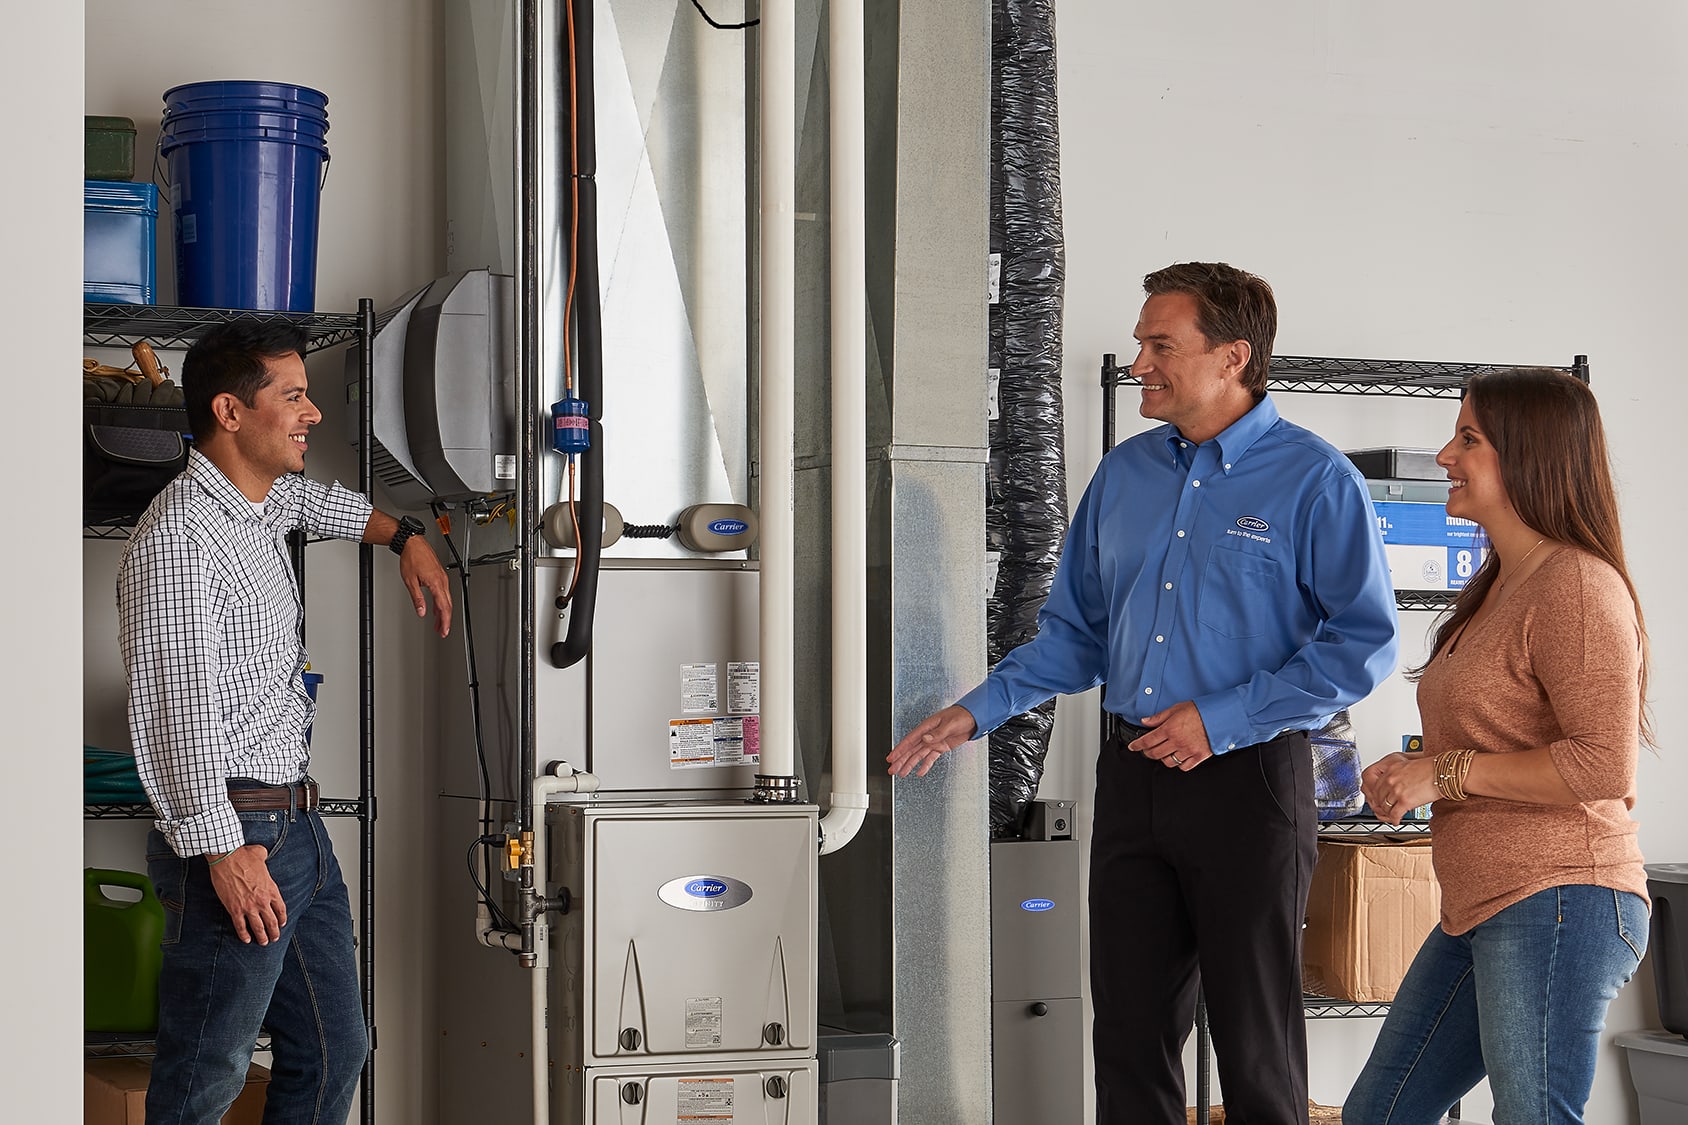
When to Call a Professional
While these troubleshooting steps can resolve many common issues, there are situations where professional help is essential. Call a qualified HVAC technician if:
- You are uncomfortable working with electrical components.
- You suspect a refrigerant leak.
- The blower motor is seized or visibly damaged.
- The capacitor is faulty or damaged.
- You cannot clear a clogged condensate drain line.
- You suspect a more serious problem with the air handler, such as a faulty control board or compressor.
- The problem persists after trying these troubleshooting steps.
Attempting to repair complex HVAC issues without the proper training and equipment can be dangerous and could potentially damage your system further. It's always best to err on the side of caution and seek professional assistance when needed.
Preventative Maintenance
The best way to avoid air handler problems is to perform regular preventative maintenance:
- Replace your air filter regularly (every 1-3 months).
- Schedule annual maintenance with a qualified HVAC technician. This includes inspecting and cleaning the air handler, checking refrigerant levels, and testing the system's performance.
- Keep the area around the air handler clear of debris and obstructions.
- Monitor the system's performance and address any unusual noises or issues promptly.
By following these tips, you can help keep your Carrier residential air handler running smoothly and efficiently for years to come.