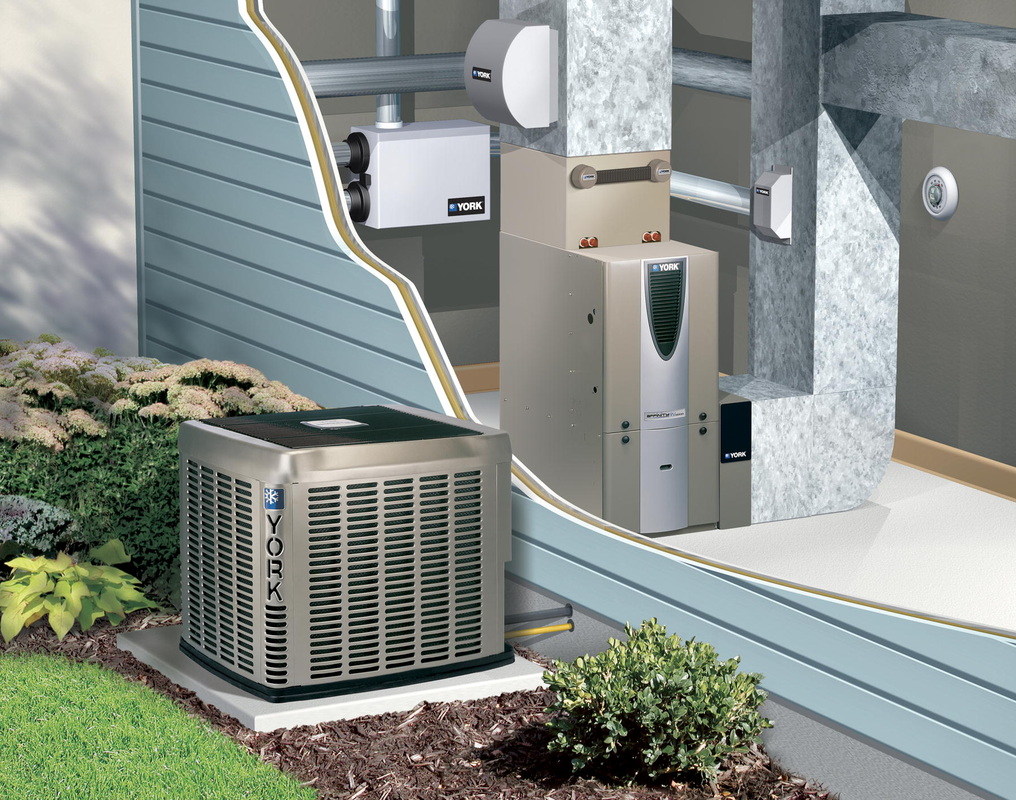
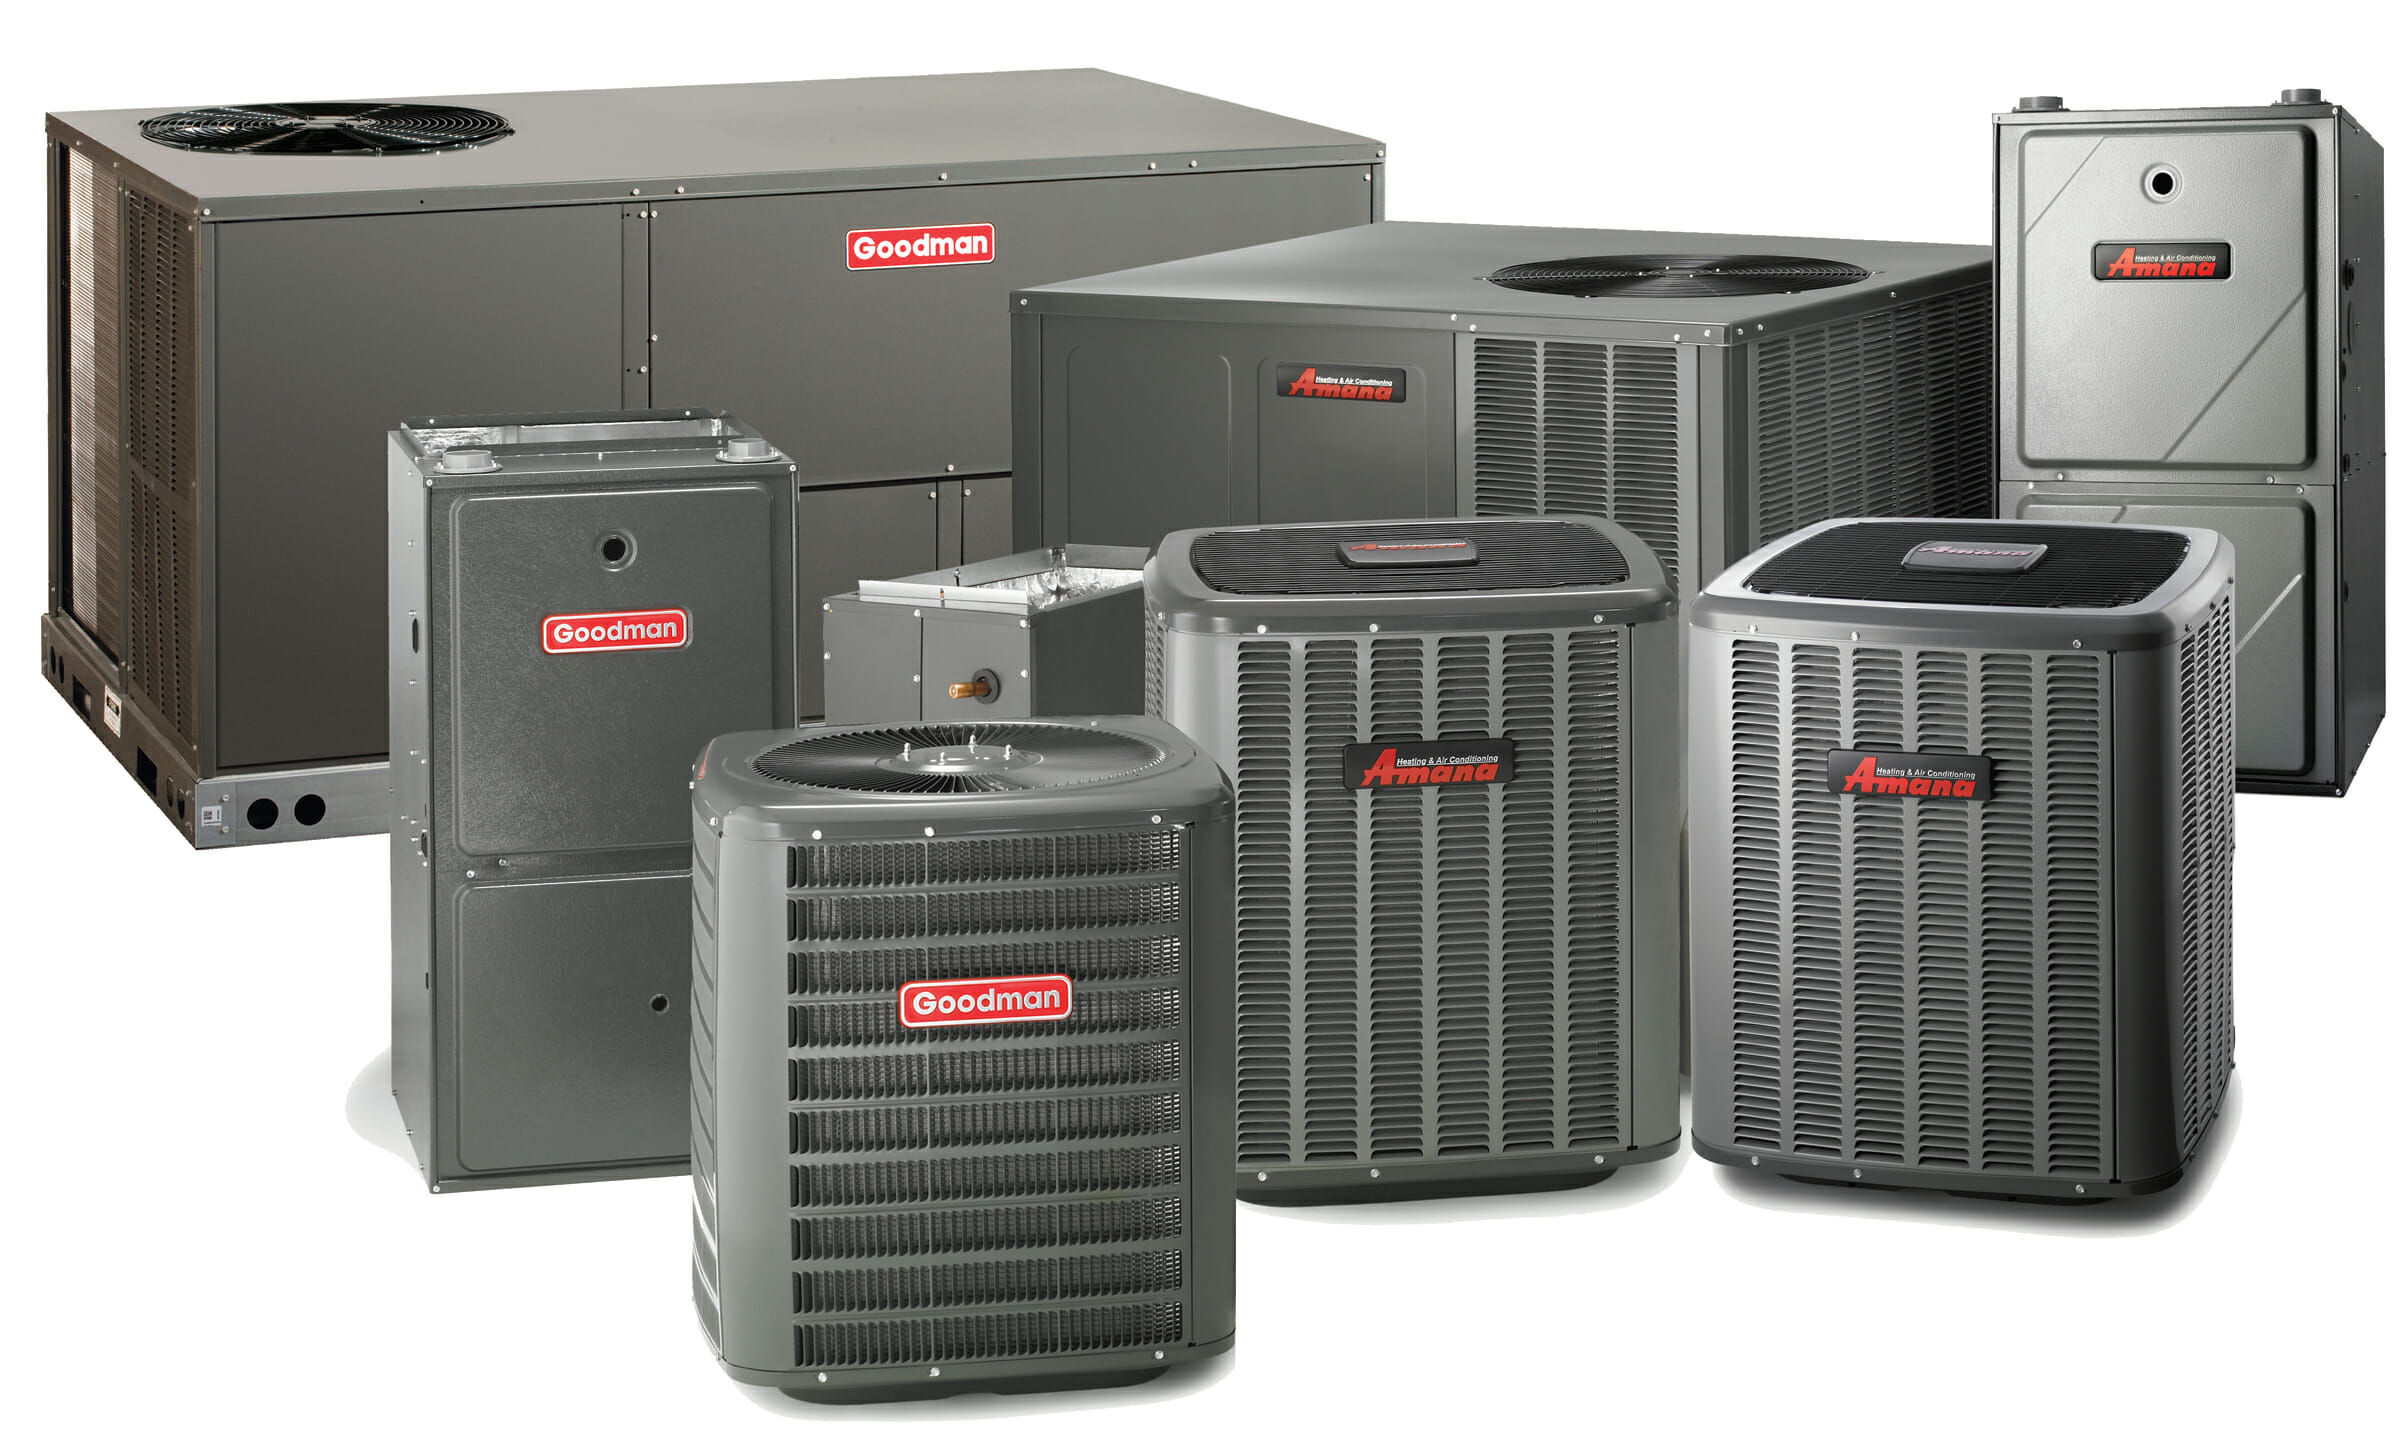
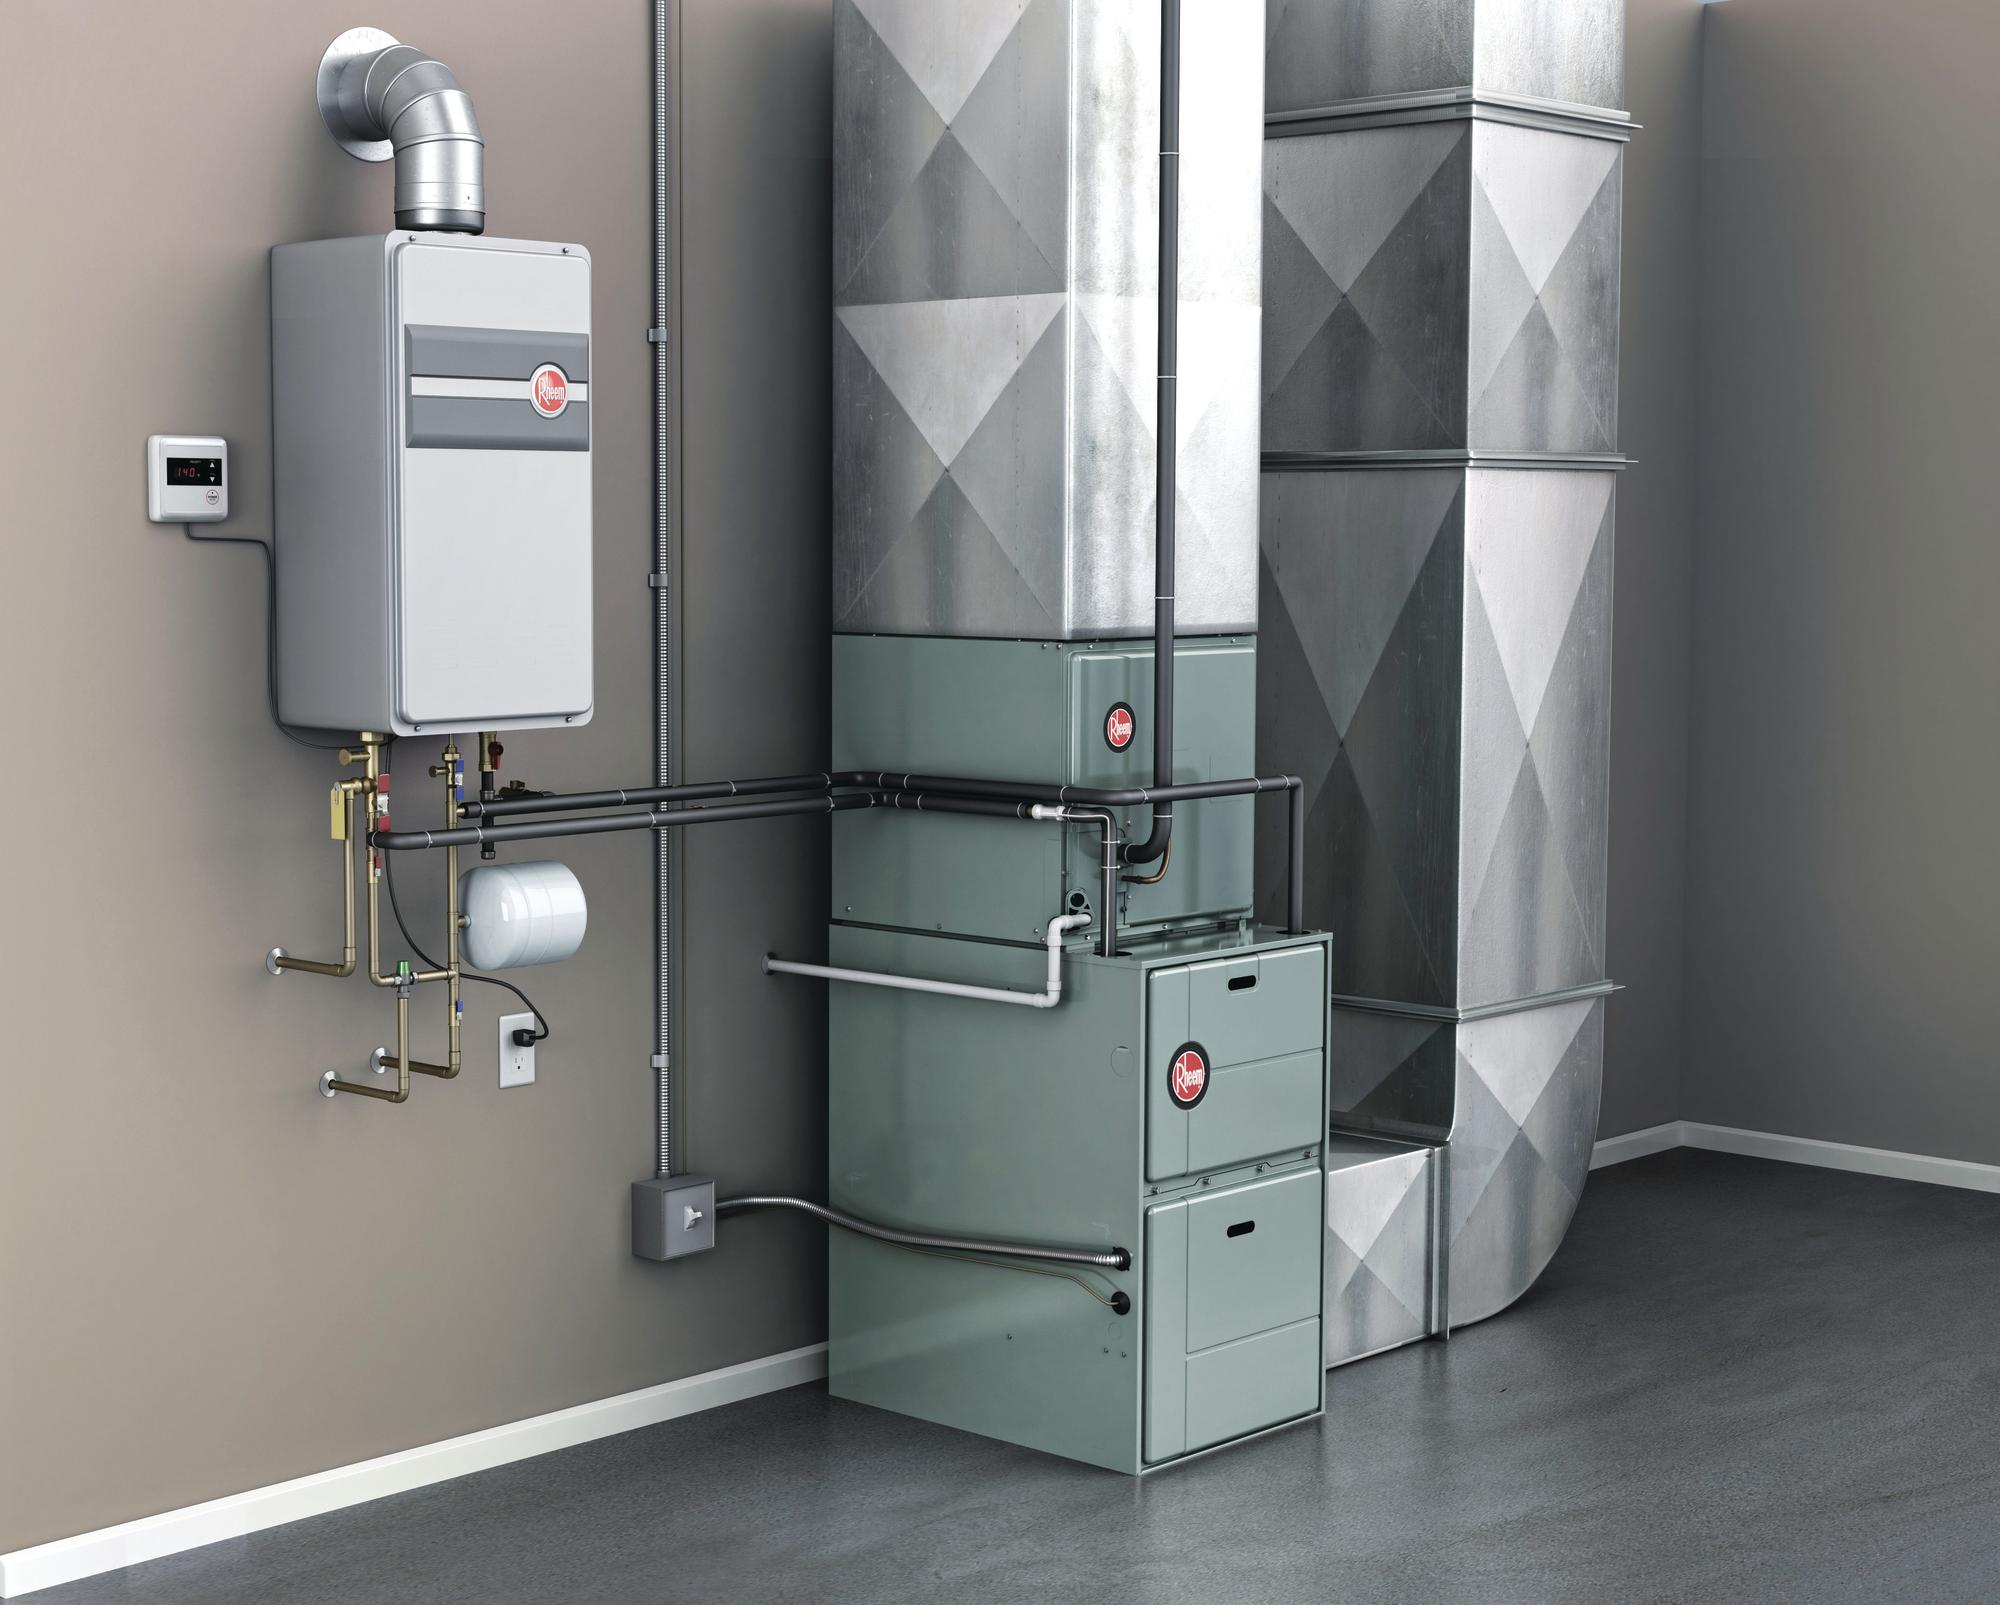
Central Air Conditioner And Heater Combo
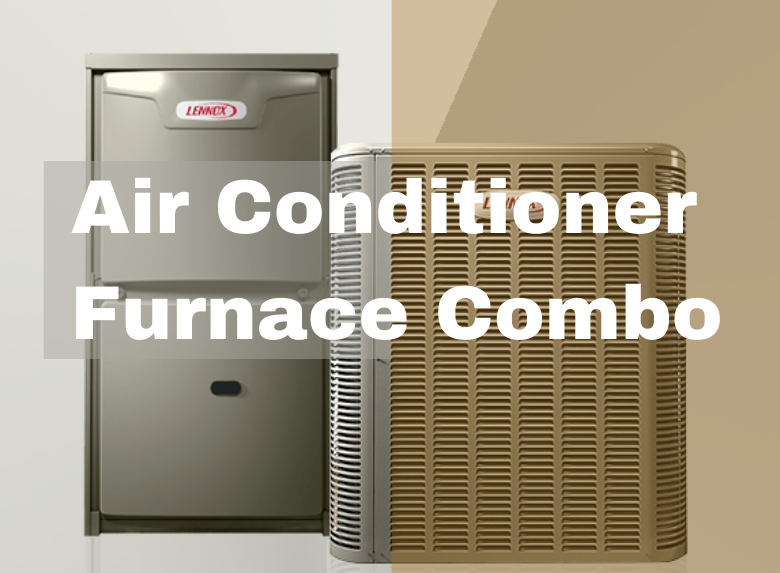
Your central air conditioner and heater combo is the workhorse of your home's climate control, keeping you comfortable year-round. But what happens when it suddenly stops working? A malfunctioning HVAC system can be frustrating, but before calling a professional, there are several troubleshooting steps you can take to identify the problem and potentially fix it yourself. This guide will walk you through common issues, offering safe and practical DIY solutions. Remember, when dealing with electricity, gas, or complex repairs, it's always best to call a qualified HVAC technician.
Troubleshooting: No Heat or Cool Air
This is perhaps the most common complaint. Let's break down the troubleshooting process step-by-step:
Step 1: Check the Thermostat
This might seem obvious, but it's the first and often overlooked step. Make sure your thermostat is:
- Powered on: Check the batteries if it's a battery-powered model. Replace them with fresh batteries.
- Set to the correct mode: Ensure it's set to "Heat" in winter or "Cool" in summer.
- Set to the correct temperature: Make sure the set temperature is higher than the current room temperature for heating and lower for cooling. Try increasing or decreasing the temperature setting by a few degrees to see if the system kicks on.
- Not in "Fan Only" mode: This mode only circulates air and doesn't provide heating or cooling.
If the thermostat is displaying an error code, consult your owner's manual or the manufacturer's website for guidance. A simple error code might be resolvable by you, a more complex code is a sign to call a professional.
Step 2: Inspect the Air Filter
A dirty air filter is a common culprit behind HVAC problems. A clogged filter restricts airflow, causing the system to work harder, overheat, and potentially shut down. It can also impact your indoor air quality.
- Locate the air filter: It's typically located in the return air duct, either in the wall, ceiling, or the unit itself. Consult your owner's manual if you're unsure.
- Inspect the filter: If it's visibly dirty, dusty, or clogged, it needs to be replaced.
- Replace the filter: Use a filter of the correct size and type (MERV rating). Most filters have the size printed on the frame. Always install the filter with the arrow pointing in the direction of airflow.
- Regularly replace your filter: A good practice is to replace it every 1-3 months, depending on usage and air quality.
Step 3: Check the Circuit Breaker
HVAC systems require a dedicated circuit breaker. If the breaker has tripped, it will shut off power to the unit.
- Locate the circuit breaker panel: Usually in a basement, garage, or utility room.
- Identify the breaker for the HVAC system: It should be labeled. If not, you might need to experiment (safely!).
- Check the breaker: If it's tripped, it will be in the "off" or "middle" position.
- Reset the breaker: Flip the breaker all the way to the "off" position and then back to the "on" position.
- Important safety note: If the breaker trips immediately after resetting, do not continue to reset it. This indicates a serious electrical problem that requires a qualified electrician.
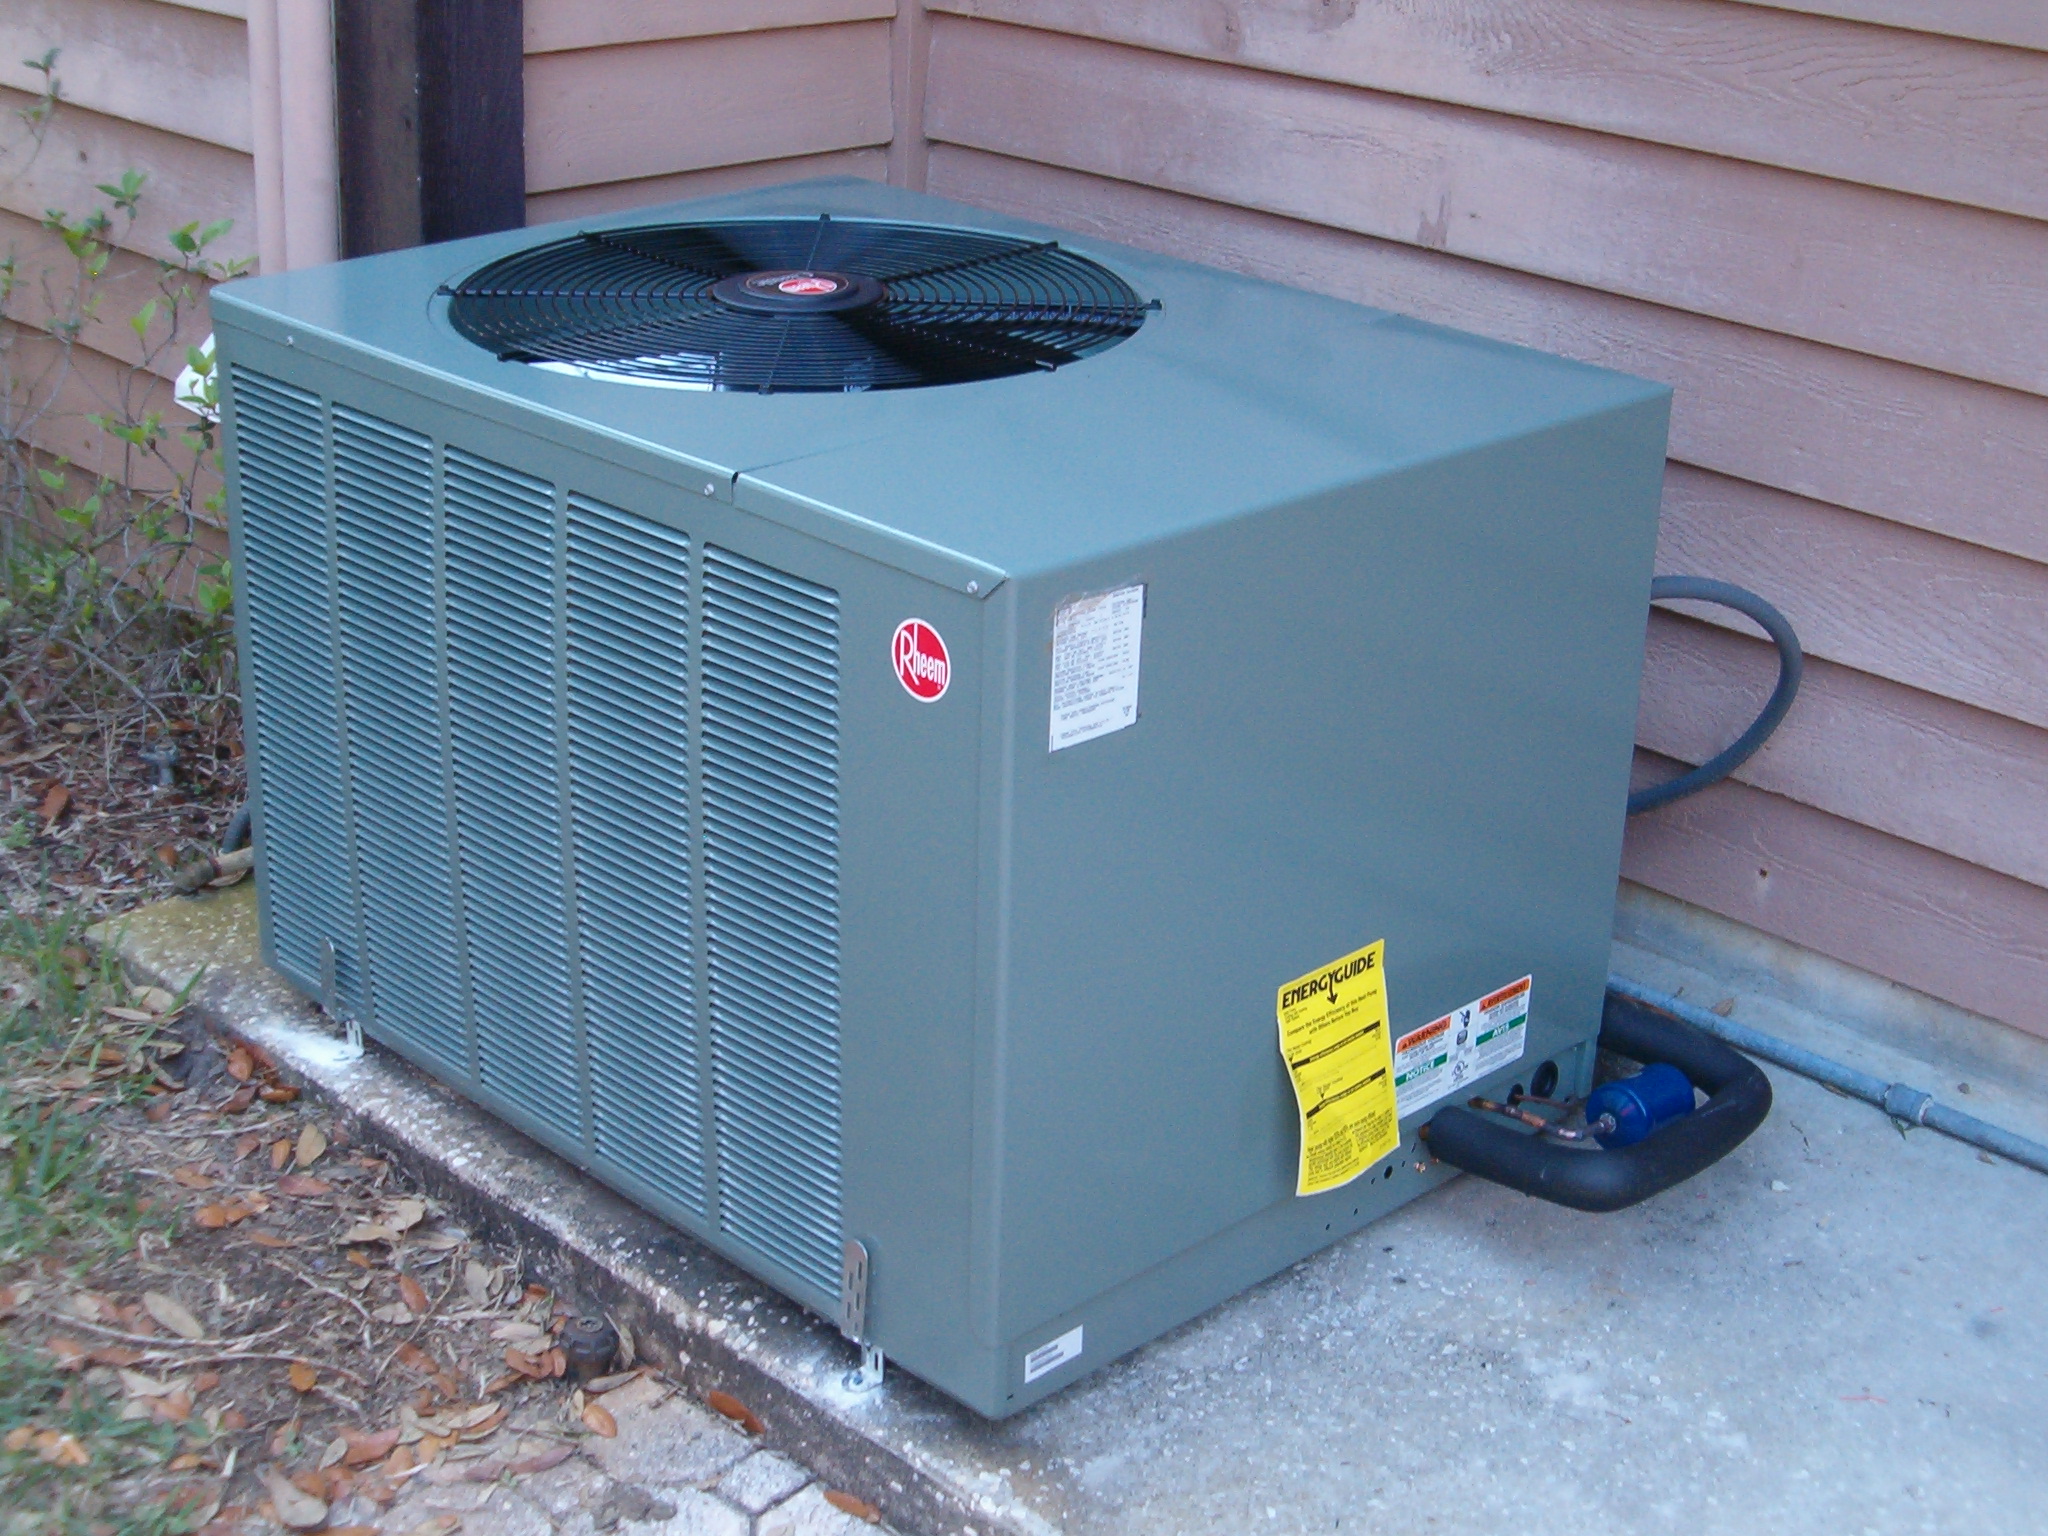
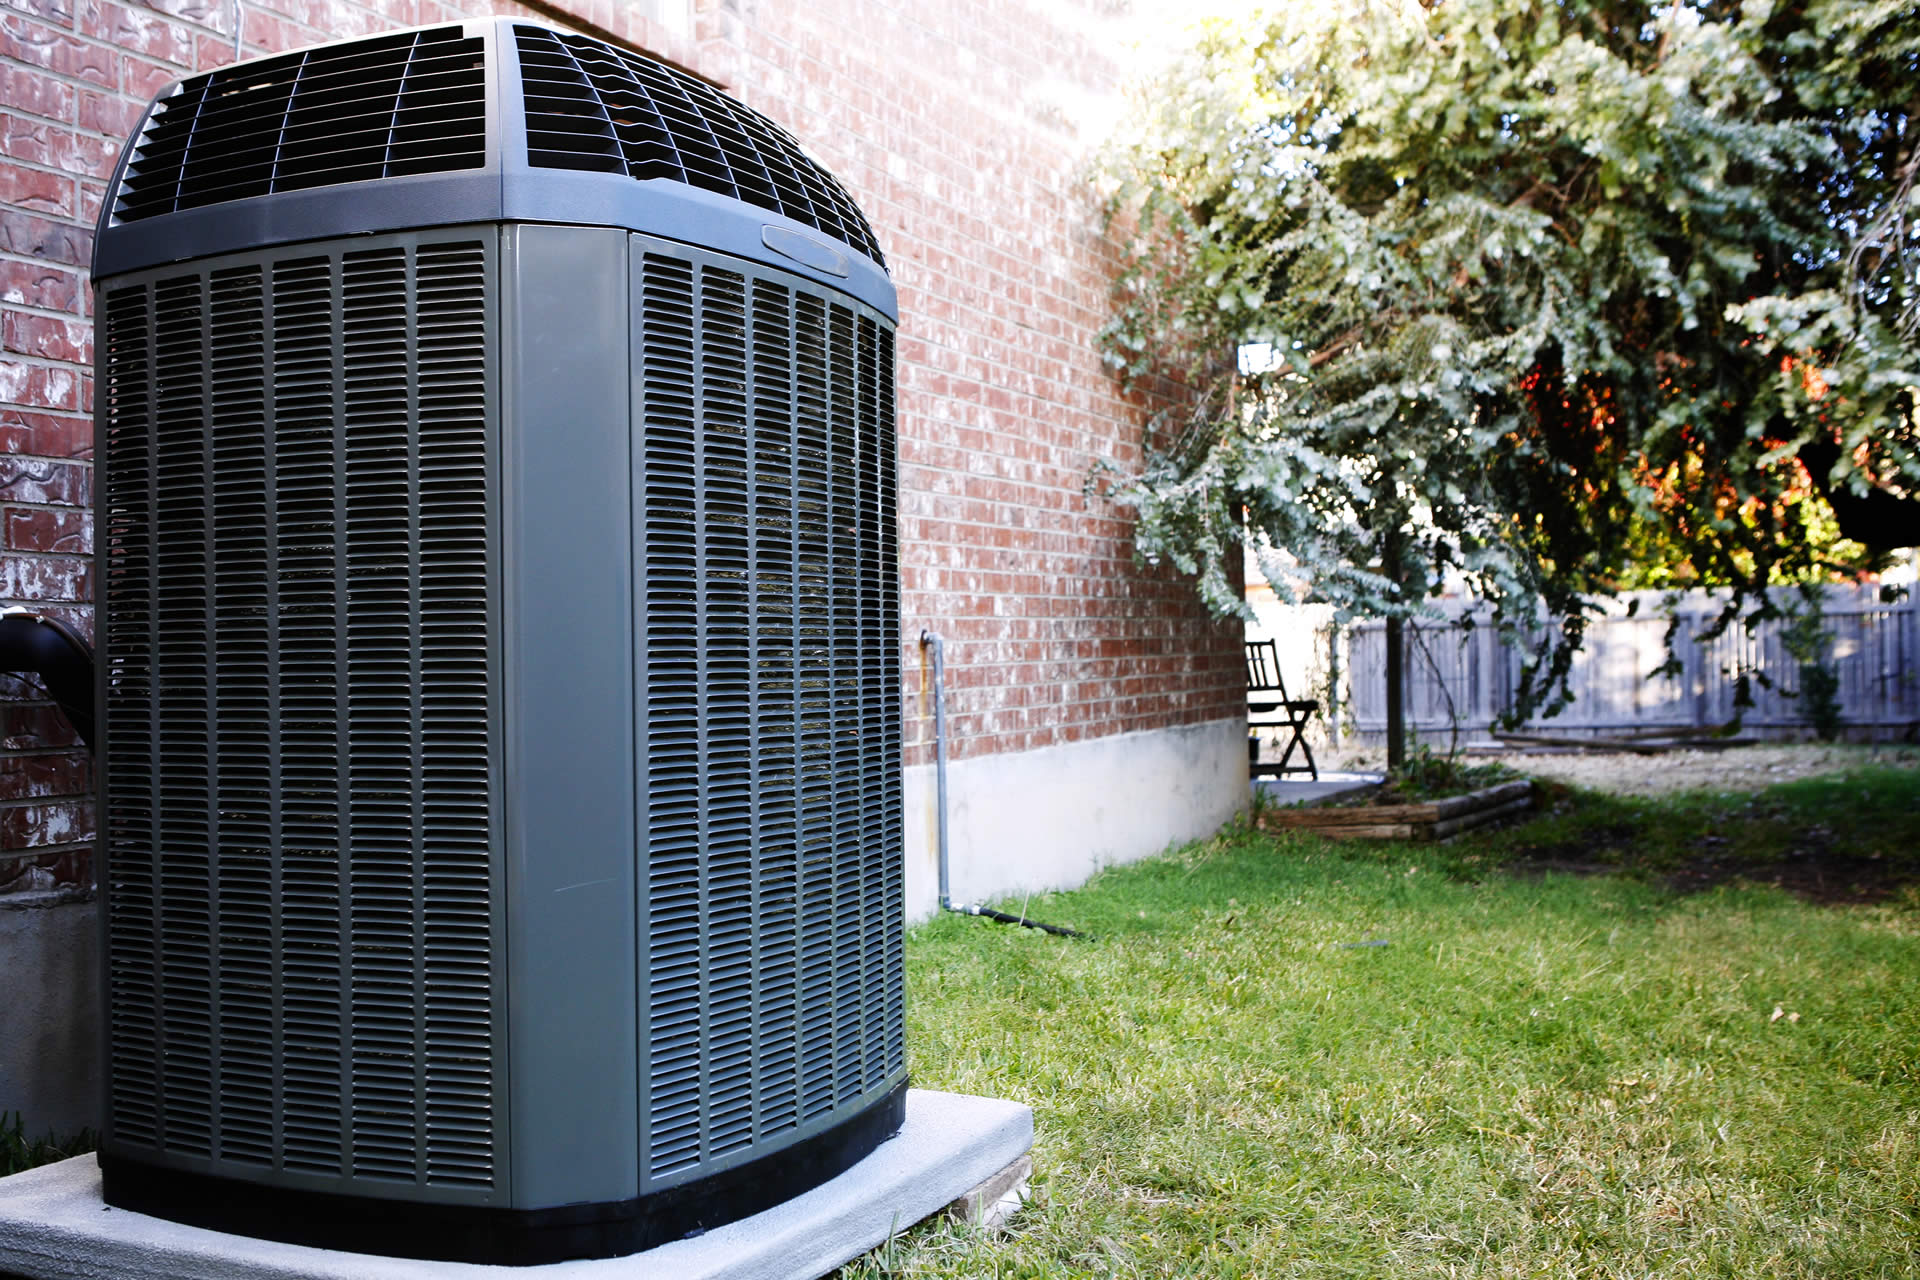
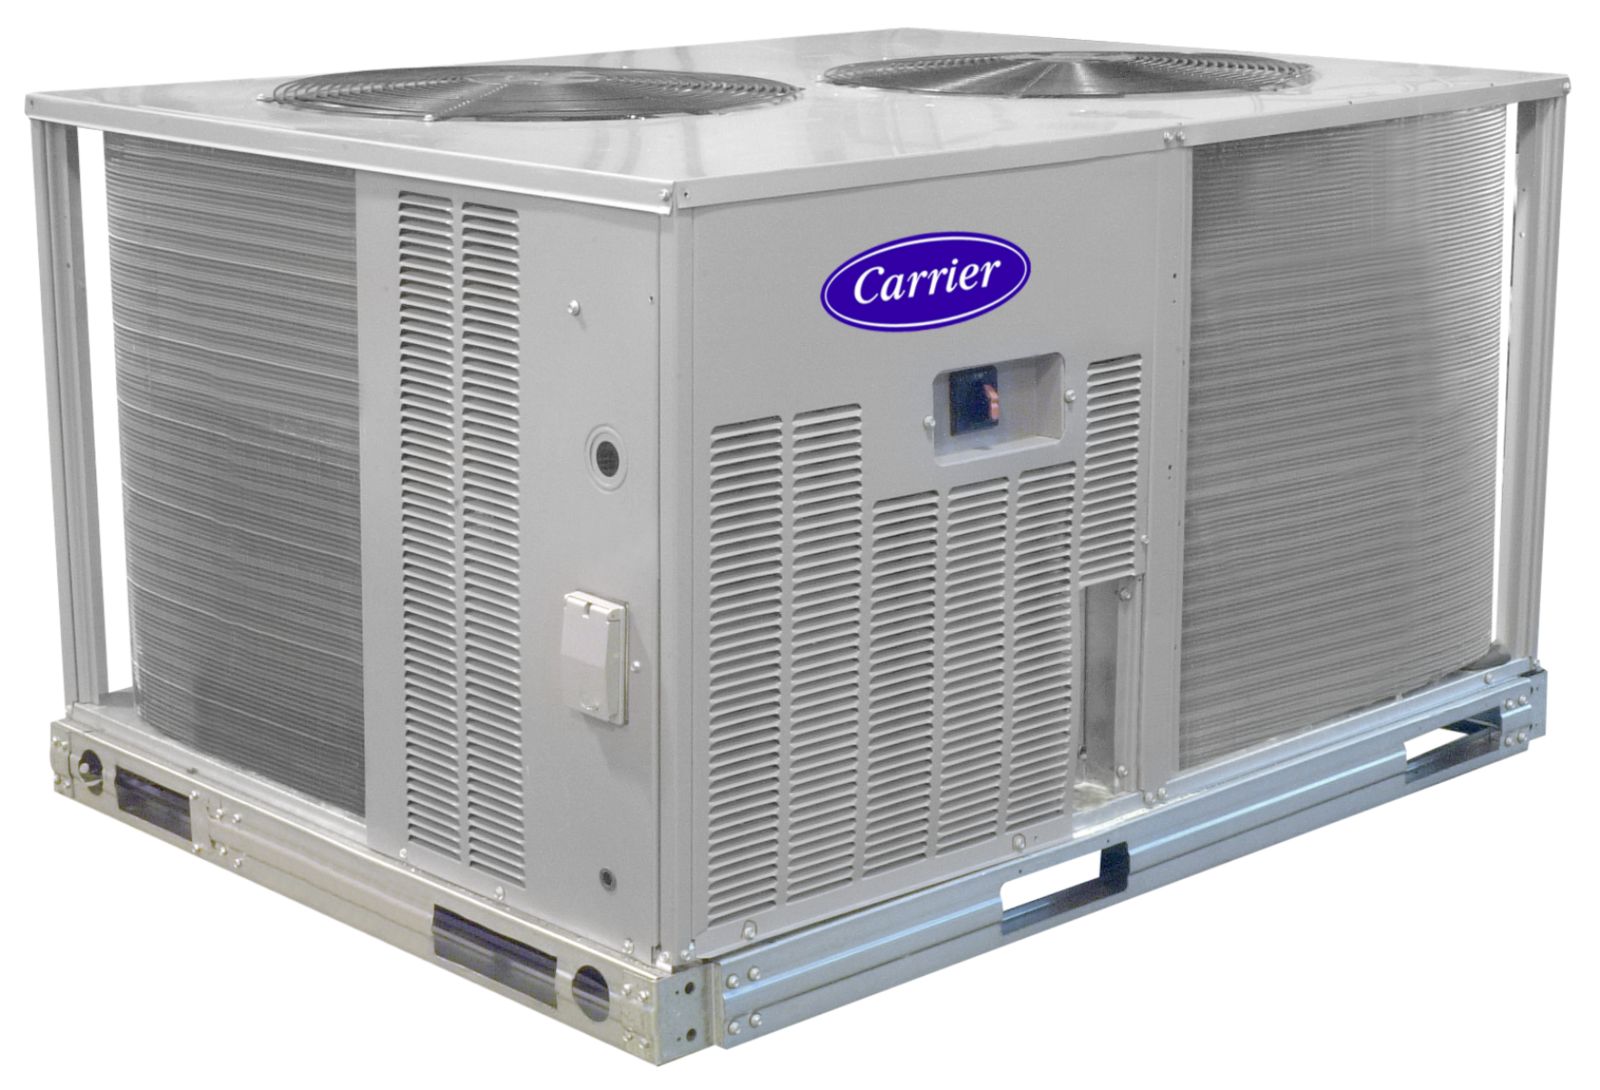
Step 4: Inspect the Outdoor Unit (Condenser)
The outdoor unit (condenser) is a crucial part of your air conditioning system. If it's blocked or damaged, it can prevent proper cooling.
- Check for obstructions: Make sure there are no leaves, branches, snow, ice, or other debris blocking the unit. Clear away any obstructions within 2-3 feet of the unit.
- Inspect the fins: The fins around the unit can become bent or damaged. Gently straighten any bent fins with a fin comb (available at most hardware stores).
- Ensure the fan is spinning freely: If the fan is obstructed or not spinning, it could indicate a motor problem. Do not attempt to manually force the fan to spin if it's stuck. This is a job for a professional.
- Check the disconnect switch: Most outdoor units have a disconnect switch located nearby. Make sure it's in the "on" position.
Step 5: Check the Indoor Unit (Evaporator Coil)
The evaporator coil is located inside your indoor unit. If it's frozen, it can block airflow and prevent cooling.
- Look for signs of ice buildup: Check the refrigerant lines going into the indoor unit. If they're covered in ice, it's a sign of a frozen coil.
- Turn off the system: If the coil is frozen, turn off the entire system at the thermostat. Set the fan to "on" to help melt the ice.
- Check the air filter (again): A dirty air filter is the most common cause of a frozen coil. Replace it if it's dirty.
- Check for airflow obstructions: Make sure the supply registers (vents) are open and not blocked by furniture.
- Wait for the coil to thaw: This can take several hours. Once thawed, turn the system back on and monitor it closely. If the coil freezes again, it indicates a more serious problem that requires professional attention.
Troubleshooting: System Turns On But Doesn't Heat or Cool Effectively
Sometimes the system will turn on, but the air coming out of the vents isn't as warm or cool as it should be. Here are some things to check:
Step 1: Check for Drafts and Leaks
Ineffective heating or cooling can often be attributed to air leaks in your home. Sealing these leaks can significantly improve efficiency.
- Inspect windows and doors: Check for gaps around the frames and use weather stripping or caulk to seal them.
- Seal around pipes and wiring: Where pipes or wiring enter your home, use caulk or expanding foam to seal any gaps.
- Check attic and basement insulation: Ensure your attic and basement are properly insulated to prevent heat loss or gain.
Step 2: Bleed Radiators (If Applicable)
If your heating system uses radiators, trapped air can prevent them from heating properly.
- Locate the bleed valve: It's usually on the side or top of the radiator.
- Use a radiator key or screwdriver: Carefully open the bleed valve.
- Release the air: Allow air to escape until water starts to come out.
- Close the valve: Once water starts to flow, close the valve tightly.
Step 3: Check Ductwork for Leaks
Leaking ductwork can lose a significant amount of heated or cooled air before it reaches your vents.
- Inspect visible ductwork: Look for gaps or cracks in the ductwork, especially at joints.
- Seal leaks with duct tape or mastic sealant: Use high-quality duct tape or, preferably, mastic sealant to seal any leaks.
- Consider professional duct sealing: For extensive ductwork or difficult-to-reach areas, consider hiring a professional for duct sealing.
When to Call a Professional
While many HVAC problems can be addressed with DIY troubleshooting, some situations require the expertise of a qualified HVAC technician. Never attempt repairs you are uncomfortable with, especially those involving electricity or gas.
- Refrigerant leaks: Refrigerant is a hazardous substance, and repairing leaks requires specialized equipment and training.
- Electrical problems: Any electrical work beyond resetting a breaker should be left to a qualified electrician.
- Gas leaks: If you suspect a gas leak, evacuate the premises immediately and call your gas company or 911.
- Compressor problems: The compressor is the heart of your air conditioning system, and repairs are complex and require specialized tools.
- Motor problems: Replacing or repairing blower motors, fan motors, or other motors requires technical expertise.
- Frozen evaporator coil that keeps freezing: This indicates a more serious underlying problem.
- You've tried all the DIY solutions and the problem persists: Sometimes, the issue is simply beyond the scope of DIY repair.
- If your HVAC system is still under warranty: Attempting DIY repairs could void your warranty. Contact the manufacturer or a authorized repair service.
- Strange Noises: Squealing, grinding, or banging sounds coming from your HVAC unit could indicate a serious mechanical problem that requires professional attention.
Safety First!
Before attempting any DIY repairs, always follow these safety precautions:
- Turn off the power: Disconnect power to the unit at the circuit breaker before working on any electrical components.
- Wear appropriate safety gear: Wear gloves, safety glasses, and a dust mask when working on your HVAC system.
- Read the owner's manual: Familiarize yourself with the specific components and safety instructions for your system.
- Don't work alone: Have someone nearby in case of an emergency.
- If in doubt, call a professional: It's always better to be safe than sorry.
Preventative Maintenance
Regular preventative maintenance can help prevent many HVAC problems and extend the life of your system.
- Schedule annual professional maintenance: A qualified HVAC technician can inspect and tune up your system, identifying and addressing potential problems before they become major issues.
- Regularly clean or replace air filters: This is the single most important thing you can do to maintain your HVAC system.
- Keep the outdoor unit clear of debris: Regularly clear away leaves, branches, and other debris from around the outdoor unit.
- Check and clean condensate drain lines: Clogged drain lines can cause water damage and promote mold growth.
- Consider a smart thermostat: Smart thermostats can help you optimize energy usage and identify potential problems.
By following these troubleshooting steps and practicing preventative maintenance, you can keep your central air conditioner and heater combo running efficiently and reliably for years to come. Remember, when in doubt, always consult with a qualified HVAC professional.