Central Air Conditioner Blowing Warm Air

There's nothing more frustrating than expecting a blast of cool air on a hot day, only to be greeted with warm air blowing from your central air conditioner vents. This is a common problem, but thankfully, often fixable without immediately calling a professional. Let's walk through a systematic approach to diagnosing and potentially resolving the issue before you reach for the phone.
Step 1: The Initial Assessment (No Tools Required)
Before grabbing any tools, let's perform a basic check of your system. This step focuses on gathering information and eliminating simple causes.
1. Thermostat Setting and Operation
The thermostat is the brain of your cooling system. Start by confirming it's set correctly.
- Mode: Ensure the thermostat is set to "Cool" or "AC". Accidentally leaving it on "Heat" or "Fan Only" will obviously result in warm air.
- Temperature: Verify the set temperature is lower than the current room temperature. If the set temperature is higher, the AC won't kick on.
- Battery: If you have a digital thermostat, check the battery. A low battery can cause erratic behavior. Replace it if necessary.
- Fan Setting: If your thermostat has a fan setting of "On," the fan will run continuously, even when the compressor isn't cooling. Set it to "Auto" for the fan to cycle on and off with the cooling.
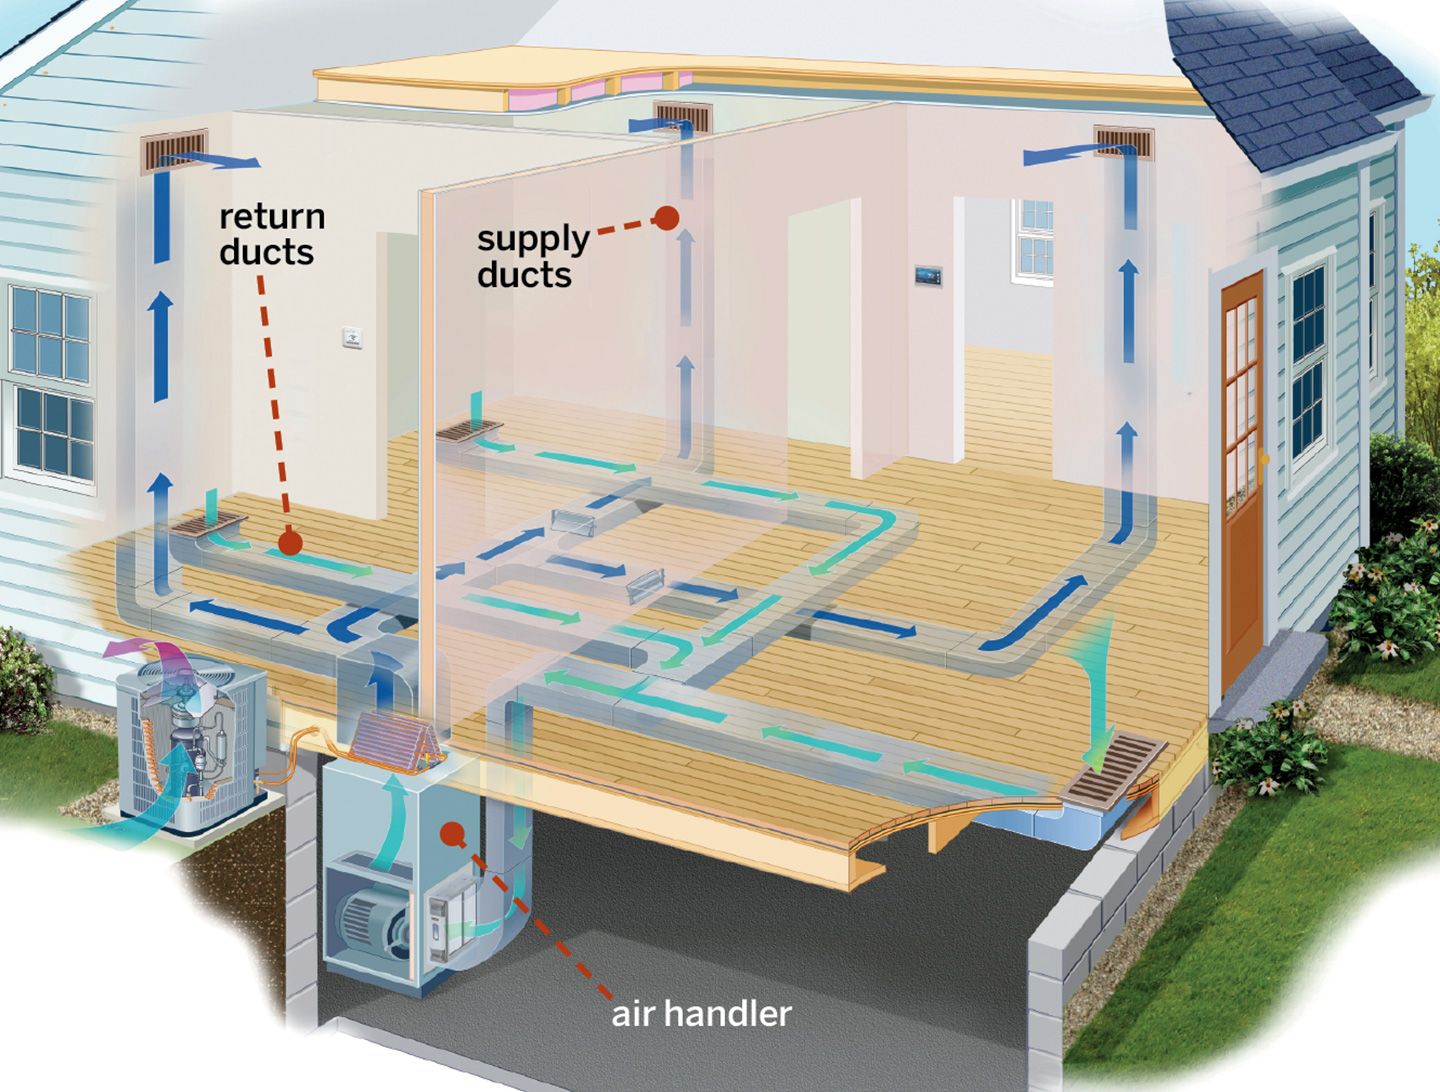
2. Air Filter Check
A dirty air filter is a very common culprit behind reduced airflow and warm air. It restricts airflow, causing the evaporator coil to freeze, which drastically reduces cooling capacity.
- Location: Locate your air filter. This is usually inside the indoor air handler unit (often in a hallway closet, basement, or attic) or at the return air vent.
- Inspection: Remove the filter and hold it up to the light. If you can barely see light through it, it's likely clogged and needs replacing.
- Replacement: Replace the dirty filter with a new one of the correct size and type. This is a quick and inexpensive fix that can often solve the problem. Make sure to note the direction of airflow arrow on the filter and install it accordingly.
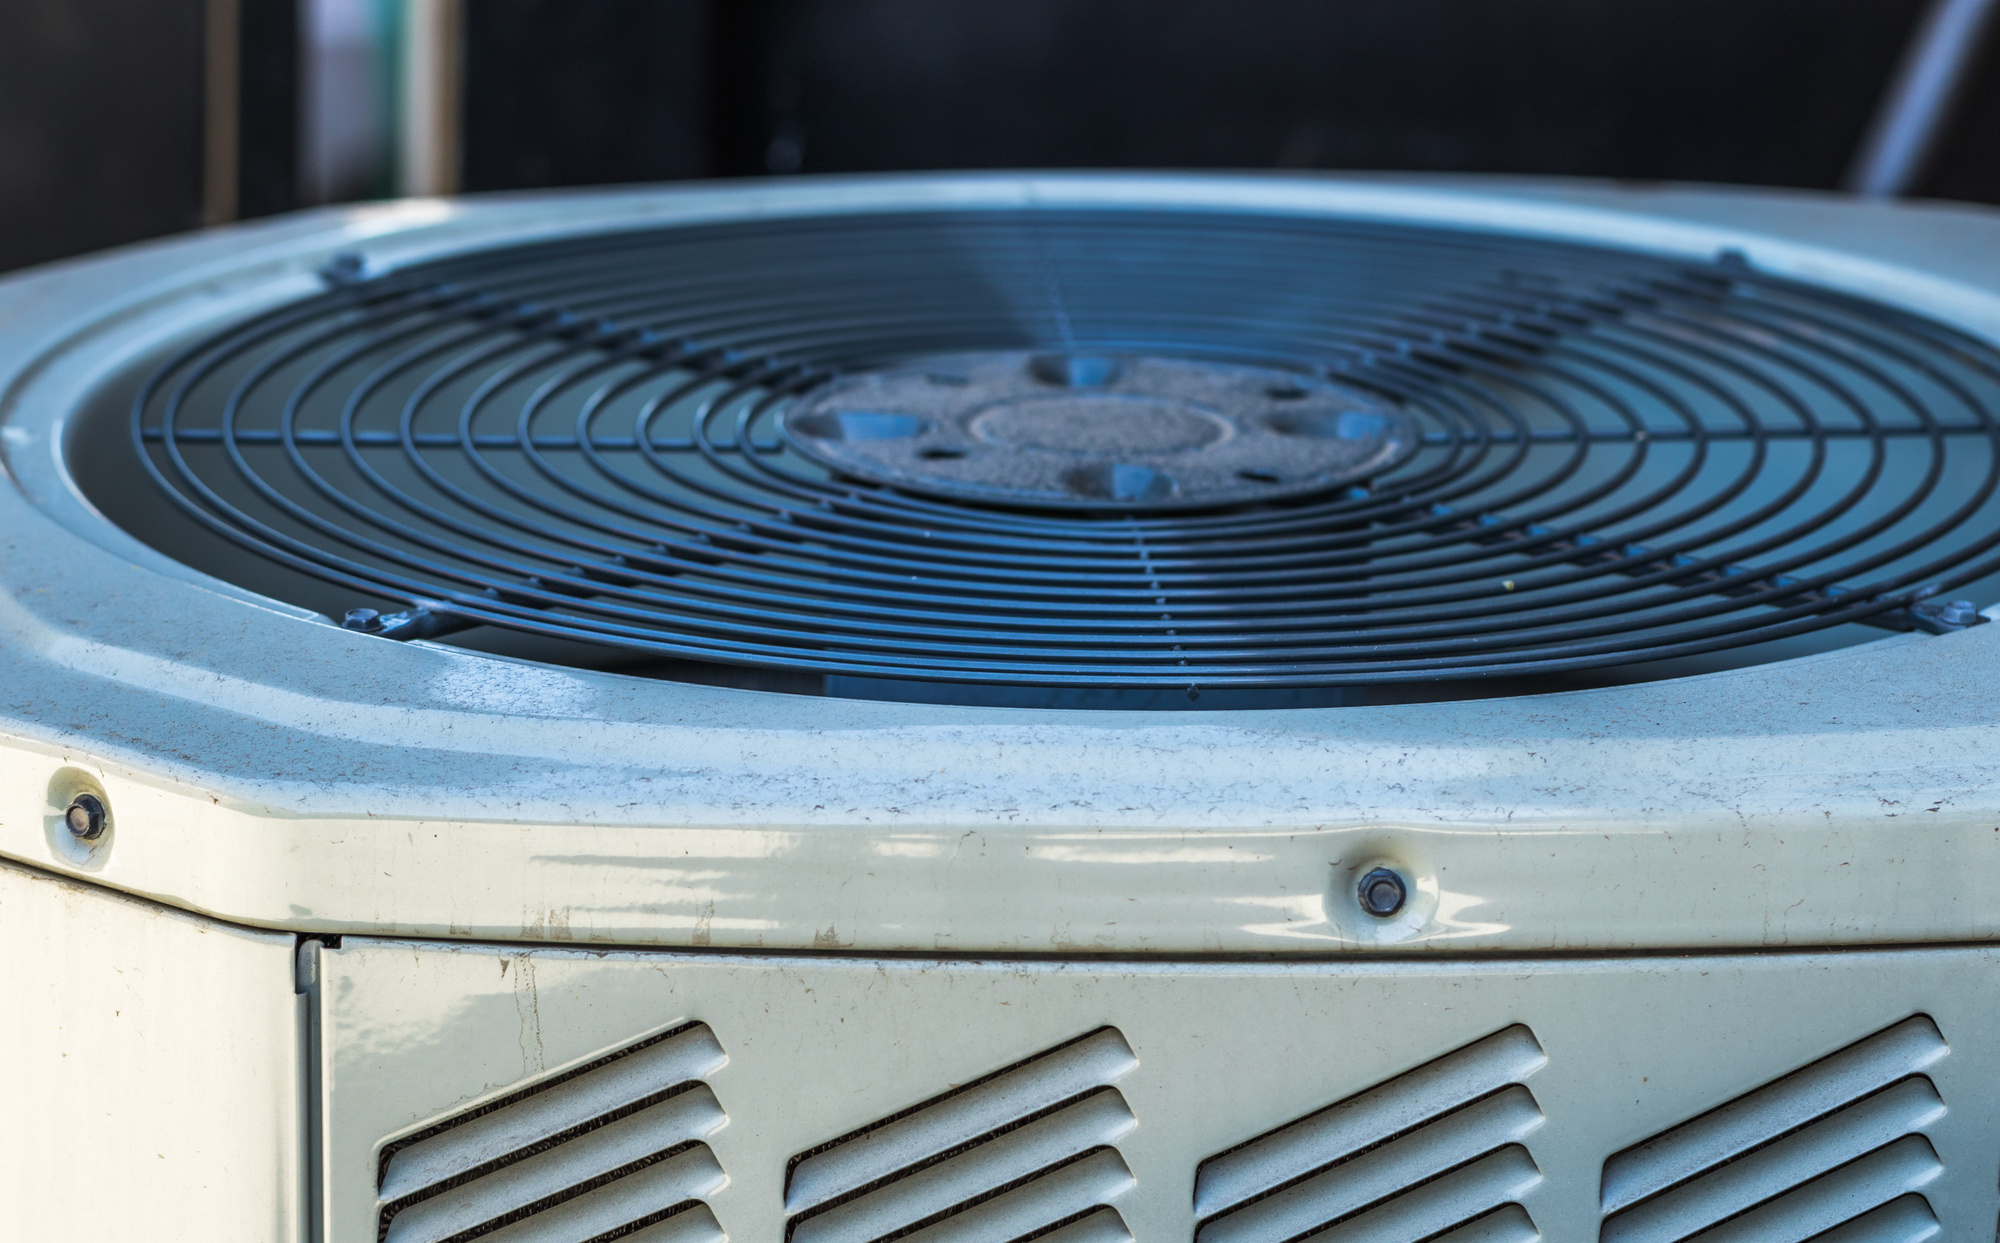
3. Outdoor Unit Inspection (Visual Only)
The outdoor unit (condenser) is responsible for releasing heat. Obstructions around the unit can severely impact its performance.
- Clearance: Ensure there's at least 2-3 feet of clear space around the outdoor unit. Remove any leaves, branches, weeds, or debris that may be blocking airflow.
- Visual Damage: Visually inspect the unit for any obvious damage, such as bent fins, dislodged panels, or signs of leaks. Do not touch any internal components. Note any damage to share with a professional if needed.
Step 2: Basic Troubleshooting (Simple Tools May Be Needed)
If the initial assessment didn't reveal the problem, let's move on to some basic troubleshooting steps that may require a few simple tools.
1. Circuit Breaker Check (Requires a Flashlight)
The AC unit, both indoor and outdoor, has dedicated circuit breakers in your electrical panel. A tripped breaker can cut power to one or both units, resulting in warm air.
- Location: Locate your electrical panel.
- Identification: Identify the circuit breakers labeled "AC," "Air Conditioner," or similar. Consult your panel directory if needed.
- Inspection: Look for a breaker that is in the "Tripped" (middle) position or is clearly off.
- Resetting: Flip the breaker to the "Off" position completely, then back to the "On" position.
- Caution: If the breaker trips again immediately, do not continue resetting it. This indicates a more serious electrical issue and requires professional attention.
2. Condenser Fan Operation (Visual and Auditory Check)
The condenser fan in the outdoor unit helps dissipate heat. If the fan isn't running, the unit can overheat and stop cooling.
- Observation: After ensuring the circuit breaker is on and the thermostat is calling for cool air, go outside to the condenser unit. Observe if the fan is spinning.
- Auditory Check: Listen for the hum of the compressor. If you hear the compressor running but the fan isn't, it could indicate a faulty fan motor or capacitor.
- Caution: Never insert anything into the fan blades while the unit is running.
- Simple Restart (If Comfortable): Some condenser fans have a reset button located near the motor. If you can safely locate it (refer to your unit's manual if available) and are comfortable doing so, try pressing it. If the fan still doesn't start, this suggests a more complex problem.
3. Frozen Evaporator Coil (Requires Visual Inspection)
A frozen evaporator coil inside the indoor unit restricts airflow and prevents proper cooling. This often happens due to a dirty air filter, but can also be caused by low refrigerant.
- Location: Access the evaporator coil. This usually requires removing an access panel on the indoor air handler unit. Consult your unit's manual for specific instructions.
- Inspection: Visually inspect the coil for ice buildup. If it's covered in ice, it's frozen.
- Thawing: If the coil is frozen, turn the AC off and set the thermostat to "Fan Only" to help thaw the ice. This process can take several hours.
- Prevention: After the coil has thawed, address the underlying cause of the freezing. Start with replacing the air filter. If the problem persists, it may indicate a refrigerant leak or other issue requiring professional attention.
Step 3: When to Call a Professional
While some AC problems are easily resolved with DIY troubleshooting, certain issues require the expertise and tools of a qualified HVAC technician. Attempting to fix these problems yourself can be dangerous and potentially void your warranty.
Call a professional immediately if you encounter any of the following:
- Refrigerant Leaks: Refrigerant is a controlled substance, and handling it requires specialized equipment and training. Signs of a refrigerant leak include visible leaks, oily residue near connections, and a hissing sound.
- Electrical Issues: If you're uncomfortable working with electricity, or if you suspect a more serious electrical problem (such as a constantly tripping breaker), call a professional electrician or HVAC technician.
- Compressor Problems: The compressor is the heart of the AC system. If it's making unusual noises, failing to start, or overheating, it likely needs professional repair or replacement.
- Major Component Failures: If you suspect a major component, such as the evaporator coil or condenser coil, is damaged or failing, it's best to consult with a professional.
- Lack of Refrigerant: If you suspect a refrigerant leak after checking other potential causes, you need a qualified technician to find and repair the leak, and then recharge the system.
- You've tried the DIY solutions and the problem persists: If you've gone through all the troubleshooting steps and your AC is still blowing warm air, it's time to call in the experts.
Remember: Safety always comes first. If you're unsure about anything, don't hesitate to contact a qualified HVAC professional.
Preventative Maintenance
The best way to avoid AC problems is through regular preventative maintenance.
- Annual Professional Tune-Up: Schedule an annual tune-up with a qualified HVAC technician. They will inspect and clean the system, check refrigerant levels, and identify potential problems before they become major issues.
- Regular Air Filter Replacement: Change your air filter every 1-3 months, depending on usage and air quality.
- Keep the Outdoor Unit Clean: Regularly clear away leaves, debris, and vegetation from around the outdoor unit.
- Check for Leaks: Periodically inspect the indoor and outdoor units for any signs of leaks.
By following these troubleshooting steps and performing regular maintenance, you can keep your central air conditioner running efficiently and reliably, ensuring a cool and comfortable home all summer long.


:max_bytes(150000):strip_icc()/what-are-central-air-conditioners-1152645_V2-390c6f1f6ca14b4ebc59426f226a78a8.png)