Central Air Conditioner Not Blowing Cold
One of the most frustrating homeownership experiences, especially during the sweltering summer months, is when your central air conditioner stops blowing cold air. You crank down the thermostat, expecting a refreshing blast, but instead, you're met with lukewarm air, or worse, just a gentle breeze. Don't panic! Before you call an expensive HVAC technician, there are several simple troubleshooting steps you can take to diagnose and potentially fix the problem yourself. This guide will walk you through a methodical approach to identify the cause and explore safe, DIY solutions.
Step 1: Preliminary Checks - The No-Tool Zone
Before you even think about tools or complicated procedures, let's start with the basics. These initial checks require absolutely no tools and can often pinpoint the most common culprits.
Check the Thermostat
This might seem obvious, but it's surprising how often the issue is simply a setting error. Ensure your thermostat is set to the "Cool" mode and that the desired temperature is significantly lower than the current room temperature. A common mistake is accidentally setting the thermostat to "Fan Only", which will circulate air but not cool it.
Also, check the thermostat's batteries. Low batteries can cause inaccurate readings and prevent the unit from operating correctly. Try replacing them with fresh ones.
Inspect the Air Filter
A clogged air filter is the number one reason for poor AC performance. A dirty filter restricts airflow, making the system work harder and less efficiently. It can even cause the evaporator coil to freeze up (we'll discuss that later). Locate your air filter (usually in the return air vent or inside the indoor unit itself) and remove it. Hold it up to the light. If you can't see much light passing through, it's definitely time for a replacement.
Replace the filter with a new one of the correct size and type. Check the old filter for the size; it's usually printed on the frame. Using a higher MERV rated filter will help with filtering out more dust, pollen, and other particulates, but you need to ensure your system is designed to handle the reduced airflow that high MERV filters can cause.
Check the Circuit Breaker
Locate your home's electrical panel and check the circuit breaker for your AC unit. Look for a tripped breaker, which will be in the "off" or "middle" position. Flip the breaker completely off and then back on to reset it. If the breaker trips again immediately or shortly after, this indicates a more serious electrical problem that requires a qualified electrician.
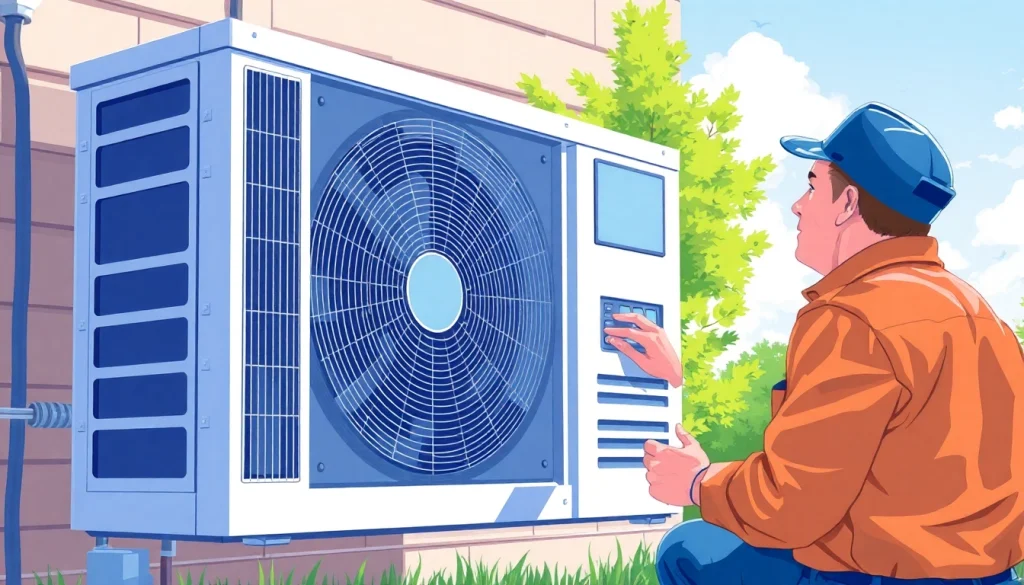
Inspect Outdoor Unit (Condenser)
Visually inspect the outdoor unit (the condenser) for any obvious obstructions. Make sure that shrubs, plants, or debris aren't blocking airflow around the unit. There should be at least two feet of clearance around the unit on all sides. Clear away any leaves, twigs, or other debris that may be accumulating around the base of the unit. Look to ensure the fins on the unit are not bent or damaged. If they are, a fin comb can be used to carefully straighten them. These can be purchased at any hardware store.
Step 2: Deeper Diagnosis - Simple Tools Required
If the initial checks didn't solve the problem, it's time to move on to a more in-depth diagnosis. These steps require some basic tools, but they are still relatively straightforward.
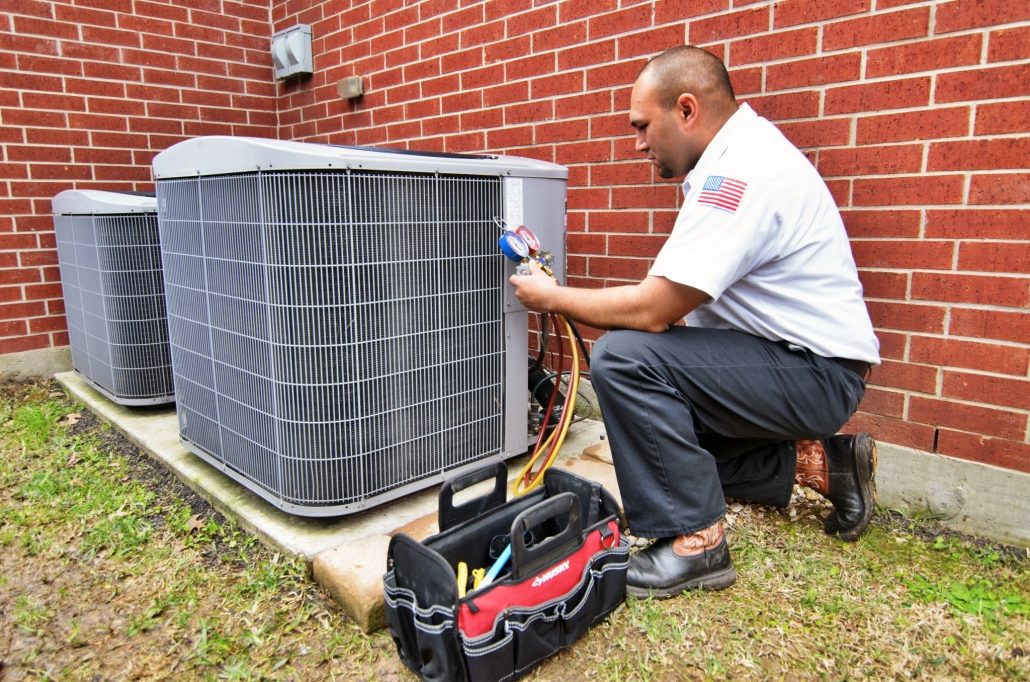
Check the Condenser Fan
With the power OFF at the breaker, visually inspect the condenser fan. Ensure that it's free from obstructions and that the blades aren't damaged. If the fan is stuck or difficult to turn by hand, it may indicate a motor problem. If the blades are damaged, they will need to be replaced.
Once you’ve cleared any obstructions and inspected the blades, restore power to the unit and observe the fan during operation. If the fan doesn't start, makes unusual noises, or spins erratically, it could indicate a faulty fan motor or capacitor. **This is usually a repair best left to a professional.**
Inspect the Condensate Drain Line
The condensate drain line removes moisture that condenses during the cooling process. If this line becomes clogged, it can trigger a safety switch that shuts down the AC unit to prevent water damage. Locate the drain line (usually a PVC pipe near the indoor unit) and check for any obstructions. Look for a small clean-out plug or opening near the unit. Use a wet/dry vacuum to suck out any clogs. You can also try using a stiff wire or pipe cleaner to dislodge any debris.
To ensure the drain is clear, pour a cup of distilled white vinegar down the drain line every few months to prevent future clogs. Vinegar helps to dissolve algae and mineral buildup.
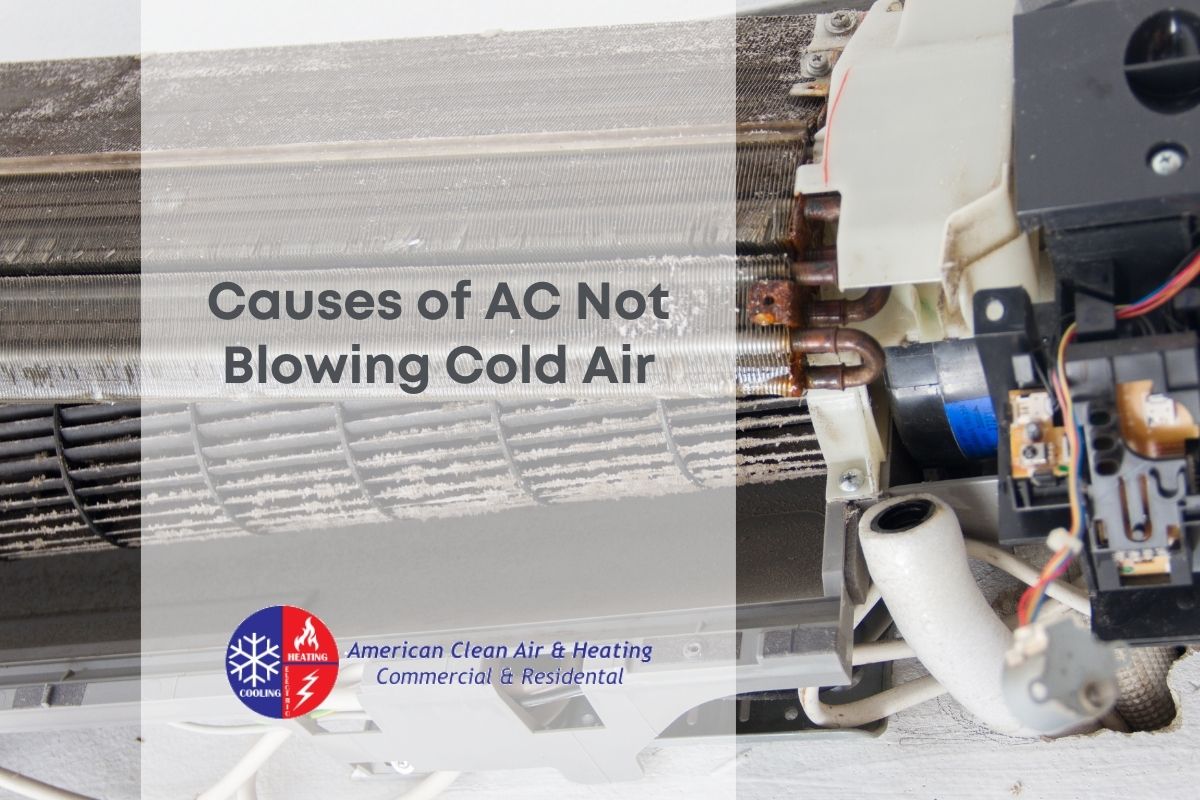
Check for a Frozen Evaporator Coil
A frozen evaporator coil is a common issue caused by restricted airflow, low refrigerant, or a malfunctioning blower motor. The evaporator coil is located inside the indoor unit. To check for this, you'll need to access the coil (usually behind an access panel). Turn off the AC at the thermostat and breaker before removing any panels. Carefully remove the panel and visually inspect the coil. If it's covered in ice, it's frozen.
If the coil is frozen, do not attempt to chip away the ice. This could damage the delicate fins. Instead, turn off the AC and set the thermostat to "Fan Only" to allow the coil to thaw naturally. This may take several hours. Once the coil has thawed, address the underlying cause (e.g., replace the air filter, check the blower motor). Run the AC again and monitor the coil to ensure it doesn't freeze again.
Step 3: Warning Signs - Time to Call a Professional
While many AC problems can be resolved with simple DIY troubleshooting, there are certain issues that are best left to the experts. Attempting to fix these problems yourself could be dangerous or could cause further damage to your system.
Refrigerant Leaks
Refrigerant is the lifeblood of your AC system. If your system is low on refrigerant, it won't be able to cool effectively. Signs of a refrigerant leak include:
- A hissing or bubbling noise coming from the AC unit.
- Ice forming on the refrigerant lines.
- Significantly reduced cooling performance.
Under no circumstances should you attempt to handle refrigerant yourself. Refrigerant is a regulated substance, and improper handling can be harmful to the environment and to your health. Contact a licensed HVAC technician to diagnose and repair any refrigerant leaks.
Electrical Problems
Working with electricity can be extremely dangerous if you're not properly trained. If you suspect an electrical problem with your AC unit (e.g., a burning smell, sparking wires, a frequently tripping breaker), immediately turn off the power to the unit at the breaker and call a qualified electrician or HVAC technician. Do not attempt to troubleshoot or repair electrical components yourself.
Compressor Issues
The compressor is the heart of your AC system. It circulates refrigerant throughout the system. If the compressor is failing, your AC won't be able to cool properly. Signs of a compressor problem include:
- Loud or unusual noises coming from the outdoor unit.
- The AC unit running constantly without cooling effectively.
- The compressor not starting at all.
Compressor repairs are complex and require specialized tools and knowledge. It's best to leave these repairs to a qualified HVAC technician.
Blower Motor Problems
The blower motor circulates air through your home. If it is not functioning correctly, it can cause the evaporator coil to freeze, or reduce the efficiency of your cooling. It is located in the indoor unit.
- Little to no air flow coming from your vents.
- Unusual noises coming from the indoor unit.
Diagnosing the blower motor can be tricky and replacement can be difficult. It's best to leave these repairs to a qualified HVAC technician.
Preventative Maintenance - Keeping Your AC Running Smoothly
The best way to avoid AC problems is to perform regular preventative maintenance. Here are some simple steps you can take to keep your AC running smoothly:
- Change your air filter regularly: At least every 1-3 months, or more often if you have pets or allergies.
- Clean the outdoor unit: Remove any debris that may be accumulating around the unit.
- Trim vegetation: Keep shrubs and plants trimmed back from the outdoor unit.
- Schedule regular professional maintenance: Have your AC system inspected and tuned up by a qualified HVAC technician at least once a year. This can help identify and address potential problems before they become major issues.
By following these troubleshooting steps and preventative maintenance tips, you can keep your central air conditioner running efficiently and effectively all summer long. Remember, when in doubt, it's always best to call a professional. Don't risk your safety or the integrity of your system by attempting repairs that are beyond your capabilities.