Clamp On Ultrasonic Flow Meter For Water
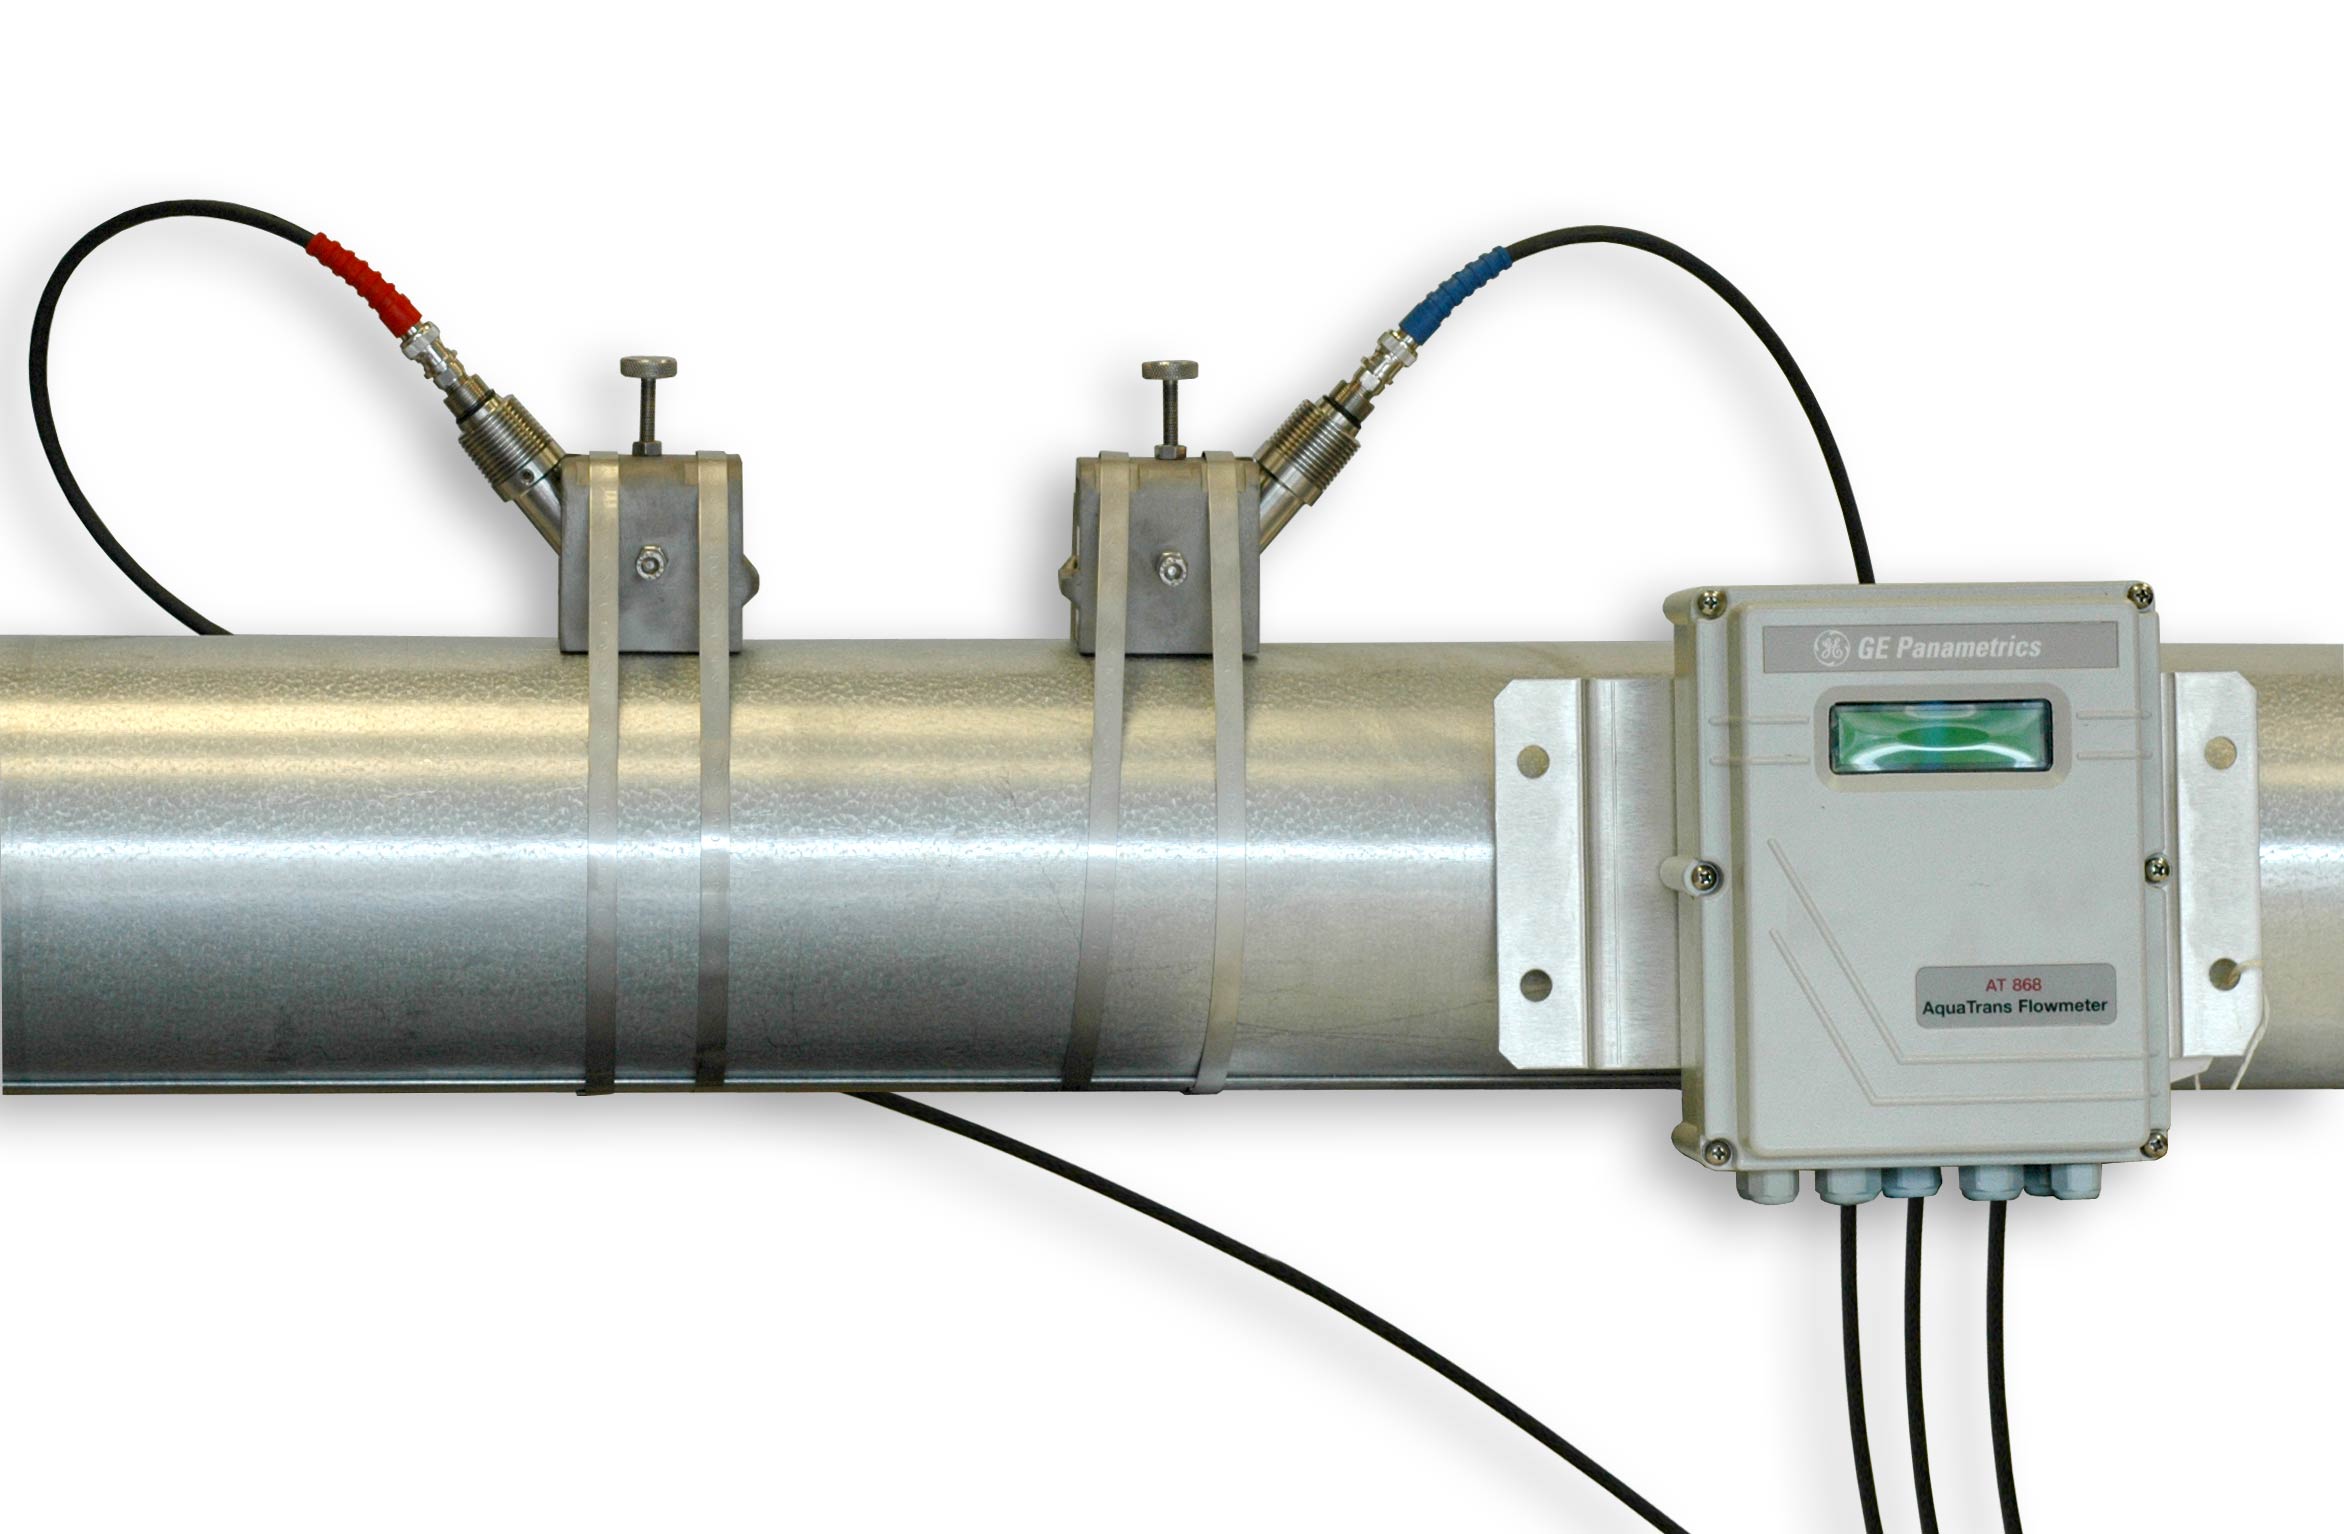
In the world of HVAC, understanding water flow is critical. Whether you're dealing with a radiant heating system, a chilled water system for air conditioning, or simply monitoring water usage, knowing the flow rate can help diagnose problems and optimize performance. That's where clamp-on ultrasonic flow meters come in. These devices offer a non-invasive way to measure water flow without cutting pipes or interrupting service. This article will explore how they work, their benefits, potential problems, and whether they're a viable DIY solution.
What is a Clamp-On Ultrasonic Flow Meter?
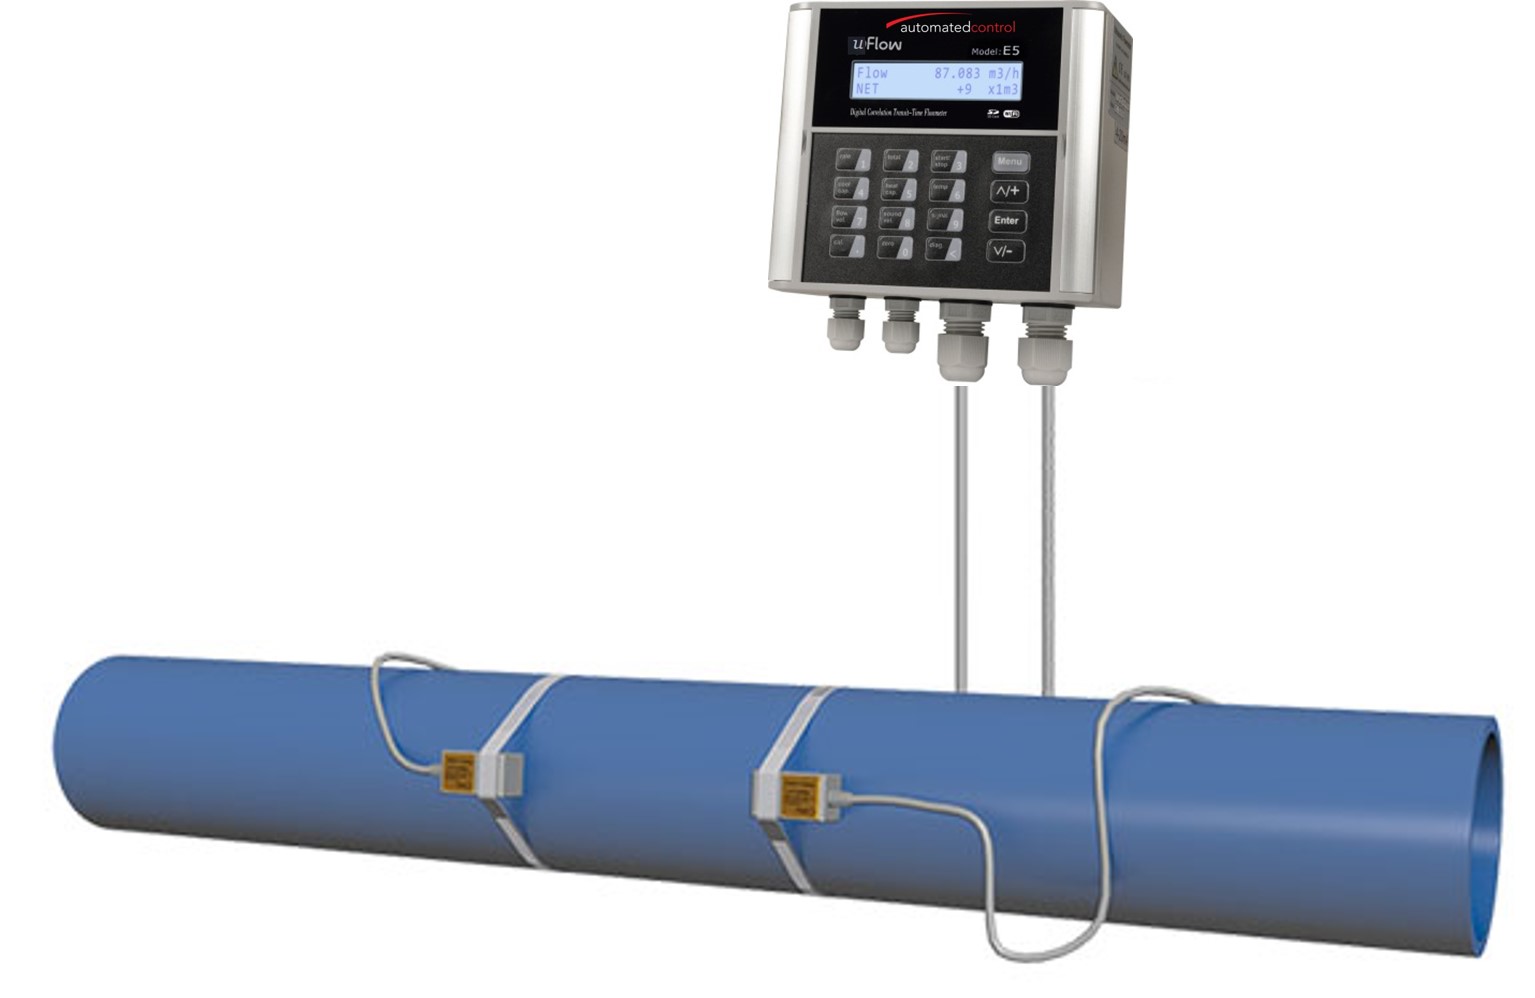
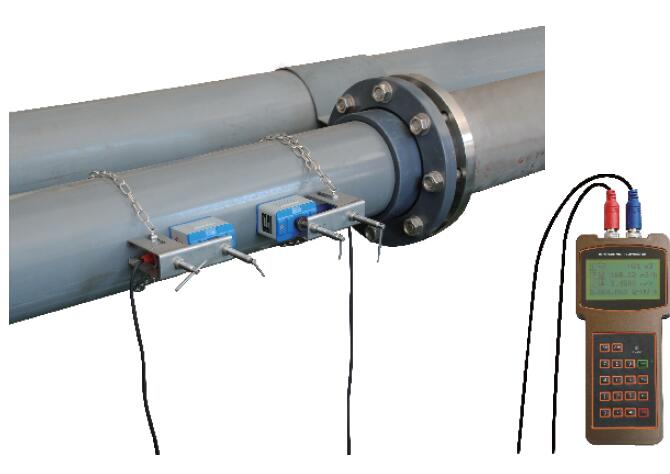
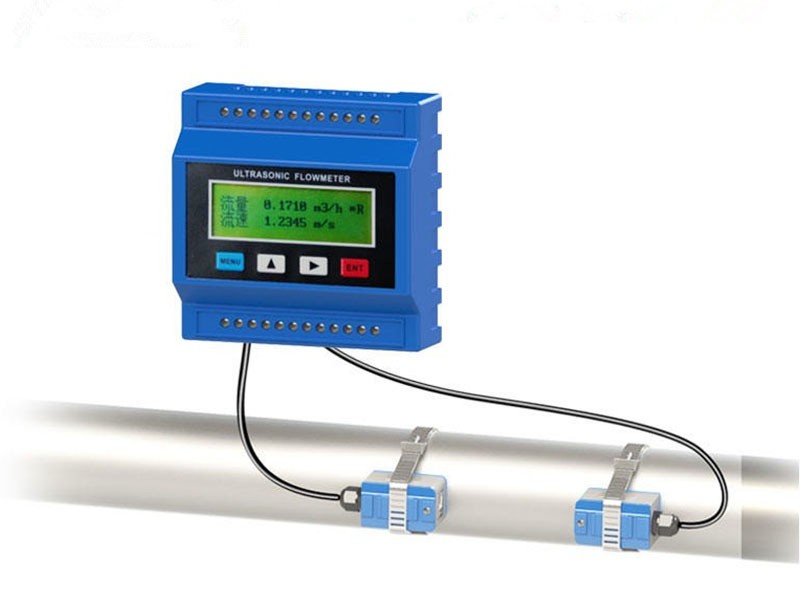
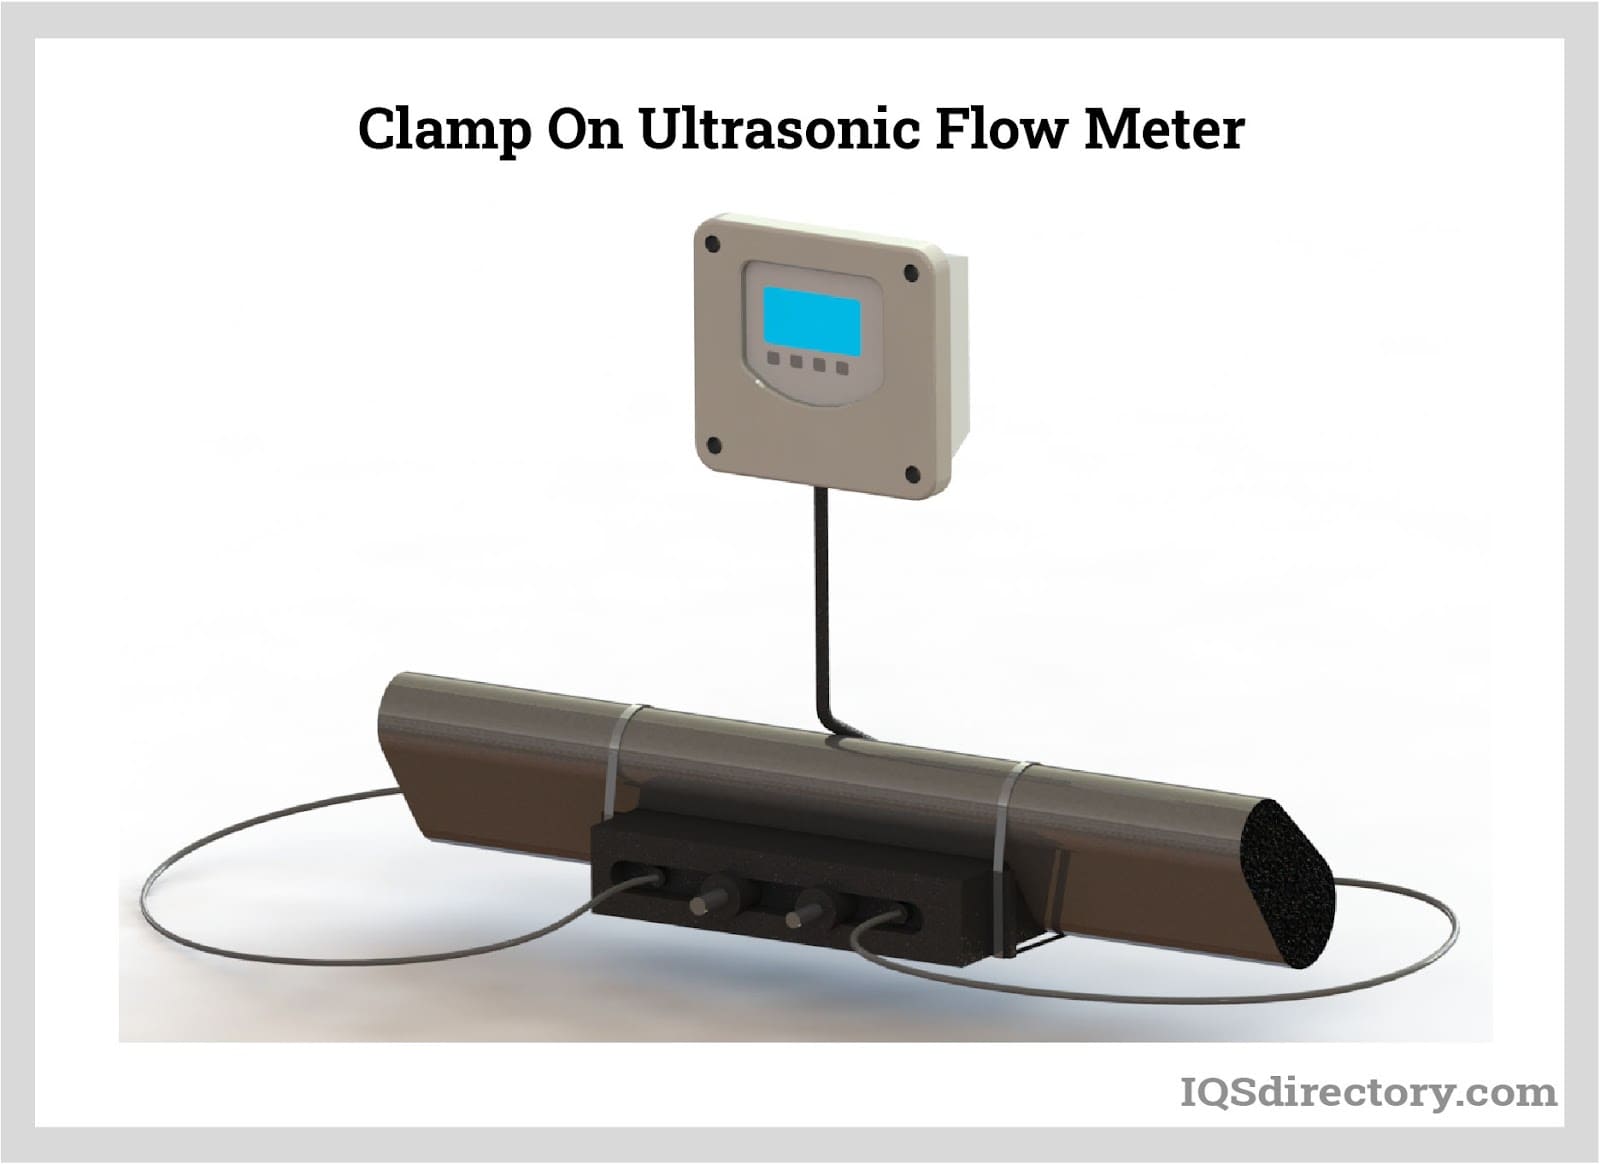
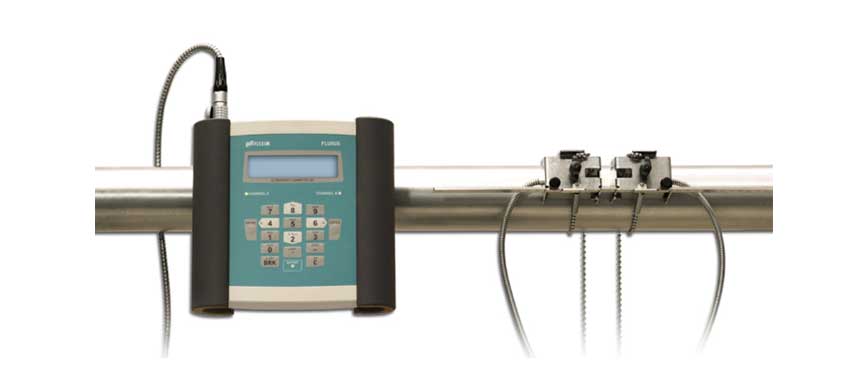
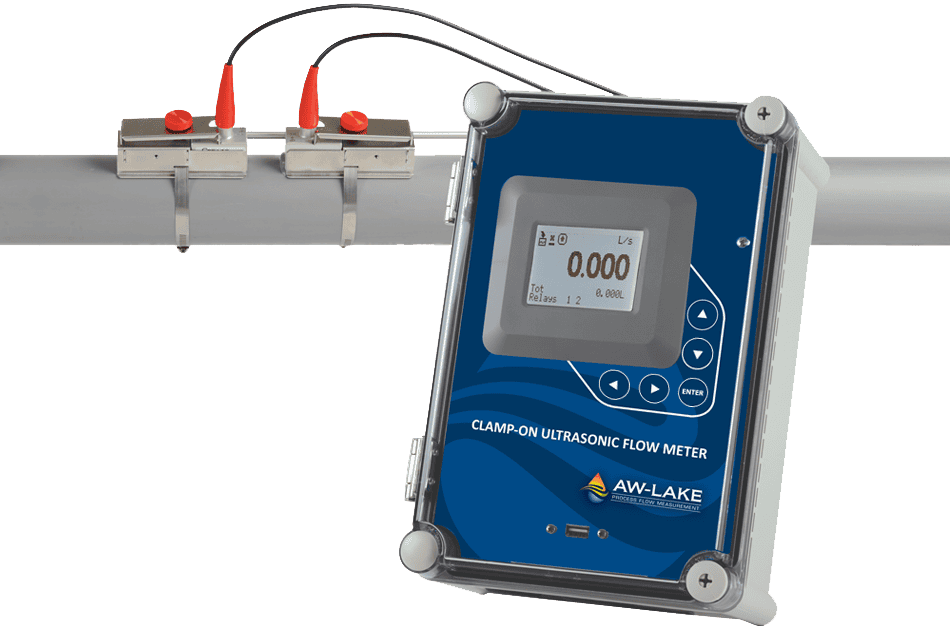
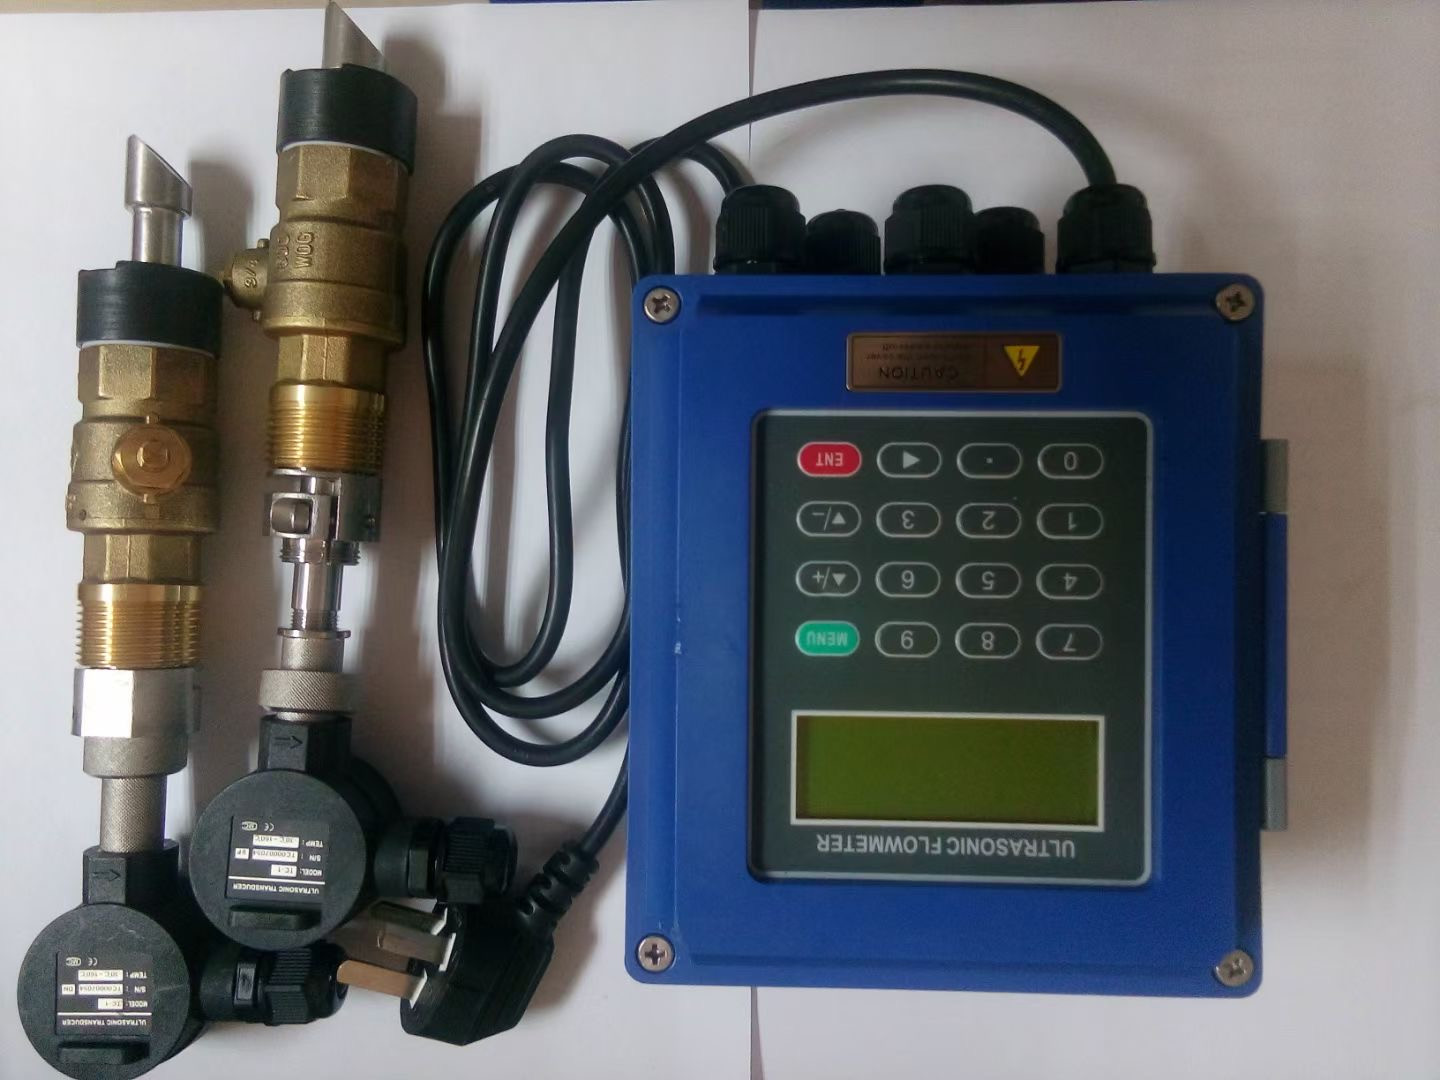
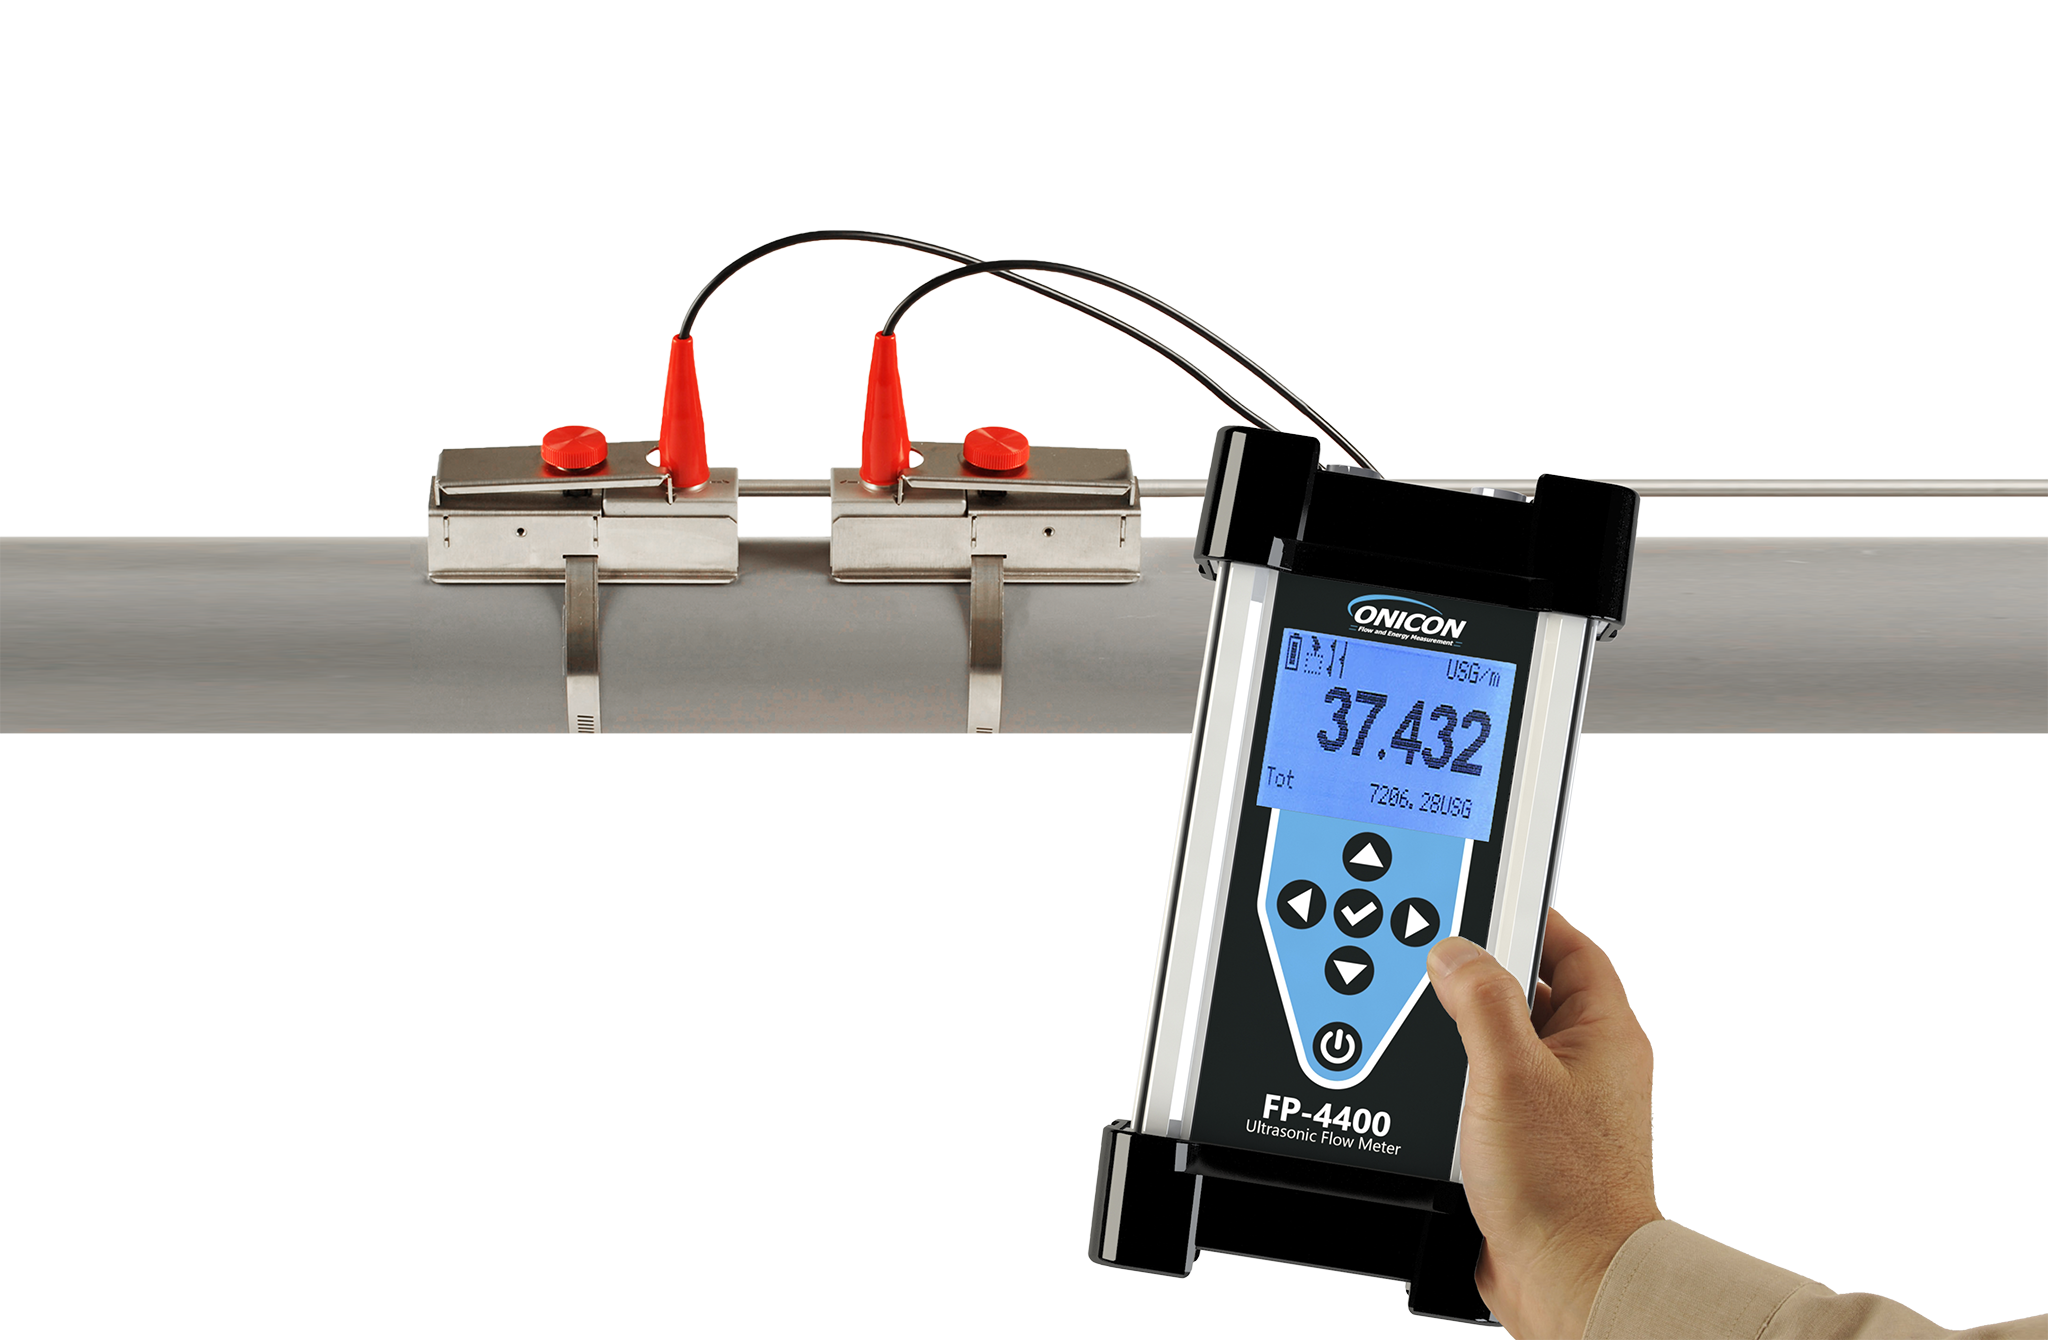
Unlike traditional flow meters that require installation within the pipe, a clamp-on ultrasonic flow meter attaches to the outside of the pipe. It uses ultrasonic transducers to send sound waves through the pipe wall and the water. By analyzing how these sound waves are affected by the water flow, the meter can accurately determine the flow rate. There are primarily two types: transit-time and Doppler.
- Transit-Time Flow Meters: These meters measure the time it takes for an ultrasonic signal to travel upstream and downstream. The difference in transit time is directly proportional to the water velocity. They work best with clean fluids and are commonly used in closed-loop HVAC systems.
- Doppler Flow Meters: These meters rely on the Doppler effect, which is the change in frequency of a sound wave due to the movement of the fluid. They are more suitable for fluids containing particles or bubbles, as these provide the reflections needed for the Doppler principle to work.
Benefits of Using a Clamp-On Flow Meter
Clamp-on ultrasonic flow meters offer several advantages over traditional flow meters, making them an attractive option for both professionals and homeowners:
- Non-Invasive Installation: No need to cut pipes, drain the system, or shut down operations. This significantly reduces installation time and cost.
- No Pressure Drop: Because the meter is external, it doesn't create any pressure drop in the system, which can affect performance.
- Versatility: Clamp-on meters can be used with a wide range of pipe sizes and materials, including metal, plastic, and concrete (check manufacturer specs for material compatibility).
- Portability: Many clamp-on flow meters are portable, making them ideal for troubleshooting and temporary flow measurements.
- Reduced Contamination Risk: Since the sensor doesn't contact the fluid, there's no risk of contamination.
Typical Applications in HVAC Systems
Understanding the flow of water is vital in many HVAC applications. A clamp-on flow meter can be used in scenarios such as:
- Chilled Water Systems: Monitoring the flow rate in chilled water loops to ensure optimal cooling performance.
- Hot Water Heating Systems: Measuring flow in radiant heating systems to balance heat distribution.
- Boiler Feed Water: Monitoring the flow rate of water entering a boiler to prevent dry-firing and ensure efficient operation.
- Domestic Water Monitoring: Tracking water usage to identify leaks and conserve water.
- Troubleshooting Imbalances: Diagnosing flow imbalances in hydronic systems that can lead to uneven heating or cooling.
Tools and Materials You Might Need
Before attempting to use a clamp-on flow meter, make sure you have the necessary tools and materials:
- Clamp-On Ultrasonic Flow Meter: Choose a meter with the appropriate specifications for your pipe size and fluid type.
- Ultrasonic Couplant Gel: This gel ensures good contact between the transducers and the pipe surface. (Usually included with the meter)
- Pipe Cleaner: To clean the pipe surface before installation.
- Measuring Tape: For accurate placement of the transducers.
- Marker or Pen: To mark the transducer locations on the pipe.
- Level: To ensure the transducers are properly aligned.
- Pipe Diameter Measuring Tool (Calipers or Pi Tape): Ensure you know the accurate pipe diameter, even if it's printed on the pipe, verify.
- Personal Protective Equipment (PPE): Safety glasses and gloves.
Step-by-Step Guide to Using a Clamp-On Ultrasonic Flow Meter
While the specific steps may vary depending on the model of flow meter, here's a general guide to using a clamp-on ultrasonic flow meter:
- Prepare the Pipe Surface: Clean the pipe surface thoroughly at the location where the transducers will be installed. Remove any dirt, rust, paint, or other debris.
- Measure Pipe Diameter and Thickness: Accurately measure the outside diameter and wall thickness of the pipe. This information is crucial for accurate flow measurement and is entered in the meter's settings.
- Determine Transducer Spacing: Consult the flow meter's manual to determine the correct spacing between the transducers based on the pipe diameter and fluid type.
- Apply Couplant Gel: Apply a generous amount of ultrasonic couplant gel to the transducer faces. This gel eliminates air gaps and ensures good ultrasonic signal transmission.
- Position the Transducers: Carefully position the transducers on the pipe according to the calculated spacing and alignment. Use a level to ensure they are properly aligned.
- Secure the Transducers: Secure the transducers to the pipe using clamps or straps provided with the meter. Ensure they are firmly attached and that the couplant gel remains in contact with the pipe surface.
- Connect the Transducers to the Meter: Connect the transducer cables to the flow meter.
- Configure the Meter: Power on the flow meter and enter the required parameters, such as pipe diameter, pipe material, fluid type, and units of measurement.
- Start Measurement: Initiate the flow measurement and observe the readings.
- Troubleshooting: If the readings are inaccurate or unstable, check the transducer placement, couplant gel, and meter settings. Refer to the manufacturer's manual for troubleshooting tips.
Common Problems and Solutions
Even with proper installation, you might encounter some common issues when using a clamp-on flow meter:
- No Signal or Weak Signal: This could be due to insufficient couplant gel, poor transducer placement, or an incompatible pipe material. Check the gel application, re-position the transducers, and ensure the pipe material is compatible with the meter.
- Inaccurate Readings: This can be caused by incorrect pipe diameter settings, air bubbles in the fluid, or flow disturbances upstream of the measurement location. Verify the pipe diameter settings, eliminate air bubbles, and ensure there is sufficient straight pipe run upstream of the transducers (typically 10 pipe diameters).
- Fluctuating Readings: This can be due to turbulent flow or changes in fluid properties. Try moving the transducers to a different location or averaging the readings over a longer period.
- Meter Not Powering On: Check the power supply, battery, and connections.
- Transducer Slippage: Ensure the transducer clamps are tight and secure. Consider using a more robust clamping mechanism.
DIY vs. Professional Installation: When to Call an Expert
While using a clamp-on flow meter can be a DIY project, there are situations where it's best to call a professional HVAC technician:
- Complex HVAC Systems: If you're dealing with a large or complex HVAC system, it's best to consult a professional to ensure accurate measurements and proper system integration.
- Uncertainty About Pipe Materials: If you're unsure about the pipe material or its compatibility with the flow meter, a professional can help identify the material and recommend the appropriate meter.
- Inability to Achieve Accurate Readings: If you've tried troubleshooting the flow meter and are still unable to achieve accurate readings, a professional can diagnose the problem and provide a solution.
- System Modifications: If you need to make modifications to your HVAC system based on the flow meter readings, it's best to consult a professional to ensure the modifications are done correctly and safely.
- Warranty Concerns: Improper installation or use of the flow meter can void the manufacturer's warranty. A professional can ensure the meter is installed and used correctly to maintain the warranty.
Safety Note: Always disconnect power to any electrical components before working on your HVAC system. Wear appropriate PPE, such as safety glasses and gloves. If you're uncomfortable working with electricity or plumbing, call a qualified HVAC technician.
Cost Considerations
The cost of a clamp-on ultrasonic flow meter can range from a few hundred dollars for basic models to several thousand dollars for more advanced models. Factors that affect the cost include:
- Accuracy: Higher accuracy meters typically cost more.
- Features: Meters with advanced features, such as data logging and remote monitoring, cost more.
- Pipe Size Range: Meters that can accommodate a wider range of pipe sizes cost more.
- Manufacturer: Reputable manufacturers often charge more for their products.
Installation costs, if you choose to hire a professional, can vary depending on the complexity of the installation and the hourly rate of the technician. Expect to pay anywhere from $100 to $500 for professional installation, depending on the scope of the work. If the system is already drained, wired and ready for the meter to be setup on the pipe, the cost is on the lower end.
Conclusion
Clamp-on ultrasonic flow meters are valuable tools for HVAC professionals and DIY enthusiasts alike. Their non-invasive nature, versatility, and portability make them ideal for a wide range of applications. By understanding how these meters work, following the proper installation procedures, and troubleshooting common problems, you can effectively use them to optimize your HVAC system's performance. However, remember that some situations require the expertise of a qualified HVAC technician. When in doubt, always err on the side of caution and consult a professional.