Closed Cell Spray Foam Vapor Barrier Thickness

Understanding the correct closed cell spray foam vapor barrier thickness is crucial for energy efficiency, preventing moisture problems, and maintaining a comfortable home environment. As HVAC service professionals, we often see issues arising from improperly installed or inadequate vapor barriers, leading to increased energy bills, mold growth, and even structural damage. This guide will walk you through everything you need to know about closed cell spray foam and its proper application as a vapor barrier.
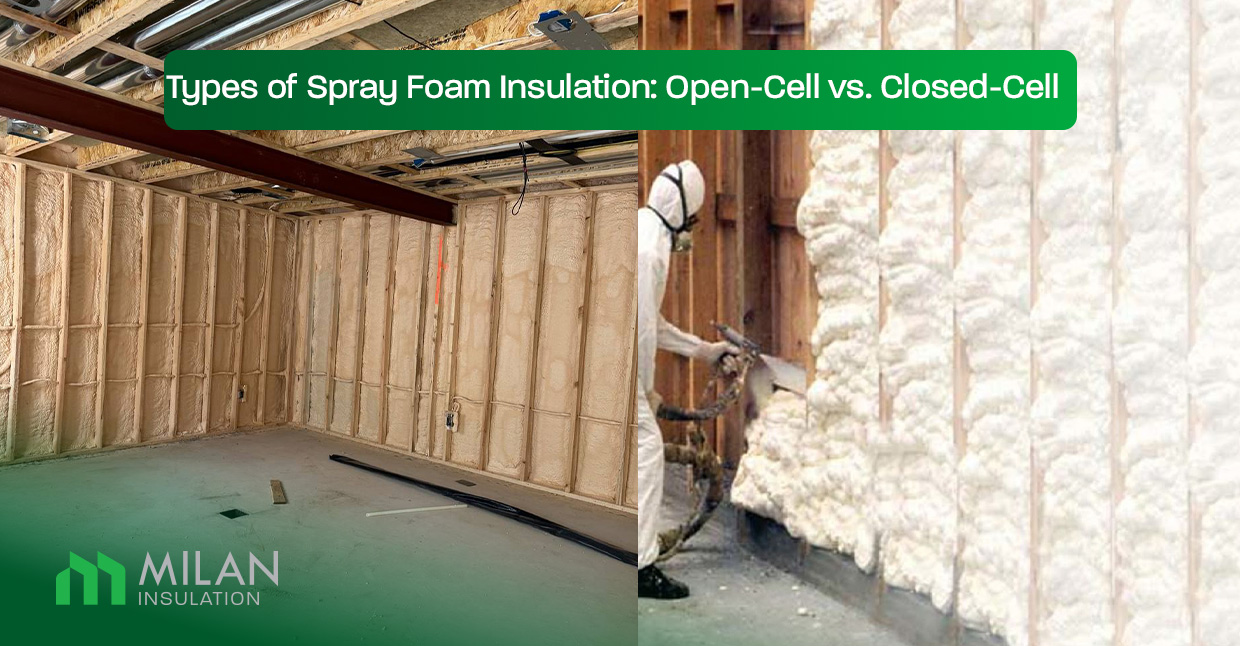
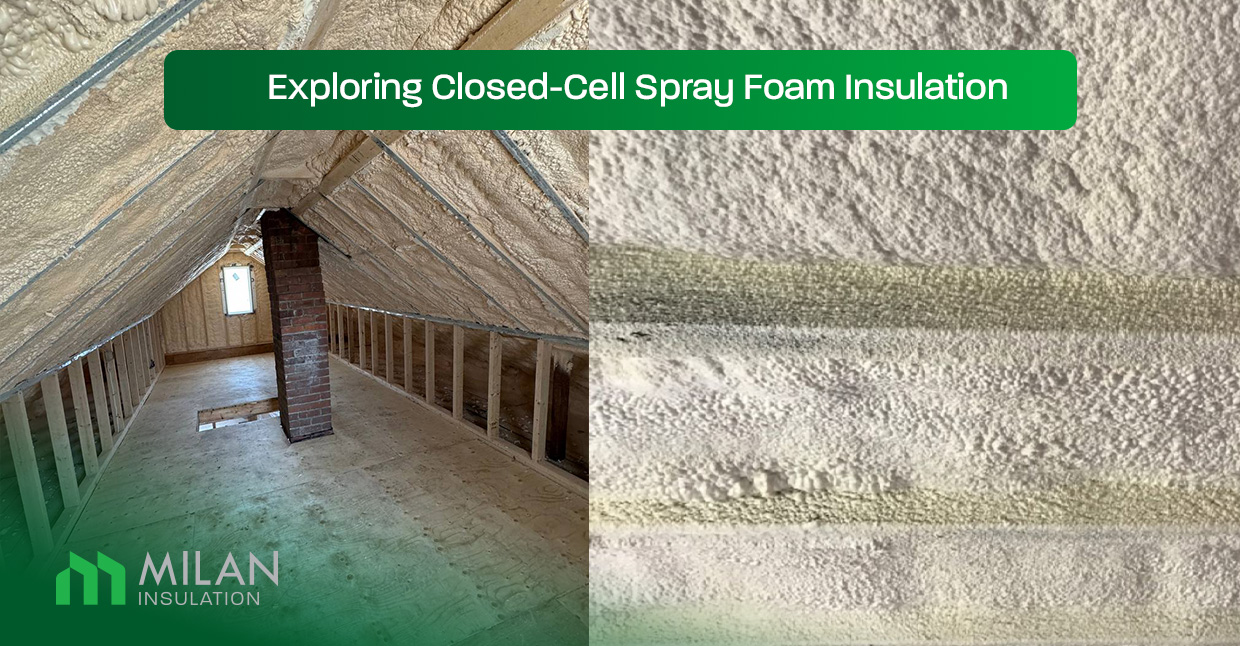
What is Closed Cell Spray Foam and Why Use It?
Closed cell spray foam is a type of insulation that, unlike open cell foam, has a rigid, dense structure. This density gives it several advantages:
- Higher R-value: Closed cell foam typically boasts a higher R-value per inch compared to open cell, meaning better insulation with less material.
- Vapor Barrier Properties: At sufficient thicknesses, closed cell spray foam acts as an effective vapor barrier, preventing moisture from passing through walls and ceilings.
- Structural Integrity: Closed cell foam can add structural strength to walls, making it a good choice for retrofits and new construction.
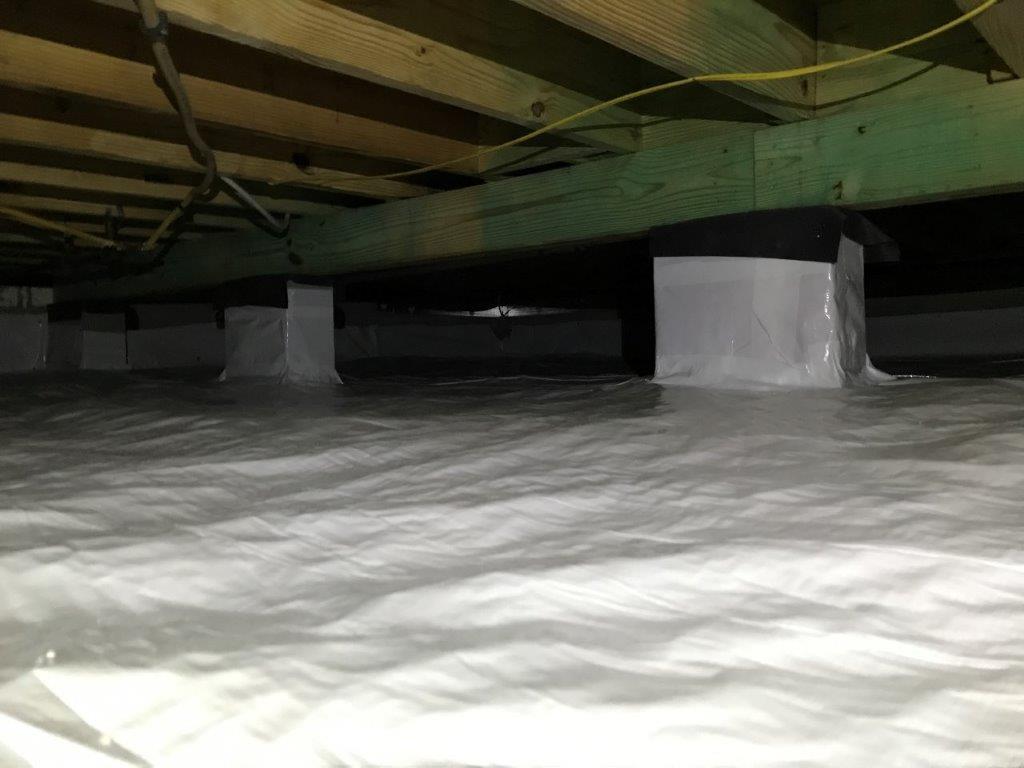
- Water Resistance: It's more resistant to water absorption than open cell foam, making it suitable for basements and crawl spaces.
Closed Cell Spray Foam Vapor Barrier Thickness: The Magic Number
The necessary thickness of closed cell spray foam to act as a vapor barrier depends on several factors, including the climate zone you live in and the specific product you are using. However, a general guideline is that 2 inches of closed cell spray foam is typically required to create a reliable vapor barrier in most climates. Always refer to the manufacturer's specifications for the specific product you are using.
It’s important to understand that simply applying a thin layer of spray foam won't cut it. Insufficient thickness can lead to moisture permeation, negating the benefits of the vapor barrier and potentially causing significant problems down the line.
Factors Influencing Required Thickness:
- Climate Zone: Colder climates generally require more insulation and a more robust vapor barrier.
- Building Materials: The type of sheathing, siding, and other building materials used in your home can influence the moisture permeability of your walls.
- Local Building Codes: Always check your local building codes for specific requirements regarding vapor barriers and insulation.
- Manufacturer Specifications: As mentioned, always follow the manufacturer's recommendations for the specific spray foam product you are using. Different products may have different R-values and vapor permeance ratings.
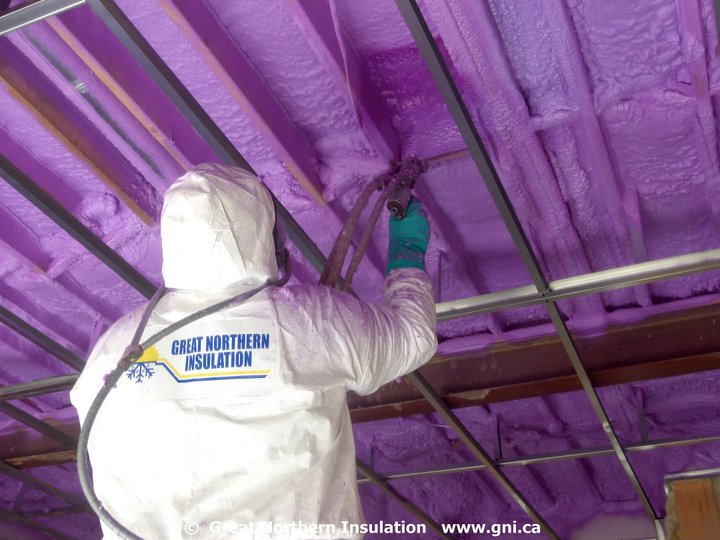
DIY vs. Professional Installation: A Critical Decision
While DIY spray foam kits are available, applying closed cell spray foam correctly requires specialized equipment and expertise. Here’s a breakdown to help you decide whether to tackle this project yourself or hire a professional:
DIY Considerations:
- Initial Cost: DIY kits may seem cheaper upfront, but the cost can add up quickly, especially for larger projects.
- Equipment Rental: You'll likely need to rent specialized spray foam equipment, adding to the overall cost.
- Learning Curve: Applying spray foam evenly and at the correct thickness requires practice and skill.
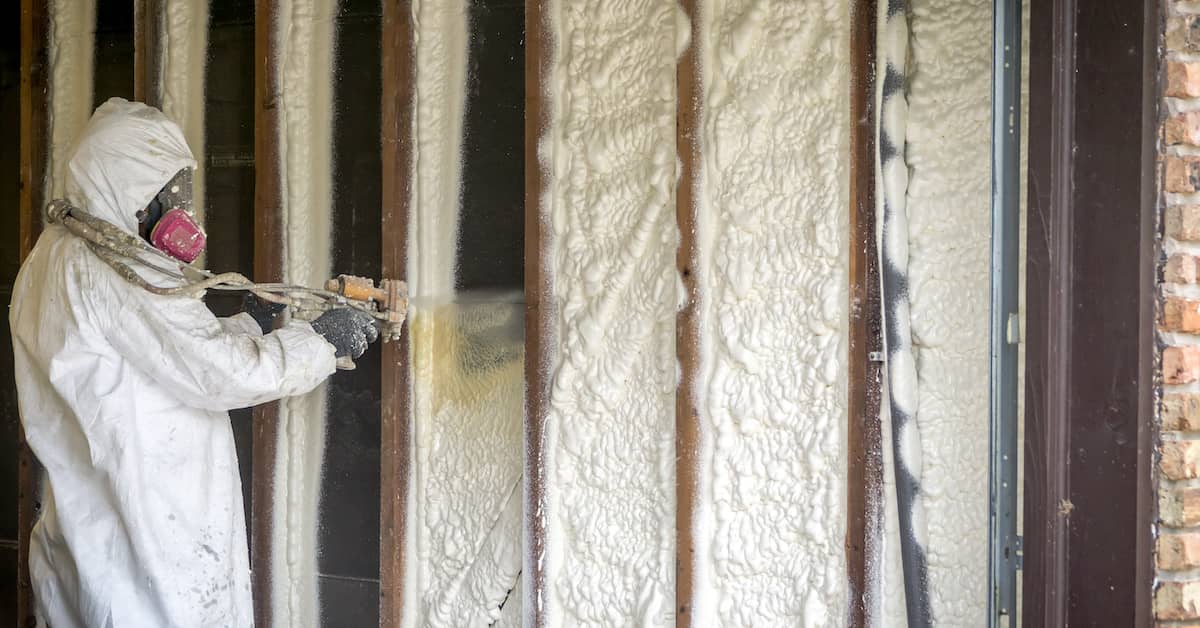
- Safety Precautions: Spray foam contains chemicals that can be harmful if not handled properly. Proper PPE (personal protective equipment) is essential.
- Potential for Errors: Improper application can lead to wasted material, reduced insulation performance, and even moisture problems.
Professional Installation Advantages:
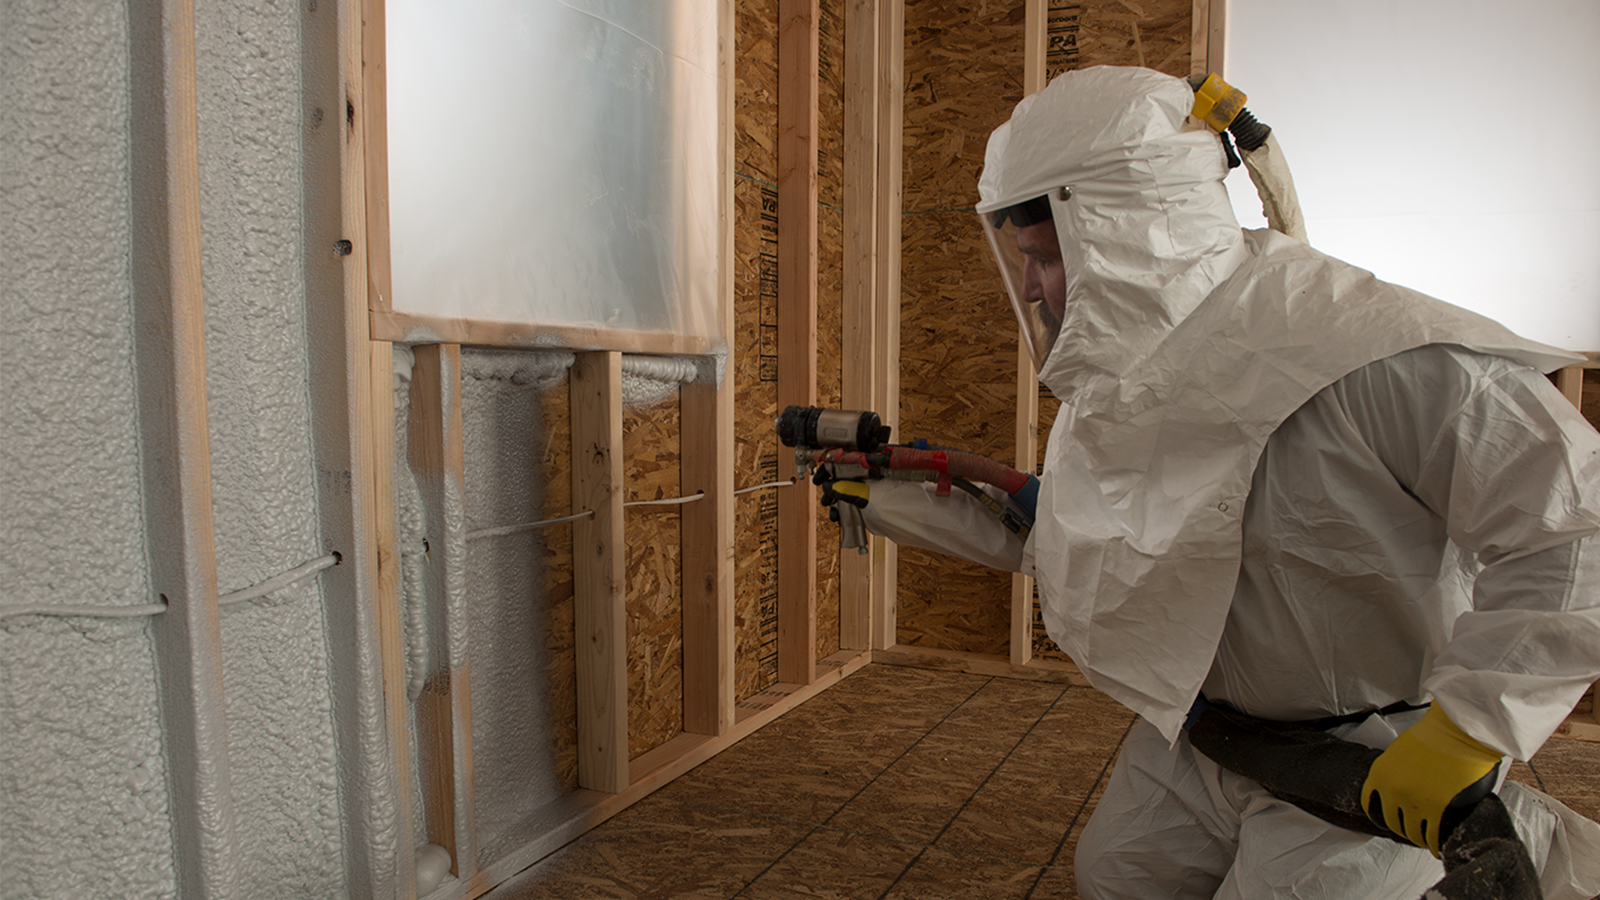
- Expertise and Experience: Professionals have the knowledge and experience to apply spray foam correctly and efficiently.
- Specialized Equipment: They have access to professional-grade equipment that ensures proper mixing and application.
- Warranty and Guarantees: Many professional installers offer warranties on their work, providing peace of mind.
- Compliance with Building Codes: Professionals are familiar with local building codes and can ensure that the installation meets all requirements.
- Reduced Risk of Errors: Hiring a professional minimizes the risk of costly mistakes and ensures optimal performance.
When to Call a Professional: If you're unsure about any aspect of the installation process, or if you're dealing with a large or complex project, it's always best to hire a qualified professional. This is especially true if you have pre-existing moisture problems or are concerned about indoor air quality.
Common Problems with Insufficient Vapor Barrier Thickness
Failing to achieve the correct closed cell spray foam vapor barrier thickness can lead to a variety of problems, including:
- Moisture Intrusion: Moisture can penetrate the insulation, leading to mold growth and wood rot.
- Reduced Insulation Performance: Wet insulation loses its R-value, resulting in higher energy bills.
- Indoor Air Quality Issues: Mold and mildew can release spores into the air, causing respiratory problems and other health issues.
- Structural Damage: Wood rot can compromise the structural integrity of your home.
- Increased Energy Bills: Heat loss and gain through walls and ceilings will increase your heating and cooling costs.
Tools and Materials (DIY - Use with Caution!)
Disclaimer: Attempting DIY spray foam installation without proper training and equipment can be dangerous and lead to unsatisfactory results. Proceed with caution and always prioritize safety.
- DIY Spray Foam Kit: Choose a kit specifically designed for closed cell spray foam.
- Personal Protective Equipment (PPE): This includes a respirator, gloves, eye protection, and protective clothing.
- Mixing Nozzles: Ensure you have enough mixing nozzles for the entire project.
- Spray Gun: The spray gun that comes with the kit.
- Measuring Tape: To accurately measure the area you are insulating.
- Utility Knife: To trim excess foam.
- Drop Cloths: To protect surfaces from overspray.
- Ventilation: Ensure adequate ventilation in the work area.
Step-by-Step DIY Application (If You Dare)
Warning: This is a simplified overview. Always refer to the manufacturer's instructions and safety guidelines for your specific product.
- Preparation: Thoroughly clean and prepare the surfaces you will be insulating. Remove any loose debris, dirt, or moisture.
- PPE: Put on all your personal protective equipment.
- Mixing: Carefully follow the manufacturer's instructions for mixing the spray foam chemicals.
- Application: Hold the spray gun at the recommended distance from the surface and apply the foam in even, overlapping passes.
- Thickness Check: Use a measuring tape to ensure you are achieving the desired thickness. Remember, 2 inches is generally the minimum for a vapor barrier.
- Curing: Allow the foam to cure completely according to the manufacturer's instructions.
- Trimming: Use a utility knife to trim any excess foam.
- Clean Up: Dispose of used mixing nozzles and containers properly.
Estimating Repair Costs
Repair costs associated with moisture damage from inadequate vapor barriers can vary widely depending on the extent of the damage. Here are some potential costs to consider:
- Mold Remediation: This can range from a few hundred dollars for a small area to several thousand dollars for a larger infestation.
- Wood Rot Repair: Replacing rotted wood can cost anywhere from a few hundred dollars to several thousand dollars, depending on the amount of wood that needs to be replaced.
- Insulation Replacement: Removing and replacing damaged insulation can cost several hundred to several thousand dollars, depending on the size of the area.
- HVAC System Repair: Inefficient insulation can strain your HVAC system, potentially leading to costly repairs.
- Professional Spray Foam Installation: Expect to pay $1 to $3 per board foot for professional closed cell spray foam installation.
Preventative Measures and Maintenance
Taking preventative measures and performing regular maintenance can help prevent moisture problems and prolong the life of your insulation:
- Regular Inspections: Inspect your walls and ceilings for signs of moisture damage, such as water stains or mold growth.
- Proper Ventilation: Ensure adequate ventilation in your home to prevent moisture buildup. Use exhaust fans in bathrooms and kitchens.
- Address Leaks Promptly: Repair any leaks in your roof or plumbing system immediately.
- Maintain Gutters: Keep your gutters clean and free of debris to prevent water from backing up and entering your home.
The Bottom Line
Achieving the correct closed cell spray foam vapor barrier thickness is essential for maintaining a healthy, energy-efficient home. While DIY installation may seem tempting, it's often best to hire a qualified professional to ensure the job is done correctly. Remember to prioritize safety and always follow the manufacturer's instructions. By taking these steps, you can protect your home from moisture damage and enjoy the benefits of a well-insulated and properly protected living space. If you suspect you have issues with your vapor barrier, contact a qualified HVAC professional or insulation contractor for an inspection and recommendations. Ignoring moisture problems can lead to significant and costly repairs down the road.
Disclaimer: This information is intended for general guidance only and should not be considered a substitute for professional advice. Always consult with a qualified professional before undertaking any home improvement project.