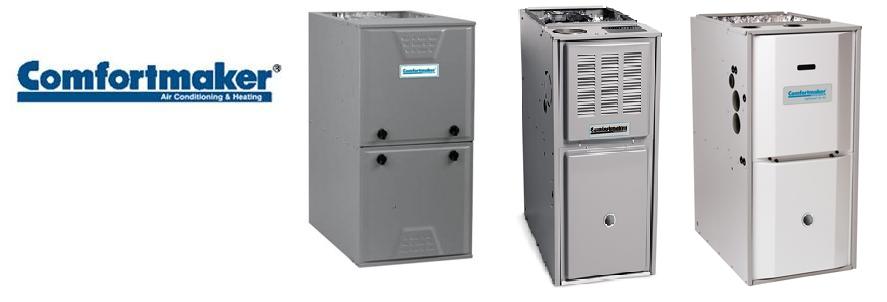
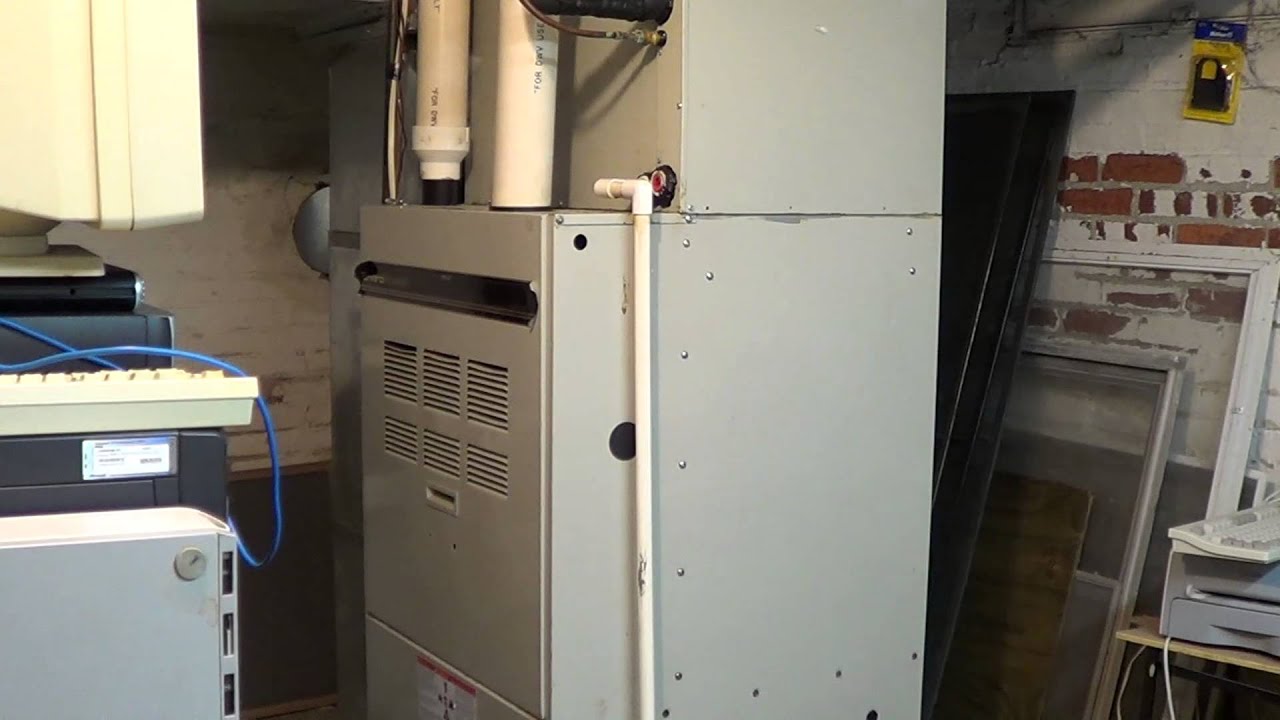
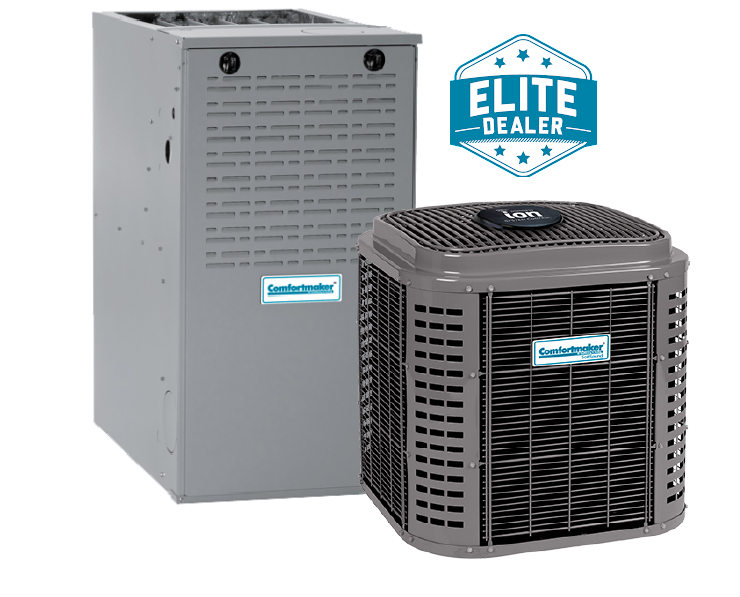
Comfortmaker Furnace Models
A cold house in the dead of winter is nobody's idea of a good time. If you own a Comfortmaker furnace and find yourself shivering despite the thermostat being set high, you're likely experiencing a common problem. Let's walk through some troubleshooting steps you can take to diagnose and potentially fix the issue yourself. Remember, safety is paramount, so if you're ever unsure, call a qualified HVAC technician.
Problem: Furnace Not Blowing Hot Air
This is a frustratingly common issue. The furnace might be running, but it's only pushing out cool or lukewarm air. Before panicking, let's explore some potential causes and fixes.
Step 1: Check the Thermostat
This sounds obvious, but it's the most frequent culprit!
- Verify the thermostat is set to "Heat" mode. It's easy to accidentally switch it to "Cool" or "Off."
- Ensure the temperature setting is higher than the current room temperature. Give it a few degrees buffer.
- Check the batteries. A surprisingly large number of issues stem from dead thermostat batteries. Replace them, even if the display looks okay.
- If you have a programmable thermostat, make sure the program is set correctly for the current time and day. An override might be active, preventing the furnace from running properly. Consult your thermostat's manual for programming instructions.
If the thermostat seems fine, move on to the next step.
Step 2: Inspect the Air Filter
A dirty air filter is the silent killer of furnace efficiency. It restricts airflow, causing the furnace to overheat and potentially shut down. A clogged filter can also damage the furnace's blower motor.
- Locate the air filter. It's usually located near the furnace blower compartment, in a slot within the furnace itself, or in the ductwork leading to the furnace. Refer to your furnace manual if you're unsure.
- Remove the filter and visually inspect it. If it's visibly dirty with dust and debris, it needs to be replaced. Hold it up to a light; if you can't see light passing through it easily, it's definitely time for a new one.
- Replace the filter with a new one of the correct size. The size is usually printed on the filter frame. Make sure the arrow on the filter frame points in the direction of airflow.
Important: Regularly replacing your air filter (every 1-3 months, depending on usage and air quality) is one of the best things you can do to maintain your furnace's health and efficiency.
After replacing the filter, wait a few minutes and see if the furnace starts blowing warm air. If not, proceed to the next step.
Step 3: Check the Gas Supply
If the furnace isn't getting gas, it won't produce heat.
- Verify that the gas supply to the furnace is turned on. Look for a gas shut-off valve near the furnace, usually a yellow handle. Make sure the handle is parallel to the gas pipe, indicating it's open.
- Check other gas appliances in your home. If other gas appliances, like your stove or water heater, aren't working either, the problem might be with your gas service itself. Contact your gas company immediately.
- If you recently had gas service work done, there might be air in the gas lines. In this case, *do not* attempt to bleed the gas lines yourself. Contact a qualified HVAC technician or your gas company.
Caution: Never tamper with gas lines unless you are a qualified and licensed professional. Gas leaks are extremely dangerous. If you suspect a gas leak, evacuate your home immediately and call your gas company from a safe location.
If the gas supply seems okay, move on to the next step.
Step 4: Inspect the Pilot Light (for older models) or Igniter
This step depends on the age of your Comfortmaker furnace. Older models typically have a pilot light, while newer models use an electronic igniter.
For Furnaces with a Pilot Light:
- Locate the pilot light assembly. This is usually near the burner assembly inside the furnace. Refer to your furnace manual for specific instructions.
- Look for a small blue flame. If the pilot light is out, follow the instructions on the furnace to relight it. This usually involves turning the gas control knob to the "Pilot" position, pressing and holding the reset button, and using a long match or lighter to ignite the pilot.
- If the pilot light won't stay lit, the thermocouple (a small metal rod near the pilot light) might be faulty. This is a safety device that shuts off the gas if the pilot light goes out. Replacing the thermocouple is usually a job best left to a professional, but you can research how to do it yourself if you are confident and have the necessary skills.
For Furnaces with an Electronic Igniter:
- Listen for the igniter clicking. When the furnace calls for heat, you should hear a clicking sound as the igniter tries to light the burners.
- If you don't hear the clicking, the igniter might be faulty. Sometimes, you can visually inspect the igniter for cracks or damage. However, do not touch the igniter directly, as it can be very hot.
- Replacing an igniter is typically a job for a professional. They have the tools and expertise to diagnose the problem accurately and replace the igniter safely.
Important: Never attempt to bypass safety devices or tamper with the gas control valve. This is extremely dangerous and could lead to a gas leak or explosion.
Step 5: Check the Blower Motor
The blower motor circulates the heated air throughout your home. If it's not working properly, you won't get any warm air.
- Listen for the blower motor to start after the burners ignite. There should be a slight delay, but the blower should eventually kick on.
- If the blower motor doesn't start, check the blower motor capacitor. This is a small cylindrical component that helps the motor start. A faulty capacitor can prevent the motor from running.
- Caution: Capacitors can store an electrical charge even when the power is off. Before touching the capacitor, discharge it using a screwdriver with an insulated handle. Touch the screwdriver to both terminals of the capacitor to discharge it.
- Visually inspect the capacitor for bulging, leaking, or other signs of damage. If it looks bad, it needs to be replaced.
- Replacing a blower motor capacitor is a relatively simple DIY job, but it's essential to take safety precautions and follow the instructions carefully. Make sure to use a capacitor with the same voltage and microfarad (µF) rating as the original.
- If the capacitor seems fine, the blower motor itself might be faulty. This is usually a job for a professional, as replacing the blower motor requires specialized tools and knowledge.
Step 6: Reset the Furnace
Many furnaces have a reset button that can be used to clear error codes and restart the system.
- Locate the reset button on your furnace. It's usually a small button, often red or yellow, located near the blower compartment or burner assembly. Refer to your furnace manual for the exact location.
- Press the reset button once. Wait a few minutes to see if the furnace starts up and begins blowing warm air.
- If the furnace trips again shortly after resetting, there's likely an underlying problem that needs to be addressed by a professional. Repeatedly resetting the furnace without fixing the underlying issue can damage the system.
When to Call a Professional
While many furnace problems can be resolved with simple DIY troubleshooting, there are certain situations where it's essential to call a qualified HVAC technician.
- If you suspect a gas leak. Evacuate your home immediately and call your gas company from a safe location.
- If you're uncomfortable working with gas or electricity. Safety should always be your top priority.
- If you've tried the troubleshooting steps above and the furnace still isn't working. This indicates a more complex problem that requires professional diagnosis and repair.
- If you see any signs of damage to the furnace, such as cracks, leaks, or burns.
- If your furnace is making unusual noises, such as banging, rattling, or screeching.
- If you're not sure what you're doing. It's better to be safe than sorry.
Specifically, for Comfortmaker furnaces, these issues *definitely* warrant a professional:
- Frequent flame rollout errors: This suggests a serious venting issue that can lead to carbon monoxide poisoning.
- Any issues related to the control board: The control board is the brains of the furnace, and repairs require specialized knowledge.
- Recurring problems with the inducer motor: The inducer motor helps vent exhaust gases, and problems here can be dangerous.
By following these troubleshooting steps, you can often diagnose and fix common problems with your Comfortmaker furnace. Remember to prioritize safety and call a professional when needed. Regular maintenance, such as replacing the air filter and having your furnace inspected annually, can help prevent problems and keep your furnace running smoothly for years to come.