Condensation On Plenum
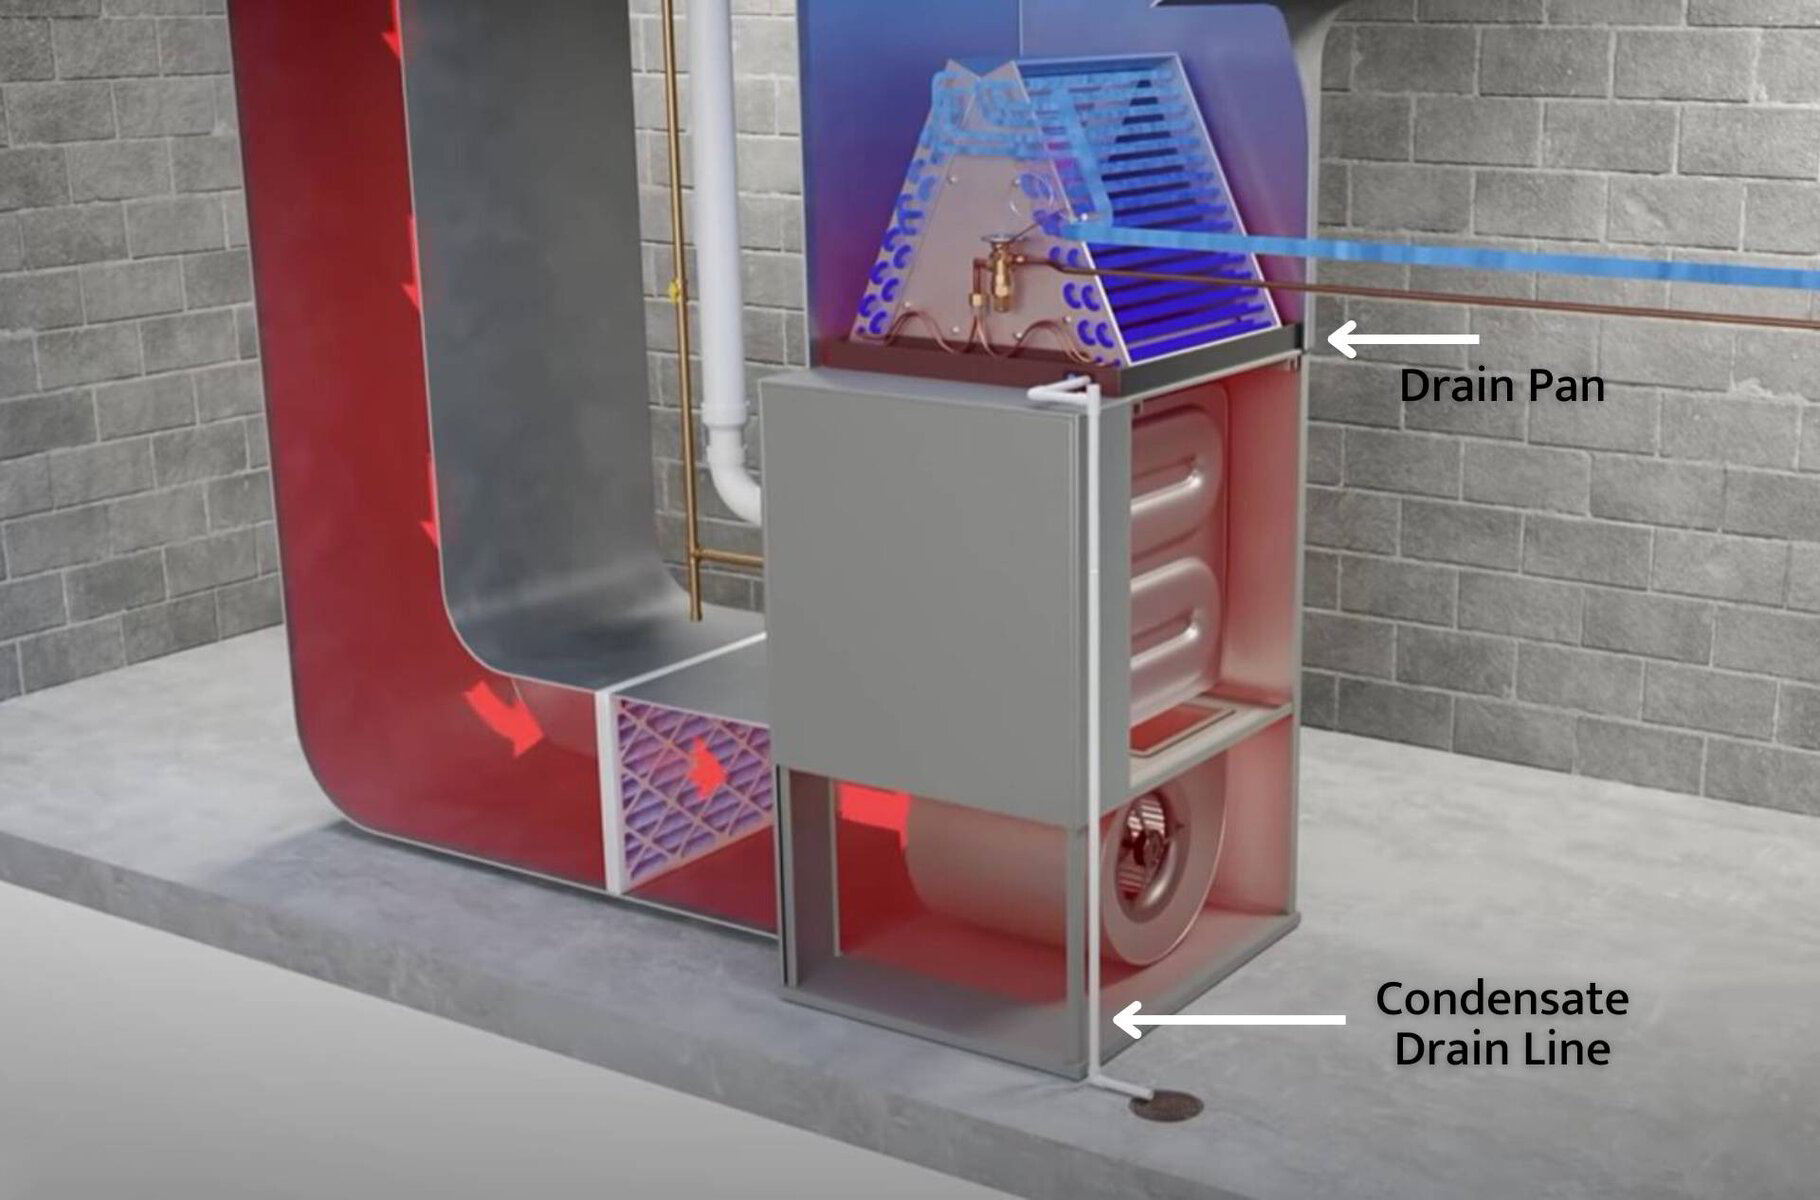
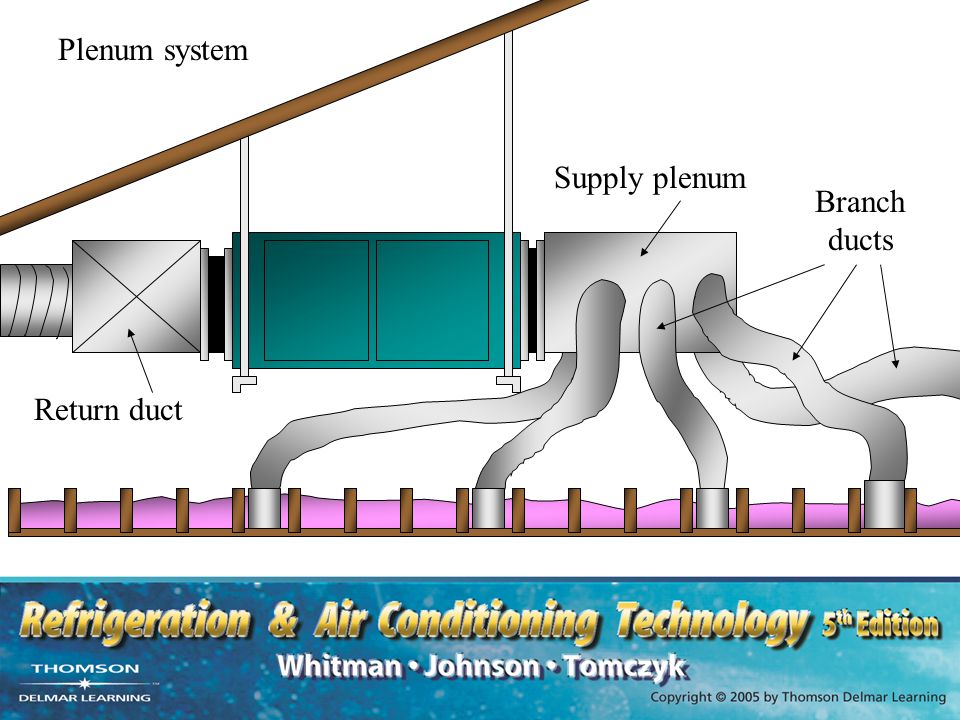
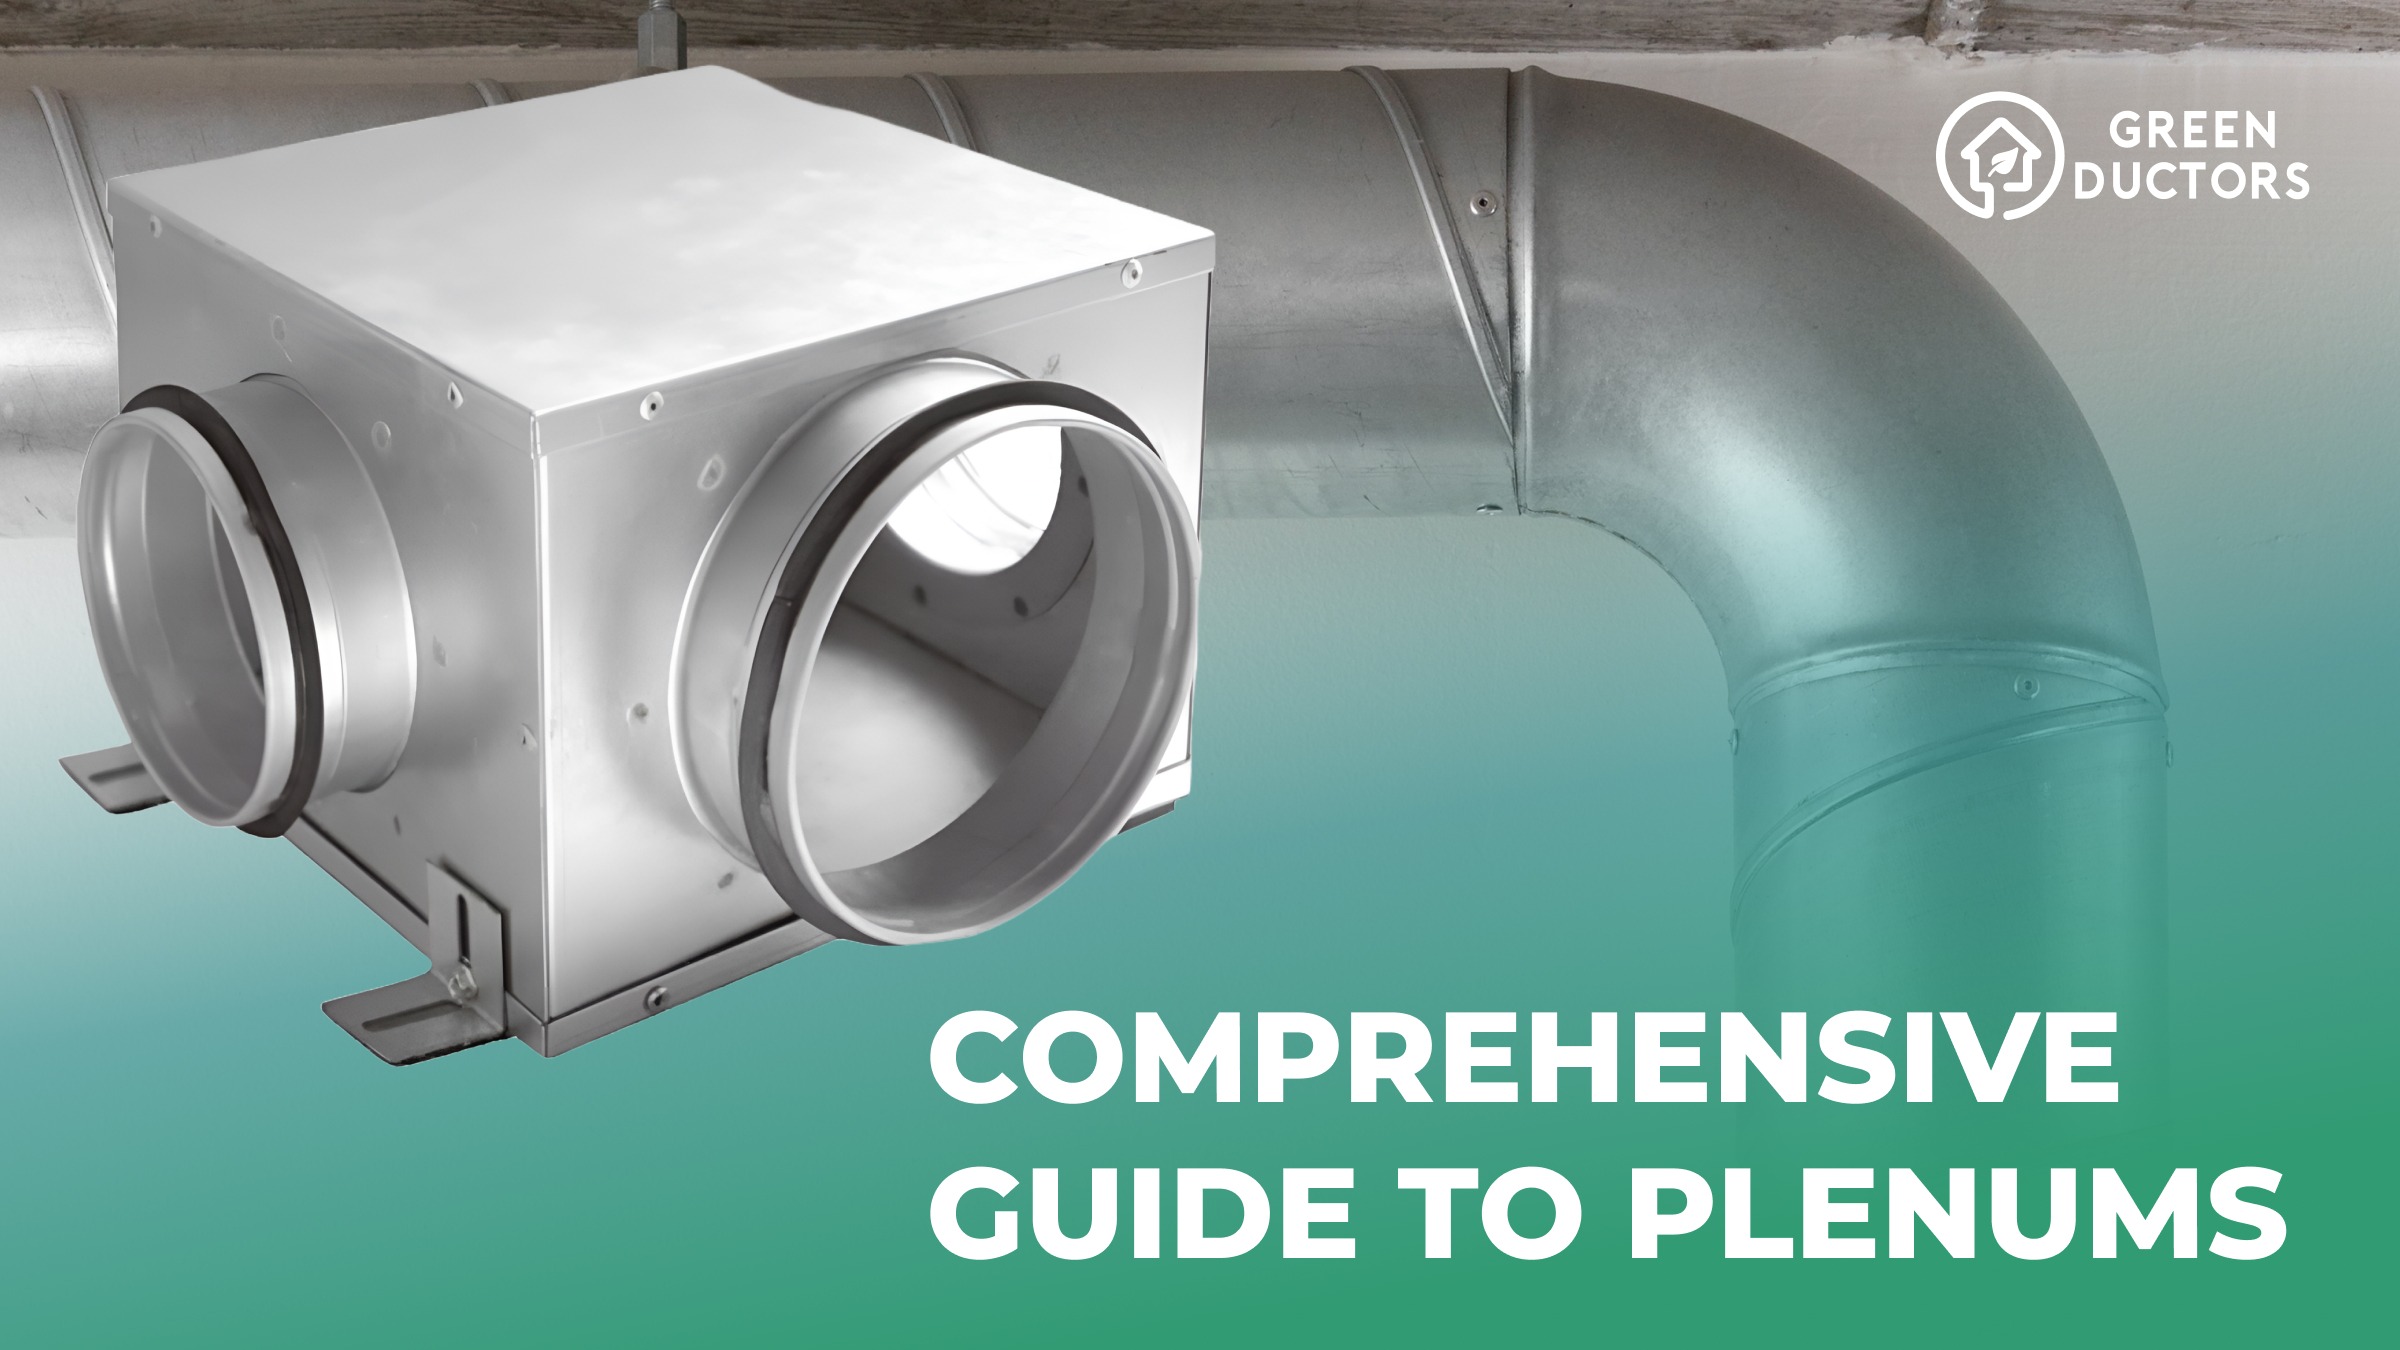
Have you noticed water droplets forming on the outside of your HVAC plenum – that metal box connected to your furnace or air handler? It’s a common issue, and while it might seem alarming, often it’s a sign of a simple imbalance in your system. This article will guide you through the steps to diagnose and address condensation on your plenum, helping you determine if it's something you can fix yourself or if it’s time to call in a professional.
Understanding Condensation
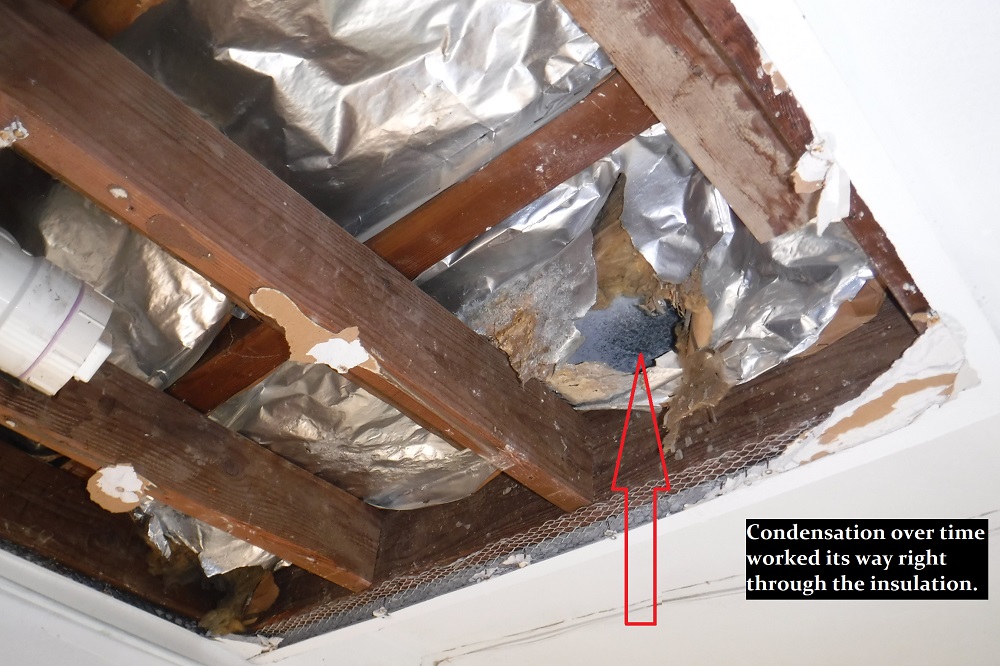
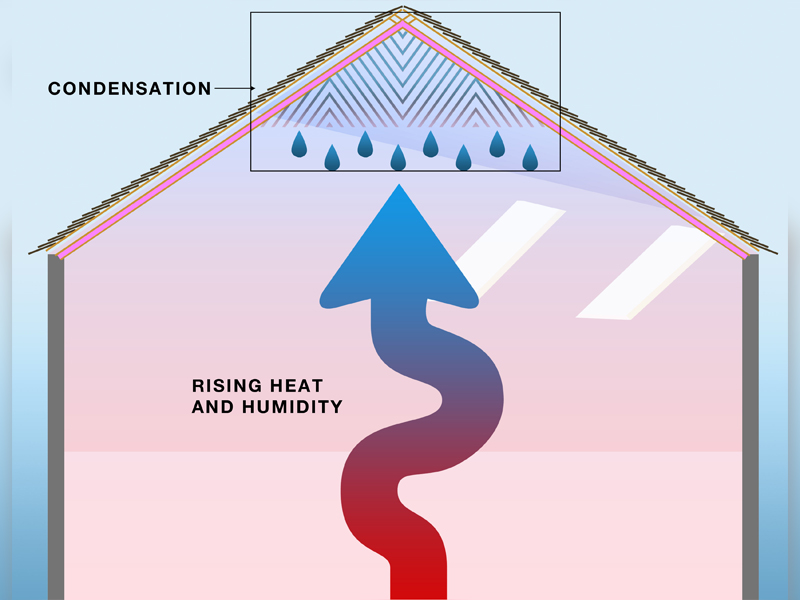
Condensation occurs when warm, moist air comes into contact with a cold surface. Think of a cold glass of iced tea on a hot summer day – the water forming on the outside is condensation. The same principle applies to your plenum. When the air inside the plenum is significantly colder than the surrounding air, moisture in the air can condense on its surface. While a little condensation might seem harmless, prolonged or excessive condensation can lead to mold growth, rust, and even water damage to surrounding structures.
Step 1: Initial Observation and Safety Precautions
Before you start investigating, ensure your HVAC system is turned off at the thermostat. This is a crucial safety precaution. Also, grab a flashlight, a clean cloth or towel, and a notebook to jot down your observations.
Carefully examine the plenum. Where is the condensation forming? Is it just a few droplets, or is it running down the sides? Are there any signs of rust, mold, or water damage nearby? Note everything you see – the more information you have, the easier it will be to diagnose the problem.
Check the air filter. A clogged air filter is a common culprit behind many HVAC problems, including condensation. A dirty filter restricts airflow, making the system work harder and potentially over-cool the air inside the plenum. Remove the filter and hold it up to the light. If you can't see light through it, it's definitely time for a replacement.
Step 2: Diagnosing the Problem – A Step-by-Step Approach
Now that you've made your initial observations, let's dive deeper into potential causes. We'll start with the simplest and most common issues:
1. High Humidity Levels
Excessive humidity in your home can significantly contribute to condensation on your plenum. During humid months, even a properly functioning HVAC system might struggle to keep up.
How to check: Use a hygrometer (a device that measures humidity) to check the humidity level in your home, particularly near the plenum. An ideal humidity level is between 30% and 50%. If the humidity is consistently above 60%, you need to address the humidity issue.
DIY fix:
- Run a dehumidifier: Place a dehumidifier near the plenum to reduce the moisture in the air.
- Improve ventilation: Ensure proper ventilation in bathrooms and kitchens by using exhaust fans when showering or cooking.
- Seal air leaks: Caulk and weather-strip around windows and doors to prevent humid air from entering your home.
2. Poor Insulation of the Plenum or Ductwork
If the plenum or connected ductwork isn't properly insulated, the cold air inside can easily cool the surface, leading to condensation. This is especially common in attics or crawl spaces where temperatures fluctuate significantly.
How to check: Visually inspect the insulation around the plenum and ductwork. Look for gaps, tears, or areas where the insulation is compressed or missing. Feel the surface of the ductwork. If it feels cold to the touch, it's likely not adequately insulated.
DIY fix:
- Repair or replace insulation: Purchase foil-faced fiberglass insulation or duct wrap from your local hardware store. Carefully wrap the plenum and any exposed ductwork, ensuring there are no gaps or exposed areas. Use foil tape to seal the seams securely. *Wear gloves and a mask when handling fiberglass insulation.*
3. Air Leaks in the Ductwork
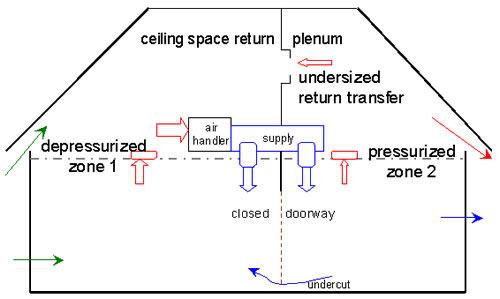
Leaky ductwork allows conditioned (cold) air to escape and unconditioned (warm, humid) air to enter. This not only reduces the efficiency of your system but also contributes to condensation on the plenum.
How to check: Visually inspect the ductwork for obvious holes or gaps. You can also use a smoke pencil or incense stick near the ductwork joints. If the smoke is drawn towards a particular area, it indicates an air leak.
DIY fix:
- Seal leaks with duct mastic or foil tape: Clean the surface of the ductwork thoroughly. Apply duct mastic (a sealant specifically designed for ductwork) to any visible gaps or cracks. Alternatively, use foil tape to seal the seams. Avoid using regular duct tape, as it tends to dry out and lose its adhesion over time.
4. Over-Sized or Improperly Functioning Air Conditioner
An air conditioner that's too large for your home can cycle on and off too frequently, resulting in short cooling cycles. This doesn't allow the system to properly dehumidify the air, leading to higher humidity levels and increased condensation potential.
How to check: This is trickier to diagnose without professional equipment. However, consider if your air conditioner cools your home very quickly but leaves it feeling damp or clammy. This could be a sign of an oversized unit. Also, listen for short cycling – the unit turns on and off frequently.
DIY fix: Unfortunately, there isn't a DIY fix for an oversized air conditioner. This typically requires professional evaluation and potentially replacing the unit with a properly sized one. However, ensuring proper airflow (clean filter, open vents) can help alleviate some of the symptoms.
5. Restricted Airflow Within the System
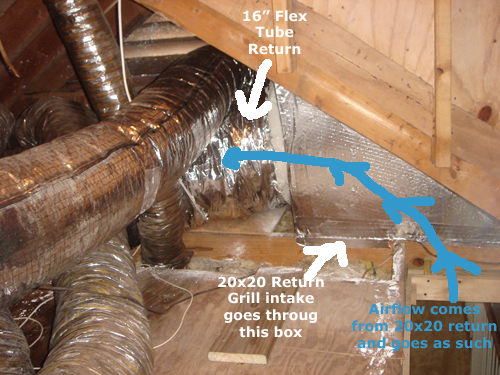
Beyond a dirty filter, other factors can restrict airflow. Closed vents, blocked return air grilles, or collapsed ductwork can all contribute to the problem.
How to check:
- Check vents: Ensure all supply vents are open and unobstructed.
- Check return air grilles: Make sure return air grilles are clean and free of debris. Do not block them with furniture or rugs.
- Inspect ductwork: If possible, inspect the visible portions of your ductwork for any signs of collapse or damage.
DIY fix:
- Open vents and clear obstructions: Simply ensure all vents are open and clear any obstructions from return air grilles.
- Address minor ductwork issues: If you find a slightly collapsed section of ductwork, you *might* be able to gently reshape it. However, if the damage is significant, it's best to consult a professional.
Step 3: When to Call a Professional
While many condensation issues can be resolved with simple DIY fixes, there are situations where professional intervention is necessary. If you experience any of the following, it's time to call an HVAC technician:
- Persistent condensation: If you've tried the DIY solutions and the condensation persists or worsens.
- Visible mold growth: Mold can be a serious health hazard. If you see mold growing on or around the plenum, don't attempt to clean it yourself. A professional can safely remove the mold and address the underlying moisture issue.
- Water damage: If the condensation has caused water damage to surrounding walls, ceilings, or floors, it's important to address the problem promptly to prevent further damage.
- Suspected refrigerant leak: If you notice a sweet, musty smell near the plenum, it could indicate a refrigerant leak, which requires immediate professional attention.
- Complex ductwork issues: If the ductwork is severely damaged, collapsed, or inaccessible, a professional will have the tools and expertise to repair or replace it.
- Oversized or malfunctioning AC unit: Determining proper sizing and repairing complex AC issues requires specialized knowledge and equipment.
- You are uncomfortable working with your HVAC system. Your safety is paramount.
Specifically, issues relating to refrigerant *must* be handled by a certified professional. Tampering with refrigerant can be dangerous and illegal.
Step 4: Prevention and Maintenance
Once you've addressed the condensation issue, it's important to take steps to prevent it from recurring. Here are some tips for maintaining a healthy HVAC system:
- Regularly replace the air filter: Change your air filter every 1-3 months, depending on the type of filter and the air quality in your home.
- Schedule annual HVAC maintenance: A professional tune-up can help identify and address potential problems before they become major issues.
- Maintain proper humidity levels: Use a dehumidifier or whole-house humidifier to keep humidity levels within the recommended range.
- Inspect ductwork periodically: Check for any signs of damage or leaks and address them promptly.
- Ensure proper ventilation: Use exhaust fans in bathrooms and kitchens and keep vents and return air grilles clear of obstructions.
By taking these preventative measures, you can help ensure your HVAC system operates efficiently and prevent condensation on your plenum, saving you money and protecting your home from potential damage.
Remember to always prioritize your safety when working with your HVAC system. If you're unsure about any step, don't hesitate to call a qualified HVAC technician. Addressing condensation issues promptly will help maintain a comfortable and healthy home environment.