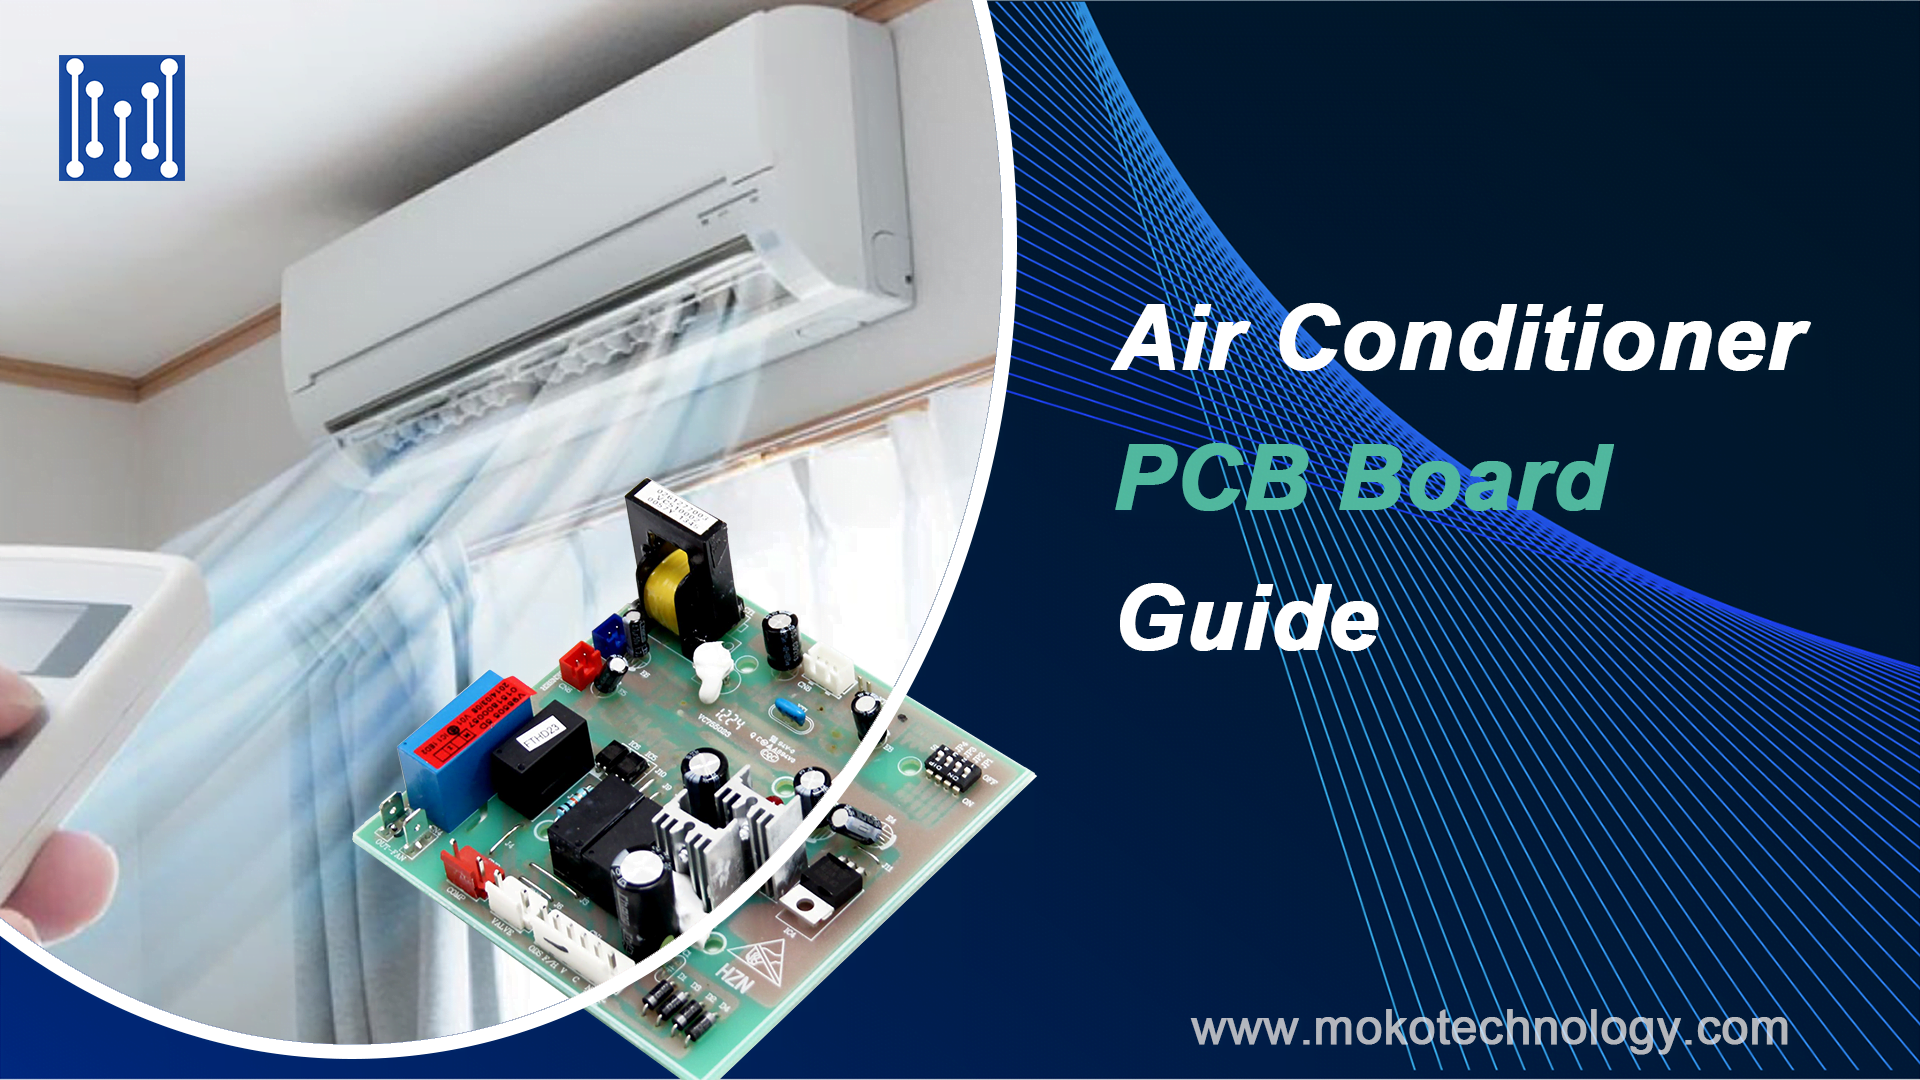
Control Board On Ac Unit

The control board is the brains of your air conditioning system. It's a printed circuit board (PCB) that manages all the electrical components, ensuring everything works in harmony. When things go wrong, understanding the control board can save you time, money, and a lot of frustration. This guide provides a comprehensive look at AC control boards, covering common issues, troubleshooting tips, and when it’s time to call in a professional.
Understanding the AC Control Board
The control board's primary function is to orchestrate the various components of your AC unit. It receives signals from the thermostat, monitors safety switches, and controls the compressor, fan motors, and other electrical parts. Think of it as the conductor of an orchestra, making sure each instrument plays its part at the right time.
Location: You'll typically find the control board inside the outdoor condenser unit, housed within the electrical compartment. You might also find a smaller control board inside the indoor air handler, especially in newer systems.
Common Symptoms of a Failing AC Control Board
Recognizing the signs of a failing control board is crucial for timely repairs. Here are some common symptoms:
- AC not turning on: The most obvious sign. If your thermostat is calling for cooling but the AC unit remains silent, the control board may be the culprit.
- Intermittent operation: The AC turns on and off sporadically, even when the thermostat setting remains unchanged.
- Fan not working properly: The fan might not start, run constantly, or operate at the wrong speed.
- Compressor issues: The compressor may fail to start, shut down prematurely, or make unusual noises.
- Error codes: Many modern AC units have diagnostic features that display error codes on the thermostat or the control board itself. These codes can pinpoint specific issues.
- Blown fuses or tripped breakers: A faulty control board can cause electrical overloads, leading to blown fuses or tripped circuit breakers.
- Burning smell: A burning smell coming from the outdoor unit is a serious warning sign indicating potential electrical damage. Immediately turn off the unit at the breaker.
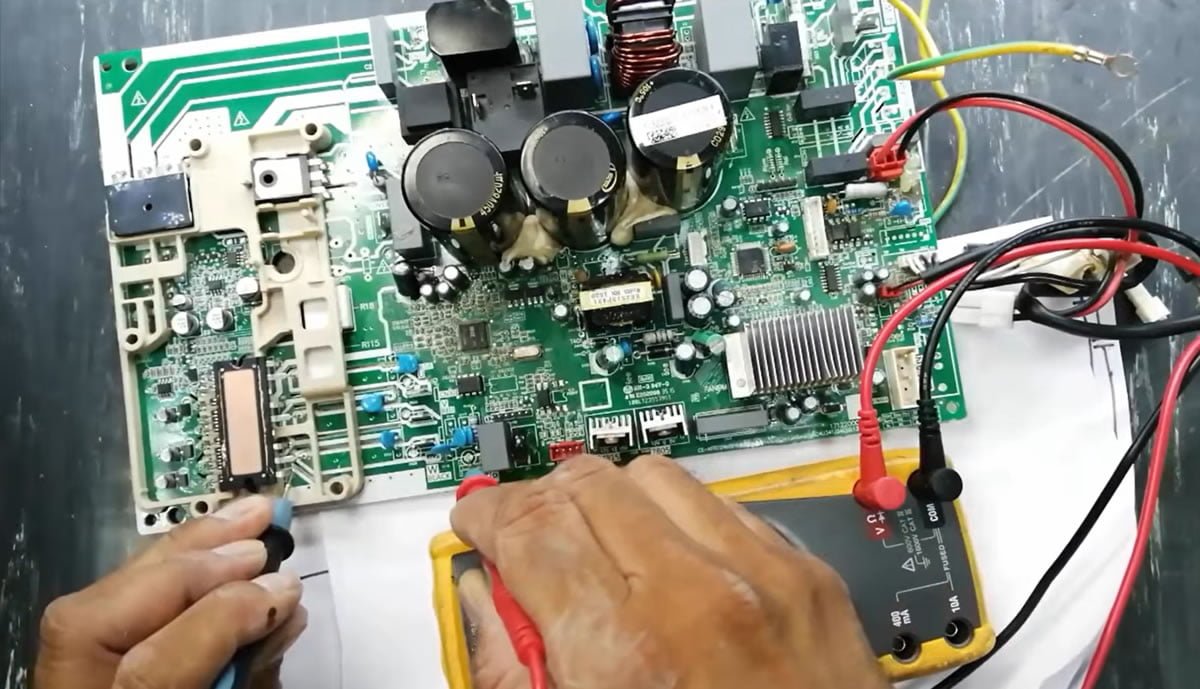
Tools and Materials for Troubleshooting
Before you start troubleshooting, gather the necessary tools and materials. Always prioritize safety and disconnect the power before working on electrical components.
- Multimeter: Essential for testing voltage and continuity.
- Screwdrivers: Assorted sizes, including Phillips and flathead.
- Wire strippers/crimpers: For repairing or replacing wires.
- Voltage tester: To confirm the power is off.
- Safety glasses: To protect your eyes.
- Gloves: Insulated gloves for electrical safety.
- AC wiring diagram: Helps understand the wiring connections. (Often found inside the unit's service panel)
- Replacement fuses: If you suspect a blown fuse.
- New control board (if needed): Ensure it matches your AC unit's model number.
Step-by-Step Troubleshooting Guide
Follow these steps to diagnose and potentially repair your AC control board. Remember, if you're uncomfortable working with electricity, call a qualified HVAC technician.
- Safety First: Turn off the power to the AC unit at the circuit breaker. Double-check with a voltage tester to ensure the power is off before proceeding.
- Access the Control Board: Remove the service panel on the outdoor unit. The control board is usually located inside a separate electrical box within the unit.
- Visual Inspection: Look for obvious signs of damage, such as burned components, charred wires, or bulging capacitors. A burning smell is a strong indicator of a problem.
- Check Fuses: Many control boards have fuses that protect specific circuits. Use a multimeter to test the fuses for continuity. Replace any blown fuses with the correct amperage rating.
- Test Voltage: Use a multimeter to check the voltage at the control board's power terminals. You should typically see 220-240 volts AC. If there's no voltage, check the circuit breaker and wiring leading to the unit.
- Inspect Wiring Connections: Ensure all wires are securely connected to the control board. Loose or corroded connections can cause intermittent problems. Gently tug on each wire to confirm it's firmly attached.
- Check Relays: Relays are electromechanical switches that control various components. Use a multimeter to test the relays for proper operation. If a relay is faulty, it may need to be replaced.
- Decode Error Codes (if applicable): Consult your AC unit's manual to interpret any error codes displayed on the thermostat or control board. This can help pinpoint the specific problem area.
- Test Thermostat Signals: Use a multimeter to check if the thermostat is sending the correct signals to the control board. A faulty thermostat can prevent the AC from turning on.
- Component Testing (Advanced): If you're comfortable with electronics, you can test individual components on the control board, such as capacitors, resistors, and diodes. However, this requires specialized knowledge and equipment.
Replacing the AC Control Board
If your troubleshooting leads you to believe the control board is faulty, you may need to replace it. Here's a general overview of the replacement process:
- Purchase the Correct Replacement: Make sure the replacement control board is compatible with your AC unit's make and model. Use the model number from the unit to ensure correct fit and function.
- Disconnect Power: Again, ensure the power is off at the circuit breaker.
- Document Wiring: Take photos or draw a detailed diagram of the wiring connections to the old control board. This is crucial for reattaching the wires to the new board correctly.
- Disconnect Wires: Carefully disconnect each wire from the old control board. Use wire labels if necessary to keep track of the connections.
- Remove the Old Board: Unscrew or unclip the old control board from its mounting location.
- Install the New Board: Mount the new control board in the same location as the old one.
- Reconnect Wires: Reconnect each wire to the corresponding terminal on the new control board, following your wiring diagram or photos. Double-check all connections to ensure they are secure.
- Power On and Test: Turn the power back on at the circuit breaker. Set the thermostat to cooling and observe the AC unit's operation. Monitor for any unusual noises or error codes.
When to Call a Professional
While some control board issues can be addressed by DIYers, certain situations warrant the expertise of a qualified HVAC technician. Here are some scenarios where professional help is recommended:
- You're uncomfortable working with electricity: Electrical work can be dangerous. If you're not confident in your abilities, it's best to leave it to a professional.
- You can't identify the problem: If you've followed the troubleshooting steps and are still unable to diagnose the issue, a technician can use specialized equipment and knowledge to pinpoint the problem.
- The problem is complex: Issues involving multiple components or requiring advanced diagnostic skills should be handled by a professional.
- You're unsure about wiring: Incorrect wiring can damage the control board or other components.
- The AC unit is still under warranty: Attempting DIY repairs may void the warranty.
Cost of Repairing or Replacing an AC Control Board
The cost of repairing or replacing an AC control board can vary depending on the complexity of the problem, the type of control board, and the labor rates in your area. Here's a general cost breakdown:
- Control Board Replacement: $200 to $800 (including the cost of the control board and labor). More complex boards with advanced features will be more expensive.
- Labor Costs: $75 to $150 per hour.
- Diagnostic Fee: $50 to $100 (may be waived if you proceed with the repair).
It's always a good idea to get quotes from multiple HVAC contractors before proceeding with any repairs.
Preventative Maintenance Tips
Regular maintenance can help prevent control board failures and extend the life of your AC system.
- Regularly clean the condenser coils: Dirty coils can cause the AC unit to overheat, putting stress on the control board.
- Replace air filters regularly: Dirty air filters restrict airflow, causing the AC unit to work harder.
- Schedule annual professional maintenance: A technician can inspect the AC unit, clean the coils, check refrigerant levels, and identify potential problems before they become major issues.
- Keep the area around the outdoor unit clear of debris: Ensure there is adequate airflow around the condenser.
By understanding the AC control board and taking preventative measures, you can keep your air conditioning system running smoothly and efficiently for years to come.
Disclaimer: This guide is for informational purposes only and should not be considered a substitute for professional HVAC advice. Always prioritize safety and consult with a qualified technician when dealing with electrical components.