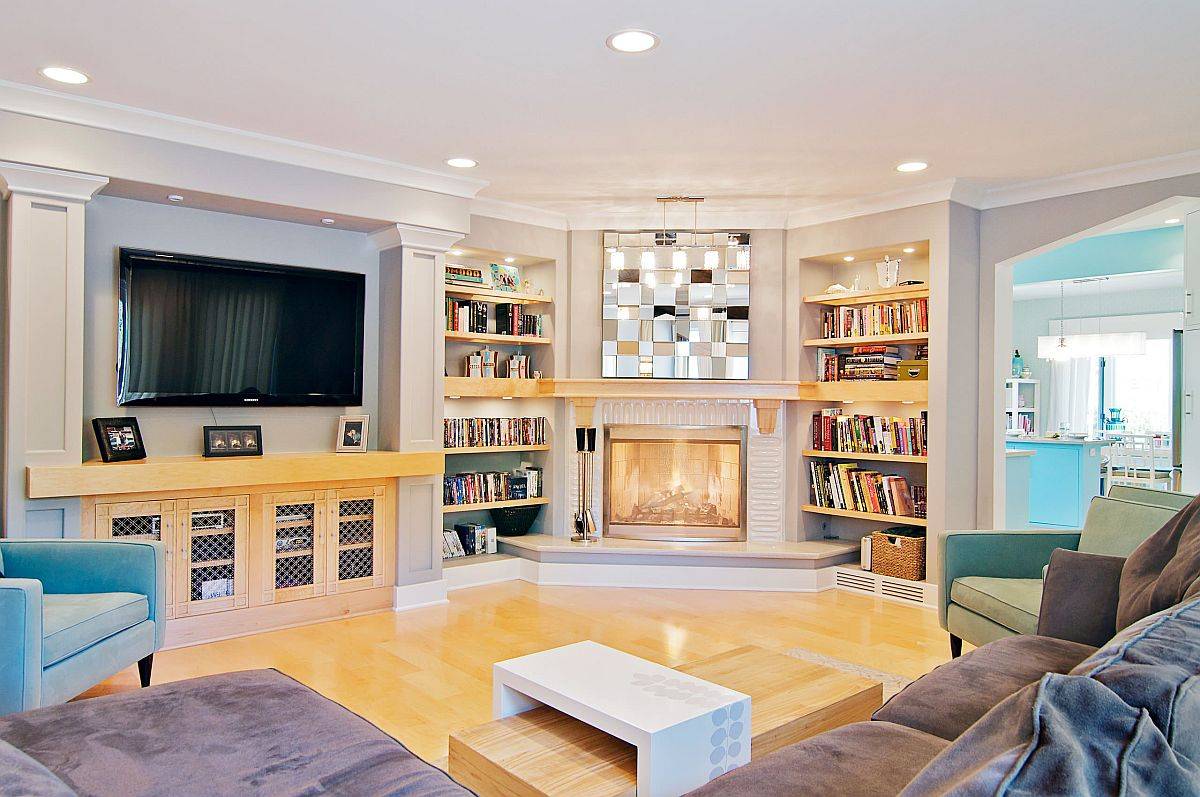
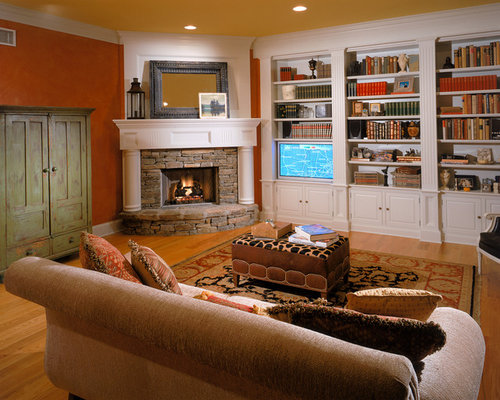
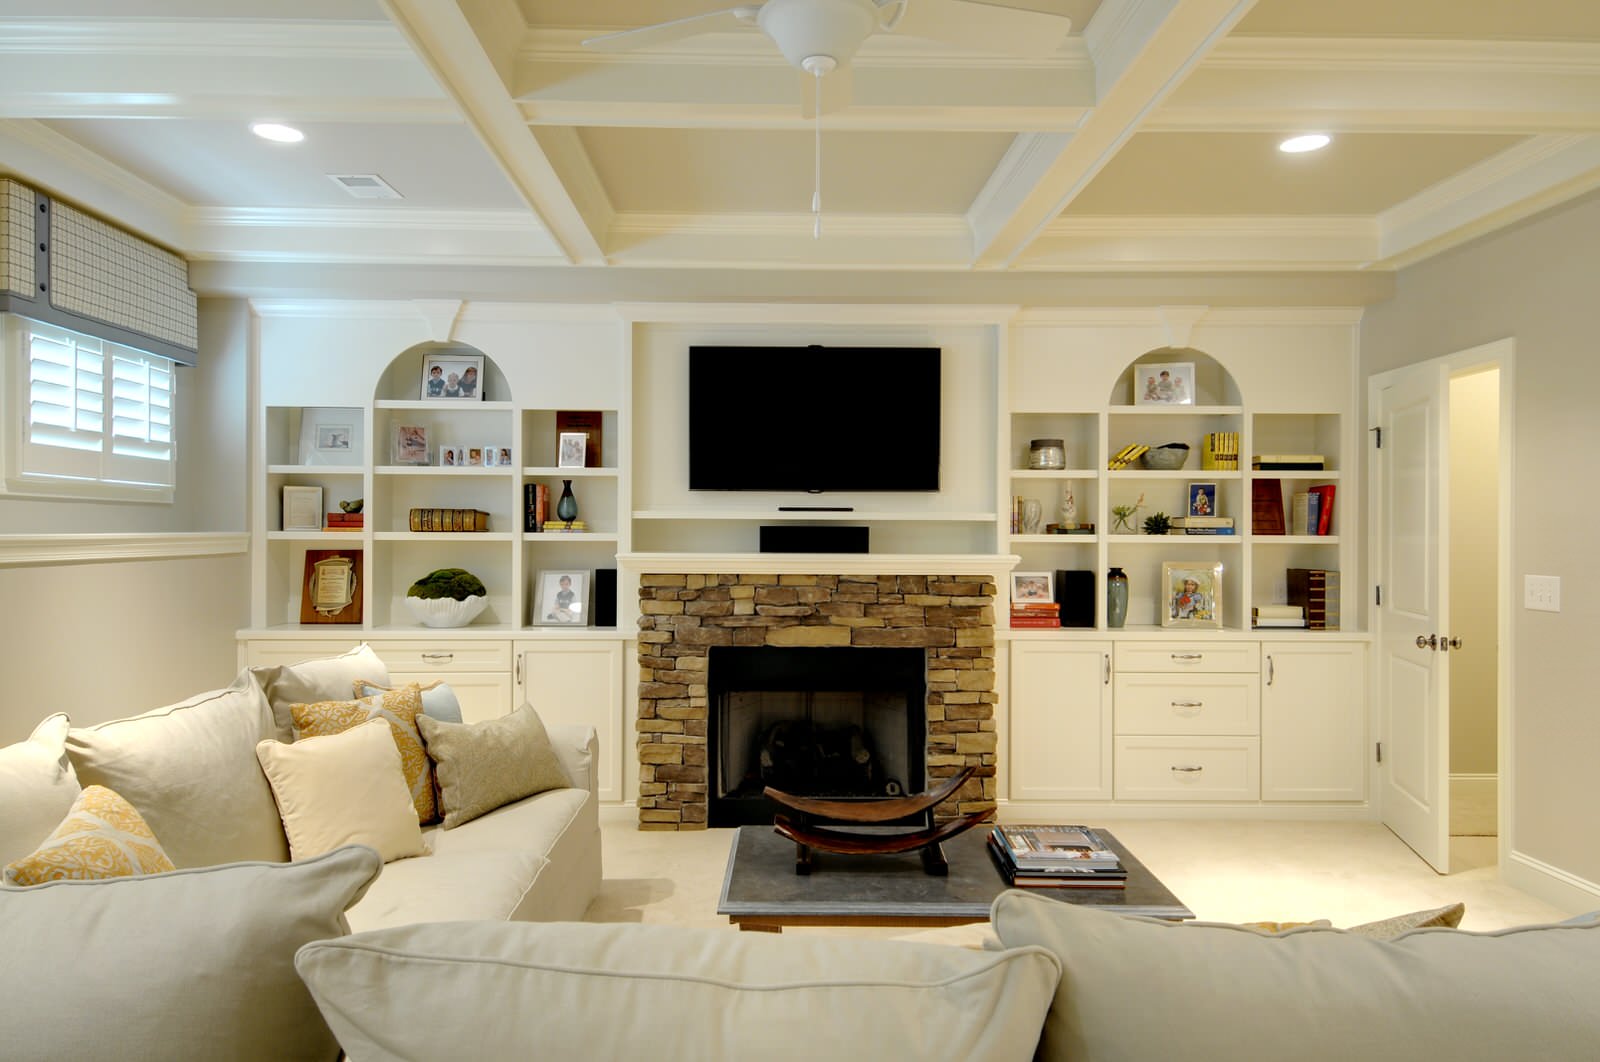
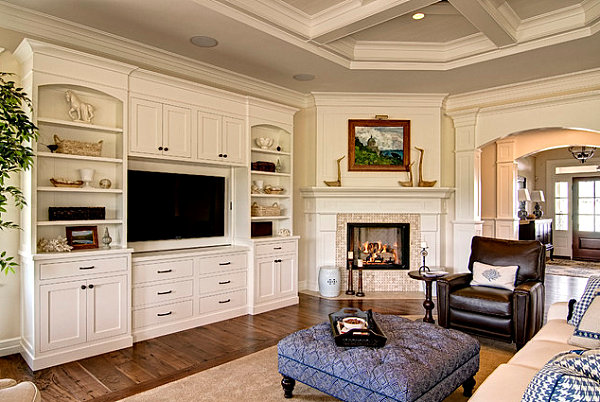
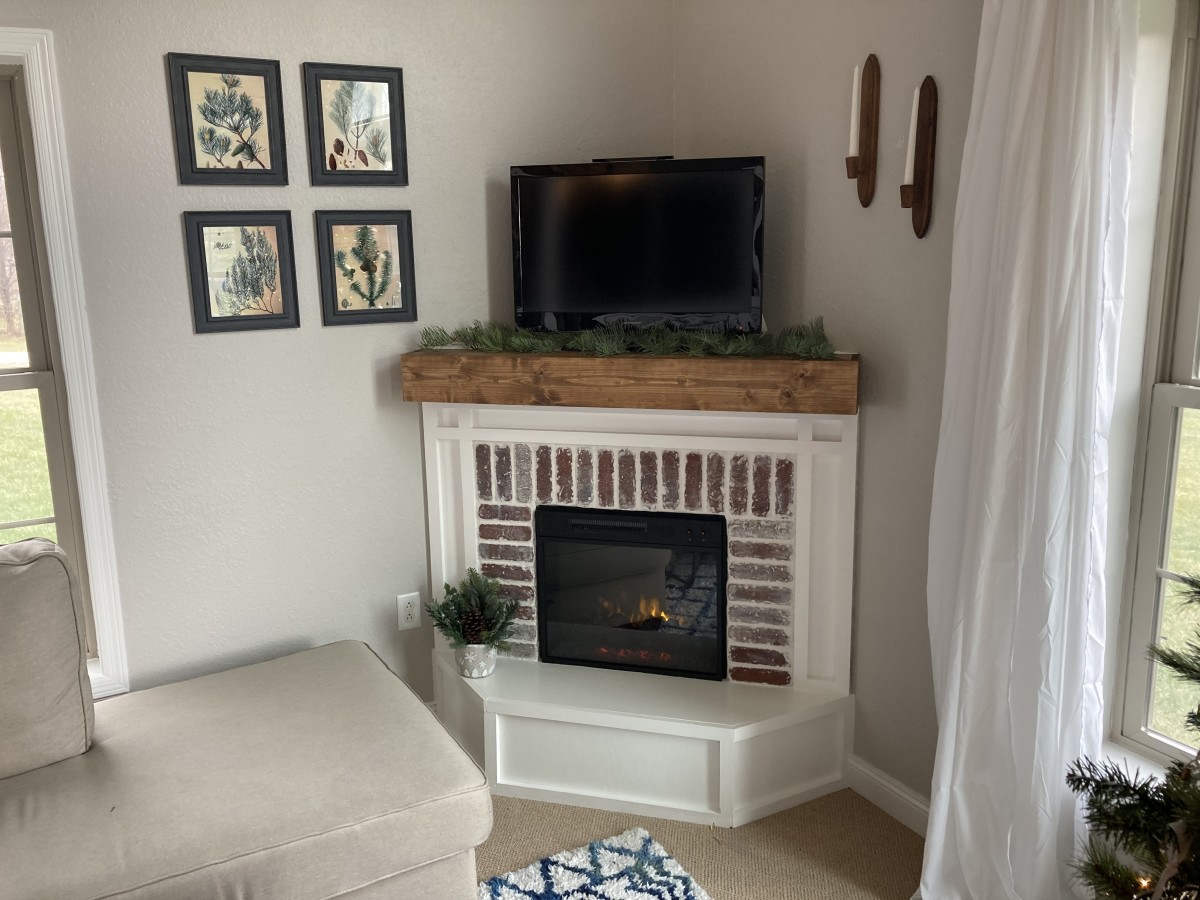
Corner Fireplace With Built In Shelves

Corner fireplaces with built-in shelves are a beautiful and functional focal point in many homes. However, like any feature, they can develop problems over time. One very common issue homeowners face is dampness, mold, or discoloration on the shelving, particularly around the fireplace opening. This can be concerning, unsightly, and potentially indicative of a larger problem. This article will guide you through diagnosing and addressing this issue, empowering you to tackle some simple fixes yourself and know when it's time to call in a professional.
Step 1: Initial Assessment
Before you start tearing things apart, take a moment to observe and document the problem. This will help you track your progress and provide valuable information if you need to consult an expert.
- Visually inspect the shelves: Note the exact location of the dampness, mold, or discoloration. Is it concentrated in one area, or is it widespread? Are the affected shelves made of wood, drywall, or another material?
- Check for smells: Does the area smell musty or moldy? This is a strong indicator of moisture issues.
- Feel the affected area: Is it damp to the touch? Use a moisture meter if you have one to get an accurate reading. Compare the reading to a dry area of the shelf.
- Examine the surrounding area: Look at the fireplace itself, the walls around the fireplace, and the ceiling above. Are there any signs of water damage, cracks, or gaps?
- Take photos: Document everything with clear photos. This is extremely helpful for future reference and for showing to professionals.
Step 2: Identify Potential Causes
Dampness and mold on fireplace shelves can be caused by several factors. Understanding the possible causes will help you target your troubleshooting efforts.
Possible Causes:
- Poor Ventilation: Inadequate airflow can trap moisture and lead to mold growth.
- Chimney Issues: A leaking chimney can allow rainwater to seep into the surrounding structure, including the shelves.
- Fireplace Usage: Burning unseasoned wood can create excessive moisture, and improper fireplace operation can contribute to backdrafting.
- Condensation: Temperature differences between the fireplace area and the surrounding room can lead to condensation on surfaces.
- Plumbing Leaks: Although less common, a plumbing leak in a nearby wall or ceiling can cause moisture to spread to the shelves.
- External Water Intrusion: Leaking roofs, windows, or siding can allow water to enter the walls and affect the fireplace area.
- Missing or Damaged Vapor Barrier: Especially in colder climates, a compromised vapor barrier can allow moisture to migrate into the wall cavity.
Step 3: DIY Diagnosis and Simple Fixes
Now that you have a good understanding of the potential causes, let's explore some DIY steps you can take to diagnose and fix the problem.
Addressing Poor Ventilation:
Diagnosis: Check for blocked vents or closed dampers. Feel for air movement around the fireplace. If the air feels stagnant, ventilation is likely an issue.
Fixes:
- Open Dampers: Ensure the fireplace damper is fully open when the fireplace is not in use to allow for airflow.
- Clean Vents: Clear any obstructions from vents or openings designed to ventilate the area.
- Use a Dehumidifier: Place a dehumidifier in the room, especially during periods of high humidity.
- Improve Air Circulation: Use a fan to circulate air in the room, especially if the dampness is concentrated in a corner.
Checking for Chimney Issues:
Diagnosis: Carefully inspect the chimney for cracks, missing mortar, or damaged flashing (the metal that seals the chimney to the roof). Look for water stains on the chimney itself, both inside and outside.
Fixes: (These are generally temporary fixes and should be followed by professional repair.)
- Apply Chimney Sealer (small cracks): For very minor cracks, you can apply a chimney sealer designed for masonry. Follow the manufacturer's instructions carefully. This is only for superficial cracks and not a long-term solution.
- Install a Chimney Cap: A chimney cap can prevent rainwater from entering the chimney. Make sure the cap is properly sized and installed.
Optimizing Fireplace Usage:
Diagnosis: Observe how you use the fireplace. Are you burning properly seasoned wood? Do you experience backdrafting (smoke entering the room)?
Fixes:
- Burn Seasoned Wood: Only burn wood that has been properly seasoned (dried) for at least six months. Wet wood produces more smoke and moisture.
- Improve Draft: Ensure the damper is fully open before lighting a fire. Consider having your chimney professionally cleaned to remove any obstructions that could be hindering the draft.
- Use a Fireplace Fan: A fireplace fan can help circulate warm air into the room and prevent backdrafting.
- Start Small Fires: Build smaller fires to avoid excessive smoke and heat.
Addressing Condensation:
Diagnosis: This is often evident during periods of significant temperature changes. Look for moisture forming on surfaces, especially during cold weather.
Fixes:
- Maintain Consistent Temperature: Try to maintain a more consistent temperature in the room to reduce condensation.
- Improve Insulation: Adding insulation to the walls and ceiling around the fireplace can help reduce temperature differences. This is a more involved project and may require professional assistance.
- Use a Dehumidifier: A dehumidifier can help remove excess moisture from the air.
Checking for Plumbing Leaks:
Diagnosis: This can be tricky, as the leak may be hidden within the walls. Look for any signs of water damage on the walls or ceiling near the fireplace. Check for dampness or discoloration in areas not directly related to the fireplace itself. Listen for the sound of running water when no taps are turned on.
Fixes: If you suspect a plumbing leak, turn off the water supply to the affected area immediately and call a plumber. DIY repairs for plumbing leaks are generally not recommended unless you have extensive experience.
Investigating External Water Intrusion:
Diagnosis: Inspect the roof, windows, and siding around the fireplace area for any signs of damage or leaks. Look for water stains on the exterior walls. Check the seals around windows and doors.
Fixes:
- Caulk Cracks and Gaps: Seal any cracks or gaps around windows, doors, and siding with caulk.
- Repair Damaged Roofing: Repair or replace damaged roofing materials, such as shingles or flashing. This is often best left to a professional roofer.
- Clean Gutters and Downspouts: Ensure gutters and downspouts are clean and free of debris to prevent water from backing up and entering the walls.
Step 4: Dealing with Mold
If you find mold, it's important to address it promptly and safely.
Safety Precautions:
- Wear gloves, a mask (N-95 or better), and eye protection when cleaning mold.
- Ensure adequate ventilation in the area.
- Avoid spreading mold spores by using a damp cloth and working from the outside in.
Cleaning Mold:
- For small areas (less than 10 square feet) of non-porous surfaces (like tile or sealed wood): You can clean the mold yourself using a solution of bleach and water (1 part bleach to 10 parts water). Apply the solution to the affected area, let it sit for 10 minutes, and then scrub it clean. Rinse thoroughly with clean water.
- For porous surfaces (like drywall or unsealed wood): Mold can penetrate deep into these materials, making it difficult to remove completely. You may need to remove and replace the affected materials. This is often best left to a professional mold remediation company.
When to Call a Professional
While many of the above steps can be tackled DIY, there are times when professional intervention is essential. Here are some key indicators:
- Extensive Water Damage: If you find significant water damage or suspect a hidden leak, call a plumber or water damage restoration company immediately.
- Structural Damage: If you notice any structural damage to the fireplace, chimney, or surrounding walls, contact a structural engineer or contractor.
- Large Mold Infestation: If the mold covers a large area (more than 10 square feet) or if you are sensitive to mold, contact a professional mold remediation company.
- Chimney Problems: If you suspect any serious chimney problems, such as cracks, missing mortar, or a blocked flue, contact a certified chimney sweep or repair technician.
- Gas Fireplace Issues: Never attempt to repair a gas fireplace yourself. Contact a qualified gas appliance technician for any issues with a gas fireplace.
- You are Uncomfortable or Uncertain: If you are uncomfortable performing any of the DIY fixes, or if you are uncertain about the cause of the problem, it is always best to err on the side of caution and call a professional.
Prevention is Key
Once you've addressed the initial problem, take steps to prevent it from recurring.
- Regularly Inspect: Inspect your fireplace and chimney regularly for any signs of damage or leaks.
- Maintain Good Ventilation: Ensure adequate ventilation in the room and around the fireplace.
- Use Seasoned Wood: Only burn properly seasoned wood in your fireplace.
- Clean Your Chimney: Have your chimney professionally cleaned at least once a year.
- Address Leaks Promptly: Repair any leaks promptly to prevent water damage and mold growth.
By following these steps, you can troubleshoot dampness and mold on your corner fireplace shelves, address simple issues yourself, and know when it's time to call in the experts. A well-maintained fireplace adds beauty and value to your home for years to come.