Cost Of Running Portable Air Conditioner
One of the most frustrating experiences for homeowners, especially during the sweltering summer months, is a sky-high electricity bill. You’ve invested in a portable air conditioner to keep specific rooms cool and save money on central AC. But what happens when your electricity costs skyrocket despite seemingly normal use? You might start wondering, "Why is my portable AC costing me so much to run?" This article will guide you through diagnosing and addressing the common causes of high running costs for portable air conditioners, empowering you with DIY solutions and helping you understand when it’s time to call in the pros.
Troubleshooting: High Portable AC Running Costs
Let's break down the problem into manageable steps. We'll cover everything from obvious errors to more subtle energy drains.
Step 1: Initial Assessment - No Tools Required
Before diving into technicalities, perform a basic assessment. These checks require no tools and can reveal surprisingly simple solutions.
- Check the Thermostat Setting: Is the thermostat set significantly lower than the ambient temperature? Forcing the AC to work harder than necessary drastically increases energy consumption. A comfortable setting, generally between 72-78°F (22-26°C), is usually sufficient.
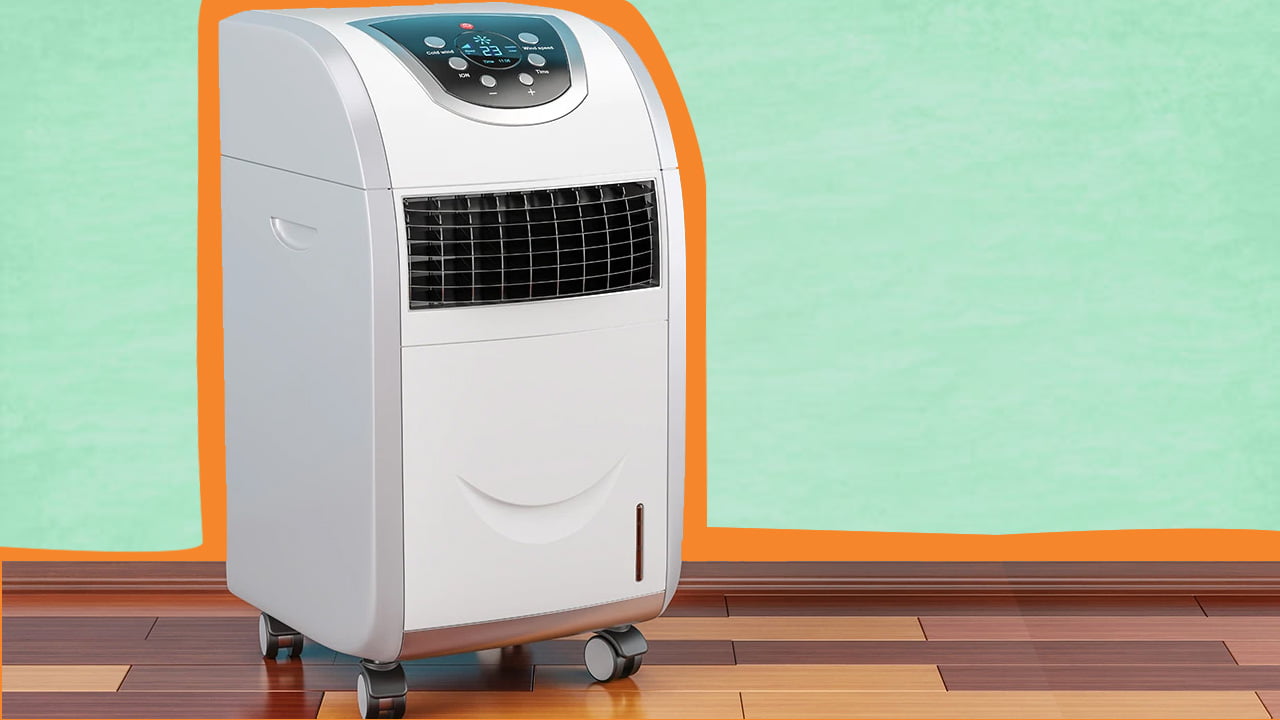
- Assess Room Size vs. AC Capacity: Portable ACs are rated in BTUs (British Thermal Units), indicating their cooling capacity. Is your unit adequately sized for the room it’s cooling? An undersized AC will run constantly, struggling to reach the desired temperature and wasting energy. Consult the manufacturer's guidelines for BTU recommendations based on room size. Remember: A too-small AC working overtime costs more than a correctly sized one.
- Inspect for Air Leaks: Walk around the room and identify potential sources of air leakage. Common culprits include gaps around windows and doors. Feel for drafts. Even small leaks allow cool air to escape, forcing the AC to work harder.
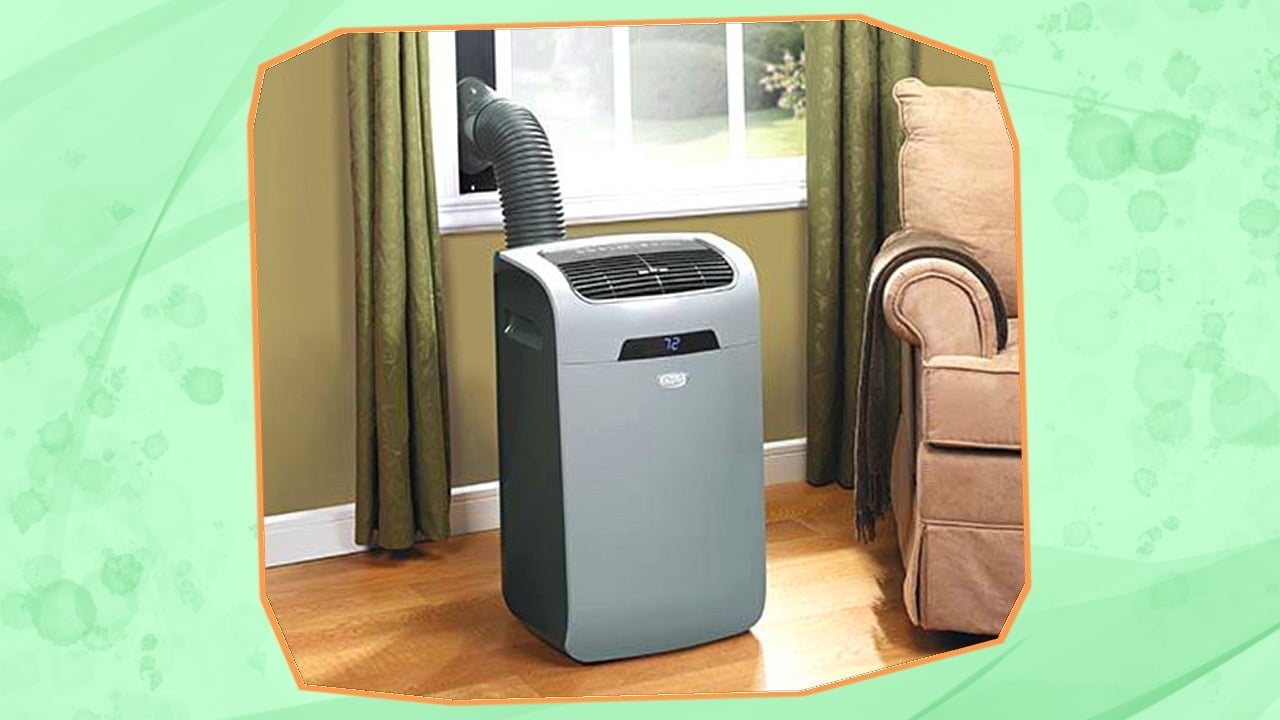
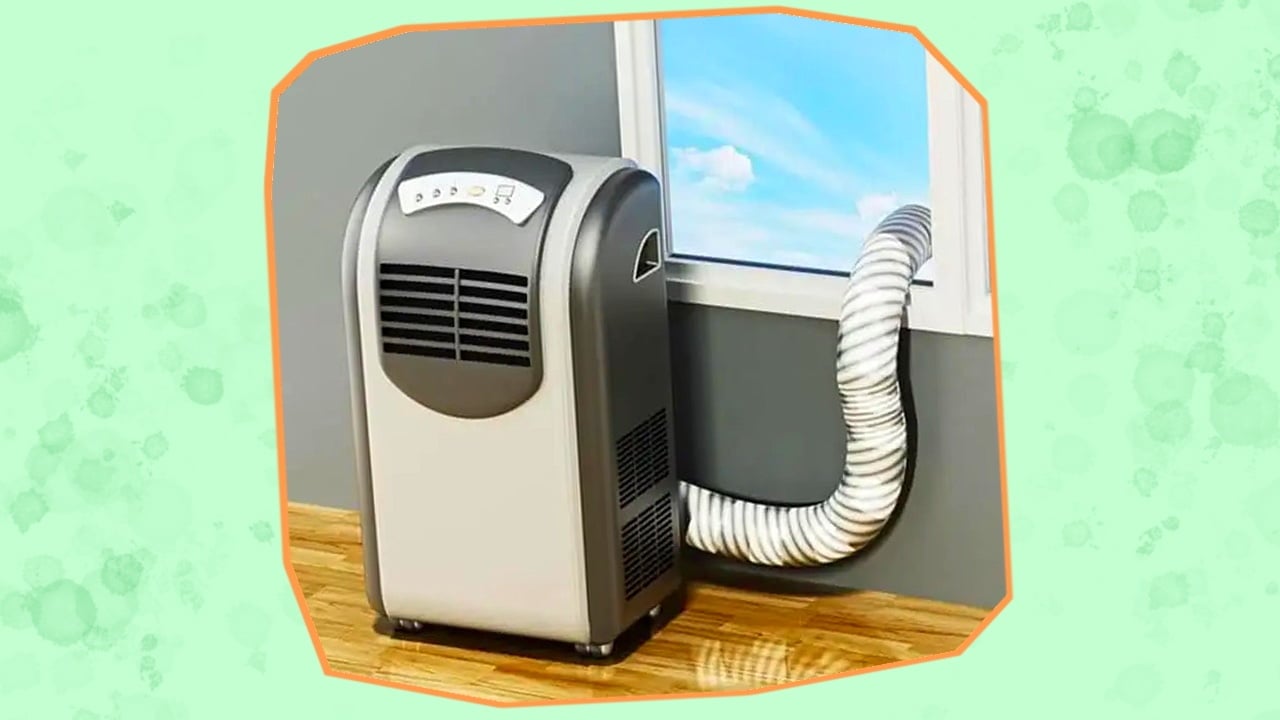
- Check the Exhaust Hose: Ensure the exhaust hose is properly connected to both the AC unit and the window adapter. A loose connection allows hot air to re-enter the room, negating the cooling effect and increasing energy consumption. Is the hose damaged or kinked? Damage to the hose can make the unit less efficient.
- Observe Usage Patterns: Are you running the AC unnecessarily? Leaving it on when you're not in the room, or overnight when the temperature drops, is a common energy waster. Consider using the timer function to schedule cooling only when needed.
- Filter Condition (Visual Inspection): Locate the air filter (usually behind a removable panel). Is it visibly dirty or clogged with dust and debris? A dirty filter restricts airflow, forcing the AC to work harder and less efficiently.
DIY Action: If you find issues with the thermostat setting, room size, air leaks, exhaust hose connection, usage patterns, or filter condition, address them immediately. Lower the thermostat, seal air leaks with weather stripping or caulk, ensure a secure hose connection, adjust your usage habits, and clean or replace the air filter (as per the manufacturer's instructions). These simple steps can often lead to significant energy savings.
Step 2: Deeper Diagnostic - Basic Equipment Required
If the initial assessment doesn't reveal the problem, you'll need to delve deeper using some basic equipment.
- Energy Usage Monitoring (Kill-A-Watt Meter): A Kill-A-Watt meter (or similar energy monitoring device) plugs into a standard electrical outlet and allows you to measure the actual power consumption of the AC unit. This provides accurate data on how much electricity the AC is using in real-time. You can rent one of these, or purchase one at your local hardware store.
- Temperature Measurement (Thermometer): Use a thermometer to accurately measure the temperature of the air coming out of the AC unit's vent. Compare this to the room temperature. A significant difference (15-20°F or 8-11°C) indicates the AC is cooling effectively. If the difference is small, the unit may be struggling.
- Exhaust Hose Temperature (Thermometer): Carefully measure the temperature of the air exiting the exhaust hose. If the exhaust air is not significantly hotter than the room air, it could indicate a problem with the compressor or refrigerant.
Analyzing the Data:
- High Energy Consumption: If the Kill-A-Watt meter shows unexpectedly high energy consumption, even when the AC is running at a moderate setting, it suggests an internal problem or inefficiency.
- Poor Cooling Performance: If the thermometer shows a small temperature difference between the vent air and the room air, the AC may not be cooling effectively. This could be due to a refrigerant leak, a malfunctioning compressor, or other internal issues.
- Inefficient Heat Exhaust: If the exhaust hose temperature is not significantly higher than room temperature, the AC might not be properly expelling heat. This could also indicate a compressor or refrigerant problem.
DIY Actions:
- Clean the Condenser Coils (If Accessible): Some portable AC units have accessible condenser coils (located inside the unit). Over time, these coils can accumulate dust and debris, hindering their ability to dissipate heat. Carefully vacuum the coils with a brush attachment to remove any buildup. Important: Always unplug the AC unit before cleaning any internal components. If the coils are not easily accessible, do not attempt to disassemble the unit.
- Ensure Proper Ventilation: Make sure the AC unit has adequate ventilation around it. Do not place it in a confined space or block the air vents. Restricting airflow can reduce efficiency.
- Check the Window Seal: Double-check the seal around the window adapter for the exhaust hose. Even small gaps can allow hot air to enter the room. Use weather stripping or duct tape to seal any gaps.
Step 3: Advanced Troubleshooting - Professional Help Required
Certain issues with portable AC units are beyond the scope of DIY repair and require the expertise of a qualified HVAC technician. Do not attempt these repairs yourself, as they involve hazardous materials and complex components.
- Refrigerant Leaks: Refrigerant (often Freon) is a crucial component of the AC unit's cooling system. If the unit is not cooling effectively, and you suspect a refrigerant leak, do not attempt to handle the refrigerant yourself. It is a controlled substance and requires specialized equipment and training to handle safely. Look for signs of oil residue around connections, or a hissing sound.
- Compressor Problems: The compressor is the heart of the AC unit, responsible for circulating the refrigerant. If the compressor is malfunctioning, the AC will not cool properly. Diagnosing and repairing compressor issues requires specialized knowledge and equipment.
- Electrical Issues: If you suspect an electrical problem, such as a blown capacitor or a faulty wiring harness, do not attempt to repair it yourself. Electrical work can be dangerous and requires proper training and safety precautions.
- Complex Internal Problems: If you have exhausted all DIY troubleshooting steps and the AC unit is still not performing optimally, there may be a complex internal problem that requires professional diagnosis and repair.
When to Call a Professional:
- If you suspect a refrigerant leak.
- If the compressor is making unusual noises or not running at all.
- If you detect any electrical problems.
- If you are uncomfortable working with electrical components or internal parts of the AC unit.
- If you have tried all DIY solutions and the AC is still not cooling effectively or is consuming excessive energy.
Preventative Measures and Best Practices
To minimize the cost of running your portable AC and prolong its lifespan, follow these preventative measures:
- Regular Filter Cleaning: Clean the air filter every 2-4 weeks, or more often if you live in a dusty environment. A clean filter ensures optimal airflow and reduces strain on the AC unit.
- Annual Maintenance: Consider having a qualified HVAC technician perform an annual maintenance check on your portable AC unit. This can help identify and address potential problems before they escalate.
- Proper Storage: When storing your portable AC unit during the off-season, clean it thoroughly, drain any remaining water, and cover it with a protective cover to prevent dust and debris from accumulating.
- Strategic Placement: Position the AC unit in a location that allows for optimal airflow and avoids direct sunlight.
- Use a Timer: Utilize the timer function to schedule cooling only when needed, preventing unnecessary energy consumption.
- Consider a Smart Thermostat: Some smart thermostats can be used with portable AC units to provide more precise temperature control and energy savings.
- Choose Energy Efficient Models: When purchasing a new portable AC unit, look for models with a high Energy Efficiency Ratio (EER) or a Seasonal Energy Efficiency Ratio (SEER). These ratings indicate the unit's energy efficiency.
By following these troubleshooting steps and preventative measures, you can effectively manage the cost of running your portable AC unit and ensure optimal cooling performance. Remember: Your safety is paramount. When in doubt, always consult a qualified HVAC technician.