Cost To Replace Evaporator Coil In Car

Dealing with a malfunctioning car AC can be a real pain, especially during the summer months. One component often at the heart of the problem is the evaporator coil. Understanding its function, potential issues, and the associated replacement cost can help you make informed decisions about repair.
Understanding the Evaporator Coil
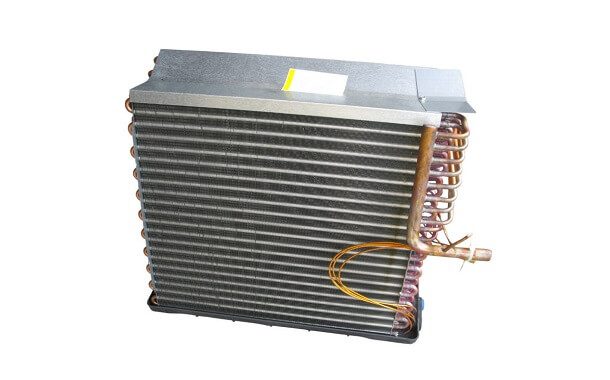
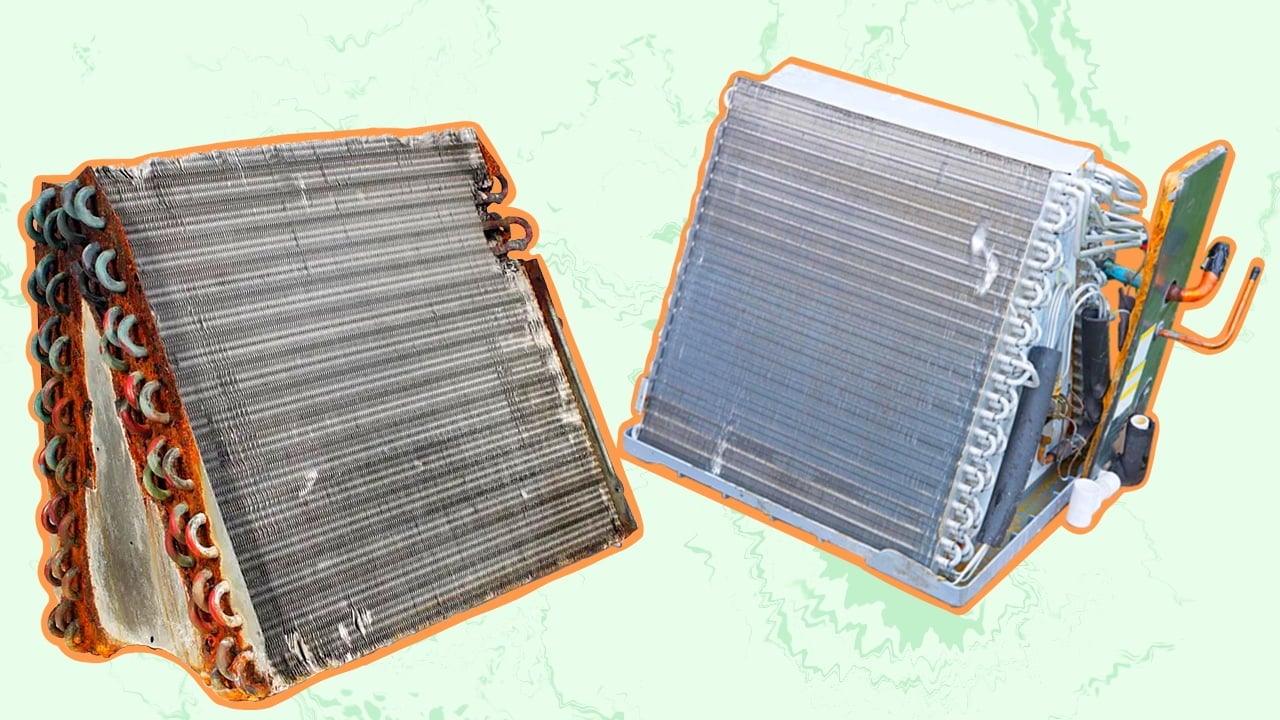
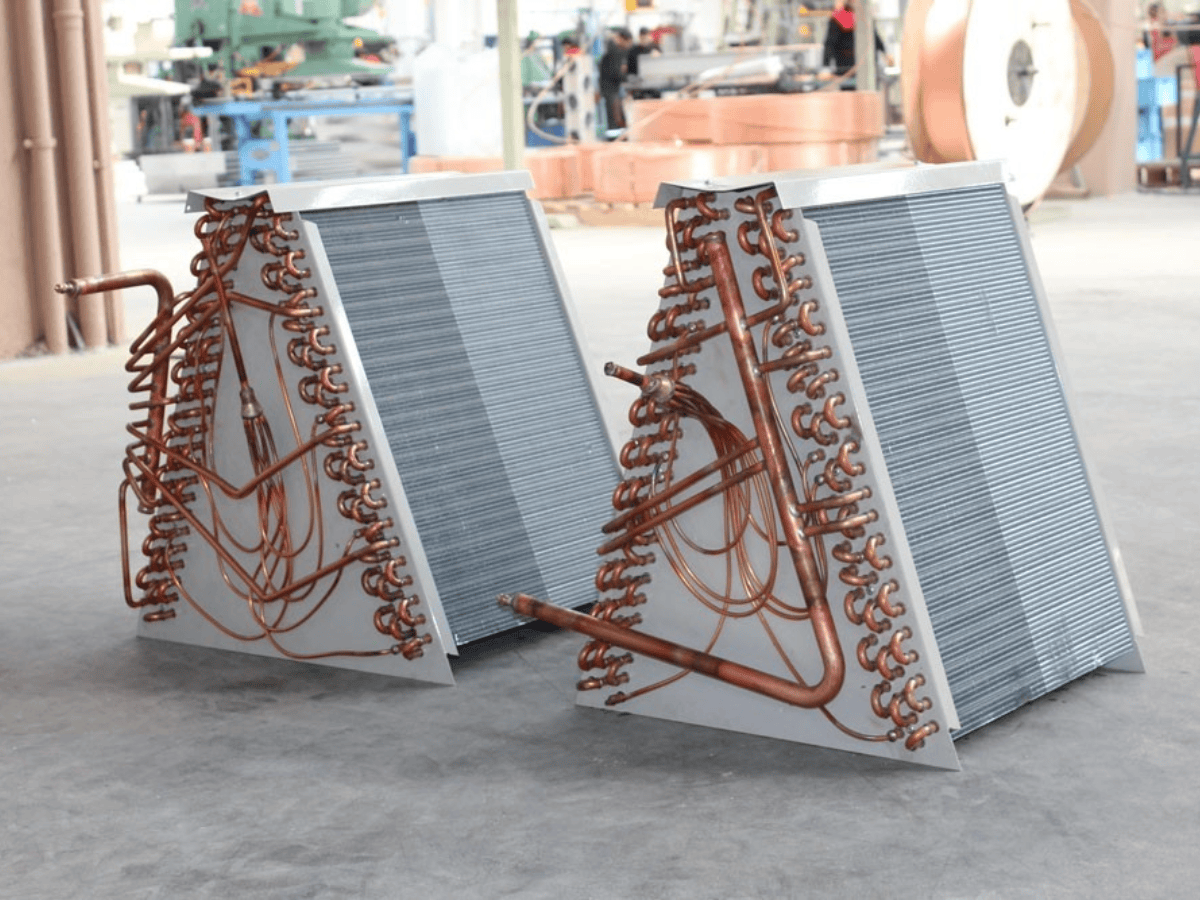
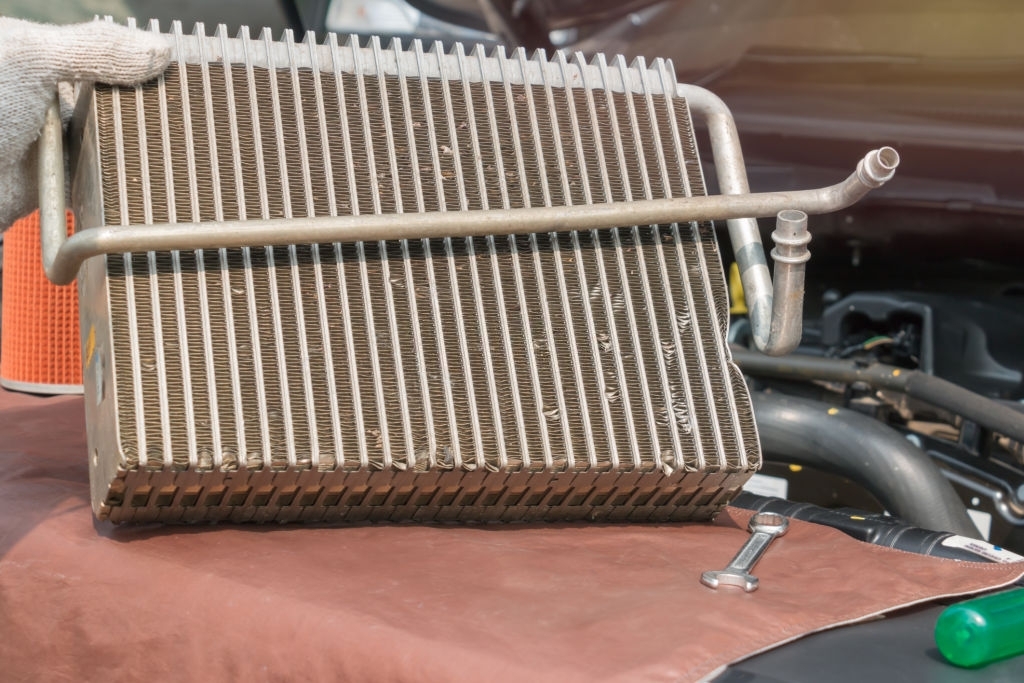
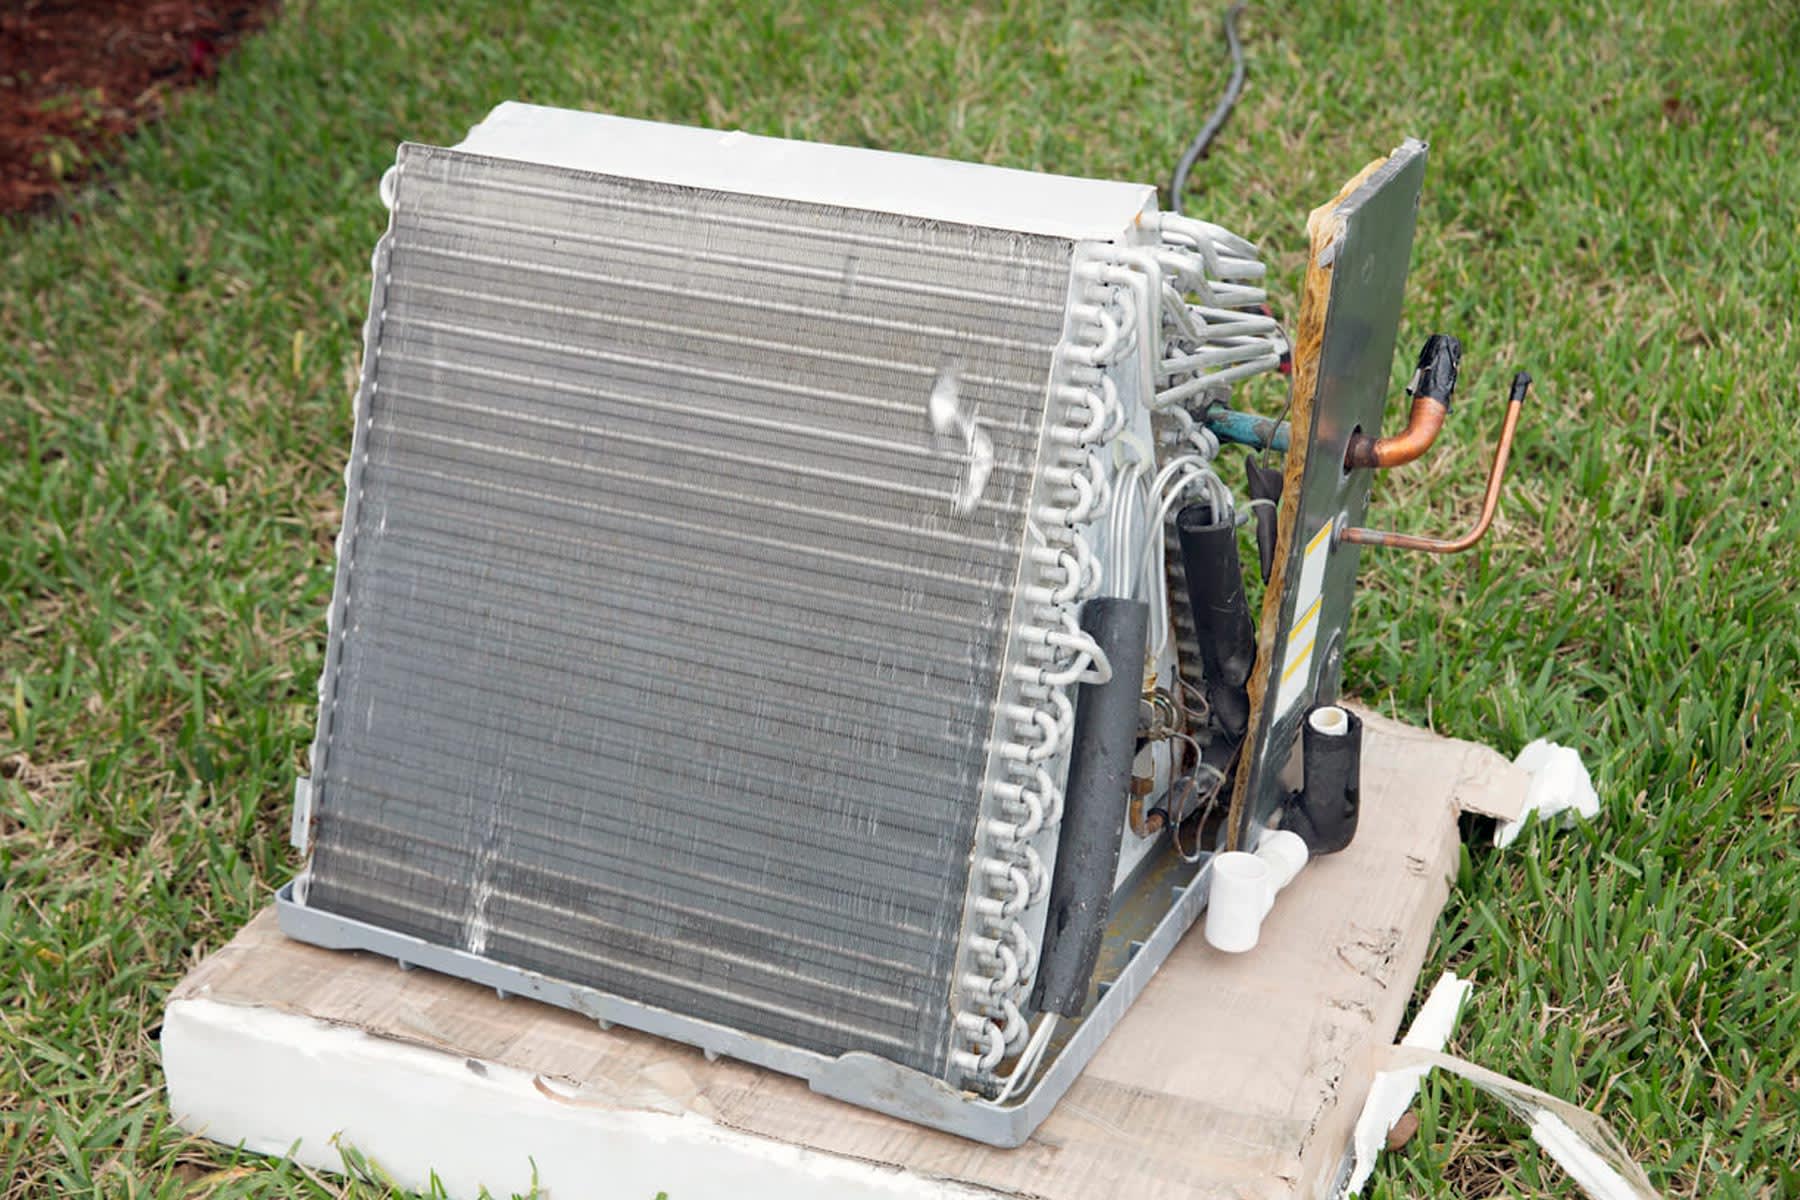
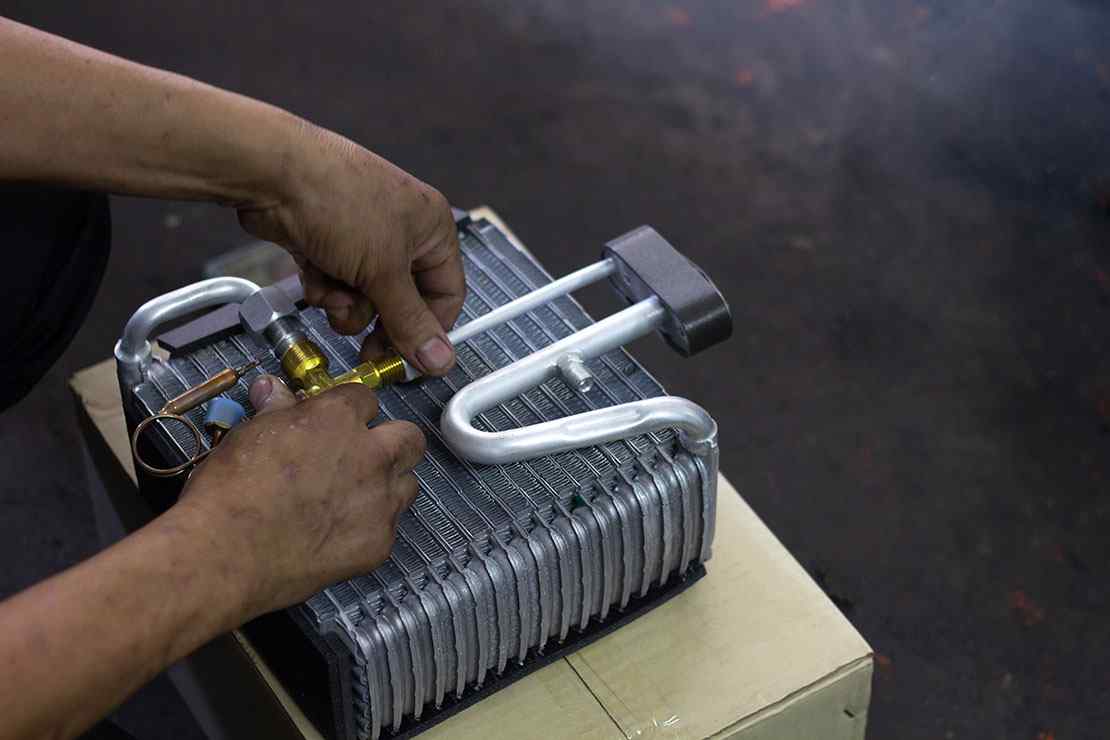
The evaporator coil is a crucial component of your car's air conditioning system. Located inside the dashboard, it's responsible for cooling the air that blows into your cabin. Refrigerant flows through the coil, absorbing heat and transforming into a gas. The blower motor then pushes air across the cold coil, resulting in cool, refreshing air. When the evaporator coil fails, your AC will blow warm air, rendering it ineffective.
Symptoms of a Failing Evaporator Coil
Recognizing the signs of a failing evaporator coil is the first step towards addressing the problem. Here are some common symptoms:
- Weak or Warm Airflow: This is the most obvious sign. If your AC is blowing warm or only slightly cool air, the evaporator coil might not be doing its job.
- Unusual Odors: A musty or moldy smell coming from your vents can indicate a leak in the coil, leading to mold and mildew growth.
- Refrigerant Leaks: You might notice oily residue or a sweet smell inside the car. Refrigerant leaks are harmful to the environment and can also damage other components.
- Hissing Noises: A hissing sound from under the dashboard could indicate refrigerant escaping from a leak in the evaporator coil.
- Increased Humidity Inside the Car: If your windows fog up easily, even with the AC on, it could be a sign of a failing evaporator coil.
- AC Compressor Issues: A failing evaporator coil can sometimes put extra strain on the AC compressor, potentially leading to its failure.
Factors Affecting Evaporator Coil Replacement Cost
The cost to replace an evaporator coil in your car can vary significantly depending on several factors:
- Vehicle Make and Model: Luxury vehicles and those with complex AC systems tend to have higher replacement costs.
- Labor Costs: Labor charges can vary greatly depending on your location and the hourly rate of the mechanic.
- Part Costs: The price of the evaporator coil itself can range from inexpensive aftermarket parts to more expensive OEM (Original Equipment Manufacturer) parts.
- Accessibility: Some evaporator coils are more difficult to access than others, which can increase labor time.
- Additional Repairs: In some cases, other AC components may need to be replaced along with the evaporator coil, such as the expansion valve or receiver drier.
Average Cost Breakdown
Here's a general breakdown of the costs associated with replacing an evaporator coil:
- Evaporator Coil Part: $150 - $500 (depending on the brand and vehicle)
- Labor: $600 - $1200 (depending on the complexity of the job and labor rates)
- Refrigerant Recharge: $50 - $150
- Total Estimated Cost: $800 - $1850
Important Note: These are just estimates. Contacting local mechanics or dealerships for quotes specific to your vehicle is always recommended.
DIY Evaporator Coil Replacement: Is It Possible?
While some DIY enthusiasts might be tempted to tackle evaporator coil replacement, it's generally a complex and time-consuming job best left to professionals. Here's why:
- Refrigerant Handling: Working with refrigerant requires specialized equipment and training. Improper handling can be dangerous and illegal.
- Dashboard Disassembly: Accessing the evaporator coil usually involves removing a significant portion of the dashboard, which can be tricky and requires careful attention to detail.
- System Evacuation and Recharge: The AC system needs to be properly evacuated of refrigerant before replacing the coil and then recharged afterwards, requiring specialized tools.
- Potential for Damage: Incorrect installation can damage other AC components or the vehicle's electrical system.
Safety First: If you decide to attempt a DIY repair, always wear safety glasses and gloves. Consult your vehicle's repair manual and follow all instructions carefully.
Tools and Materials (If Attempting DIY)
If you're considering a DIY evaporator coil replacement, here's a list of the tools and materials you'll likely need:
- New Evaporator Coil: Purchase the correct part for your vehicle.
- Refrigerant Recovery Machine: Essential for safely removing refrigerant.
- Vacuum Pump: Needed to evacuate the AC system after the repair.
- Refrigerant Charging Station: Used to recharge the system with the correct amount of refrigerant.
- Manifold Gauge Set: For monitoring pressure during evacuation and recharge.
- Socket Set and Wrenches: A variety of sizes will be needed.
- Screwdrivers (Phillips and Flathead): For removing dashboard components.
- Pliers: For various tasks.
- Torque Wrench: For tightening bolts to the correct specifications.
- Safety Glasses and Gloves: Essential for protection.
- Vehicle Repair Manual: Provides detailed instructions for your specific vehicle.
- O-Rings and Seals: Replace any worn or damaged seals.
- Penetrating Oil: To loosen stubborn bolts.
Step-by-Step Overview (DIY - Proceed with Caution!)
This is a simplified overview. Always consult your vehicle's repair manual for detailed instructions.
- Recover Refrigerant: Using a refrigerant recovery machine, safely remove all refrigerant from the AC system.
- Disconnect Battery: Disconnect the negative terminal of the battery to prevent electrical shorts.
- Disassemble Dashboard: Carefully remove the necessary dashboard components to access the evaporator coil housing.
- Disconnect AC Lines: Disconnect the AC lines connected to the evaporator coil. Be prepared for residual refrigerant to leak out.
- Remove Old Evaporator Coil: Remove the old evaporator coil from its housing.
- Install New Evaporator Coil: Install the new evaporator coil, ensuring it's properly seated and sealed.
- Replace O-Rings and Seals: Replace any worn or damaged O-rings and seals on the AC lines.
- Reconnect AC Lines: Reconnect the AC lines to the new evaporator coil.
- Reassemble Dashboard: Carefully reassemble the dashboard components.
- Evacuate the System: Use a vacuum pump to evacuate the AC system for at least 30-60 minutes.
- Recharge with Refrigerant: Use a refrigerant charging station to recharge the system with the correct amount of refrigerant according to your vehicle's specifications.
- Test the AC System: Start the engine and test the AC system to ensure it's working properly.
When to Call a Professional
While DIY repairs can save money, some situations require the expertise of a qualified HVAC technician. Consider calling a professional if:
- You're not comfortable working with refrigerant.
- You lack the necessary tools or equipment.
- You're unsure about any step of the repair process.
- You encounter complications during the repair.
- You suspect there may be other issues with your AC system.
A professional technician can accurately diagnose the problem, perform the repair safely and efficiently, and ensure your AC system is working optimally.
Preventative Maintenance Tips
While evaporator coil failure can sometimes be unavoidable, here are some tips to help prevent premature failure and extend the life of your AC system:
- Regular AC Service: Have your AC system inspected and serviced regularly by a qualified technician.
- Replace Cabin Air Filter: A clogged cabin air filter can restrict airflow and put extra strain on the evaporator coil. Replace it regularly according to your vehicle's maintenance schedule.
- Avoid Leaks: Address any refrigerant leaks promptly to prevent further damage.
- Keep the System Clean: Periodically clean the evaporator coil housing to remove debris and prevent mold growth. (This usually requires professional service.)
- Use AC Regularly: Running your AC system regularly, even during the winter months, can help keep the seals lubricated and prevent leaks.
By understanding the function of the evaporator coil, recognizing the signs of failure, and taking preventative measures, you can keep your car's AC system running smoothly and comfortably for years to come.