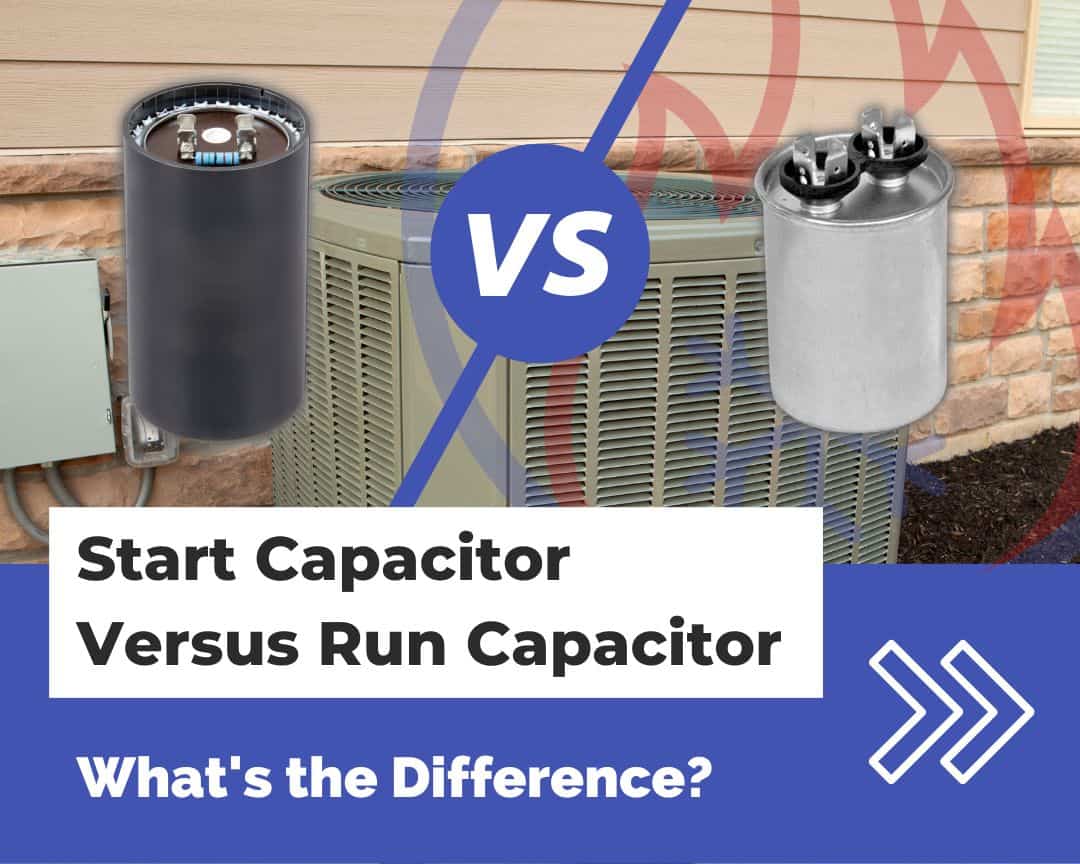
Difference Between A Start Capacitor And A Run Capacitor
Have you ever noticed your air conditioner struggling to start, humming loudly but failing to kick on? Or perhaps your refrigerator's compressor sounds strained? Chances are, the problem might lie with one of the capacitors in your appliance. Capacitors are essential components that provide the extra jolt of energy needed for motors to start and run efficiently. But understanding the difference between a start capacitor and a run capacitor is key to diagnosing and potentially fixing the issue.
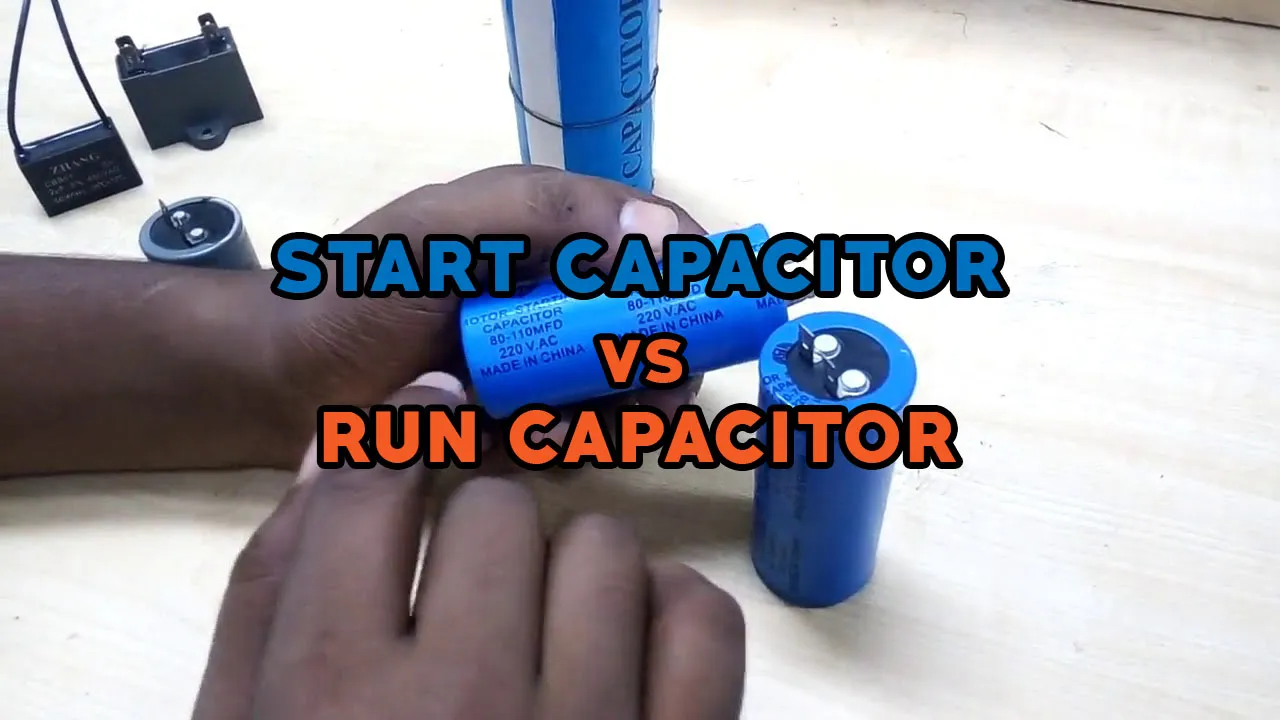
Understanding Capacitors: Start vs. Run
Both start and run capacitors are designed to store electrical energy and release it to provide a boost to electric motors. However, they serve distinct purposes and are built differently.
What is a Start Capacitor?
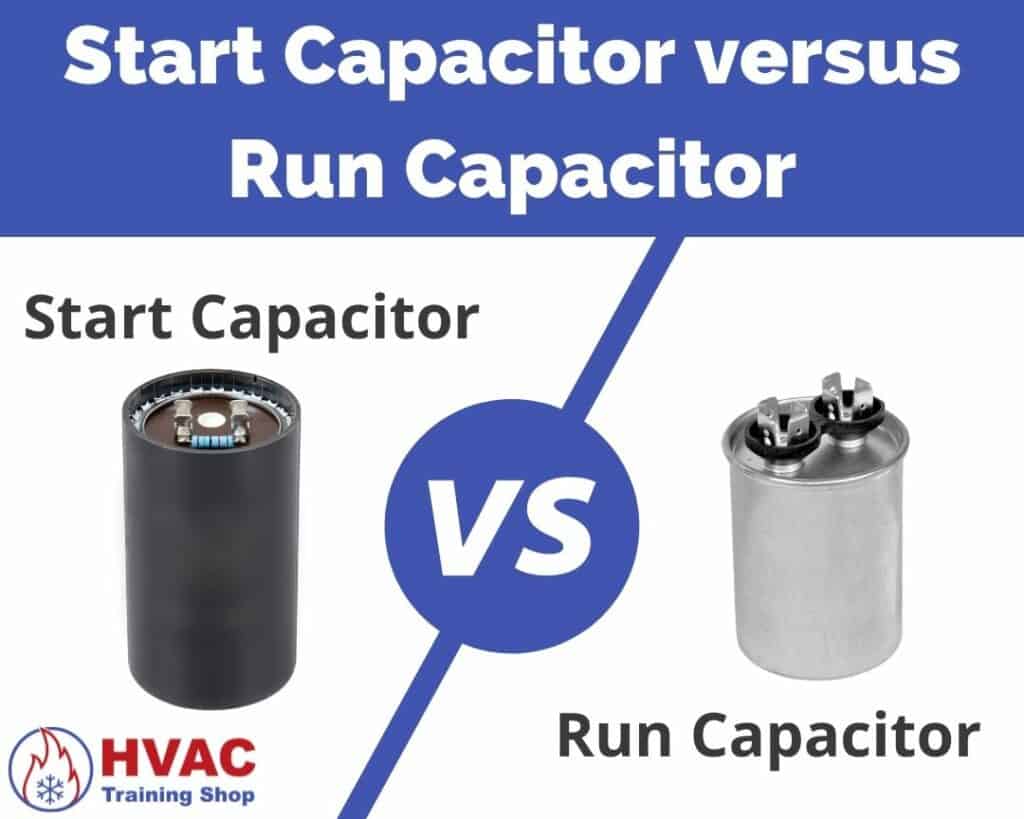
A start capacitor provides a *significant* burst of energy to get the motor spinning initially. Think of it as giving the motor a strong push to overcome inertia. Once the motor reaches a certain speed, the start capacitor is switched out of the circuit, typically by a centrifugal switch or a potential relay. Start capacitors are only designed for short-term use. They are typically larger in capacitance (measured in microfarads or µF) than run capacitors.
Key characteristics of a start capacitor:
- Large capacitance value (high µF).
- Designed for short bursts of power.
- Switched out of the circuit after the motor starts.
- Cannot withstand continuous operation.
What is a Run Capacitor?
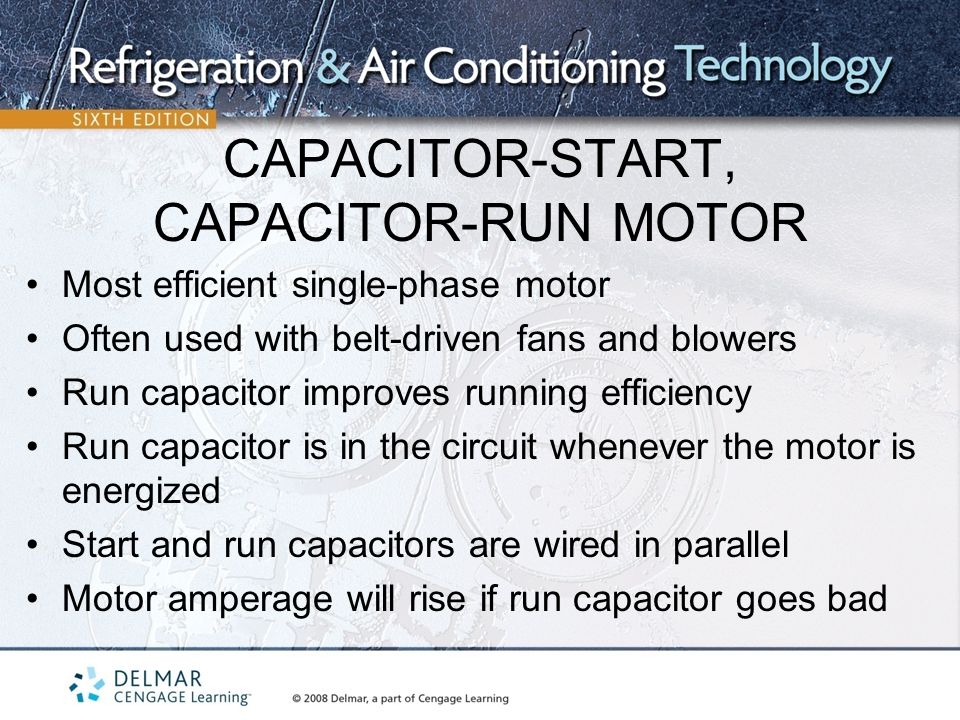
A run capacitor, on the other hand, is designed for *continuous* operation. It remains in the circuit while the motor is running, helping to improve the motor's efficiency, power factor, and torque. It smooths out the current flow, reducing energy consumption and extending the motor's lifespan. Run capacitors are typically smaller in capacitance than start capacitors.
Key characteristics of a run capacitor:
- Smaller capacitance value (lower µF).
- Designed for continuous operation.
- Remains in the circuit while the motor is running.
- Improves motor efficiency and extends lifespan.
Troubleshooting Capacitor Issues: A Step-by-Step Guide
Before you begin any troubleshooting, always disconnect the power to the appliance. Safety is paramount! Wear appropriate safety gear, such as insulated gloves and eye protection.
Step 1: Identify the Capacitor(s)
Locate the capacitor(s) in your appliance. They are typically cylindrical components, often housed in a metal or plastic casing. In an air conditioner, they are usually found inside the outdoor unit’s control panel. In a refrigerator, they might be near the compressor. Take a photo of the wiring before disconnecting anything. This will be invaluable when you need to reconnect the new capacitor.
Step 2: Visual Inspection
Carefully examine the capacitor(s) for any signs of damage, such as:
- Bulging or swelling: This indicates internal pressure buildup, a clear sign of failure.
- Leakage: Look for any oily residue near the capacitor.
- Cracks or breaks: Damage to the casing can compromise the capacitor's integrity.
- Burning or discoloration: Signs of overheating are a definite red flag.
If you see any of these signs, the capacitor is likely faulty and needs replacement.
Step 3: Testing with a Multimeter (If you're comfortable)
This step requires caution and some electrical knowledge. If you are not comfortable working with electricity, skip this step and consult a professional.
A multimeter with a capacitance setting can be used to test the capacitor. Ensure the capacitor is completely discharged before testing. You can discharge it by carefully shorting the terminals with an insulated screwdriver (wear safety glasses!).
- Set your multimeter to the capacitance (µF) setting.
- Connect the multimeter probes to the capacitor terminals.
- Compare the reading on the multimeter to the capacitor's rated capacitance (printed on the capacitor label).
Acceptable tolerance: Capacitors usually have a tolerance rating (e.g., ±5% or ±10%). If the measured capacitance is significantly outside this range, the capacitor is likely faulty.
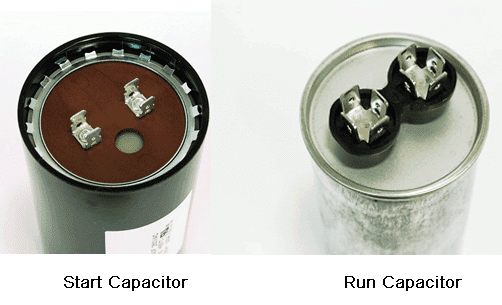
Step 4: Identifying Start vs. Run Capacitor
If you are unsure which capacitor is the start and which is the run capacitor, here are some clues:
- Size: Start capacitors are generally larger than run capacitors for the same voltage rating.
- Wiring: Start capacitors often have a potential relay or a centrifugal switch wired in series with them, which is responsible for kicking them out of the circuit once the motor reaches a certain speed. Run capacitors are typically wired directly to the motor windings.
- Capacitance Value: Compare the microfarad (µF) rating printed on each capacitor. Start capacitors typically have a much higher µF rating than run capacitors for similar applications.
Step 5: Replacement (If the Capacitor is Clearly Faulty AND you are comfortable)
If you've identified a faulty capacitor and feel comfortable proceeding, follow these steps carefully:
- Purchase the Correct Replacement: This is crucial! The replacement capacitor must have the same voltage (VAC) and capacitance (µF) ratings as the original. It’s okay to use a capacitor with a slightly higher voltage rating, but never use one with a lower voltage rating. The µF rating must be the same.
- Disconnect the Old Capacitor: Disconnect the wires from the terminals of the old capacitor. Remember to take a picture of the wiring configuration before disconnecting anything!
- Connect the New Capacitor: Connect the wires to the corresponding terminals of the new capacitor, following the wiring diagram you photographed earlier. Ensure the connections are secure.
- Reassemble the Appliance: Carefully reassemble the appliance, ensuring all components are properly positioned.
- Restore Power: Restore power to the appliance and test its operation.
When to Call a Professional
While replacing a capacitor can be a straightforward DIY project, there are situations where professional help is essential:
- You are uncomfortable working with electricity: Never attempt electrical repairs if you lack the necessary knowledge and experience.
- You cannot identify the capacitor: If you are unsure which capacitor is the faulty one or how to properly replace it, consult a qualified technician.
- The appliance still doesn't work after replacing the capacitor: The problem might be more complex than just a faulty capacitor, requiring specialized diagnostic tools and expertise.
- You notice other signs of electrical damage: Burned wires, damaged components, or unusual smells can indicate a more serious electrical problem.
- You are dealing with high-voltage systems: Appliances with high-voltage components, such as some air conditioners and heat pumps, require specialized training to service safely.
Specifically, if you observe any of the following, STOP and call a professional immediately:
- Sparks
- Smoke
- Burning smell
- Any signs of electrical arcing or short circuit
Attempting repairs beyond your skill level can be dangerous and could potentially cause further damage to your appliance or even pose a safety risk.
Preventative Measures
While capacitors do have a limited lifespan, there are steps you can take to prolong their life and prevent premature failure:
- Regular Maintenance: Schedule regular maintenance for your appliances, especially air conditioners and refrigerators. A technician can inspect the capacitors and other components, identifying potential problems before they lead to failure.
- Keep Appliances Clean: Dust and debris can trap heat, which can shorten the lifespan of capacitors. Keep your appliances clean and well-ventilated.
- Avoid Overloading: Overloading appliances can put extra strain on the motor and the capacitors. Avoid running multiple high-power appliances on the same circuit.
- Power Surges: Protect your appliances from power surges by using surge protectors. Surges can damage capacitors and other electronic components.
Conclusion
Understanding the difference between start and run capacitors and knowing how to troubleshoot common issues can empower you to diagnose and potentially fix minor problems in your appliances. Remember to prioritize safety and seek professional help when necessary. By following these guidelines, you can keep your appliances running smoothly and efficiently, saving you time and money in the long run. Always err on the side of caution and consult a qualified technician if you are unsure about any aspect of the repair.