Difference Between Gate & Globe Valve

One of the most frustrating issues homeowners face, especially during peak heating or cooling seasons, is inconsistent temperature throughout the house. You might find one room freezing cold while another feels stuffy and overheated. Often, this isn't a major HVAC system failure but rather a localized problem with water flow regulation to radiators or baseboard heaters. Before calling a professional, let's explore how to troubleshoot this issue, focusing on two key components: gate valves and globe valves.
Understanding the Culprits: Gate Valves & Globe Valves
Many older homes utilize gate and globe valves to control the flow of hot water through their heating systems (or chilled water in some cooling systems). These valves, while seemingly simple, can be the source of significant problems if they malfunction.
What's the Difference?
The key to troubleshooting lies in understanding how each valve works:
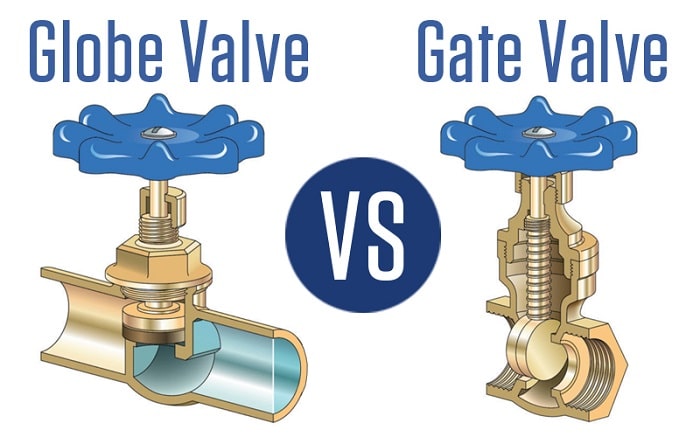
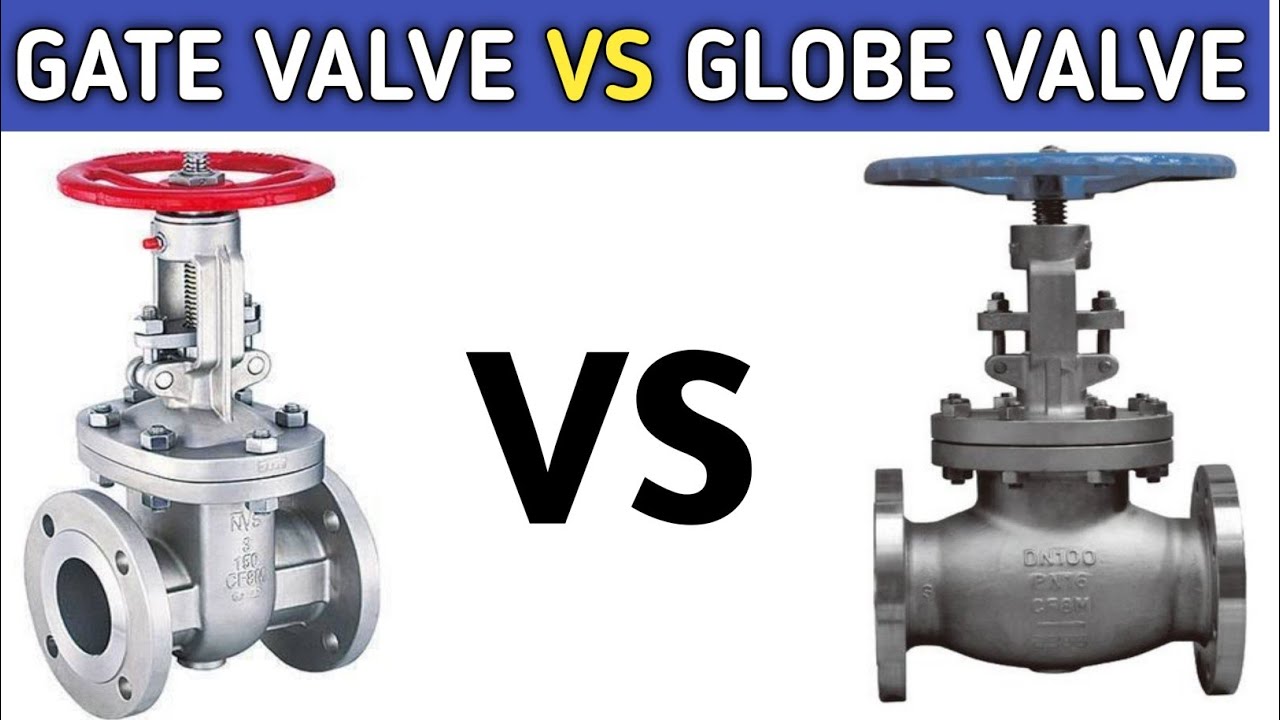
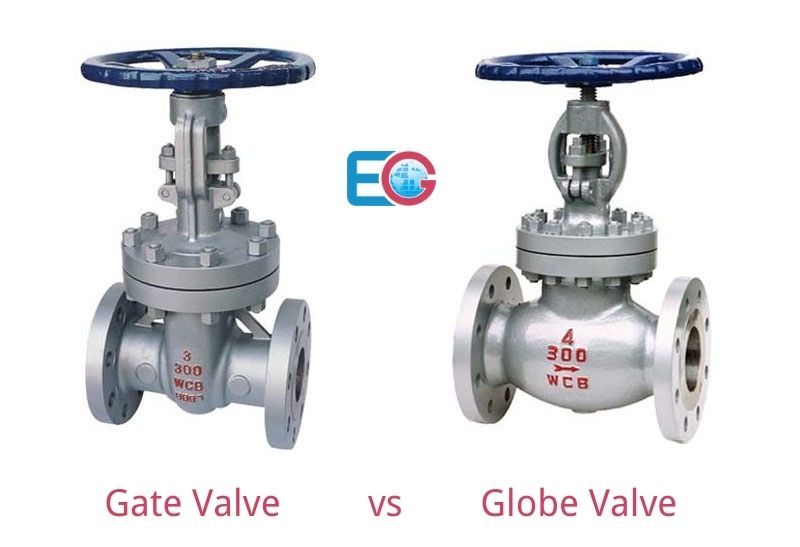
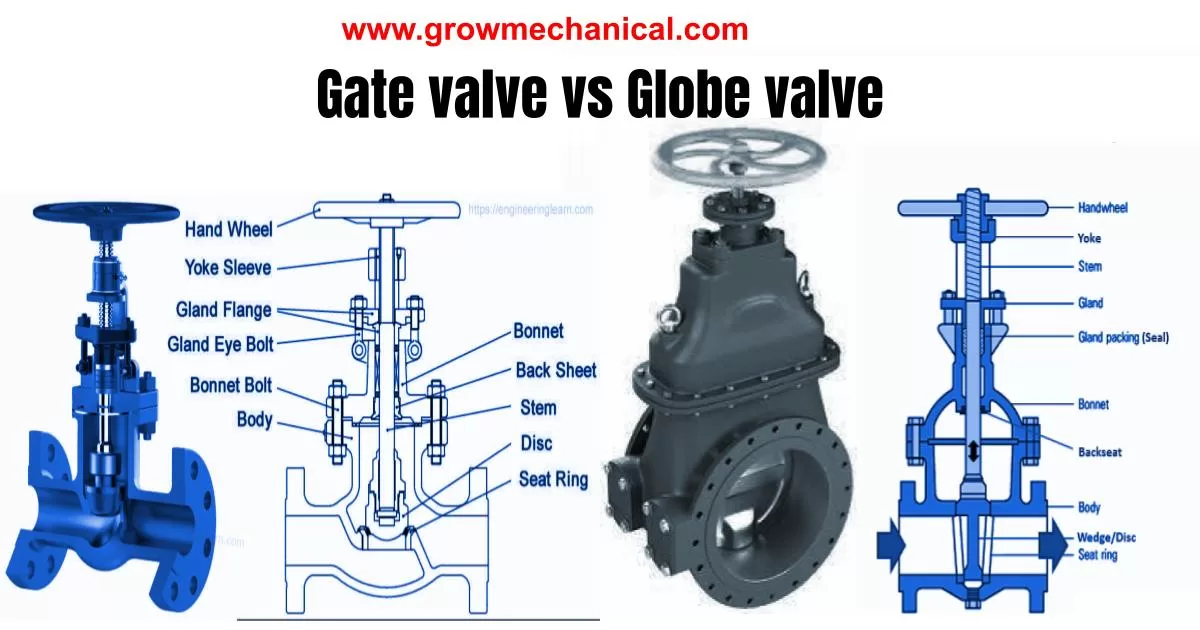
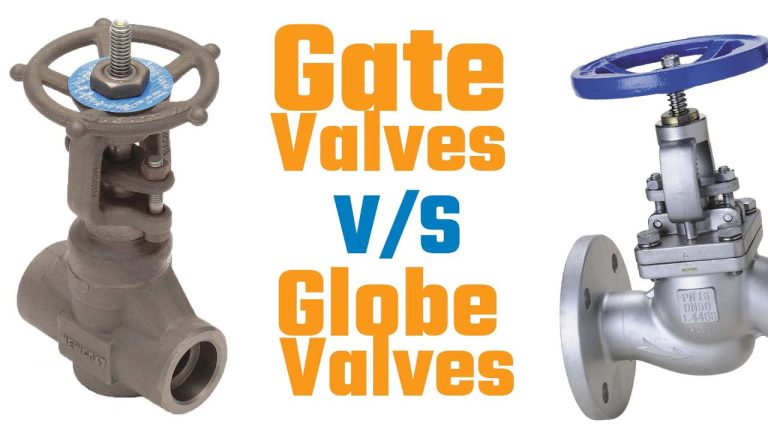
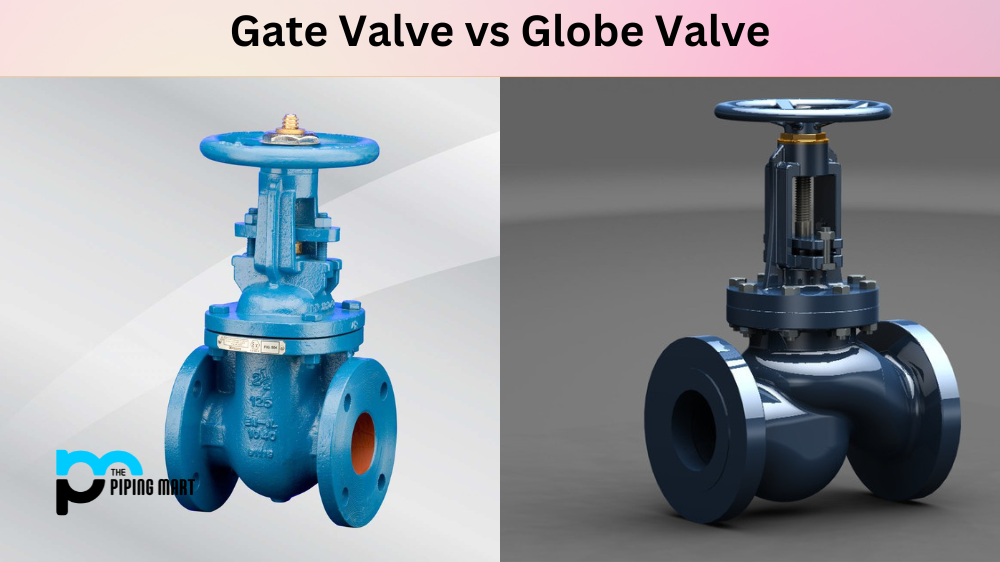
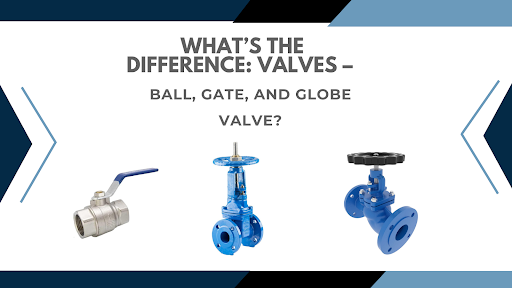
- Gate Valve: Think of a gate valve as a sliding door inside the pipe. When fully open, the "gate" is lifted entirely out of the water's path, offering minimal resistance to flow. This makes them ideal for applications where high flow rates and minimal pressure drop are required.
- Globe Valve: A globe valve, on the other hand, forces water to change direction as it passes through the valve. A disc, attached to the stem, is lowered or raised to restrict the flow. This design offers better flow control but introduces more resistance, resulting in a lower flow rate and higher pressure drop.
Why does this matter? Knowing the difference is crucial because it helps you understand which valve is appropriate for which application and how each type might fail.
Step-by-Step Troubleshooting Guide
Here's a systematic approach to diagnosing inconsistent heating/cooling caused by potential valve problems:
Step 1: Identify the Problem Areas
Start by pinpointing exactly which rooms are too cold or too hot. Make a note of these locations. This is your starting point. Consider if the room has always had the issue or if it is recent. Ask yourself if the problem is a newly installed radiator or part of the existing system.
Step 2: Locate the Valves
Trace the pipes leading to the radiators or baseboard heaters in the problematic rooms. You're looking for gate or globe valves installed along these pipes. Typically, there will be one valve before the radiator (on the supply line) and sometimes another after (on the return line). The presence of one or two valves can vary on the age of the heating/cooling system.
No Tools Required!
Step 3: Visual Inspection (No Tools Required)
Carefully examine each valve for the following:
- Leaks: Look for any signs of water dripping or staining around the valve body, stem, or connections. Even a small leak can indicate a larger problem.
- Corrosion: Check for rust or corrosion on the valve body or stem. Severe corrosion can seize the valve, preventing it from opening or closing properly.
- Valve Position: Ensure the valve handle is in the correct position. For a gate valve, fully open means the handle is turned all the way counterclockwise. For a globe valve, the handle is typically turned clockwise to close and counterclockwise to open.
- Obstructions: Visually inspect the area around the valve for any obstructions that might be hindering its operation. Check if the handle moves freely.
Step 4: Testing Valve Operation (No Tools Required Initially)
This is where you start to interact with the valves:
- Attempt to Operate the Valve: Gently try to turn the valve handle. Does it move freely, or is it stuck? Do not force it!
- Listen for Noise: As you turn the valve, listen for any unusual noises like grinding, clicking, or hissing. These sounds can indicate internal damage.
- Feel for Heat: Carefully touch the pipe before and after the valve (exercise caution as pipes can be hot). If the pipe before the valve is hot, but the pipe after the valve is cold, the valve might be blocked or closed.
Step 5: Using Basic Tools (If Necessary & Safe)
If the valve is stuck, proceed with caution. You'll need a few basic tools:
- Penetrating Oil: A can of penetrating oil (like WD-40 or Liquid Wrench) can help loosen a stuck valve stem.
- Adjustable Wrench: Use a wrench to gently apply leverage to the valve handle.
- Protective Gloves: Wear gloves to protect your hands from dirt, rust, and sharp edges.
How to Proceed:
- Apply Penetrating Oil: Spray penetrating oil around the valve stem where it enters the valve body. Let it sit for 15-20 minutes to allow it to work its way in.
- Gentle Leverage: Using the adjustable wrench, gently try to turn the valve handle. Apply slow, steady pressure. Do not use excessive force! You risk breaking the valve.
- Work it Back and Forth: If the valve moves even a little, work it back and forth gently to help loosen it further. Continue applying penetrating oil as needed.
Important Safety Note: Be extremely careful when applying force to an old valve. If you feel any significant resistance or hear cracking sounds, stop immediately! You could be on the verge of breaking the valve and causing a leak.
Step 6: Checking for Internal Blockage (Requires More Skill & Caution)
If the valve seems to operate freely but the radiator/baseboard still isn't heating, there might be an internal blockage. This is more difficult to diagnose and often requires professional help. However, here's one step you *might* try, with extreme caution:
Flushing the Valve (Proceed with Extreme Caution & Only if Comfortable):
- Turn off the System: *Completely* shut down your heating/cooling system. This is crucial to prevent hot water from spraying everywhere.
- Isolate the Valve: If possible, close any upstream and downstream shut-off valves to isolate the valve you're working on. If you don't have shut-off valves, proceed with extreme caution knowing that you will be dealing with the full system pressure.
- Loosen the Connection: Carefully loosen the connection downstream of the valve (the side closer to the radiator/baseboard). Be prepared for some water to leak out. Have a bucket and towels ready.
- Open the Valve Briefly: Briefly open the valve to allow any debris to flush out. Then, quickly close the valve again.
- Tighten the Connection: Re-tighten the connection.
- Restart the System: Carefully restart your heating/cooling system and monitor for leaks.
Warning: This procedure carries a significant risk of leaks and scalding if not done correctly. If you are uncomfortable with any of these steps, STOP and call a qualified HVAC technician.
Step 7: Evaluating the Results
After attempting these steps, carefully evaluate the results:
- Did the radiator/baseboard heat up? If so, you've likely resolved the issue.
- Is there still a leak? If so, the valve may need to be repaired or replaced.
- Is the valve still stuck? If so, it may be beyond repair and require replacement.
When to Call a Professional
There are several situations where calling a professional HVAC technician is the best course of action:
- You are uncomfortable working with plumbing or heating/cooling systems.
- You suspect a major leak or system failure.
- The valve is severely corroded or damaged.
- You are unable to loosen a stuck valve stem.
- You suspect an internal blockage that you cannot clear safely.
- The problem persists after attempting the above steps.
- You are dealing with a zone valve or any valve connected to electrical components.
Remember: Your safety and the integrity of your heating/cooling system are paramount. If in doubt, always err on the side of caution and seek professional assistance. A qualified technician can accurately diagnose the problem, safely repair or replace faulty valves, and ensure your system is operating efficiently and effectively.
Preventative Maintenance
To prevent future valve problems, consider the following:
- Regular Inspections: Periodically inspect your valves for leaks and corrosion.
- Exercise the Valves: Once or twice a year, fully open and close each valve to prevent them from seizing up.
- Water Treatment: Consider using a water treatment system to reduce corrosion and scale buildup in your pipes and valves.
By understanding the difference between gate and globe valves and following these troubleshooting steps, you can often resolve minor heating/cooling issues yourself, saving time and money. However, always prioritize safety and don't hesitate to call a professional when needed.