Difference Between Type M And Type L Copper
Experiencing inconsistent heating or cooling in your home is a common headache. One minute you're shivering, the next you're sweating. Before you resign yourself to calling an HVAC technician, let's explore a potential culprit that often gets overlooked: your copper pipes. Specifically, understanding the difference between Type M and Type L copper and how it impacts your system's performance.
Understanding the Copper Connection
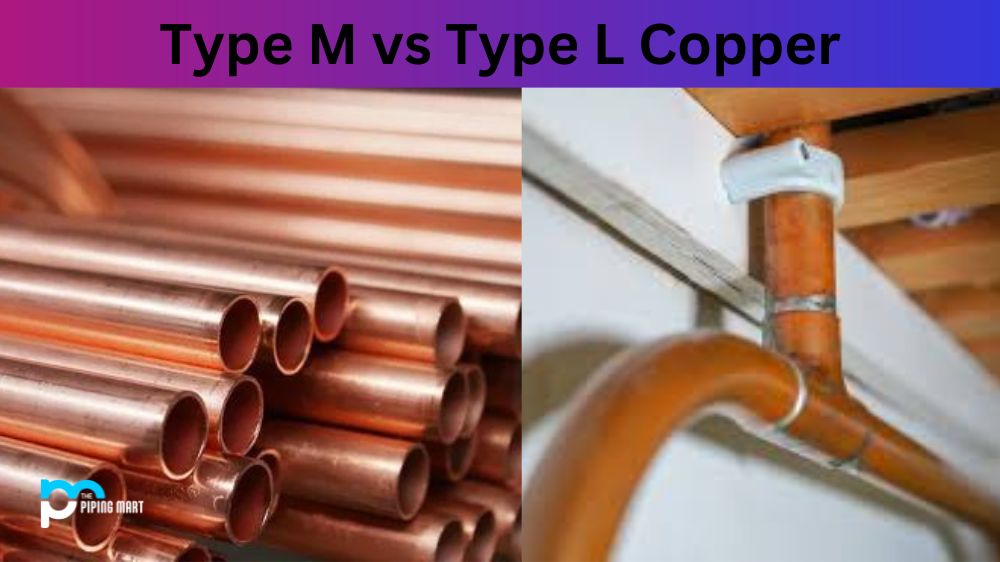
Copper pipes are a standard material for refrigerant lines in air conditioning and heat pump systems. The type of copper used plays a crucial role in the system's reliability and longevity. Choosing the wrong type can lead to leaks, reduced efficiency, and even system failure. That's where understanding Type M versus Type L comes in.
The Key Difference: Wall Thickness
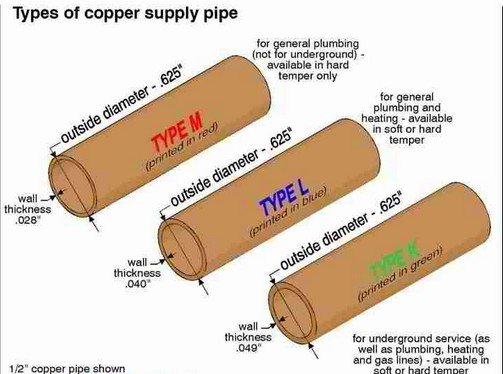
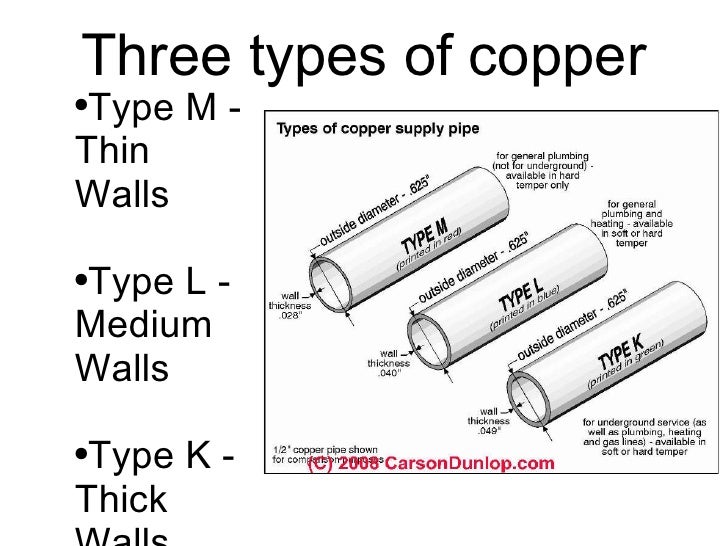
The primary difference between Type M and Type L copper is their wall thickness. Type L copper has a thicker wall than Type M. This seemingly small difference has significant implications for their suitability in various applications.
Type M Copper: This is the thinner of the two. It's typically used for residential plumbing, such as water supply lines and drain lines where pressure is lower. It's generally more affordable than Type L, making it a tempting option.
Type L Copper: With its thicker walls, Type L is more durable and can withstand higher pressures. It's often specified for HVAC refrigerant lines, medical gas lines, and other applications where reliability is paramount.
Why Wall Thickness Matters for HVAC Systems
HVAC systems, especially those using refrigerants, operate under significant pressure. Refrigerant cycles between liquid and gaseous states, constantly changing pressure levels within the lines. This constant stress can take a toll on the copper pipes.
Using Type M copper in a refrigerant line application is a recipe for disaster. The thinner walls are simply not designed to handle the pressures involved. Over time, the copper can weaken, leading to pinhole leaks and system failure. These leaks can release refrigerant into the environment, which is harmful and also reduces the system's cooling (or heating) capacity.
Troubleshooting Your HVAC System: A Step-by-Step Guide
If you suspect your HVAC system is underperforming, here's a methodical approach to diagnosing potential issues, focusing on copper lines as a possible problem area:
Step 1: Initial Assessment (No Tools Required)
Before grabbing any tools, start with a visual inspection and some basic observations:
- System Performance: Is the system blowing warm air when it should be cooling, or vice-versa? Is the airflow weak? Is the system running constantly without reaching the desired temperature?
- Unusual Noises: Are you hearing hissing or bubbling sounds coming from the outdoor unit (condenser) or the indoor unit (evaporator)? These sounds can indicate a refrigerant leak.
- Visible Signs of Leaks: Carefully inspect the copper lines, especially at joints and fittings. Look for signs of oil residue or corrosion. Refrigerant often carries oil, so an oily patch can be a sign of a leak. Also, check for ice buildup on the copper lines, which can occur near a leak as the refrigerant evaporates rapidly.
- Condensation Drain: Check the condensation drain line. A clogged drain can cause water to back up, potentially damaging components and affecting performance. Is the drain line clear and flowing freely?
- Air Filter: A dirty air filter restricts airflow, making the system work harder and reducing efficiency. Replace the filter if it's dirty. This is a simple fix that can often improve performance significantly.
Important Note: If you suspect a refrigerant leak, do not attempt to repair it yourself. Refrigerant handling requires specialized equipment and training. Contact a licensed HVAC technician immediately. Also, do not touch any electrical components with wet hands.
Step 2: Closer Inspection (Basic Tools Required)
If the initial assessment doesn't reveal the problem, you may need some basic tools for a closer look. Always turn off the power to the HVAC system at the breaker before proceeding.
- Multimeter: A multimeter can be used to check the voltage to the system and individual components. This can help identify electrical problems. (Caution: Working with electricity can be dangerous. If you're not comfortable using a multimeter, call a professional.)
- Fin Comb: The fins on the outdoor unit (condenser) and indoor unit (evaporator) can become bent or damaged, restricting airflow. Use a fin comb to straighten the fins.
- Wrench Set: A wrench set can be used to tighten loose fittings on the copper lines. However, be careful not to overtighten, as this can damage the fittings.
- Leak Detector (Optional): A refrigerant leak detector can help pinpoint the location of a leak. These detectors are relatively inexpensive and can be a useful tool for DIY troubleshooting. However, they require careful calibration and use.
Checking for Copper Pipe Type: Look for markings on the copper pipes. Type M copper is typically marked with red lettering, while Type L copper is marked with blue lettering. If you find Type M copper used in refrigerant lines, this is a critical issue that needs to be addressed by a professional.
Step 3: Identifying Potential Issues Related to Copper Lines
Based on your observations and using the tools mentioned above, consider these potential issues related to copper lines:
- Improper Copper Type: As mentioned earlier, using Type M copper in refrigerant lines is a major problem. If you find this, the lines need to be replaced with Type L copper by a qualified HVAC technician.
- Corrosion: Corrosion on copper lines can weaken them and lead to leaks. Look for green or blue deposits on the surface of the copper.
- Kinks or Dents: Kinks or dents in the copper lines can restrict refrigerant flow and reduce system efficiency.
- Loose Fittings: Loose fittings can cause refrigerant leaks. Try tightening the fittings with a wrench, but be careful not to overtighten.
- Improper Brazing: The joints between copper pipes are typically brazed together. Poor brazing can lead to leaks. Look for signs of incomplete or uneven brazing.
DIY Actions (Proceed with Caution)
Here are a few simple DIY actions you can take, only if you are comfortable and confident in your abilities:
- Replace the Air Filter: As mentioned earlier, a clean air filter is essential for proper system performance.
- Straighten Fins: Use a fin comb to straighten any bent or damaged fins on the outdoor and indoor units.
- Clear the Condensation Drain: Use a wet/dry vacuum or a stiff wire to clear any clogs in the condensation drain line.
- Tighten Loose Fittings (Carefully): Use a wrench to gently tighten any loose fittings on the copper lines. Do not overtighten.
Important Safety Reminders:
- Always turn off the power to the HVAC system at the breaker before working on it.
- Wear safety glasses to protect your eyes.
- Be careful when working with tools to avoid injury.
- If you're not comfortable with any of these tasks, call a professional.
When to Call a Professional HVAC Technician
While some issues can be addressed with DIY solutions, many problems require the expertise of a qualified HVAC technician. Here are some situations where professional help is essential:
- Refrigerant Leaks: Refrigerant handling requires specialized equipment and training. Do not attempt to repair refrigerant leaks yourself.
- Improper Copper Type: Replacing Type M copper with Type L copper in refrigerant lines is a complex task that requires brazing and refrigerant handling skills.
- Electrical Problems: Diagnosing and repairing electrical problems in an HVAC system can be dangerous.
- Compressor Issues: The compressor is the heart of the HVAC system. If you suspect a compressor problem, call a professional.
- Any Issue You're Unsure About: If you're not comfortable or confident in your abilities, it's always best to err on the side of caution and call a professional.
In summary, understanding the difference between Type M and Type L copper is crucial for maintaining a healthy and efficient HVAC system. While some troubleshooting and minor repairs can be done yourself, complex issues and refrigerant handling should always be left to the professionals. By following these steps, you can better diagnose potential problems and make informed decisions about when to seek professional help, ultimately ensuring the comfort and safety of your home.