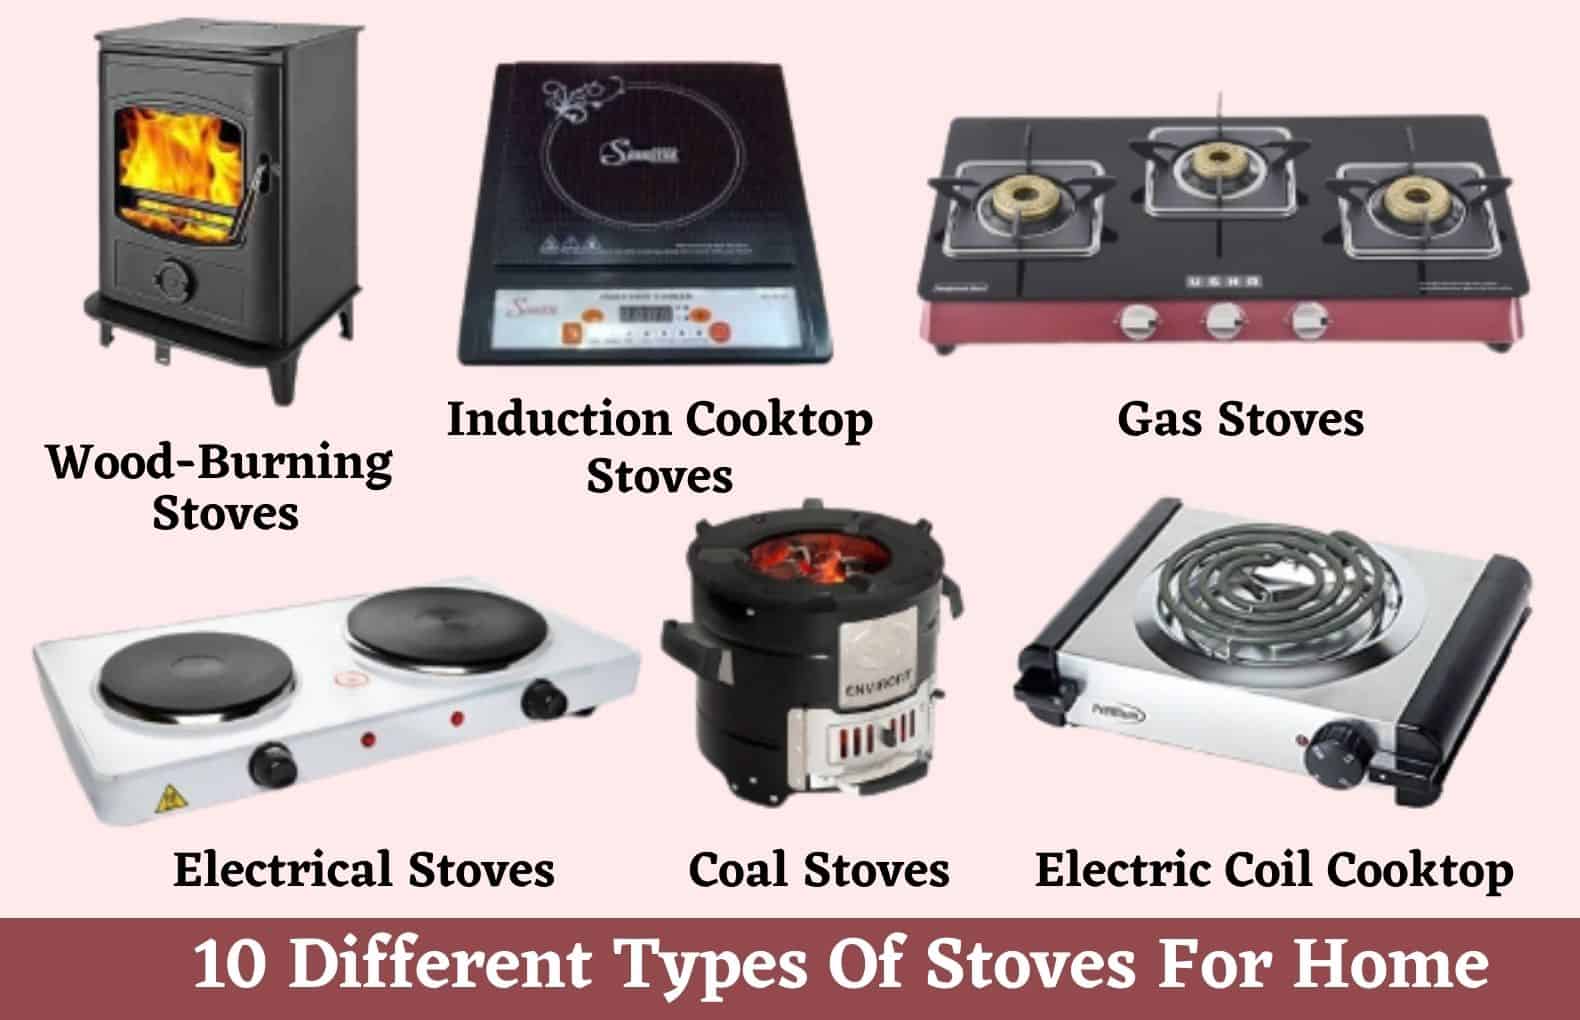
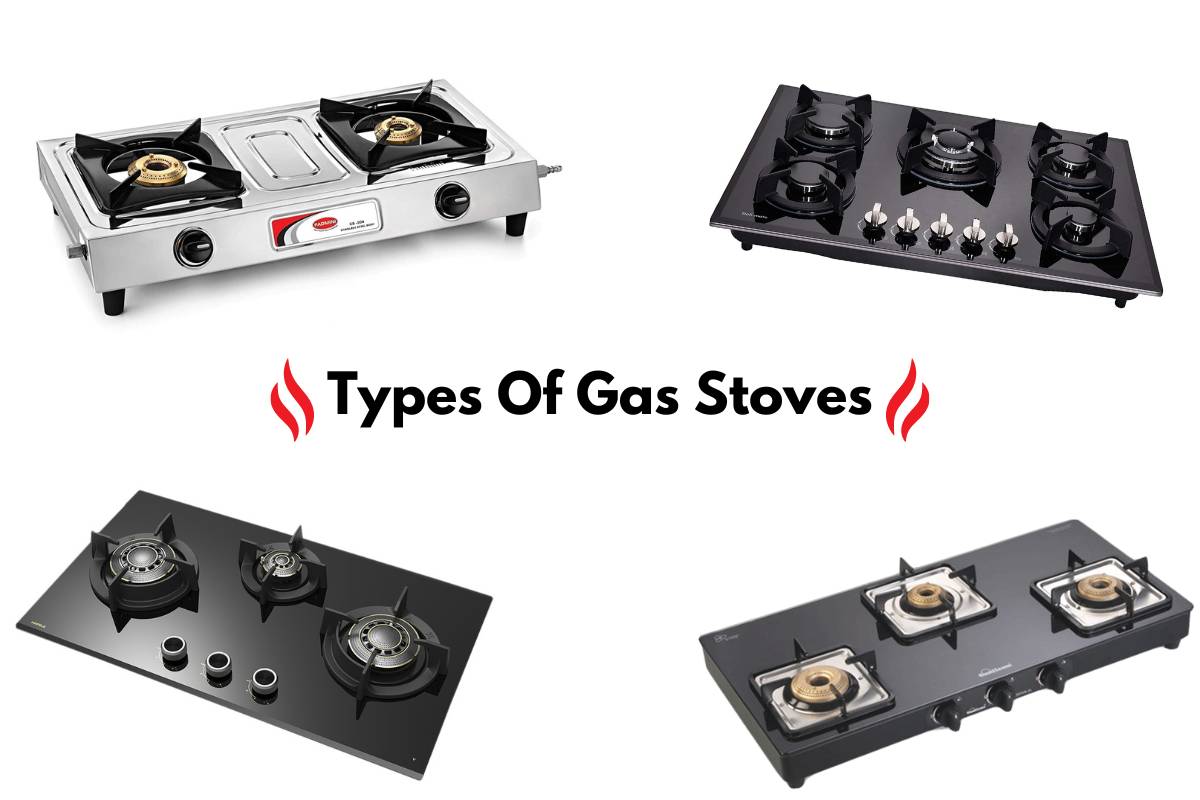
Different Types Of Stove Burners
One of the most frustrating kitchen experiences is a stove burner that refuses to cooperate. Whether it's not lighting, heating unevenly, or sparking incessantly, a faulty burner can disrupt your cooking routine and leave you feeling helpless. But before you call in a repair technician, let's explore some common burner issues and how you can troubleshoot them safely and effectively. This guide will cover various types of stove burners and offer actionable steps to get your kitchen back in order.
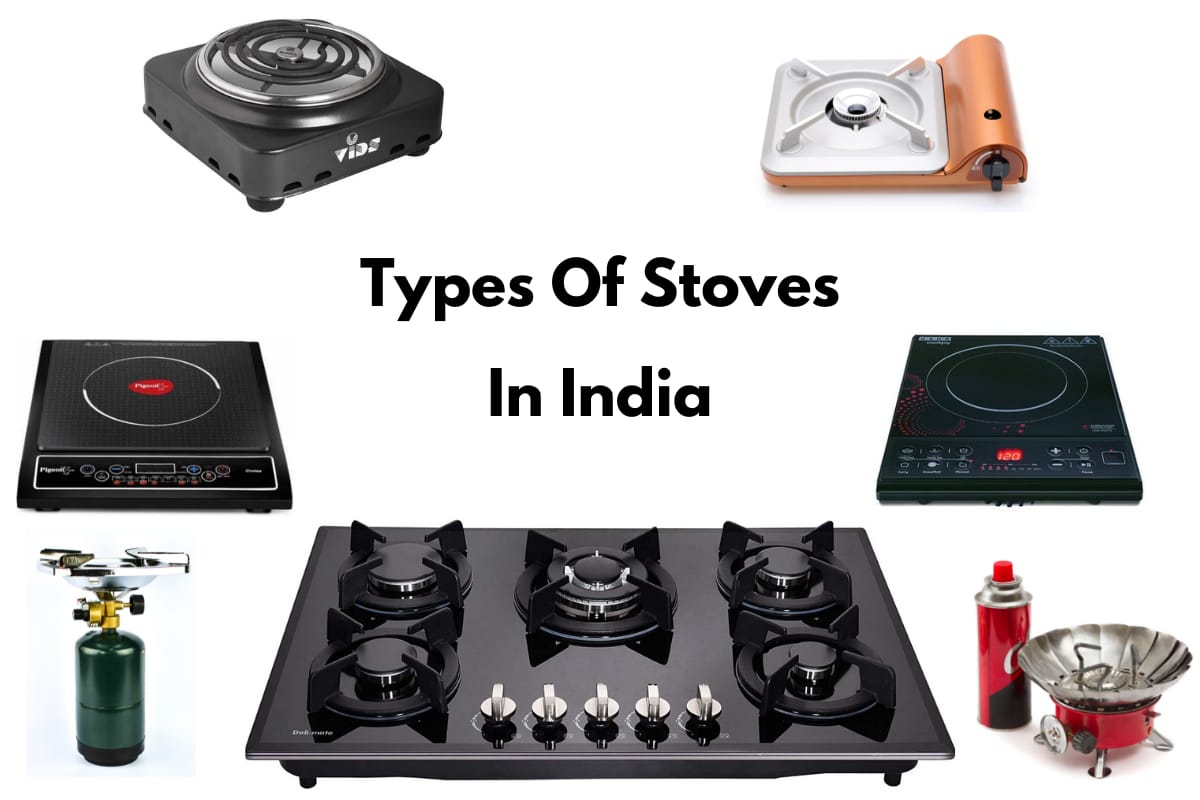
Understanding Your Stove Burner Type
First, it's essential to identify the type of burner you're dealing with. This will dictate the troubleshooting steps you take.
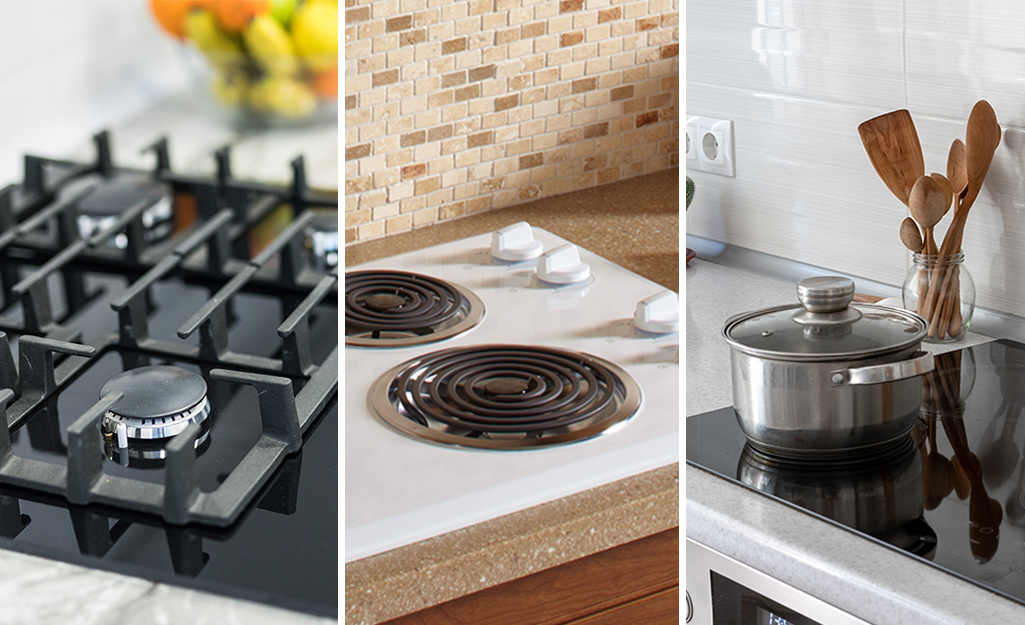
Electric Coil Burners
These are the most common and recognizable type, found in older electric stoves. They consist of a coiled metal element that heats up when electricity passes through it. They are relatively simple to diagnose and repair.
Electric Smooth Top (Radiant) Burners
These burners are located beneath a smooth glass or ceramic cooktop. They heat up the surface above, which then cooks the food. There are different types of radiant burners including ribbon, halogen, and induction. We will focus on ribbon radiant burners in this guide.
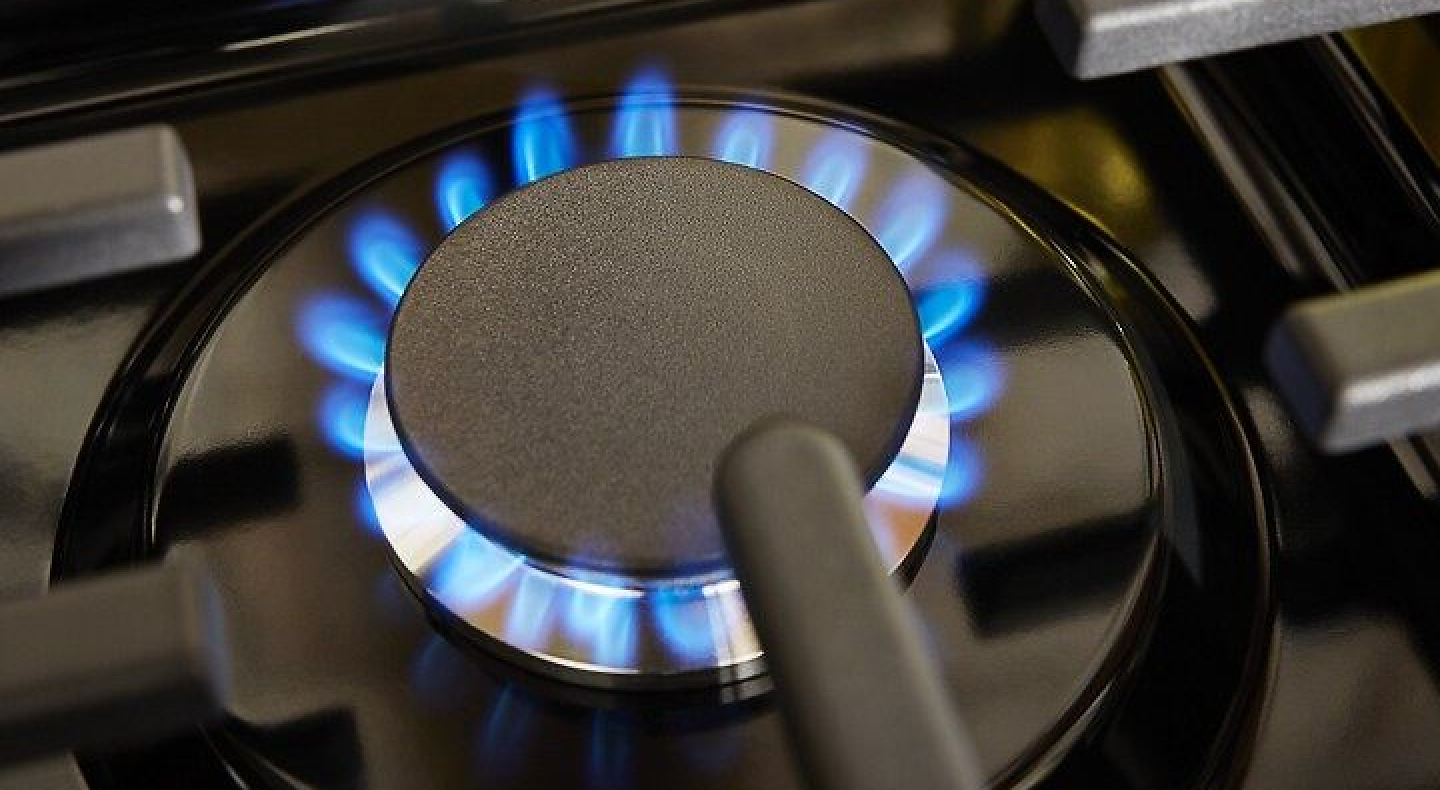
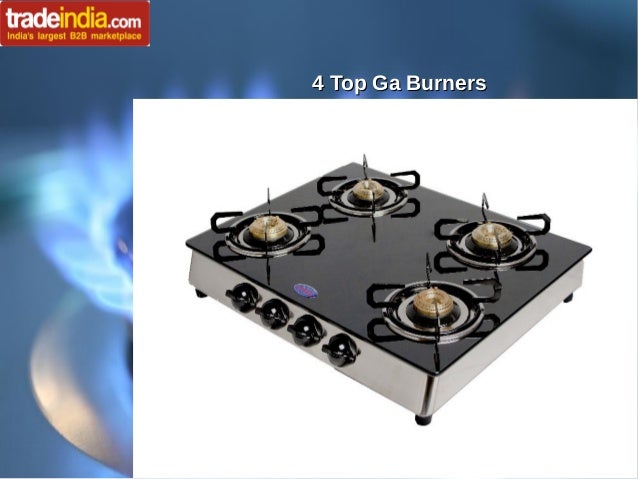
Gas Burners
Gas burners use natural gas or propane to create a flame for cooking. They have a burner head with small holes or ports where the gas escapes and ignites. These burners require proper gas flow and ignition to function correctly.
Common Problem: Burner Not Lighting or Heating
Let's address the most common issue: a burner that refuses to light or heat up.
Troubleshooting Electric Coil Burners
Step 1: Visual Inspection. Carefully examine the coil. Look for any obvious signs of damage, such as breaks, blisters, or warping. If you see any of these, the burner likely needs replacing. Do this with the burner cool and the stove unplugged.
Step 2: Check the Connections. Unplug the stove. Lift the burner up slightly and then pull it away from the stove. Inspect the terminals (the prongs that plug into the stove). Make sure they are clean and free of corrosion. Use a dry cloth or a wire brush to gently clean them if needed.
Step 3: Test the Burner with a Multimeter. This requires some basic electrical knowledge. If you're uncomfortable with this step, skip to the next. Set your multimeter to the ohms setting (resistance). Touch the probes of the multimeter to the two terminals of the burner. A good burner should show some resistance, usually between 15 and 50 ohms. If the multimeter reads "OL" (open line) or a very high resistance, the burner is likely faulty and needs to be replaced.
Step 4: Check the Receptacle. Look into the receptacle where the burner plugs in on the stove. Make sure the contacts are clean and not bent. Sometimes, the receptacle itself can fail. If you suspect this, you'll need to test it with a multimeter while the stove is plugged in (exercise extreme caution!), or consult a professional.
Step 5: Burner Replacement. If the burner is damaged, corroded, or fails the multimeter test, replacing it is usually the best option. Replacement burners are readily available at appliance stores and online retailers. Make sure to purchase the correct burner for your stove model.
Troubleshooting Electric Smooth Top (Radiant) Burners
Step 1: Visual Inspection. Examine the glass cooktop for any cracks or damage around the burner area. A cracked cooktop is a serious safety hazard and should be addressed by a professional immediately.
Step 2: Check the Control Knob and Switch. Ensure the control knob is functioning correctly. Sometimes, the knob itself can become damaged or loose, preventing it from properly activating the burner. Try wiggling the knob or trying a different burner's knob (if possible) to see if that makes a difference.
Step 3: Check the Surface Element. Look closely at the surface element under the glass. If you see any blistering, breaks or discoloration on the element itself, it's likely burned out and needs replacing. Do not attempt to repair this, replace the entire element.
Step 4: Test the Burner with a Multimeter. (Advanced) Unplug the stove. Accessing the radiant burner element typically involves removing screws or clips that hold the cooktop in place. Consult your stove's service manual for specific instructions. Once you've accessed the burner element, disconnect the wires connected to it. Use a multimeter set to ohms to test the resistance of the element. A functioning element should show some resistance. An open line (OL) reading indicates a failed element.
Step 5: Surface Element Replacement. If the element is faulty, replace it with a new one. Make sure to purchase the correct element for your stove model. Follow the instructions in your service manual for proper installation.
Troubleshooting Gas Burners
Step 1: Check the Gas Supply. Ensure the gas supply to your stove is turned on. Check the gas valve behind the stove and make sure it's in the "on" position. Also, check if other gas appliances in your home are working. If none are working, there may be a problem with your main gas supply. Contact your gas company immediately.
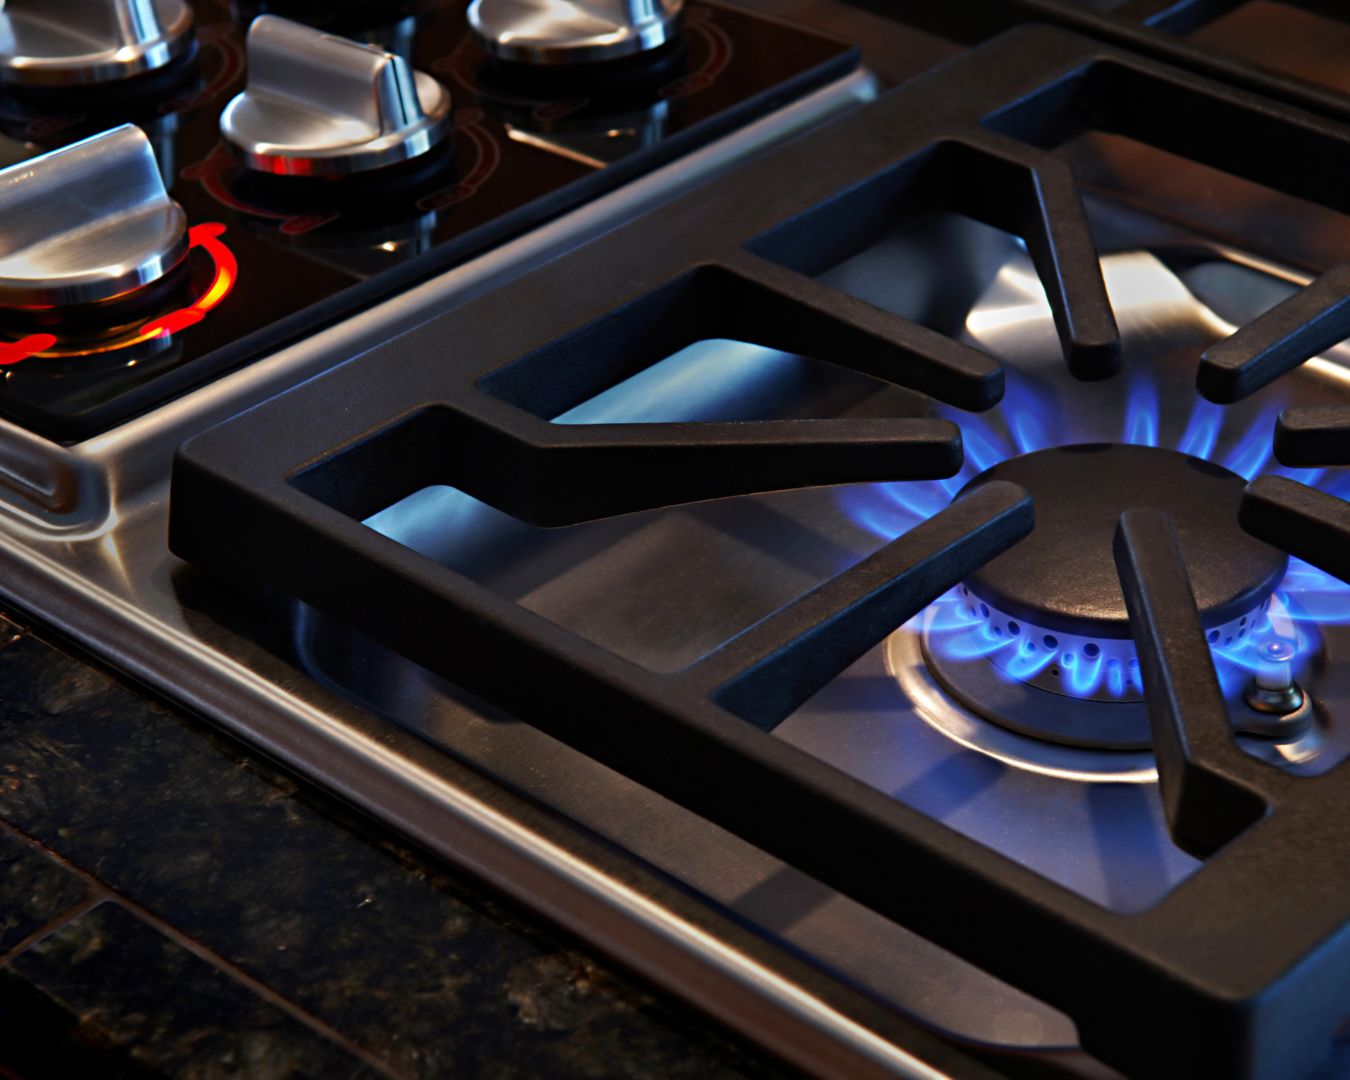
Step 2: Clean the Burner Ports. Over time, burner ports can become clogged with food debris and grease, preventing the gas from flowing properly. Remove the burner cap and burner head. Use a stiff wire brush, a sewing needle, or a specialized burner cleaning tool to carefully clean each port. Be gentle to avoid enlarging the ports.
Step 3: Check the Igniter. When you turn on the burner, you should hear a clicking sound from the igniter. If you don't hear anything, the igniter may be faulty. Look at the igniter while turning on the burner. If you don't see a spark, the igniter needs to be cleaned or replaced.
Step 4: Clean the Igniter. Use a dry cloth or a cotton swab to gently clean the igniter. Make sure it's free of grease and debris. Sometimes, simply cleaning the igniter is enough to get it working again.
Step 5: Check the Spark Module. (Advanced) The spark module is the component that generates the spark for the igniter. If the igniter is clean and still not sparking, the spark module may be faulty. Testing the spark module requires some electrical knowledge and specialized tools. Consult a professional for this.
Step 6: Check the Flame Sensor (Thermocouple). (For some gas stoves) Some gas stoves have a flame sensor (thermocouple) that detects the presence of a flame and keeps the gas valve open. If the flame sensor is faulty, the burner may light briefly but then go out. The thermocouple is usually a thin metal rod located near the burner. Clean it gently with fine steel wool. If it's damaged, it may need to be replaced.
Uneven Heating Problems
Sometimes, a burner may light but heat unevenly.
Electric Coil Burners
An unevenly heating coil burner usually indicates a problem with the coil itself. There might be a break or a weak spot in the coil. Replacing the burner is the most effective solution.
Electric Smooth Top (Radiant) Burners
Uneven heating on a radiant burner can be caused by a faulty element or a problem with the control switch. If you suspect a faulty element, test it with a multimeter as described above. If the element tests good, the problem may be with the control switch, which may require professional repair.
Gas Burners
Uneven heating on a gas burner is often caused by clogged burner ports. Make sure all the ports are clean and free of debris. Also, check the burner cap to ensure it's properly seated on the burner head. If the flame is still uneven after cleaning, the burner head may be damaged or warped and need to be replaced.
Burner Sparking Continuously
A burner that sparks continuously even when not in use is another common problem.
Gas Burners
Moisture: Often, this is caused by moisture or food debris near the igniter. Clean the igniter and the surrounding area thoroughly. Let it dry completely before turning the stove back on.
Faulty Spark Module: If cleaning doesn't resolve the issue, the spark module may be faulty and sending a continuous signal to the igniter. This requires professional diagnosis and repair.
Short Circuit: Less commonly, a short circuit in the wiring can cause continuous sparking. This is a safety hazard and should be addressed by a professional immediately.
When to Call a Professional
While many burner problems can be resolved with simple DIY troubleshooting, there are certain situations where it's best to call a qualified appliance repair technician.
- Gas Leaks: If you smell gas or suspect a gas leak, immediately turn off the gas supply to the stove and call your gas company or a qualified gas technician. Do not attempt to repair a gas leak yourself.
- Electrical Shocks: If you experience an electrical shock while working on your stove, stop immediately and call an electrician.
- Damaged Cooktop: A cracked or damaged glass cooktop is a safety hazard and should be addressed by a professional.
- Complex Electrical Problems: If you're not comfortable working with electricity or you suspect a complex electrical problem, it's best to leave the repair to a professional.
- Spark Module Issues: Diagnosing and repairing spark module issues in gas stoves often requires specialized tools and knowledge.
- Control Board Problems: Issues related to the control board of your stove should be addressed by a professional.
Safety Precautions
Before attempting any repairs, it's crucial to take the following safety precautions:
- Disconnect Power: Always unplug the stove from the power outlet before working on electrical components.
- Turn Off Gas: If working on a gas stove, turn off the gas supply to the stove.
- Wear Gloves: Wear insulated gloves to protect your hands from electrical shocks and burns.
- Use Proper Tools: Use the correct tools for the job to avoid damaging components or injuring yourself.
- Read the Manual: Consult your stove's owner's manual for specific instructions and safety information.
Final Thoughts
Troubleshooting stove burners can seem daunting, but by understanding the different types of burners and following these step-by-step instructions, you can often diagnose and fix the problem yourself. Remember to prioritize safety and know when to call a professional. With a little patience and effort, you can get your stove back in working order and enjoy cooking without frustration.