Direct Drive Fan Vs Belt Driven
A common frustration for homeowners is inconsistent heating or cooling. You might notice some rooms are significantly warmer or cooler than others, or that your system seems to run constantly without achieving the desired temperature. Before you call a professional, understanding the type of fan driving your HVAC system – direct drive or belt driven – can help you pinpoint and possibly even fix the problem yourself.
Understanding Your Fan Type
The fan is responsible for moving air across the heating or cooling coils and distributing it throughout your home. Knowing whether you have a direct drive or belt-driven system is the first step.
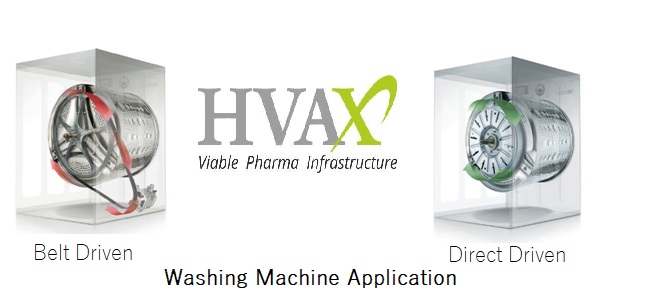
Direct Drive Fans
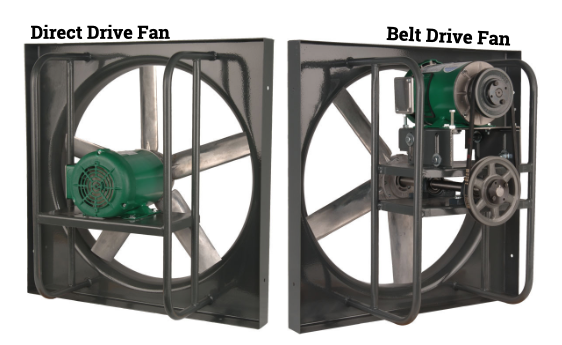
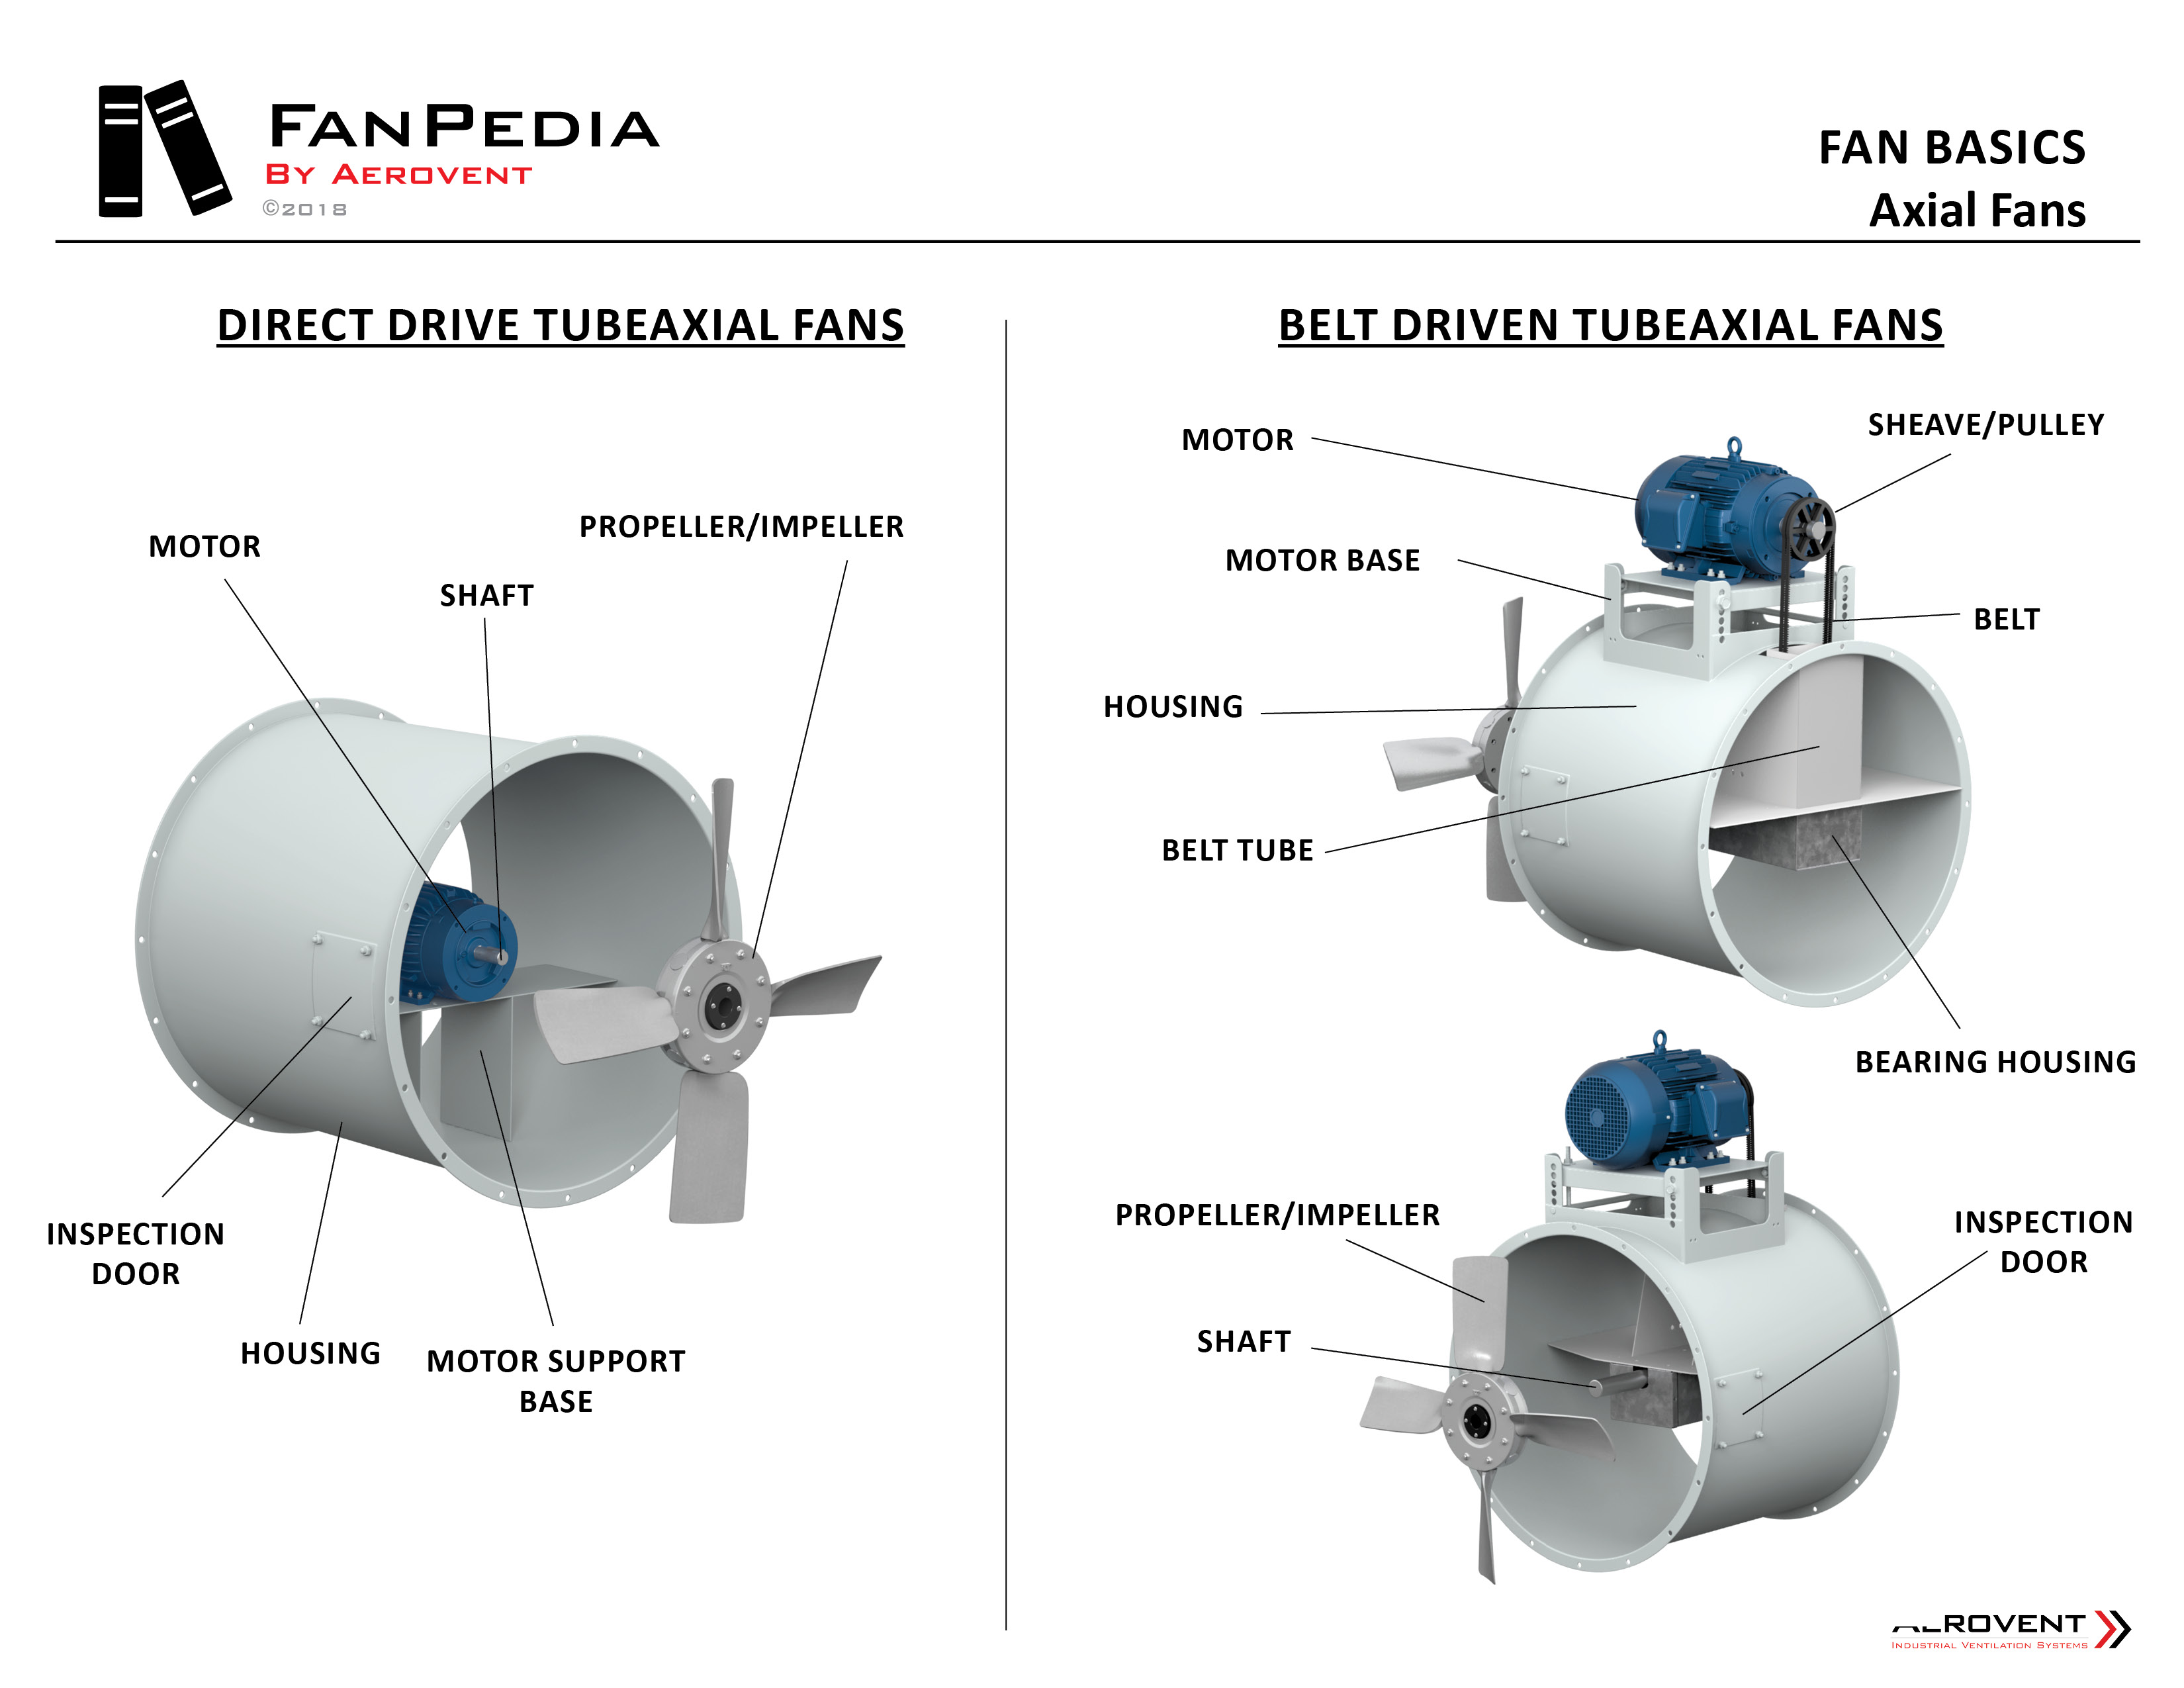
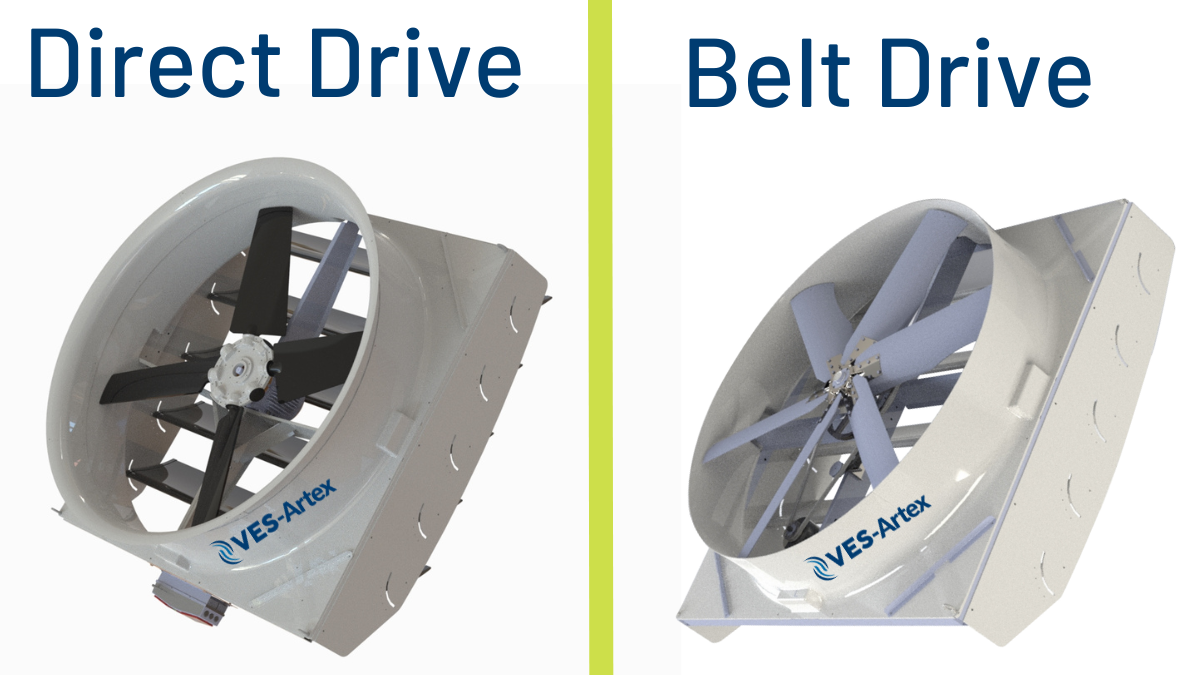
In a direct drive system, the fan motor is directly connected to the blower wheel. This means the motor spins the fan wheel directly, without any belts or pulleys. These are generally found in newer, more compact HVAC systems.
Belt Driven Fans
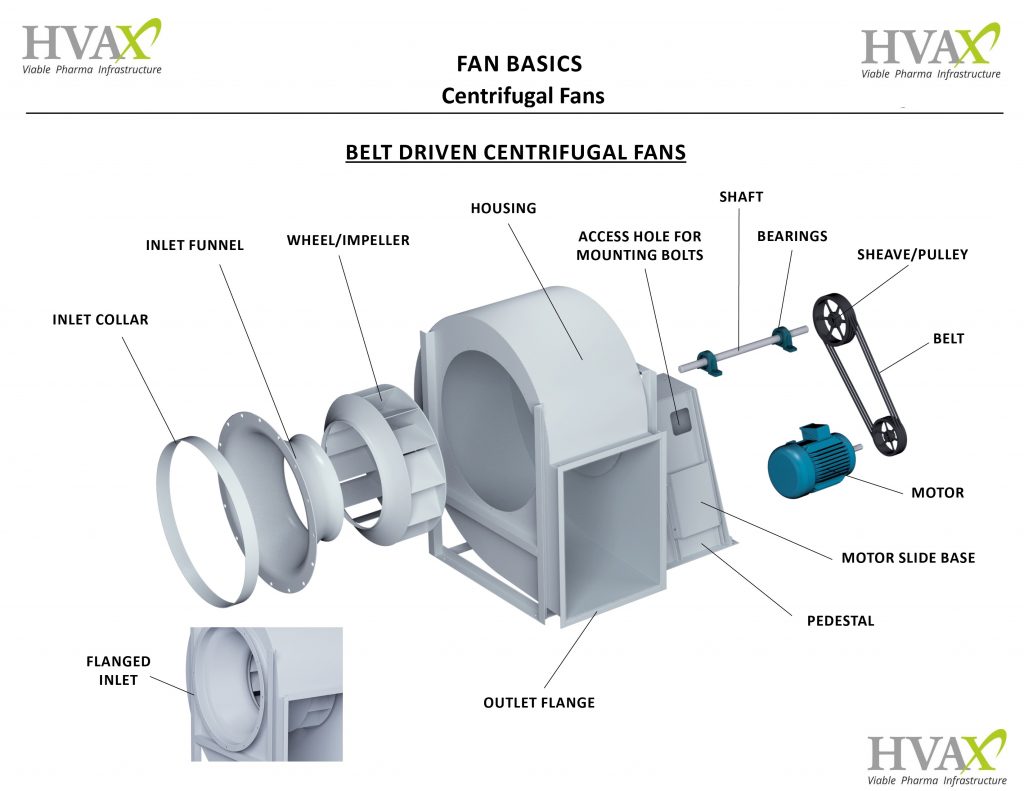
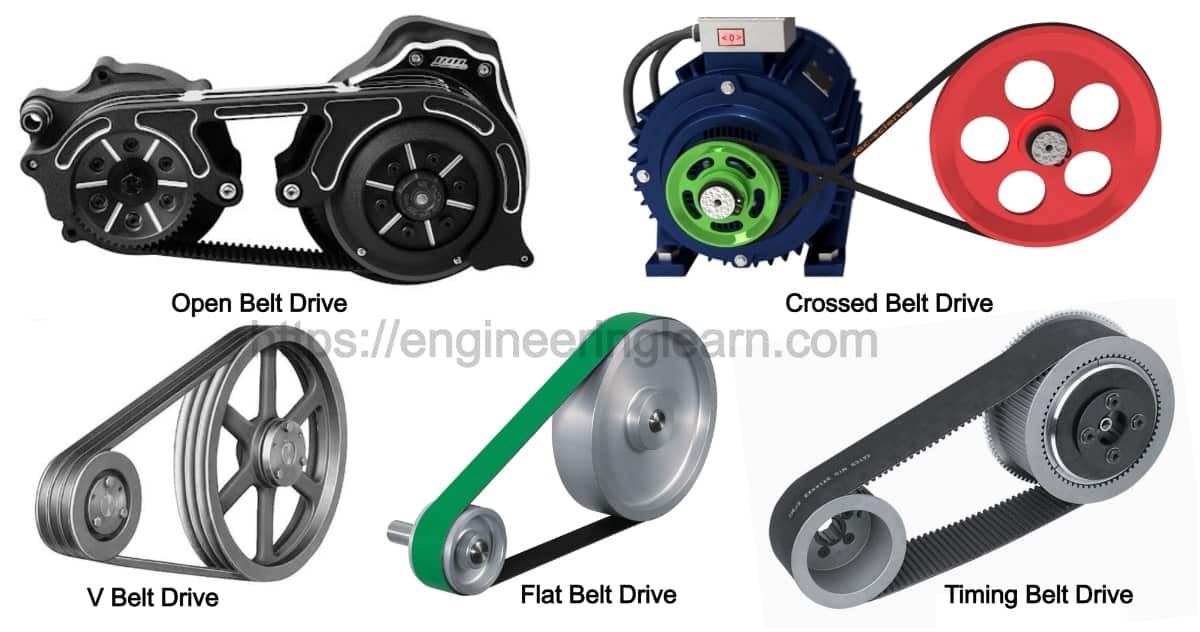
Belt-driven systems use a motor connected to the blower wheel via a belt and pulleys. The motor spins the pulley, which in turn rotates the belt and drives the blower wheel. These are often found in older or larger systems.
How to Identify Your Fan Type: The easiest way to tell is to visually inspect your system. Remove the access panel to your furnace or air handler (always turn off the power at the breaker first!). Look for a belt connecting the motor to the blower wheel. If you see a belt, it's belt-driven. If the motor is directly attached to the blower wheel, it's direct drive.
Troubleshooting Inconsistent Heating or Cooling
Now that you know your fan type, let's get to the troubleshooting. We'll follow a methodical approach, starting with the easiest checks and progressing to more involved steps.
Step 1: Basic Checks (No Tools Required)
These are the simplest things to check and can often resolve the issue quickly.
- Check Your Thermostat: Make sure it's set to the correct mode (heat or cool) and temperature. A surprisingly large number of problems are due to incorrect thermostat settings. Also, ensure the thermostat is getting power – replace the batteries if necessary.
- Check Air Filters: A clogged air filter is the most common cause of poor airflow and inconsistent temperatures. A dirty filter restricts airflow, forcing your system to work harder and less efficiently. Hold the filter up to a light. If you can't see light easily through it, it's time to replace it. Replace it immediately!
- Check Vents and Registers: Make sure all supply vents (where air comes out) and return vents (where air goes back in) are open and unobstructed. Furniture, rugs, and even curtains can block airflow.
- Listen for Unusual Noises: Pay attention to any strange noises coming from your furnace or air handler, such as squealing, grinding, or rattling. These noises can indicate a mechanical problem.
Step 2: Direct Drive Fan Troubleshooting (Minimal Tools Needed)
If the basic checks didn't solve the problem, and you have a direct drive system, here are some things you can investigate:
- Visually Inspect the Blower Wheel: With the power off, visually inspect the blower wheel for any obstructions. Debris like leaves, dust bunnies, or even small toys can get lodged in the blower wheel and impede its function. Use a flashlight to get a good look. Remove any visible obstructions carefully.
- Check the Motor for Overheating: After the system has been running for a while, carefully (without touching any electrical connections) feel the motor housing. If it's excessively hot to the touch (you can't hold your hand on it for more than a few seconds), it might be overheating. This could indicate a problem with the motor itself, like a failing capacitor or winding issue. If the motor is overheating, turn off the system and call an HVAC professional.
- Inspect the Motor Mounts: Ensure the motor is securely mounted to the blower housing. Loose motor mounts can cause vibration and noise, reducing efficiency. Tighten any loose screws (with the power off, of course!).
- Check the Capacitor (Advanced - Requires Caution): This is a cylindrical component near the motor. Be extremely careful! Capacitors can store a dangerous electrical charge even after the power is off. Ideally, discharge the capacitor with a resistor before touching it. If you're not comfortable with this, skip this step and call a professional. Look for signs of bulging, leaking, or corrosion. A faulty capacitor can prevent the motor from starting or running properly. Replacing a capacitor is a relatively simple repair, but requires understanding electrical safety and sourcing the correct replacement.
Tools Needed for Direct Drive Troubleshooting: Flashlight, screwdriver (Phillips and flathead).
Step 3: Belt Driven Fan Troubleshooting (Minimal Tools Needed)
If you have a belt-driven system, the belt is a prime suspect when you experience airflow problems.
- Visually Inspect the Belt: Check the belt for wear and tear. Look for cracks, fraying, glazing (a shiny appearance), or missing chunks. A worn belt will slip, reducing the speed of the blower wheel and decreasing airflow.
- Check Belt Tension: The belt should have some give but not be excessively loose. You should be able to deflect the belt about ½ to ¾ of an inch in the middle between the pulleys. A loose belt will slip, while a belt that is too tight can put excessive strain on the motor and blower bearings.
- Adjust Belt Tension (If Necessary): Most belt-driven systems have an adjustable motor mount that allows you to tighten or loosen the belt. Loosen the bolts holding the motor in place, adjust the motor position to achieve the correct belt tension, and then tighten the bolts. Consult your system's manual for specific instructions on belt tension adjustment. If you can’t find the specific adjustment, try to get the same deflection of the belt on both sides of the pulleys.
- Check Pulley Alignment: Ensure that the motor pulley and blower pulley are aligned. Misalignment can cause the belt to wear prematurely and reduce efficiency. A simple visual check is usually sufficient, but a straightedge can be used for more precise alignment. Loosen the bolts holding the motor in place and adjust its position until the pulleys are aligned.
- Inspect the Pulleys: Check the pulleys for damage, such as cracks or chips. Also, clean any debris or build-up from the pulley grooves.
Tools Needed for Belt Driven Troubleshooting: Flashlight, screwdriver (Phillips and flathead), wrench (for adjusting motor mount).
Step 4: When to Call a Professional
While many of these troubleshooting steps are relatively simple, some problems require the expertise and tools of a qualified HVAC technician. Do not attempt repairs you are uncomfortable with or that involve working with electrical components if you lack experience.
Call a professional if:
- You suspect a refrigerant leak. Refrigerant handling requires specialized equipment and certification.
- The motor is overheating. This could indicate a serious electrical or mechanical problem.
- You see signs of electrical arcing or burning. This is a fire hazard.
- You are uncomfortable working with electrical components, such as capacitors or wiring.
- You cannot identify the source of the problem after performing the above checks.
- The problem persists after you've tried the DIY solutions.
- You're dealing with high voltage components.
- Your unit is still under warranty. Attempting repairs yourself might void the warranty.
- You notice a burning smell coming from the unit.
- You hear loud banging or grinding noises.
Preventative Maintenance
The best way to avoid heating and cooling problems is to perform regular preventative maintenance. Here are a few tips:
- Change your air filter regularly. At least every 1-3 months, or more frequently if you have pets or allergies.
- Schedule annual HVAC maintenance with a qualified technician. They can inspect and clean your system, identify potential problems before they become major issues, and ensure that your system is running efficiently.
- Keep the area around your outdoor unit clear of debris. This will ensure proper airflow.
- Periodically inspect your system for any signs of damage or wear and tear.
- If you have a belt-driven system, check the belt tension and condition regularly.
By following these troubleshooting steps and performing regular maintenance, you can often resolve minor heating and cooling problems yourself and keep your HVAC system running smoothly. However, remember that safety is paramount. When in doubt, call a qualified HVAC professional.