Discharge Ac Capacitor
It's a sweltering summer day, and your air conditioner decides to take a vacation of its own. One of the most common culprits behind this sudden cooling crisis is a failing, or failed, discharge AC capacitor. Before you call an expensive HVAC technician, let's explore how to diagnose and potentially fix this issue yourself, saving you time and money.
Understanding the Discharge AC Capacitor
First, let's understand what this little component does. The AC capacitor is essentially a battery for your air conditioner's motors, primarily the compressor and the fan motor. It provides the initial jolt of power needed to start these motors, which require significantly more energy to get going than to keep running. Think of it like pushing a swing – it takes a big push to get it moving, but less effort to keep it going.
A failing capacitor can manifest in several ways:
- The AC unit hums but the fan doesn't spin.
- The AC unit struggles to start, clicking or making a strained noise.
- The AC unit shuts down shortly after starting.
- The AC unit produces weak or no cold air.
These symptoms could point to other problems, but a faulty capacitor is a prime suspect and relatively easy to check.
Safety First! EXTREME CAUTION REQUIRED
Working with electricity can be dangerous, even deadly. Before you begin any troubleshooting, follow these safety precautions religiously:
- Turn off the power. Locate the breaker that controls your outdoor AC unit and switch it off. Double-check that the AC unit is completely powered down. Use a non-contact voltage tester to confirm.
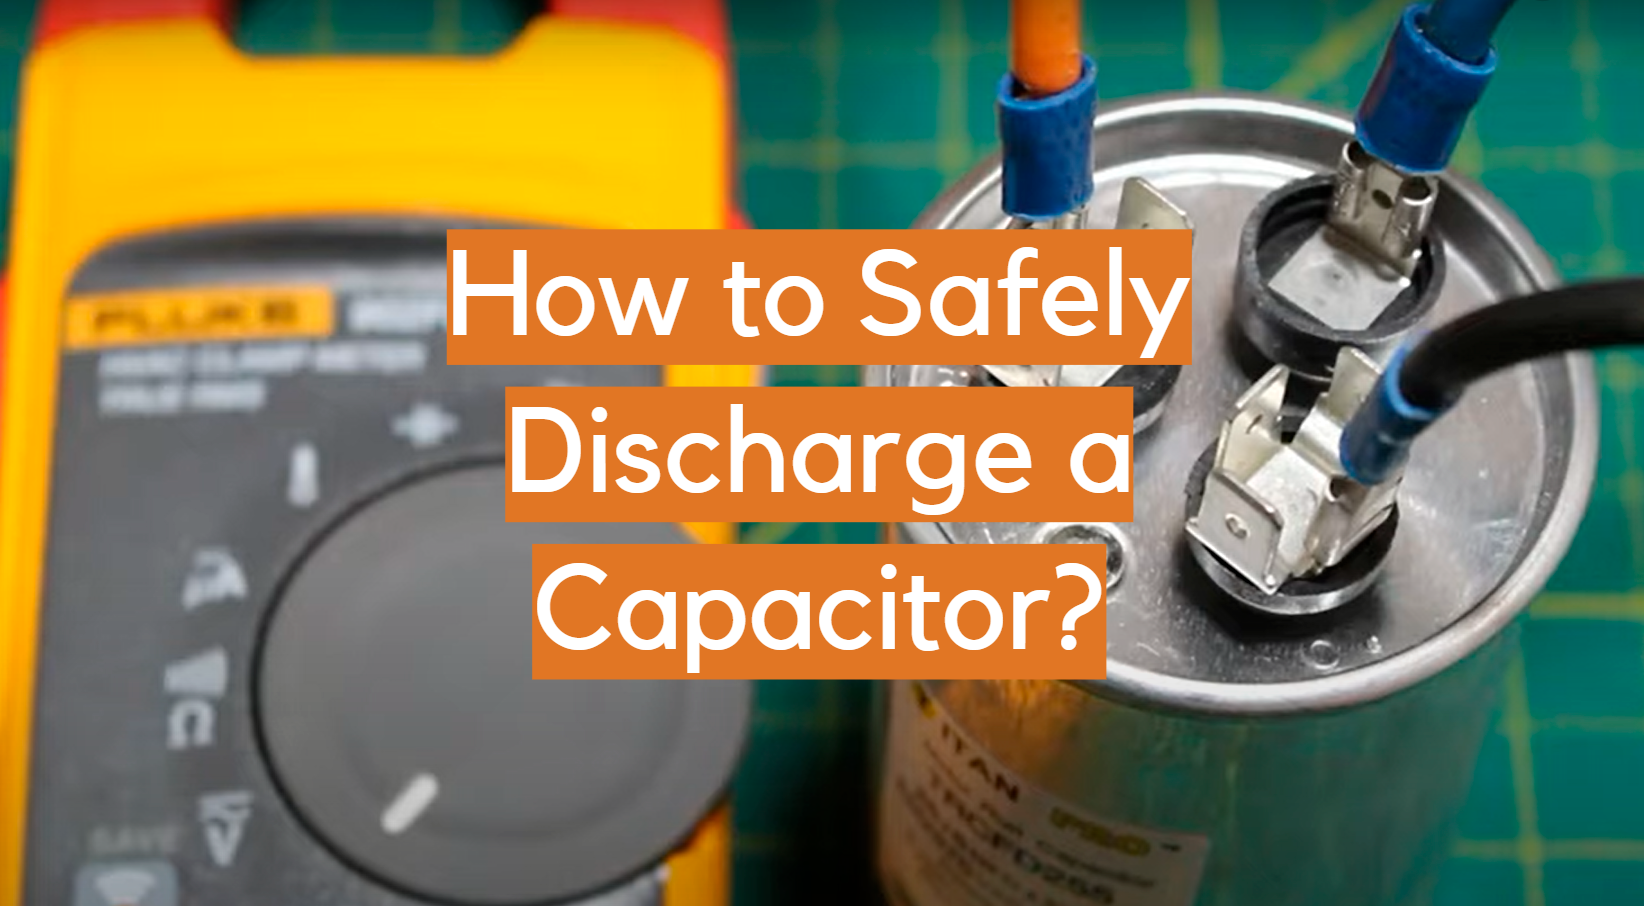
- Wait and Discharge: Even with the power off, the capacitor can store a dangerous electrical charge. Wait at least 5 minutes for it to self-discharge. Ideally, you should manually discharge the capacitor (explained below).
- Wear safety glasses. Protect your eyes from potential sparks or debris.
- Use insulated tools. This is crucial for preventing electrical shock.
- If you're uncomfortable with any of these steps, STOP and call a qualified HVAC technician. Your safety is paramount.
Diagnosis: Checking the Capacitor
Now that we've covered safety, let's get to diagnosing the capacitor.
Step 1: Locate the Capacitor
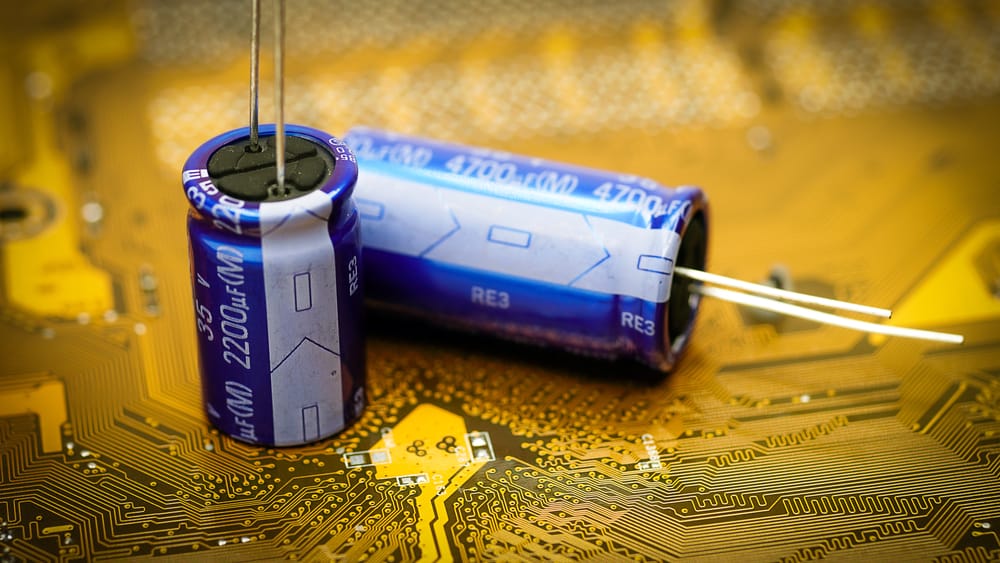
The capacitor is usually found inside the outdoor AC unit. It's typically a cylindrical component, often silver or gray, with wires connected to it. You'll need to remove the access panel to the electrical compartment. This panel is usually held in place by screws.
Step 2: Visual Inspection
Carefully examine the capacitor for any signs of damage:
- Bulging: A bulging capacitor is a clear sign of failure. The top or sides of the cylinder might be swollen.
- Leaking: Look for signs of oil or residue leaking from the capacitor.
- Rust or Corrosion: Rust or corrosion around the terminals can indicate a problem.
- Burn marks: Obvious burn marks indicate a serious failure.
If you see any of these signs, the capacitor is likely bad and needs to be replaced.
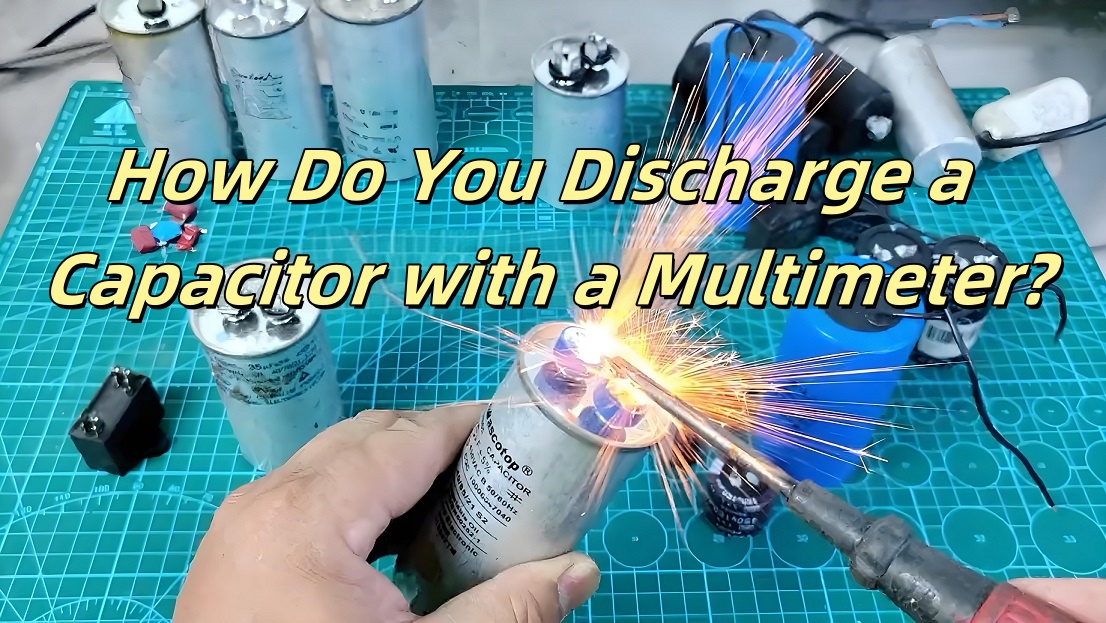
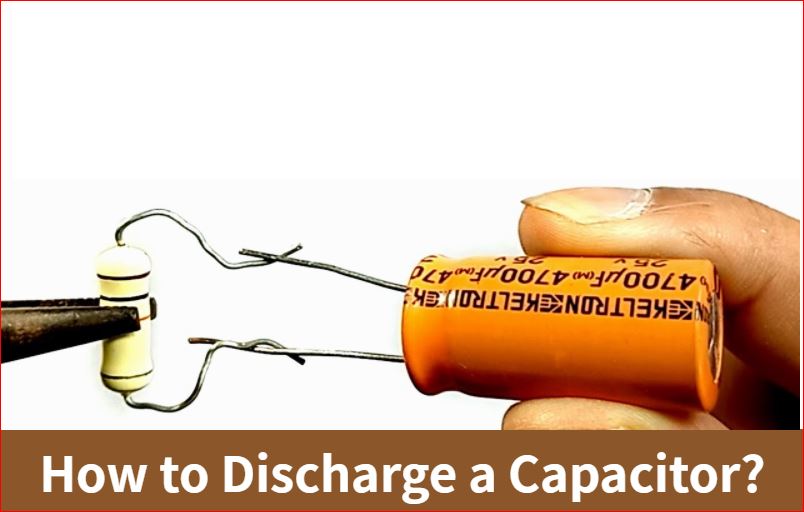
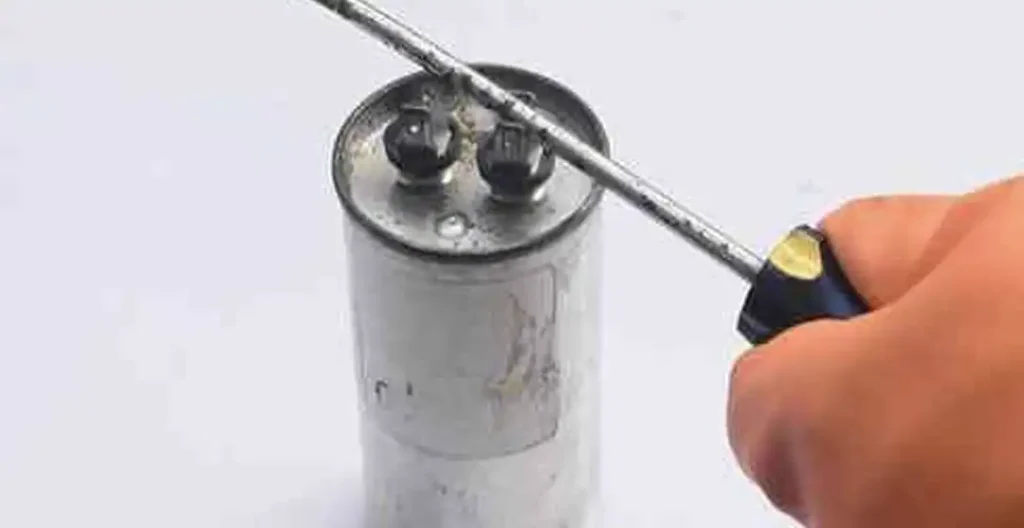
Step 3: Manually Discharging the Capacitor (REQUIRED BEFORE HANDLING)
Even if the power is off and you've waited, there's a chance the capacitor still holds a charge. Manually discharging it is essential for your safety.
You will need:
- An insulated screwdriver with a well-insulated handle.
Procedure:
- Double-check that the power is off at the breaker and the AC unit is de-energized.
- Carefully touch the metal shaft of the insulated screwdriver to both terminals of the capacitor simultaneously. This will create a short circuit and discharge any remaining energy. You might see a small spark, which is normal.
- Leave the screwdriver touching both terminals for a few seconds to ensure complete discharge.
Repeat this process a few times for extra safety.
Step 4: Testing with a Multimeter (Optional, but Recommended)
For a more definitive diagnosis, you can use a multimeter to test the capacitance of the capacitor. This requires some electrical knowledge and a multimeter capable of measuring capacitance (often labeled "uF" or "mfd"). If you're unfamiliar with using a multimeter, skip this step and rely on the visual inspection.
Procedure:
- Ensure the capacitor is disconnected from the circuit (remove the wires connected to it).
- Set your multimeter to the capacitance setting (uF or mfd).
- Connect the multimeter probes to the capacitor terminals.
- Compare the reading on the multimeter to the capacitance value printed on the capacitor label (e.g., "45/5 uF").
Interpretation:
- If the reading is significantly lower (more than 10% below) than the labeled value, the capacitor is likely failing.
- If the reading is zero or erratic, the capacitor is definitely bad.
DIY Fix: Replacing the Capacitor
If you've diagnosed a faulty capacitor and you're comfortable proceeding, you can replace it yourself. It's a relatively straightforward repair, but attention to detail is crucial.
Step 1: Purchase a Replacement Capacitor
The most important step is to get the correct replacement capacitor. The capacitance (uF or mfd) and voltage (V) must match the original capacitor exactly. You'll find this information printed on the capacitor label. Take a photo of the label before removing the old capacitor for reference. You will also want to note the physical size as some physical sizes may not fit in your unit.
Example: If the old capacitor is labeled "45/5 uF 370 VAC," you need a replacement capacitor with the same specifications.
You can purchase replacement capacitors from most HVAC supply stores or online retailers.
Step 2: Label and Disconnect the Wires
Before disconnecting any wires, carefully label each wire with a marker or masking tape, noting which terminal it's connected to. This is essential for reconnecting them correctly. Take a picture of how the wires were connected before disconnecting them for added insurance.
Gently pull the wires off the terminals. They may be held on with push-on connectors.
Step 3: Remove the Old Capacitor
The capacitor is usually held in place by a clamp or strap. Loosen the clamp and carefully remove the old capacitor.
Step 4: Install the New Capacitor
Place the new capacitor in the clamp and tighten it securely. Reconnect the wires to the correct terminals, matching your labels and/or the picture you took. Ensure the connections are snug and secure.
Step 5: Reassemble and Test
Carefully replace the access panel to the electrical compartment. Turn the power back on at the breaker. Turn the thermostat down to call for cooling. The AC unit should now start normally. Observe the unit for a few minutes to ensure it's running smoothly.
When to Call a Professional
While replacing a capacitor can be a DIY project, there are situations where it's best to call a qualified HVAC technician:
- You're uncomfortable working with electricity. Don't take risks with your safety.
- You're unsure about the diagnosis. The symptoms of a bad capacitor can sometimes mimic other problems.
- The AC unit still doesn't work after replacing the capacitor. This could indicate a more serious issue.
- You find evidence of other damaged components. If you see burned wires, a damaged compressor, or any other unusual signs, it's time to call a professional.
- The capacitor fails again shortly after being replaced. This could indicate an underlying problem that's causing capacitors to fail prematurely.
- Your AC unit is still under warranty. Replacing parts yourself might void the warranty.
Specifically, if you see any of the following, DO NOT ATTEMPT DIY repair:
- Charred or melted wiring
- Oil leaking in large quantities
- The smell of burning electrical components
- Visible damage to the compressor itself
In these cases, a professional HVAC technician has the expertise and tools to diagnose the problem accurately and perform the necessary repairs safely and effectively.
Final Thoughts
Replacing a discharge AC capacitor can be a rewarding DIY project, saving you money and getting your AC back up and running quickly. However, safety should always be your top priority. Follow the safety precautions carefully, and don't hesitate to call a professional if you're unsure or uncomfortable with any step. With a little knowledge and caution, you can keep your cool during those hot summer months!