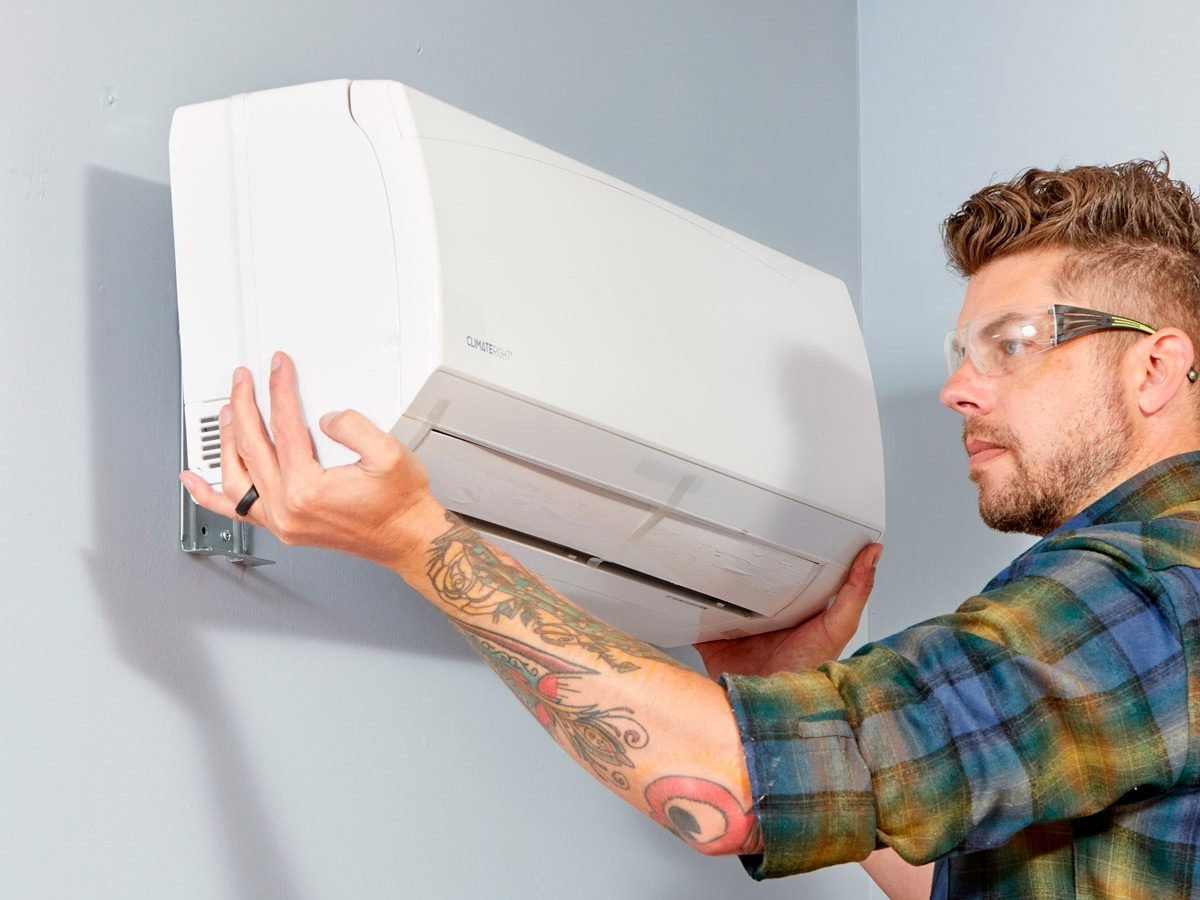
Diy Mini Split Air Conditioner Installation

DIY mini-split air conditioner installation can be a rewarding project, providing efficient and targeted cooling. However, like any appliance, mini-splits can encounter issues. This guide provides a practical troubleshooting approach, empowering you to address common problems safely and effectively. Remember, when dealing with electricity, refrigerant lines, or complex components, it's always best to call a qualified HVAC technician.
Understanding the Basics: A Quick Review
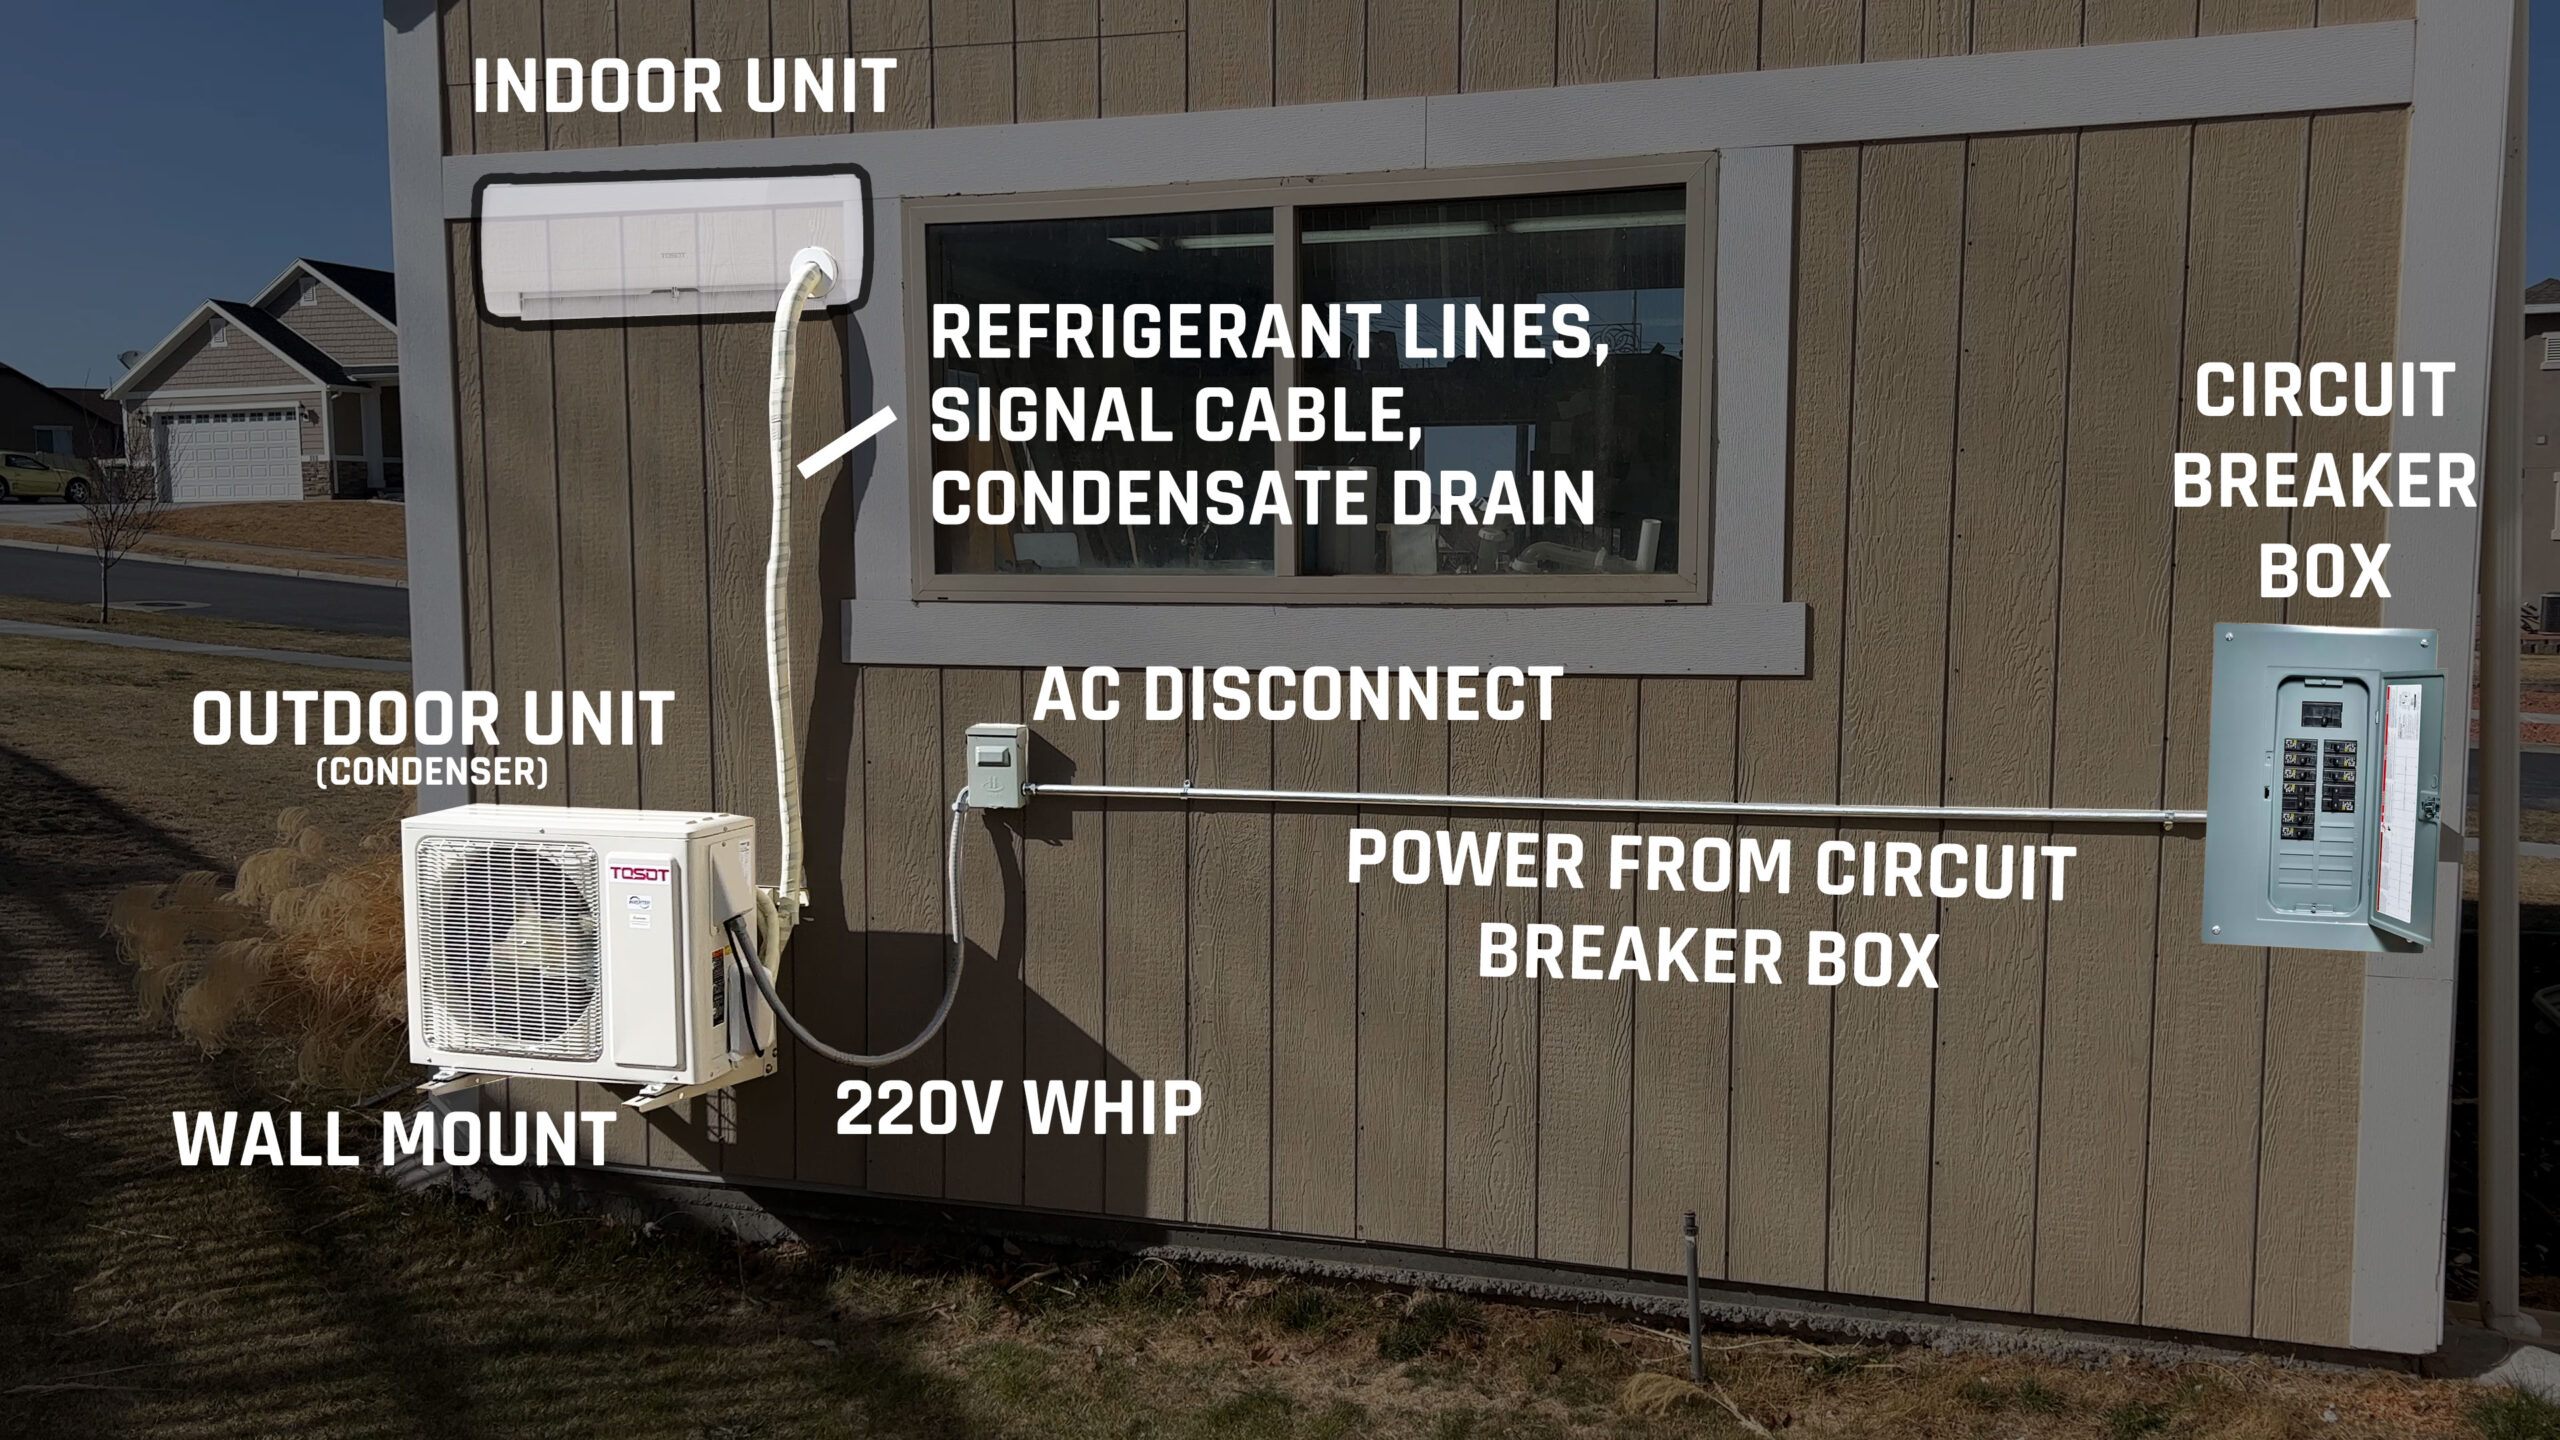
Before diving into troubleshooting, let's briefly recap the main components of a mini-split system:
- Outdoor Unit (Condenser): Houses the compressor, condenser coil, and fan. It releases heat extracted from the indoor air.
- Indoor Unit (Evaporator): Blows cool air into the room. Contains the evaporator coil and fan.
- Refrigerant Lines: Connect the indoor and outdoor units, carrying the refrigerant that facilitates heat transfer.
- Control System: Includes the remote control, thermostat, and circuit boards that regulate the system's operation.
Common Problems and How to Troubleshoot Them
We will explore some common issues you might encounter with your newly installed mini-split system.
1. The Unit Won't Turn On
This is often a power-related issue. Here's a step-by-step approach:
- Check the Power Supply: This is the MOST IMPORTANT first step!
- Verify that the circuit breaker for the mini-split is ON in your electrical panel. A tripped breaker is a common culprit. If it's tripped, reset it. If it trips again immediately, do not keep resetting it. This indicates a short circuit and requires a professional electrician's attention.
- Use a multimeter to test the voltage at the electrical outlet where the outdoor unit is plugged in. It should match the voltage specified on the unit's nameplate (usually 220-240V for outdoor units). If there's no voltage or the voltage is significantly low, there's an electrical problem that needs professional diagnosis.
- Check the wiring connections at both the indoor and outdoor units. Make sure all wires are securely connected and that there are no loose connections. (Always turn off the breaker before inspecting wiring!)
- Examine the power cord for any signs of damage, such as cuts, fraying, or exposed wires. If the cord is damaged, it needs to be replaced. This is a potential fire hazard.
- Remote Control Issues:
- Replace the batteries in the remote control. Weak batteries are a frequent cause of remote malfunction.
- Ensure the remote control is set to the correct mode (Cool, Heat, Auto, etc.).
- Point the remote control directly at the indoor unit's receiver. Obstructions can interfere with the signal.
- Clean the remote control's infrared (IR) transmitter with a soft, dry cloth. Dust or debris can block the signal.
- Try using the manual override button on the indoor unit (if available) to turn the unit on. This helps determine if the remote control is the problem.
- Check the System's Control Board:
- This requires some caution. If you feel comfortable, visually inspect the control board (usually located inside the indoor or outdoor unit behind a removable panel) for any signs of damage, such as burnt components, loose wires, or corrosion. Turn off the power at the breaker before opening any panels! If you see any damage, the control board needs to be replaced by a qualified technician.
2. The Unit Turns On, But Isn't Cooling (or Heating)
If the unit powers up but doesn't deliver the expected cooling or heating, consider these possibilities:
- Incorrect Settings:
- Make sure the unit is set to the correct mode (Cool or Heat).
- Verify that the setpoint temperature is lower (for cooling) or higher (for heating) than the current room temperature.
- Check the fan speed setting. A low fan speed might not circulate air effectively.
- Airflow Obstruction:
- Clean or replace the air filters in the indoor unit. Dirty filters restrict airflow and significantly reduce efficiency. Aim to clean or replace them every 1-3 months, depending on usage and air quality.
- Ensure that the air vents in the room are open and not blocked by furniture or other objects.
- Check the outdoor unit for any obstructions, such as leaves, debris, or snow, that might be blocking airflow to the condenser coil. Clear any obstructions carefully.
- Refrigerant Leaks:
- Refrigerant leaks are best left to professionals. If you suspect a refrigerant leak (e.g., hissing sound, ice buildup on the refrigerant lines), do not attempt to fix it yourself. Refrigerant is a controlled substance, and handling it requires specialized equipment and training. Contact a licensed HVAC technician immediately. Running the unit with low refrigerant can damage the compressor.
- Frozen Evaporator Coil:
- A frozen evaporator coil (usually in the indoor unit) restricts airflow and prevents proper cooling. Possible causes include:
- Dirty Air Filter: As mentioned above, this is a common cause.
- Low Refrigerant: A refrigerant leak can cause the coil to freeze.
- Faulty Fan Motor: If the indoor unit's fan isn't working properly, the coil can freeze.
- Restricted Airflow: Blocked vents or closed registers can contribute to freezing.
- To address a frozen coil:
- Turn off the unit and allow the coil to thaw completely. This may take several hours.
- Clean or replace the air filter.
- Check for and clear any airflow obstructions.
- If the problem persists, suspect a refrigerant leak or a faulty fan motor and contact a qualified technician.
- Condensate Drain Blockage:
- Mini-split systems produce condensate (water) that needs to drain properly. A clogged drain line can cause water to back up and leak from the indoor unit.
- Locate the condensate drain line (usually a small PVC pipe exiting the indoor unit).
- Try to clear the drain line using a wet/dry vacuum cleaner or a stiff wire. Be gentle to avoid damaging the line.
- You can also try flushing the drain line with a solution of warm water and bleach (a small amount) to kill any algae or mold that might be causing the blockage.
3. The Unit Cycles On and Off Frequently (Short Cycling)
Short cycling is when the unit turns on and off repeatedly in short intervals, which is inefficient and can shorten the lifespan of the compressor.
- Oversized Unit:
- If the mini-split is too large for the space it's cooling or heating, it will reach the setpoint temperature quickly and shut off, only to turn back on again soon after. This is a common issue in DIY installations if the sizing wasn't properly calculated. Unfortunately, the only solution is to replace the unit with a properly sized one.
- Dirty Air Filter:
- Restricted airflow due to a dirty air filter can cause the unit to overheat and shut off prematurely. Clean or replace the air filter as described above.
- Refrigerant Issues:
- Both low refrigerant levels and overcharged refrigerant can cause short cycling. This requires professional diagnosis and correction.
- Thermostat Problems:
- Ensure the thermostat is located away from heat sources (e.g., sunlight, lamps) that could falsely trigger it to shut off the unit.
- Check the thermostat settings for cycle rates or temperature differentials. Adjust these settings according to the manufacturer's instructions.
- A faulty thermostat can also cause short cycling. If you suspect a thermostat problem, consider replacing it with a new one (ensure it's compatible with your mini-split system).
4. Noisy Operation
Unusual noises can indicate a problem with the mini-split system. Here are some common noise issues and their potential causes:
- Rattling:
- Loose panels or screws: Check all panels and screws on both the indoor and outdoor units and tighten them as needed.
- Debris in the fan: Inspect the fan blades in both units for any debris (e.g., leaves, twigs) and remove them carefully.
- Loose refrigerant lines: Ensure that the refrigerant lines are properly secured and not vibrating against any surfaces.
- Hissing:
- Refrigerant leak: A hissing sound could indicate a refrigerant leak. As mentioned before, contact a qualified HVAC technician immediately.
- Buzzing:
- Loose electrical connections: Check all electrical connections for tightness. Remember to turn off the power before inspecting electrical connections.
- Compressor issues: A buzzing sound from the outdoor unit could indicate a problem with the compressor. This requires professional diagnosis and repair.
- Grinding:
- Fan motor problems: A grinding noise could indicate a failing fan motor in either the indoor or outdoor unit. This requires professional repair or replacement.
- Compressor failure: A grinding noise from the outdoor unit is a serious sign of potential compressor failure and should be addressed by a qualified technician immediately.
- Clicking:
- Expansion and contraction of metal components due to temperature changes. This is usually normal, especially during startup and shutdown.
- Relay switching: Clicking sounds can also be caused by relays switching on and off in the control board. This is generally normal, but excessive or unusual clicking could indicate a problem with the control board.
When to Call a Professional
While many minor issues can be resolved with DIY troubleshooting, certain problems require the expertise of a qualified HVAC technician. Never attempt repairs involving refrigerant lines, electrical components beyond basic wiring checks, or complex mechanical components like the compressor. Here are some situations where professional help is essential:
- Refrigerant Leaks: Handling refrigerant requires specialized equipment and training.
- Compressor Problems: The compressor is a complex and expensive component that requires professional repair or replacement.
- Electrical Issues: If you're not comfortable working with electricity, or if you suspect a serious electrical problem (e.g., short circuit), call a qualified electrician.
- Complex Control Board Issues: Replacing a control board requires expertise in electronics and HVAC systems.
- Warranty Concerns: Attempting DIY repairs on a unit that is still under warranty may void the warranty. Check the warranty terms before attempting any repairs.
- Uncertainty: If you're unsure about the cause of the problem or how to fix it, it's always best to err on the side of caution and call a professional.
Safety First!
Safety is paramount when working with any electrical appliance. Before attempting any troubleshooting or repairs, always:
- Turn off the power to the unit at the circuit breaker.
- Wear appropriate safety gear, such as gloves and eye protection.
- Read the manufacturer's instructions carefully.
- If you're not comfortable with any of the steps, call a professional.
Preventive Maintenance
The best way to avoid problems with your mini-split system is to perform regular preventive maintenance. This includes:
- Cleaning or replacing the air filters regularly.
- Cleaning the outdoor unit's condenser coil.
- Checking the refrigerant lines for leaks.
- Ensuring that the condensate drain line is clear.
- Scheduling annual professional maintenance.
By following these troubleshooting steps and practicing preventive maintenance, you can keep your DIY mini-split air conditioner running efficiently and reliably for years to come. And remember, when in doubt, always consult a qualified HVAC technician.