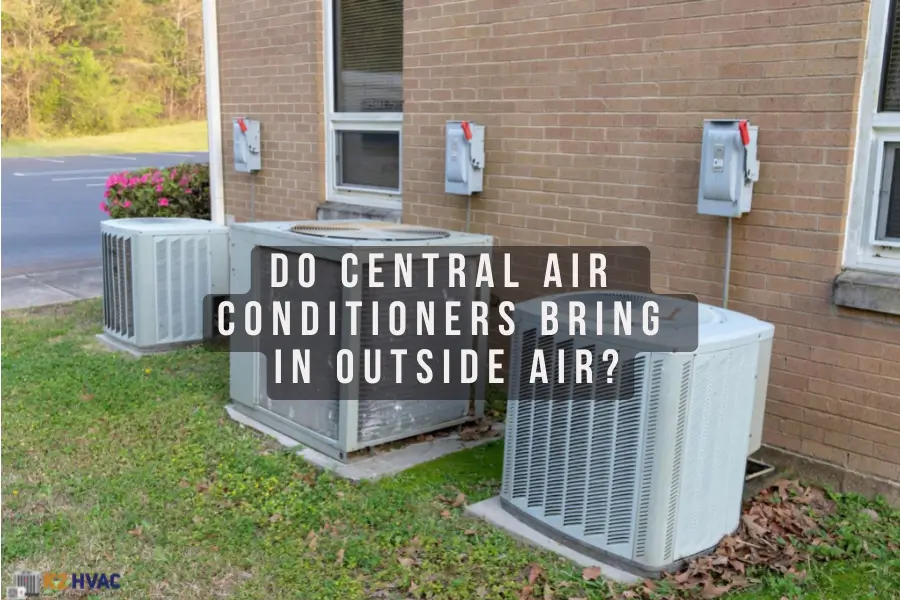
Do Air Conditioners Bring In Outside Air
It's a sweltering summer day, and your air conditioner is running full blast. But instead of that crisp, cool air you expect, you feel...well, slightly cooler, but also a bit stuffy. Maybe you even notice a faint whiff of the outdoors – that freshly cut grass, your neighbor's barbecue, or even just plain humid air. You're left wondering: is my AC bringing in outside air when it shouldn't?
This is a common problem homeowners face, and it can lead to reduced efficiency, higher energy bills, and discomfort. The good news is that often, the culprit is something relatively simple to diagnose and fix. This article will guide you through the process, helping you determine if your AC is indeed drawing in outside air and offering some DIY solutions. We'll also clearly identify when it's time to call in the professionals.
Step 1: Understanding How Your AC *Should* Work
Before we dive into troubleshooting, let's quickly review how a central air conditioning system is supposed to function. Your AC unit doesn't magically create cold air. Instead, it circulates existing air from inside your home, cools it down using refrigerant, and then pushes the cooled air back into your living space. A closed-loop system is the key – it should primarily be recyling air from your house, not drawing in fresh air from the outside.
Ideally, a modern central AC system is designed to minimize the introduction of outside air. While some minimal infiltration is unavoidable (through door and window gaps, for instance), the majority of the air being cooled should already be inside your home.
Step 2: Identifying the Symptoms
How do you know if your AC is pulling in unwanted outdoor air? Look out for these telltale signs:
- Inconsistent Cooling: Some rooms are cooler than others, or the AC struggles to maintain a consistent temperature.
- Higher Energy Bills: Your electricity bill spikes unexpectedly despite no significant changes in your usage habits.
- Increased Humidity: Your home feels damp or muggy, even with the AC running.
- Noticeable Drafts: You feel drafts around windows, doors, or walls, indicating air leakage.
- Unusual Odors: You detect outdoor smells (like smoke, pollen, or cooking odors) even when the windows are closed.
- Dust Accumulation: You notice excessive dust accumulation around vents and registers.
- System Runs Constantly: The AC unit runs almost continuously without reaching the set temperature.
If you're experiencing several of these symptoms, it's a strong indicator that your AC system may be compromised.
Step 3: The DIY Diagnostic Checklist
Now, let's get our hands dirty! Here's a step-by-step checklist to help you pinpoint the source of the problem. Always ensure the power to your AC unit is turned off at the breaker before performing any inspections.
1. Inspect the Air Filter
The air filter is the first line of defense. A clogged air filter restricts airflow, forcing the system to work harder and potentially drawing in air from unintended places. A dirty filter can also lead to ice buildup on the evaporator coil, further reducing efficiency.
Action: Remove the air filter and hold it up to the light. If you can't see through it easily, it's time to replace it. Replace the filter with a new one of the correct size and MERV rating (as recommended by your AC manufacturer). Aim to replace your air filter every 1-3 months, depending on usage and air quality.
2. Check for Obvious Air Leaks
Visual inspection is key! Walk around your home, paying close attention to:
- Windows and Doors: Check for gaps around the frames. Use your hand to feel for drafts. Look for cracked or missing caulk or weather stripping.
- Walls: Inspect for cracks or holes, especially around electrical outlets, plumbing fixtures, and where pipes enter the house.
- Attic Access Points: Ensure the attic hatch or door is properly sealed.
- Ductwork (if accessible): If you can access any exposed ductwork in your basement or attic, visually inspect it for tears, gaps, or disconnections.
Action: Seal any obvious air leaks you find. Use caulk to seal gaps around windows, doors, and wall penetrations. Replace damaged weather stripping. For larger gaps, you may need to use expanding foam insulation. If you suspect significant ductwork damage, it's best to consult a professional.
3. Examine the Outdoor Unit
The outdoor condenser unit also needs a checkup. Ensure it's free from obstructions that could restrict airflow.
- Clear Debris: Remove any leaves, branches, grass clippings, or other debris that may be blocking the unit.
- Check for Damage: Inspect the unit for any signs of physical damage, such as bent fins or loose panels.
- Vegetation: Make sure there is at least two feet of clearance around the unit to allow for proper airflow.
Action: Carefully clean the unit with a garden hose (using a gentle spray setting). Straighten any bent fins with a fin comb (available at most hardware stores). If you notice any significant damage to the unit, such as refrigerant leaks or a malfunctioning fan, do not attempt to repair it yourself – contact a qualified HVAC technician.
4. Inspect the Indoor Unit (Evaporator Coil)
This step requires caution! The evaporator coil is located inside your indoor air handler unit. Accessing it may require removing panels or covers. Always disconnect the power before attempting this inspection.
- Ice Buildup: Check for ice buildup on the evaporator coil. This is often a sign of restricted airflow (due to a dirty air filter or blocked vents) or a refrigerant leak.
- Dirt and Dust: Inspect the coil for excessive dirt and dust accumulation.
Action: If you find ice buildup, turn off the AC and allow the ice to melt completely. Once melted, replace the air filter and ensure all vents are open. If the problem persists, you likely have a refrigerant leak or another underlying issue that requires professional attention. Clean the coil with a specialized coil cleaner (available at hardware stores). Follow the product instructions carefully. If you are uncomfortable accessing or cleaning the evaporator coil, it's best to leave this task to a professional.
5. Check the Ductwork Connections
Leaky ductwork is a common culprit. Even small leaks can significantly reduce the efficiency of your AC system.
- Visually Inspect: Look for disconnected, torn, or damaged sections of ductwork, especially at joints and connections.
- Feel for Air Leaks: With the AC running, carefully feel around ductwork joints for air leaks.
Action: Seal small leaks with duct tape (not regular tape – use aluminum foil duct tape specifically designed for HVAC systems). For larger gaps or disconnected sections, you may need to use duct mastic (a sealant designed for ductwork). If you find extensive ductwork damage or inaccessible leaks, it's highly recommended to consult with a professional ductwork specialist.
6. Verify Supply and Return Vents
Proper airflow is essential. Make sure all supply vents (the ones blowing cool air) and return vents (the ones sucking air back into the system) are open and unobstructed.
Action: Remove any furniture, rugs, or other objects that may be blocking vents. Ensure that all vents are fully open. Don't close off vents in unused rooms, as this can disrupt the system's balance and potentially lead to problems.
Step 4: When to Call a Professional
While many of these issues can be addressed with DIY solutions, there are certain situations where it's crucial to call in a qualified HVAC technician. Attempting to fix complex AC problems yourself can be dangerous and may void your warranty.
Call a professional if:
- You suspect a refrigerant leak: Refrigerant is a hazardous substance, and handling it requires specialized equipment and training.
- You notice electrical problems: Any issues involving wiring, capacitors, or other electrical components should be handled by a licensed electrician or HVAC technician.
- The compressor is making strange noises: A noisy compressor can indicate serious mechanical problems.
- The system is not cooling even after performing the DIY checks: This could indicate a more complex issue with the compressor, evaporator coil, or other internal components.
- You are uncomfortable working with electrical components or accessing certain parts of the system.
- You suspect extensive ductwork damage or have inaccessible leaks.
Remember, a properly functioning AC system is essential for comfort and energy efficiency. Don't hesitate to seek professional help if you're unsure about any aspect of the troubleshooting or repair process.
Final Thoughts: Prevention is Key
Once you've addressed the issue of outside air infiltration, it's important to take steps to prevent it from happening again. Here are some tips:
- Regularly replace your air filter. This is the single most important thing you can do to maintain your AC system's efficiency.
- Schedule annual AC maintenance. A professional HVAC technician can inspect your system, clean the coils, and identify any potential problems before they become major issues.
- Seal air leaks around your home. Caulk windows and doors, and seal any cracks or holes in your walls.
- Insulate your home properly. Proper insulation helps to keep your home cool in the summer and warm in the winter, reducing the workload on your AC system.
By following these tips, you can ensure that your AC system is running efficiently and effectively, keeping you comfortable and saving you money on your energy bills.