Do It Yourself Split Air Conditioner

DIY Split Air Conditioner: Your Questions Answered
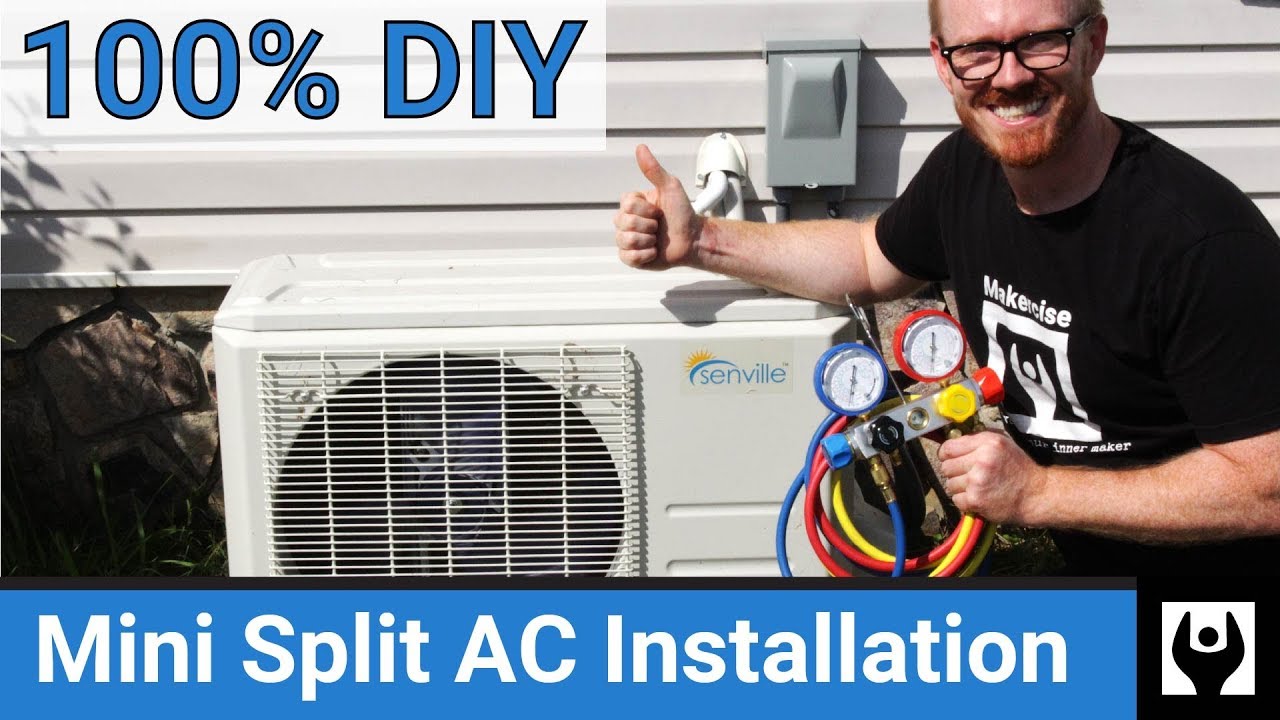
Considering installing a split air conditioner yourself? It can seem like a daunting task, but with the right knowledge and tools, it's achievable. Here's a breakdown of common questions to help you decide if a DIY split AC installation is right for you.
Q1: What exactly is a split air conditioner, and how does it differ from other types of AC?
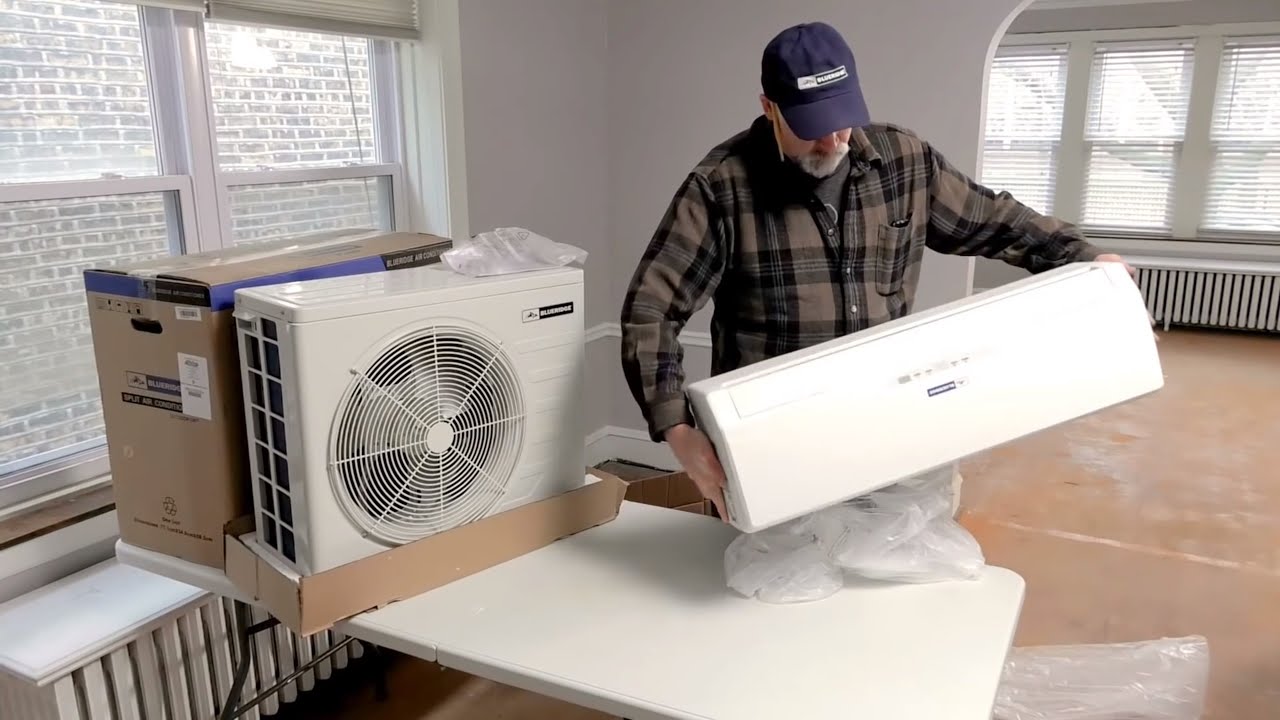
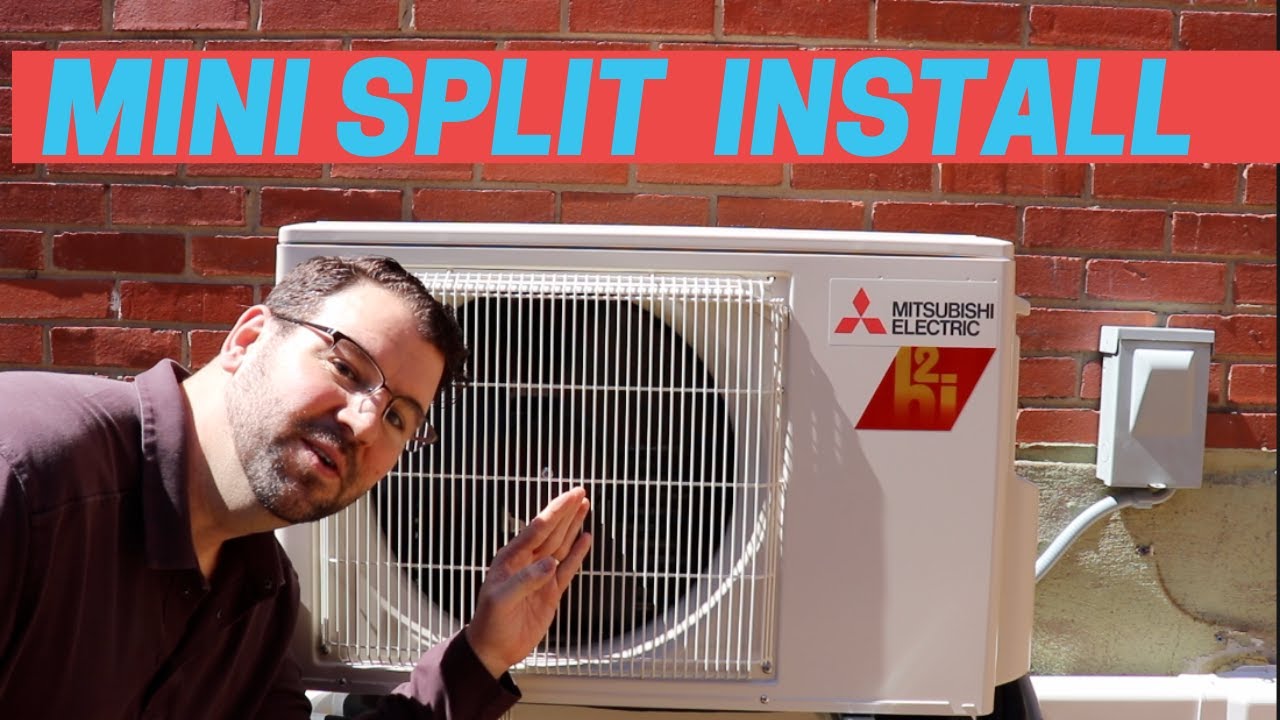
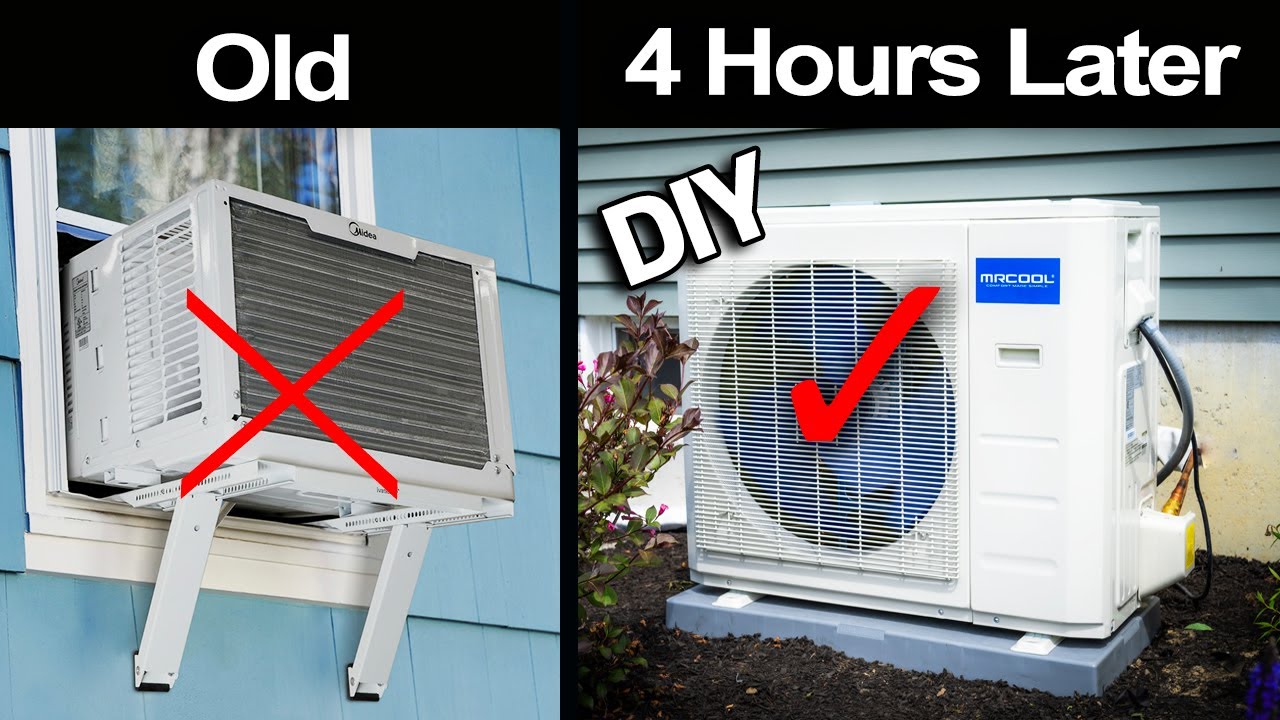
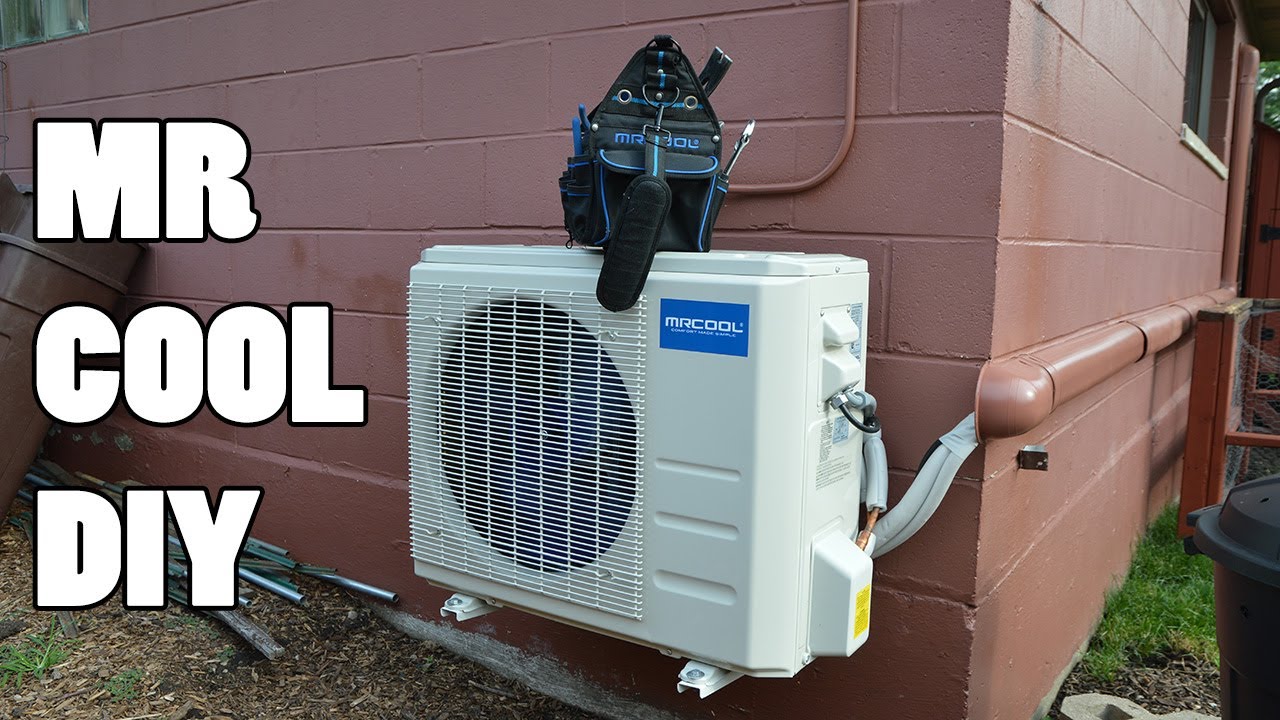
A split air conditioner, also known as a ductless mini-split, is a system that cools a room or area without requiring ductwork. It consists of two main units: an indoor unit (the air handler) that delivers cool air, and an outdoor unit (the compressor/condenser) that expels heat. These units are connected by refrigerant lines and electrical wiring. This is in contrast to window units (all components in one box), central air (using extensive ductwork), and portable ACs (self-contained but require venting).
Key differences:
- Ductless: No need for extensive ductwork, making it ideal for retrofitting or adding cooling to specific areas.
- Zoned Cooling: Allows for independent temperature control in different rooms.
- Energy Efficiency: Often more energy-efficient than window units or older central AC systems.
- Quiet Operation: Indoor units tend to be quieter than window units.
Q2: Can I really install a split air conditioner myself? What skills and tools are needed?
While DIY installation is possible, it's not recommended for everyone. It requires a solid understanding of electrical wiring, refrigerant handling, and general construction skills. Incorrect installation can lead to system malfunction, reduced efficiency, and potentially dangerous situations.
Essential skills:
- Electrical Wiring: Understanding voltage requirements, wiring diagrams, and safe wiring practices.
- Refrigerant Handling: While pre-charged systems are available, any work on refrigerant lines requires EPA certification and specialized tools.
- Vacuum Pump Operation: Properly evacuating the refrigerant lines is crucial for system performance and longevity.
- Brazing/Flaring: Connecting refrigerant lines often requires brazing or flaring techniques.
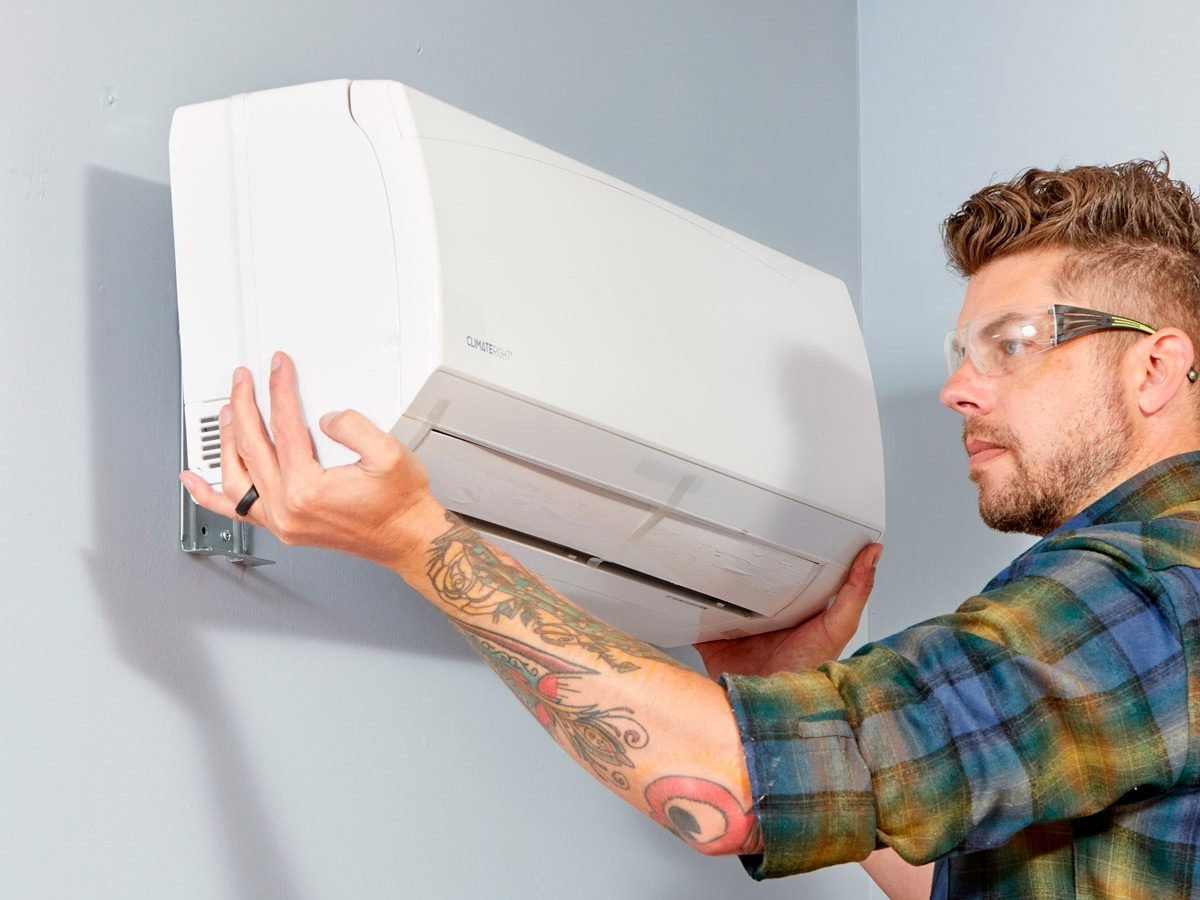
- Drilling and Mounting: Accurately drilling holes for refrigerant lines and mounting both indoor and outdoor units.
- General Construction: Understanding wall structures, proper sealing, and safety protocols.
Required tools:
- Drill with various bits: For drilling holes through walls and mounting units.
- Vacuum pump: To remove air and moisture from refrigerant lines.
- Manifold gauge set: To monitor refrigerant pressure.
- Refrigerant leak detector: To check for leaks after installation.
- Flaring tool or brazing equipment: For connecting refrigerant lines (depending on the system).
- Level: To ensure proper mounting of both units.
- Wire strippers and crimpers: For electrical connections.
- Multimeter: To test electrical circuits.
- Wrenches and screwdrivers: Various sizes for different components.
- Safety glasses and gloves: For personal protection.
- Torque wrench: to tighten connections to the manufacturer's specifications.
Important Note: Working with refrigerant requires EPA Section 608 certification in many areas. It's illegal and dangerous to handle refrigerant without proper training and certification.
Q3: What are the potential risks and challenges of DIY split AC installation?
DIY installation presents several potential risks and challenges. Understanding these is crucial before proceeding.
- Improper Installation: This can lead to reduced cooling efficiency, increased energy consumption, and premature system failure.
- Refrigerant Leaks: Leaks can damage the environment and are harmful to your health. Correct handling and proper sealing are crucial.
- Electrical Hazards: Incorrect wiring can cause electrical shocks, fires, and damage to your home's electrical system.
- Warranty Voidance: Many manufacturers void the warranty if the system is not installed by a certified HVAC professional.
- Structural Damage: Improper drilling or mounting can damage walls or the building's structure.
- Permitting Issues: Some areas require permits for HVAC installations. Failure to obtain a permit can result in fines and legal issues.
- Personal Injury: Working with electricity, heights, and heavy equipment poses a risk of personal injury.
- Time Investment: Installation can take significantly longer than anticipated, especially for first-timers.
- Cost Overruns: Unexpected problems or the need for specialized tools can lead to increased costs.
Q4: How much money can I save by installing a split AC myself compared to hiring a professional?
The potential savings are the main draw of DIY installation, but it's important to accurately assess all costs involved. Professional installation typically costs between $500 and $1500 per unit, depending on the complexity of the job and your location. By doing it yourself, you can avoid these labor costs.
However, consider these factors that can reduce or eliminate the savings:
- Cost of Tools: You may need to purchase specialized tools, such as a vacuum pump, manifold gauge set, flaring tool, and refrigerant leak detector. These can add up to several hundred dollars.
- Cost of Materials: You'll need to purchase refrigerant lines, electrical wiring, mounting hardware, and other materials.
- Potential for Mistakes: Incorrect installation can lead to costly repairs or the need to hire a professional to fix your mistakes.
- Time Investment: Your time is valuable. Consider the amount of time you'll spend researching, learning, and performing the installation.
- Voided Warranty: If the installation is not done correctly, you may void the manufacturer's warranty, potentially leading to significant repair costs down the line.
Overall, the potential savings may be less than you initially think, especially if you need to purchase many new tools or if you encounter unexpected problems. It's crucial to carefully weigh the costs and risks before deciding to proceed with DIY installation.
Q5: What alternatives are there to DIY installation if I want to save money?
If you're hesitant to tackle the entire installation yourself, consider these alternatives to save money while still ensuring a professional result:
- Get Multiple Quotes: Obtain quotes from several HVAC contractors to compare prices and services.
- Negotiate Prices: Don't be afraid to negotiate with contractors. You may be able to get a better price by comparing quotes and asking for discounts.
- Buy the Unit Yourself: Purchase the split AC unit yourself from a reputable supplier and then hire a contractor to install it. This can sometimes be cheaper than buying the unit through the contractor.
- Consider a Partially DIY Approach: You could prepare the installation site by drilling holes and mounting the indoor unit, then hire a professional to handle the refrigerant lines and electrical connections. This can reduce labor costs while ensuring that critical components are installed correctly. However, make sure the professional is willing to do this and that it doesn't void the warranty.
- Look for Rebates and Incentives: Check with your local utility company and government agencies for rebates and incentives on energy-efficient HVAC systems.
- Finance Options: Some HVAC companies offer financing options, which can make the installation more affordable.
Q6: What are pre-charged split air conditioners? Are they really DIY-friendly?
Pre-charged split AC systems come with the refrigerant already sealed within the indoor and outdoor units and connecting lines. The lines often utilize quick-connect fittings that don't require brazing or vacuuming the system. This sounds DIY-friendly, but there are still important considerations.
Potential advantages:
- Simplified Installation: No need for vacuum pumps or refrigerant handling, potentially reducing the complexity.
- Reduced Risk of Refrigerant Leaks: The system is pre-sealed, minimizing the chance of leaks during connection if handled carefully.
However, keep in mind:
- Line Length Limitations: Pre-charged systems come with specific line lengths. If you need longer lines, you'll likely need a professional to add refrigerant.
- Proper Connection is Crucial: Even with quick-connect fittings, incorrect connections can still lead to leaks or system malfunction. Following the manufacturer's instructions precisely is vital.
- Electrical Work Remains: You'll still need to handle electrical wiring, which requires caution and understanding.
- Warranty Issues: Improper installation, even with a pre-charged system, can still void the warranty.
- Moving the Units: If the units need to be moved after the lines have been connected, the system will need to be professionally evacuated to avoid refrigerant release.
Conclusion: While pre-charged systems simplify some aspects of the installation, they are not a guarantee of easy DIY success. You still need to be comfortable with electrical work, drilling, and precise connections. Carefully assess your skills and the specific requirements of the system before proceeding.
Q7: What should I do after installation to ensure my DIY split AC unit runs efficiently and reliably?
Once you've (hopefully successfully) installed your split AC unit, proper maintenance is key to ensuring it operates efficiently, reliably, and safely for years to come. Here's what you should do:
- Regularly Clean the Filters: This is the most important maintenance task. Dirty filters restrict airflow, reducing cooling efficiency and increasing energy consumption. Clean the filters every 1-3 months, depending on usage and air quality. Consult the manufacturer's instructions for proper cleaning procedures. Usually, you can vacuum them or wash them with mild soap and water. Let them dry completely before reinstalling.
- Clean the Indoor Unit Coils: Over time, dust and debris can accumulate on the indoor unit's coils, reducing their ability to transfer heat. Clean the coils annually (or more frequently in dusty environments) using a soft brush or a vacuum cleaner with a brush attachment. You can also use a commercially available coil cleaner specifically designed for HVAC systems.
- Clean the Outdoor Unit: The outdoor unit is exposed to the elements, so it can accumulate dirt, leaves, and other debris. Regularly clean the outdoor unit by removing any debris from around the unit and using a garden hose to gently wash the coils. Avoid using high-pressure spray, which can damage the fins.
- Check the Refrigerant Lines: Periodically inspect the refrigerant lines for any signs of damage or leaks. If you suspect a leak, contact a qualified HVAC technician immediately. Do not attempt to repair refrigerant lines yourself unless you are EPA-certified and have the necessary tools and expertise.
- Inspect the Electrical Connections: Regularly check the electrical connections to ensure they are tight and secure. Loose connections can cause electrical problems and pose a safety hazard. If you are not comfortable working with electricity, consult a qualified electrician.
- Check the Condensate Drain Line: The condensate drain line removes water that condenses during the cooling process. Make sure the drain line is clear and free of clogs. You can pour a cup of diluted bleach into the drain line periodically to prevent algae growth.
- Schedule Professional Maintenance: Even with regular DIY maintenance, it's a good idea to schedule professional maintenance at least once a year. A qualified HVAC technician can inspect the system, check the refrigerant charge, and perform any necessary repairs. This can help to identify potential problems early on and prevent costly breakdowns.
- Monitor Performance: Pay attention to how your split AC unit is performing. If you notice any changes in cooling efficiency, unusual noises, or other problems, investigate the issue promptly. Ignoring small problems can lead to bigger and more expensive repairs down the line.
- Keep the Area Around the Units Clear: Ensure that the area around both the indoor and outdoor units is clear of obstructions. This will allow for proper airflow and prevent the units from overheating. Don't block the airflow with furniture or other items.
By following these maintenance tips, you can help to ensure that your DIY split AC unit runs efficiently, reliably, and safely for many years to come. Remember, regular maintenance is key to maximizing the lifespan of your system and minimizing energy costs.