Ductless Mini Split Air Conditioner Cost
Ductless Mini Split Air Conditioner Cost: A Comprehensive Guide for Homeowners
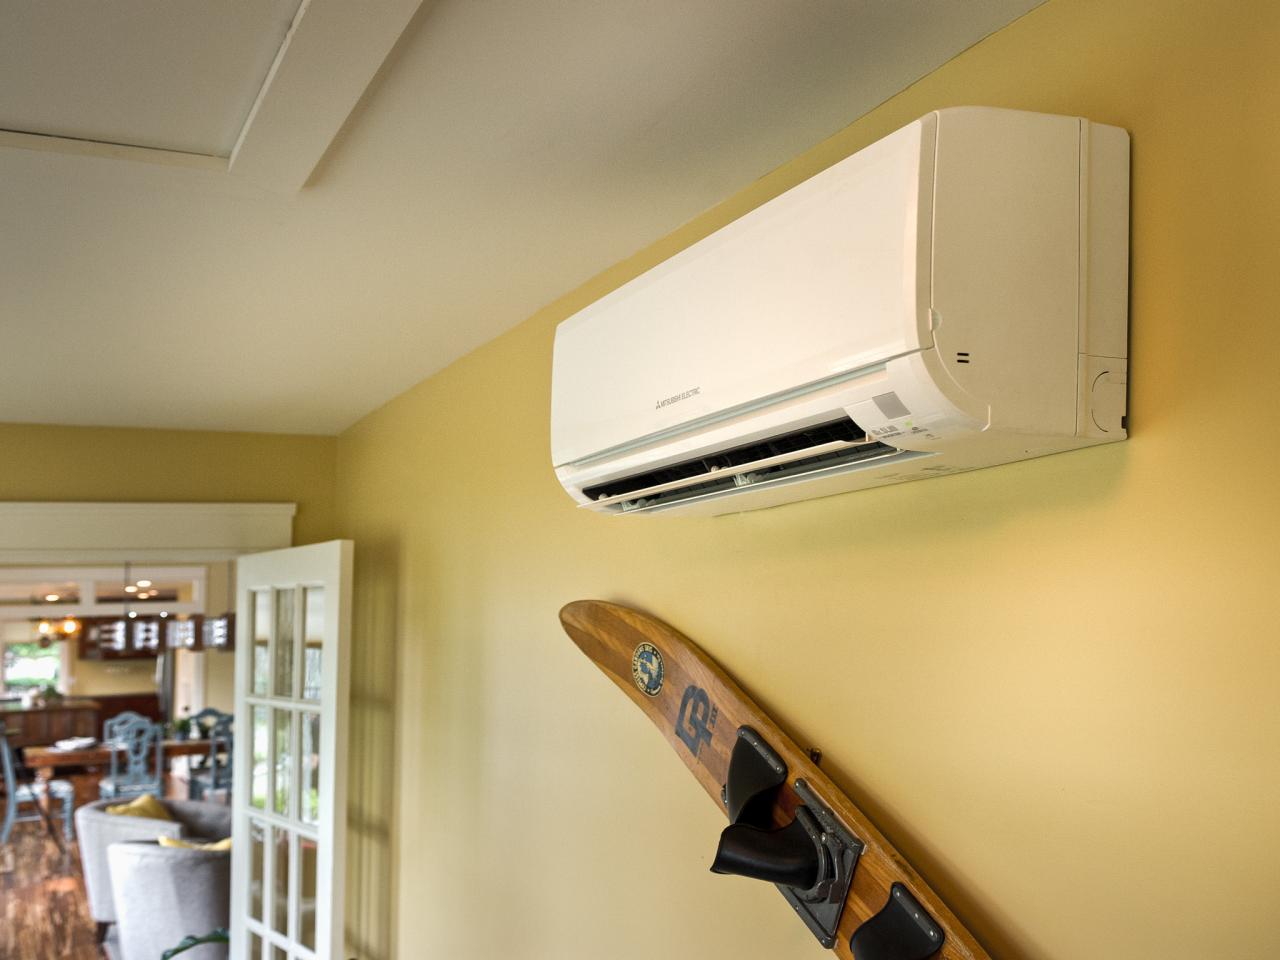
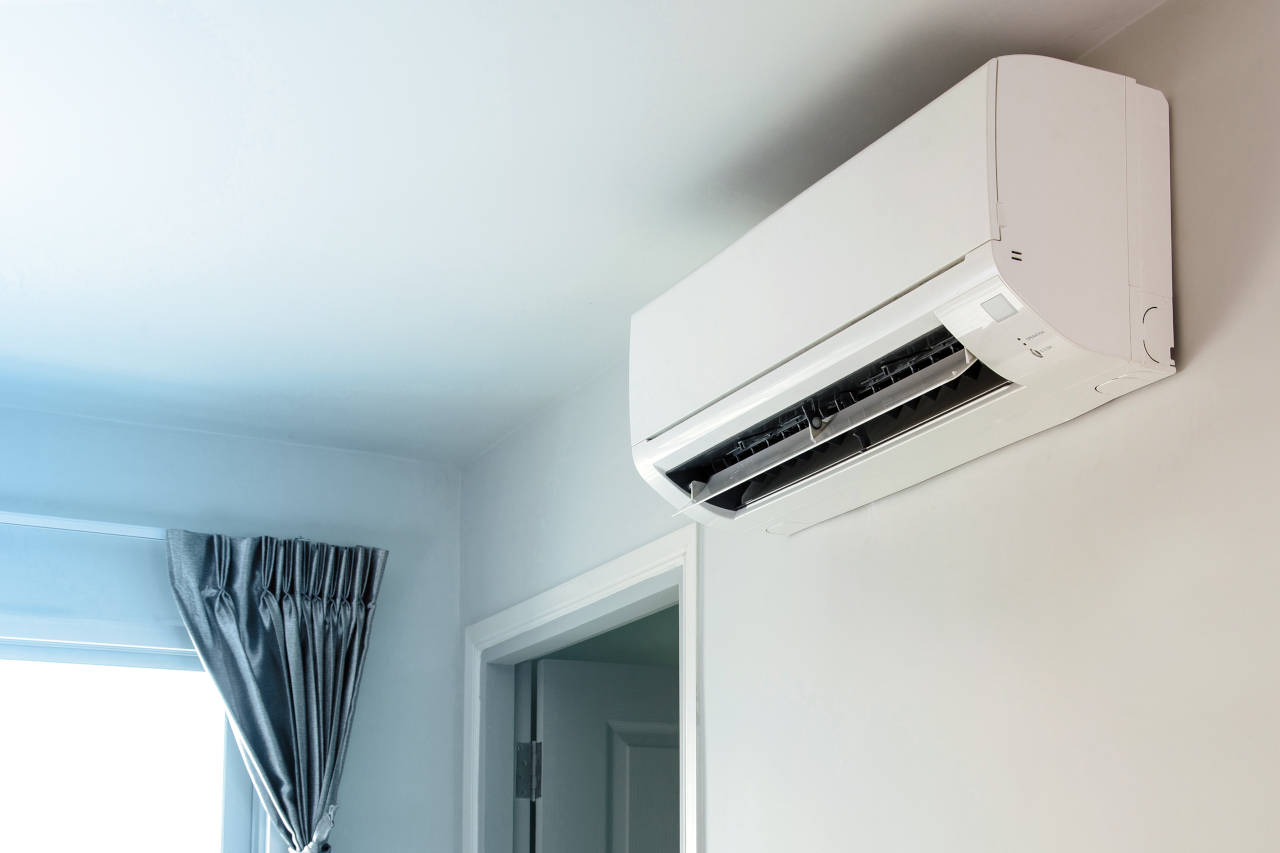
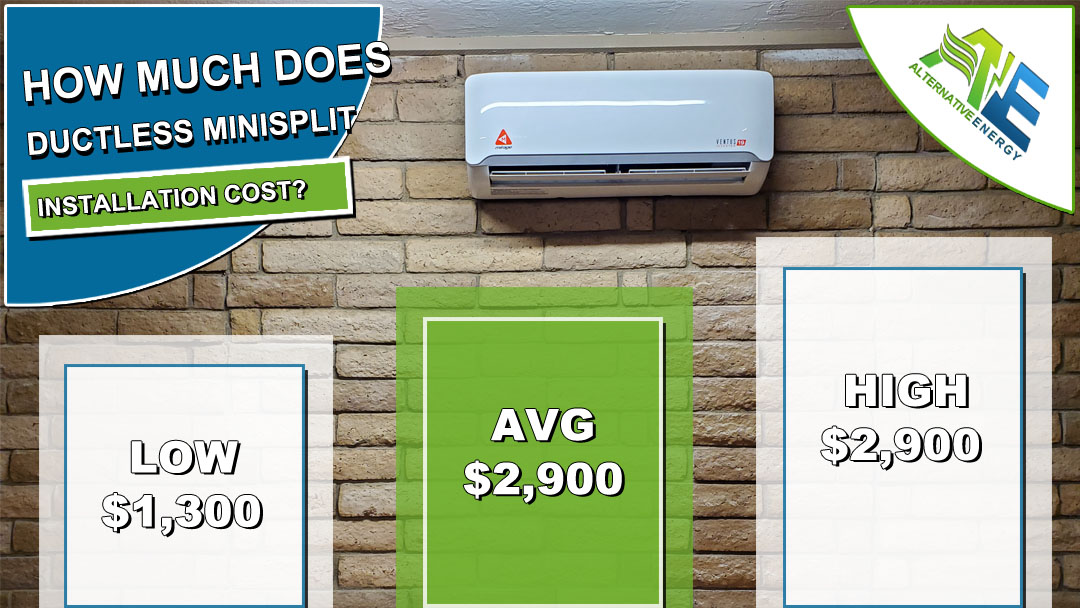
Ductless mini-split air conditioners offer a flexible and efficient solution for heating and cooling specific rooms or zones in your home. But understanding the costs involved is crucial before making the investment. This guide breaks down the various factors affecting the price of a ductless mini-split system, from the unit itself to installation and ongoing maintenance.
Initial Purchase Costs: What to Expect
The cost of a ductless mini-split system depends on several factors, including:
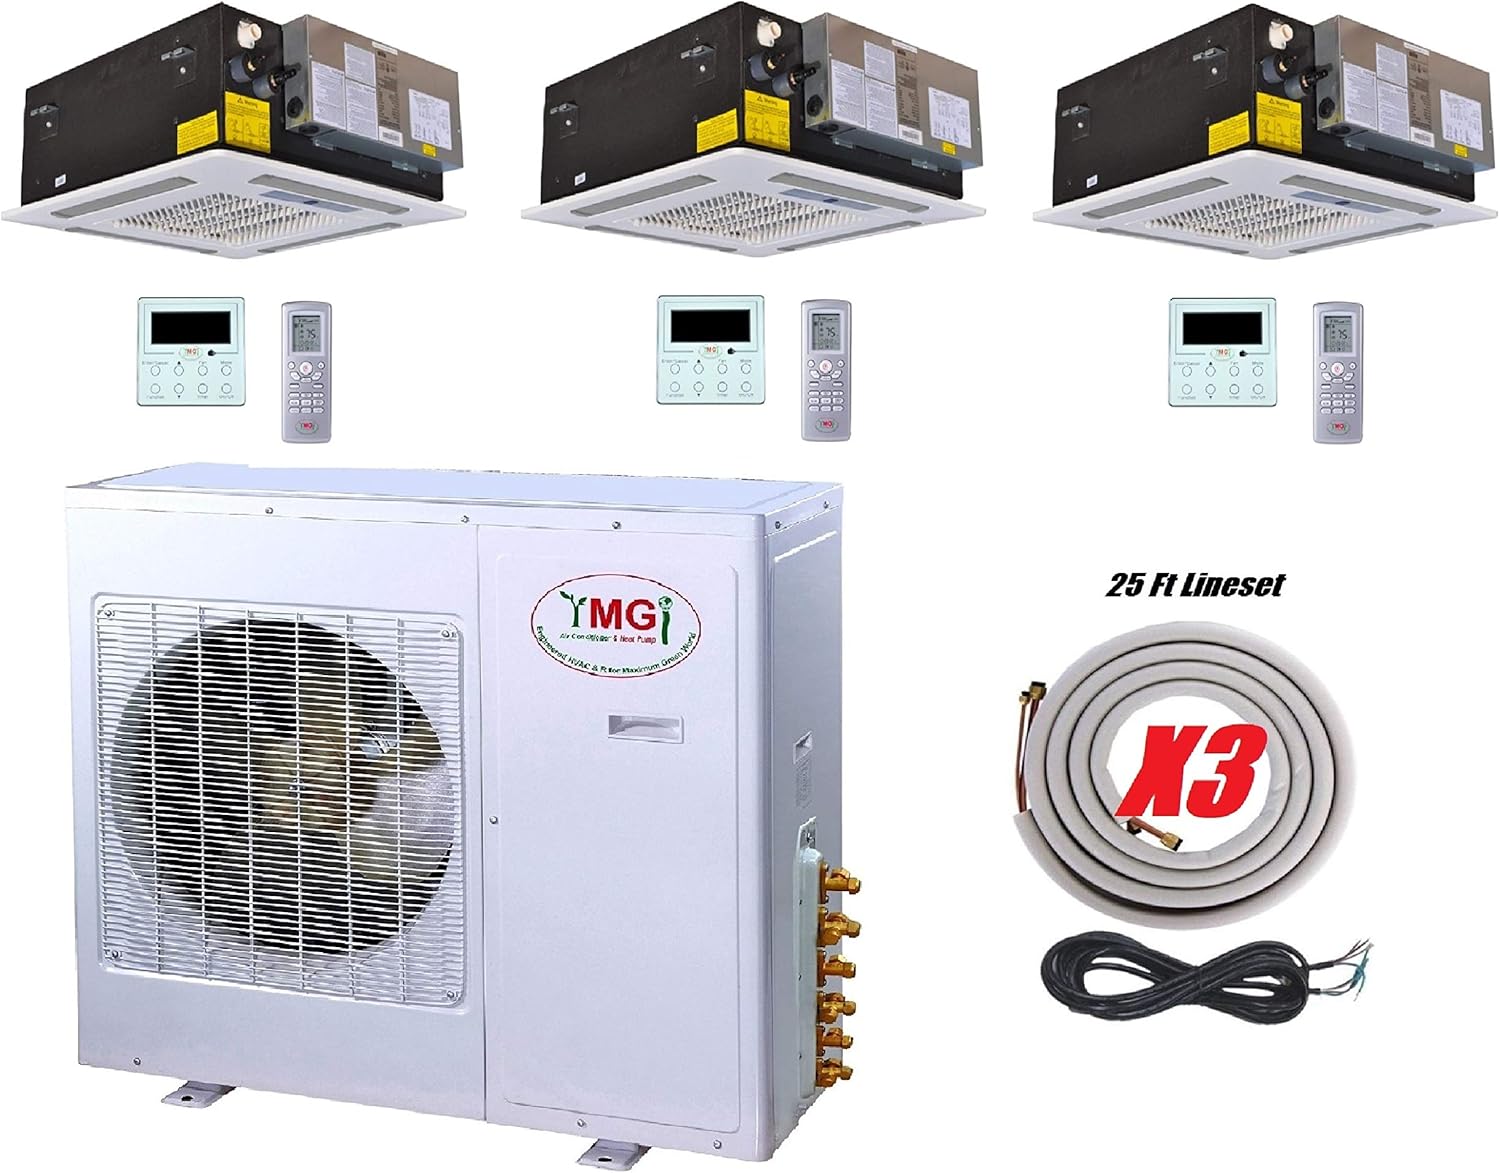
- BTU (British Thermal Units) Rating: Higher BTU ratings mean greater cooling or heating capacity, leading to a higher price. A single-zone system suitable for a small room (e.g., 200-400 sq ft) typically ranges from $800 to $2,000 for the unit itself. Multi-zone systems, which can heat or cool multiple rooms with one outdoor unit, can range from $2,500 to $6,000 or more.
- SEER (Seasonal Energy Efficiency Ratio) Rating: A higher SEER rating indicates greater energy efficiency. While more efficient models often have a higher upfront cost, they can save you money on energy bills over time. Aim for a SEER rating of 16 or higher for optimal energy savings.
- Brand: Established brands like Mitsubishi, Daikin, LG, and Fujitsu generally command a higher price due to their reputation for quality, reliability, and advanced features. Budget-friendly options are available, but research their reliability before purchasing.
- Features: Additional features like smart controls, built-in air purifiers, and advanced filtration systems can increase the price.
Installation Costs: Hiring a Professional
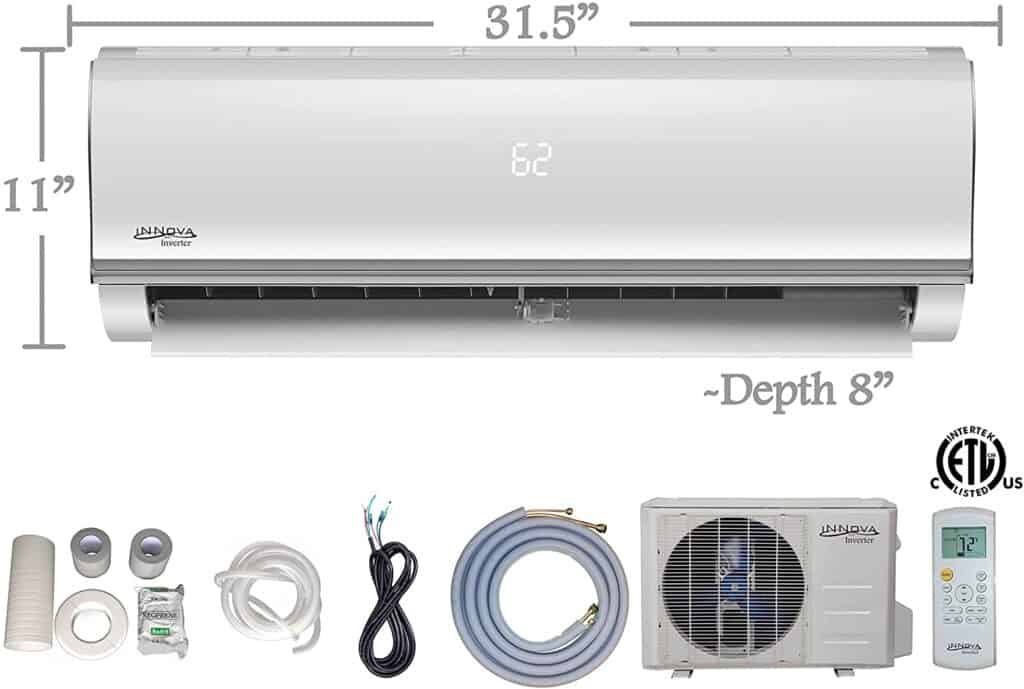
Professional installation is almost always recommended for ductless mini-split systems. Improper installation can lead to decreased efficiency, performance issues, and even void the manufacturer's warranty. Installation costs typically range from $500 to $2,000 per indoor unit, depending on the complexity of the job.
Here are some factors that influence installation costs:
- Number of Indoor Units: Each indoor unit requires separate mounting, wiring, and refrigerant line connections, increasing labor and material costs.
- Distance Between Indoor and Outdoor Units: Longer refrigerant lines require more materials and labor.
- Wall Type and Construction: Drilling through concrete or brick walls is more challenging and time-consuming than working with drywall.
- Electrical Work: If a dedicated electrical circuit is required, an electrician's services will add to the overall cost.
- Permits and Inspections: Local building codes may require permits and inspections, adding to the expense.
Breaking Down Installation Steps (and Why DIY is Risky)
While tempting to DIY, remember that installing a mini-split involves handling refrigerant, high-voltage electricity, and specialized tools. Incorrect procedures can be dangerous and expensive. That being said, here's a simplified overview of the installation process to help you understand what a professional does:
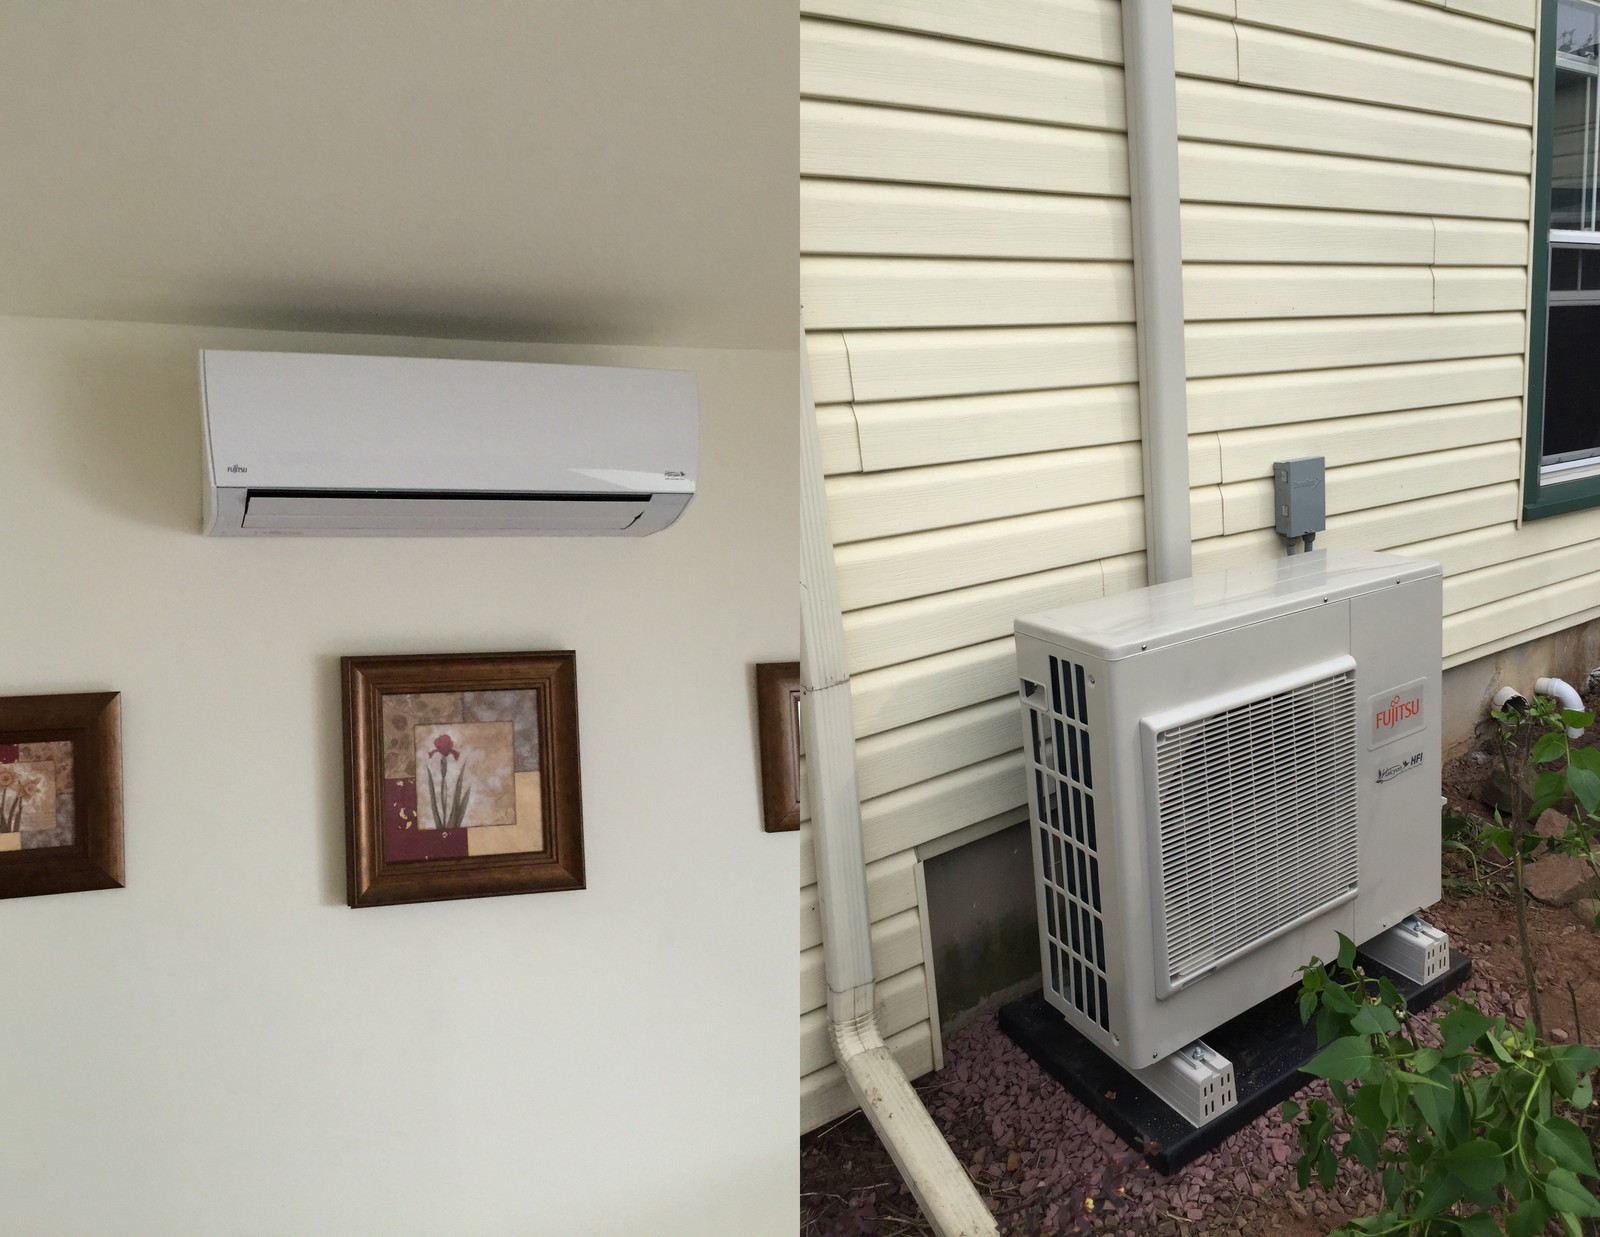
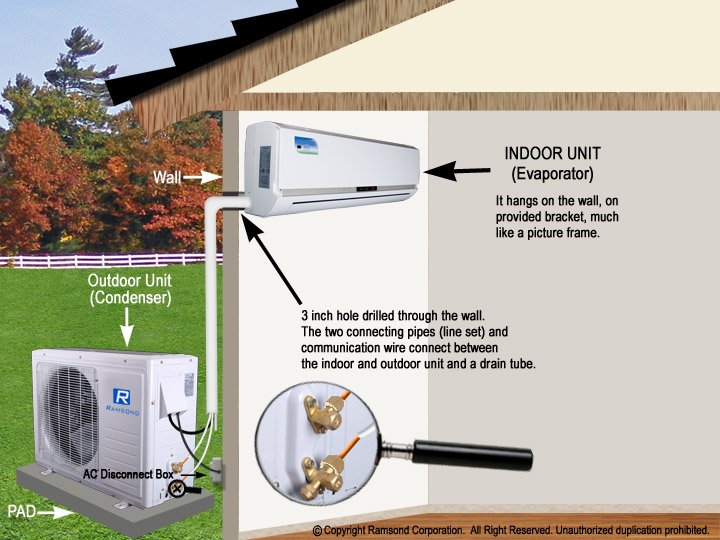
- Mounting the Outdoor Unit: The outdoor unit needs a stable, level surface. It’s usually placed on a concrete pad or mounted to the wall.
- Drilling the Hole: A 3-inch hole is drilled through the wall to run refrigerant lines, drain lines, and electrical wiring.
- Mounting the Indoor Unit: The indoor unit is mounted on the wall, ensuring it's level and secure.
- Connecting Refrigerant Lines: Refrigerant lines are carefully connected between the indoor and outdoor units. This requires specialized tools for flaring and connecting the lines. This is where DIY becomes extremely risky. Refrigerant leaks are hazardous and require specialized equipment to handle.
- Wiring: Electrical connections are made between the indoor and outdoor units, and a dedicated circuit is often required. Always disconnect power before working with electrical components. If you're not comfortable working with electricity, hire a qualified electrician.
- Vacuuming the Lines: The refrigerant lines are vacuumed to remove air and moisture, ensuring proper operation. Specialized vacuum pumps and gauges are required for this step.
- Refrigerant Charge: The system is charged with the correct amount of refrigerant. Overcharging or undercharging can damage the compressor and reduce efficiency.
- Testing: The system is tested to ensure proper operation and airflow.
Safety First! Always disconnect the power before attempting any electrical work. Wear appropriate safety gear, including eye protection and gloves. If you are unsure about any step, consult a qualified HVAC technician.
Ongoing Costs: Maintenance and Repairs
Like any HVAC system, ductless mini-splits require regular maintenance to ensure optimal performance and longevity. Here are some common maintenance tasks and associated costs:
- Filter Cleaning: Clean the air filters every 1-3 months, depending on usage. This is a simple DIY task. Dirty filters restrict airflow and reduce efficiency.
- Coil Cleaning: Clean the indoor and outdoor coils annually. This may require special coil cleaner and a fin comb. Consider hiring a professional for this task to avoid damaging the delicate fins. A professional coil cleaning can cost $100-$300.
- Refrigerant Recharge: If the system is not cooling properly, it may need a refrigerant recharge. This should only be done by a qualified technician. Refrigerant leaks are illegal to repair yourself and require a licensed professional. A recharge can cost $200-$500 depending on the type of refrigerant and the amount needed.
- Professional Inspection: Schedule an annual inspection with a qualified HVAC technician to identify potential problems and ensure proper operation. A typical inspection can cost $100-$300.
Common Problems and Repair Costs
Here are some common problems that can occur with ductless mini-split systems and their estimated repair costs:
- Refrigerant Leak: As mentioned before, refrigerant leaks require professional attention. Costs vary widely depending on the location and severity of the leak, but can range from $300 to $1,000 or more.
- Frozen Coils: Frozen coils can be caused by low refrigerant, dirty filters, or a malfunctioning fan. Diagnosis and repair can cost $150-$500.
- Fan Motor Failure: A failed fan motor will prevent proper airflow. Replacement can cost $200-$600.
- Compressor Failure: Compressor failure is a serious issue and often requires replacing the entire outdoor unit. This can be a significant expense, ranging from $1,500 to $4,000 or more.
- Control Board Malfunction: A faulty control board can cause various problems. Replacement can cost $200-$800.
- Drainage Issues: Clogged drain lines can cause water leaks. Clearing the drain line is often a simple DIY task, but if the clog is severe, a professional may be needed. This can cost $100-$300.
DIY Troubleshooting Tips (with Caution)
Before calling a professional, you can try these simple troubleshooting steps:
- Check the Thermostat: Make sure the thermostat is set correctly and the batteries are fresh.
- Clean the Air Filters: Dirty filters are a common cause of performance issues.
- Check the Outdoor Unit: Ensure the outdoor unit is free of debris, such as leaves and branches.
- Reset the System: Try turning the system off and on again.
Warning: Do not attempt to repair any electrical components or refrigerant lines unless you are a qualified technician. Improper repairs can be dangerous and void the warranty.
Cost-Saving Tips
Here are some tips to help you save money on your ductless mini-split system:
- Get Multiple Quotes: Obtain quotes from several HVAC contractors to compare prices and services.
- Consider Energy Efficiency: Choose a system with a high SEER rating to save on energy bills.
- Proper Sizing: Ensure the system is properly sized for the space it will be heating or cooling. An oversized system will cycle on and off frequently, wasting energy.
- Regular Maintenance: Perform regular maintenance to prevent costly repairs.
- Incentives and Rebates: Check for local and federal incentives and rebates for energy-efficient appliances.
When to Call a Professional
It's best to contact a qualified HVAC technician in the following situations:
- Refrigerant Leaks: As mentioned before, refrigerant handling requires certification and specialized tools.
- Electrical Problems: Working with electrical components can be dangerous.
- Complex Repairs: If you're not comfortable with the repair, it's best to leave it to a professional.
- Warranty Issues: Attempting repairs yourself may void the warranty.
- Strange Noises or Odors: Unusual noises or odors can indicate a serious problem.
By understanding the various cost factors and performing regular maintenance, you can enjoy the benefits of a ductless mini-split system for years to come. Remember, when in doubt, consult a qualified HVAC professional to ensure the job is done safely and correctly. Always prioritize safety and avoid attempting repairs that are beyond your skill level.