Ductless Mini Split Air Conditioner Installation
Frequently Asked Questions About Ductless Mini-Split Air Conditioner Installation
Ductless mini-split air conditioning systems offer a flexible and efficient way to cool and heat individual rooms or zones in your home or business. If you're considering installing one, you likely have some questions. This FAQ aims to answer the most common inquiries about ductless mini-split installation to help you make an informed decision.
Q: What exactly is a ductless mini-split system, and how is it installed?
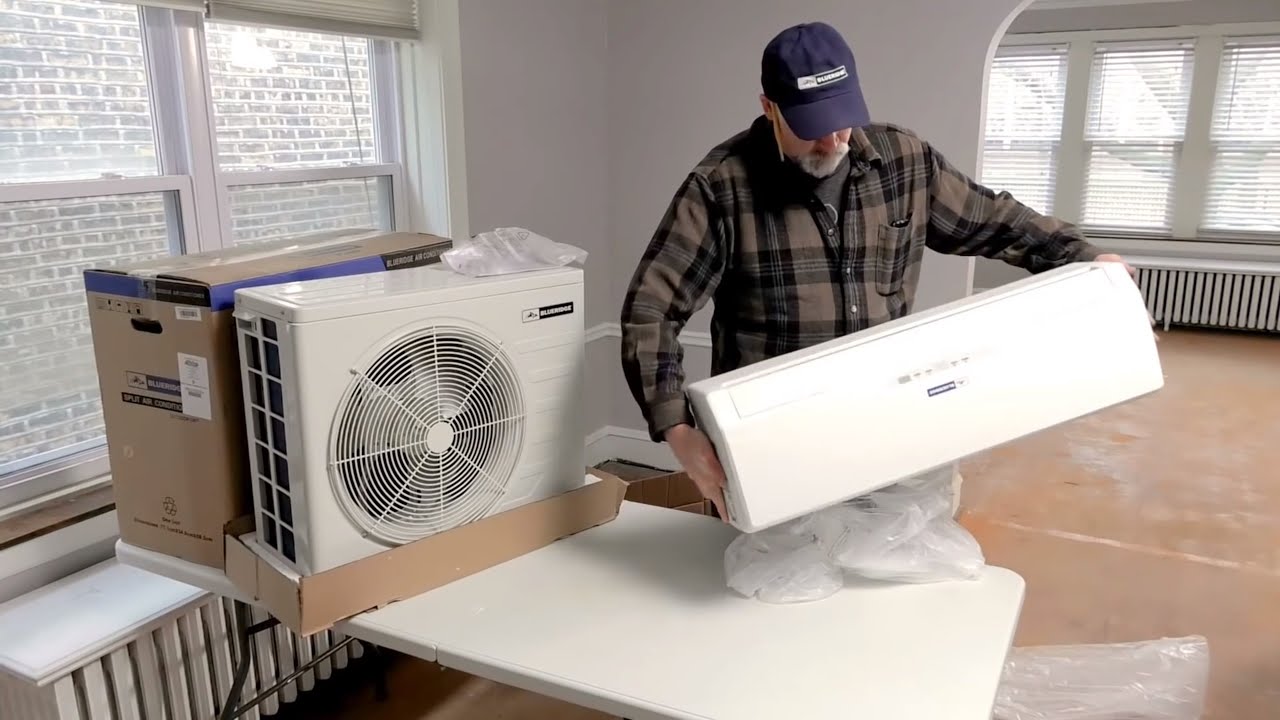
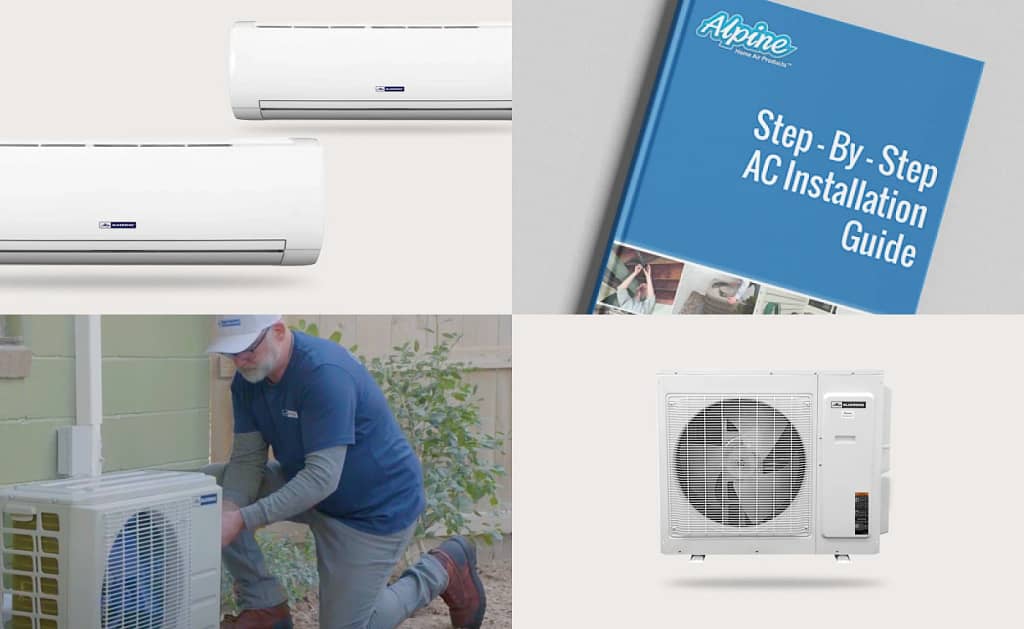
A ductless mini-split system is a type of HVAC system that doesn't require ductwork to distribute air. It consists of two main components:
- Outdoor Unit (Compressor/Condenser): This unit is installed outside the building and houses the compressor, condenser coil, and fan. It's responsible for removing heat from the refrigerant.
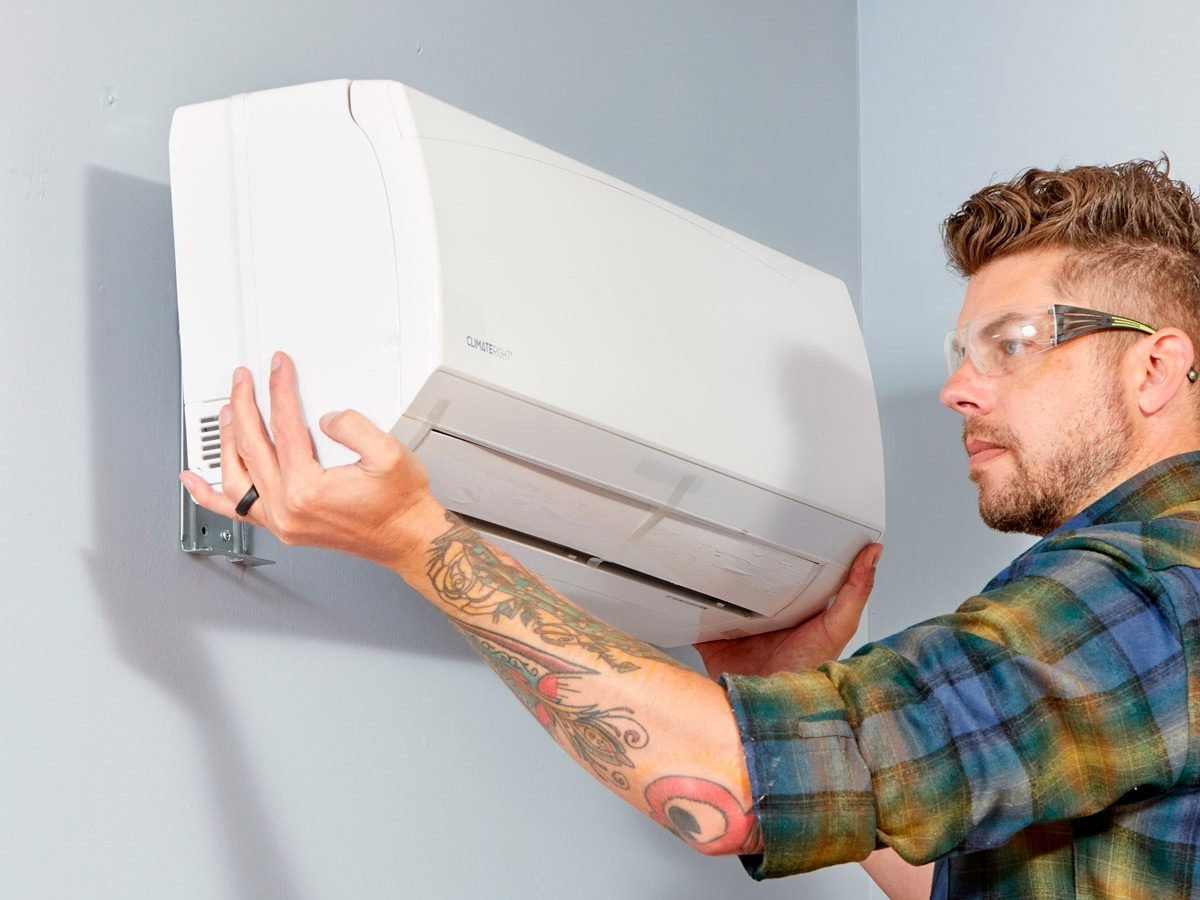
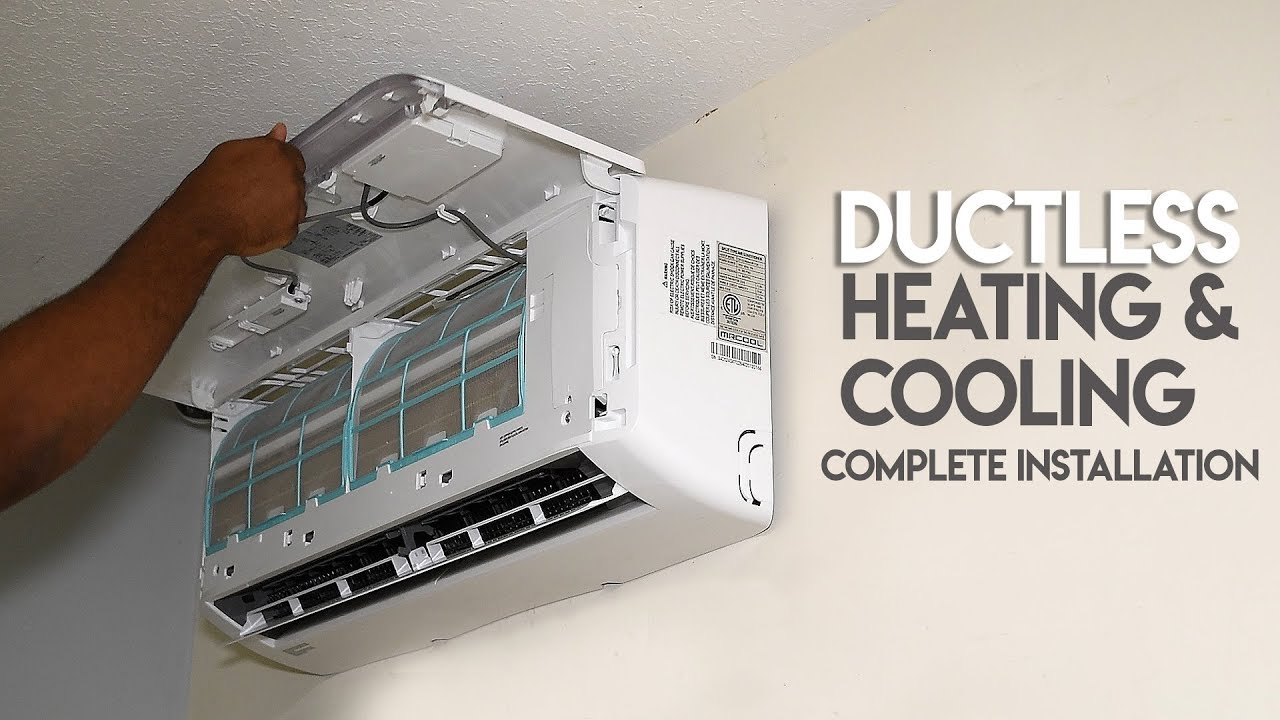
- Indoor Unit (Air Handler): This unit is mounted on a wall, ceiling, or floor inside the room you want to heat or cool. It contains the evaporator coil, fan, and air filter. It blows conditioned air into the room.
Installation Process:
- Location Selection: The installer will help you choose optimal locations for both the indoor and outdoor units, considering factors like sun exposure, airflow, and proximity to electrical power.
- Mounting the Indoor Unit: A small hole (typically 3 inches in diameter) is drilled through the wall to connect the indoor unit to the outdoor unit. The indoor unit is then mounted securely on the wall, ceiling, or floor.
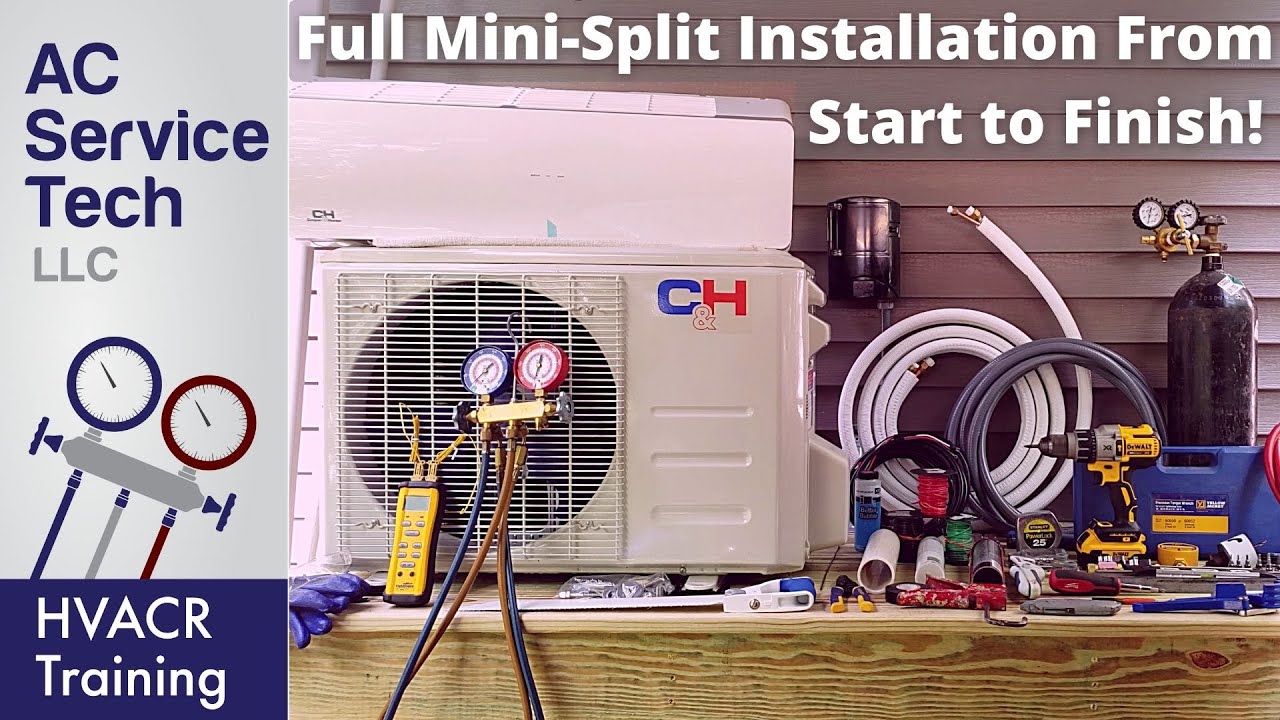
- Connecting Refrigerant and Electrical Lines: Refrigerant lines, electrical wiring, and a condensate drain line are run through the hole in the wall to connect the indoor and outdoor units. These lines are often bundled together and covered with a decorative casing for a neater appearance.
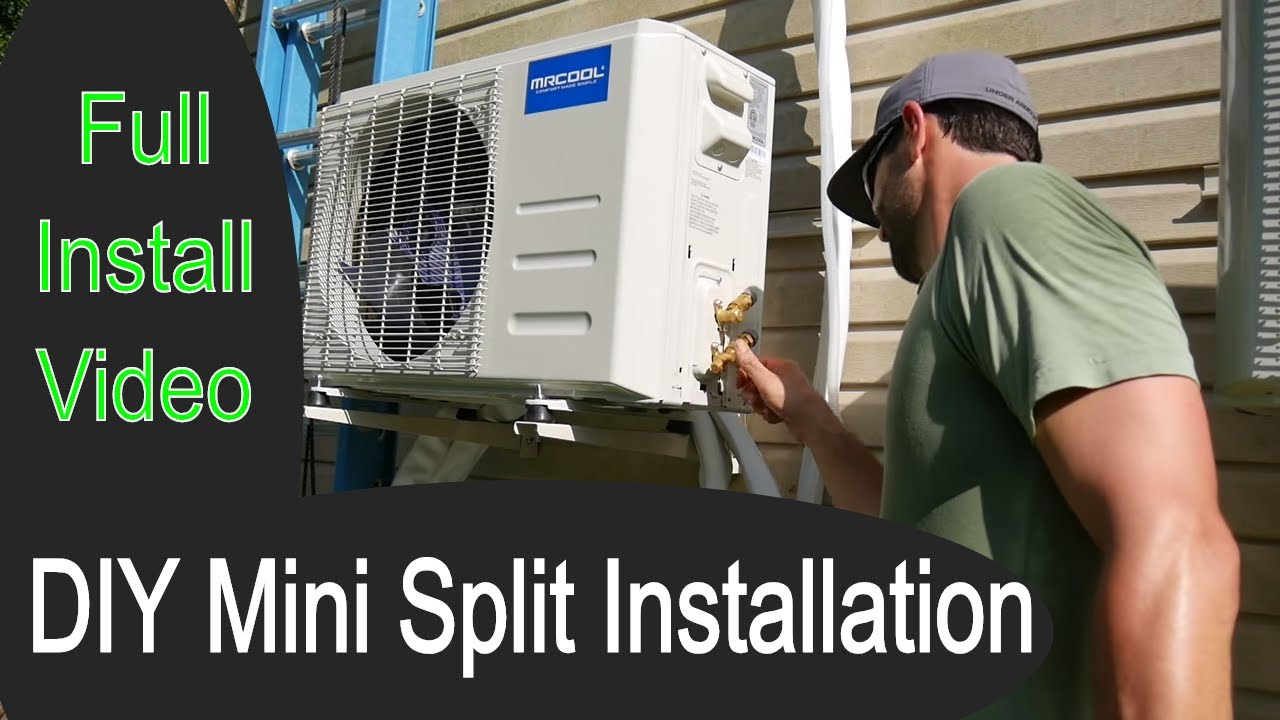
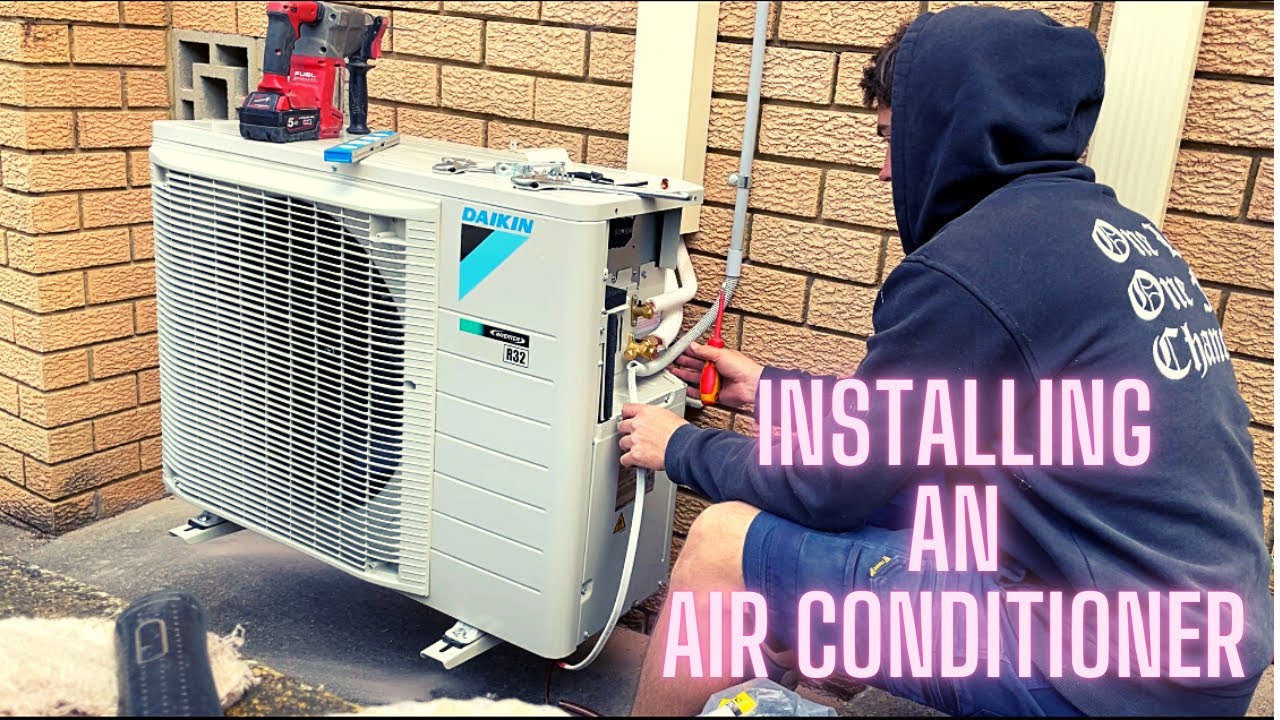
- Mounting the Outdoor Unit: The outdoor unit is placed on a concrete pad or mounted on brackets on an exterior wall.
- Refrigerant Charging and System Testing: The system is charged with the correct amount of refrigerant, and all connections are checked for leaks. The installer will then test the system to ensure it's functioning properly.
- Electrical Connection: A qualified electrician will connect the system to your electrical panel. This usually requires a dedicated circuit for the outdoor unit.
The entire installation process typically takes anywhere from a few hours to a full day per indoor unit, depending on the complexity of the installation and the number of units being installed.
Q: How long does mini-split installation take? Is it a disruptive process?
The duration of a mini-split installation depends on several factors, including the number of indoor units being installed, the accessibility of the installation locations, and the complexity of the wiring and refrigerant line connections.
- Single-Zone System: Installing a single-zone system (one outdoor unit and one indoor unit) usually takes 4-8 hours.
- Multi-Zone System: Installing a multi-zone system (one outdoor unit and multiple indoor units) can take a full day or even two days, especially if the indoor units are located in different rooms or on different floors.
Disruption Level:
Compared to installing a traditional ducted system, mini-split installation is generally less disruptive. Here's why:
- No Ductwork: The absence of ductwork eliminates the need for extensive demolition and construction, which can be messy and time-consuming.
- Small Hole: Only a small hole (about 3 inches in diameter) is required for the refrigerant lines and electrical wiring.
- Localized Work: Most of the work is concentrated around the installation locations of the indoor and outdoor units, minimizing disruption to the rest of your home or business.
However, there will still be some level of disruption. You can expect noise from drilling and other power tools. The installer will also need access to the installation locations, so you may need to move furniture or clear pathways.
Q: Do I need any special electrical work done for a mini-split system?
Yes, in most cases, you will need some electrical work done to accommodate a mini-split system. This is because mini-split systems require a dedicated electrical circuit to operate safely and efficiently.
Here's why:
- Power Requirements: Mini-split systems draw a significant amount of power, especially when the compressor is running. Connecting them to an existing circuit could overload the circuit and potentially cause a fire hazard.
- Dedicated Circuit: A dedicated circuit ensures that the mini-split system has its own dedicated power supply, preventing it from interfering with other appliances or electronics on the same circuit.
What Electrical Work is Typically Involved?
- New Circuit Breaker: A new circuit breaker will need to be installed in your electrical panel. The size of the circuit breaker will depend on the power requirements of the mini-split system.
- Wiring: New wiring will need to be run from the circuit breaker to the outdoor unit and possibly to each indoor unit, depending on the system's configuration.
- Disconnect Switch: A disconnect switch is typically installed near the outdoor unit to allow for easy shutoff of power for maintenance or repairs.
It's crucial to hire a licensed and qualified electrician to perform the electrical work for your mini-split installation. They will ensure that the wiring is done correctly and that the system meets all applicable electrical codes.
Q: Where can I install a ductless mini-split unit? Are there any restrictions?
Ductless mini-split systems are incredibly versatile and can be installed in a wide variety of locations. However, there are a few considerations and potential restrictions to keep in mind:
Ideal Locations:
- Rooms Without Existing Ductwork: This is where mini-splits truly shine. They are perfect for additions, sunrooms, converted attics, basements, and garages where extending existing ductwork would be difficult or expensive.
- Rooms with Uneven Temperatures: If you have rooms that are consistently hotter or colder than the rest of your house, a mini-split can provide targeted heating and cooling.
- Home Offices and Bedrooms: Their quiet operation makes them ideal for spaces where you need to concentrate or relax.
- Older Homes: Mini-splits are a great option for older homes that lack ductwork or have inefficient heating and cooling systems.
Considerations and Restrictions:
- Wall Space: The indoor unit needs to be mounted on a wall, so ensure you have sufficient unobstructed wall space. Ideally, the unit should be mounted high on the wall for optimal airflow.
- Outdoor Unit Placement: The outdoor unit needs to be placed on a level surface, such as a concrete pad or mounted on brackets. Ensure it's not obstructed by bushes, fences, or other objects that could restrict airflow. Also consider noise levels and proximity to neighbors.
- Condensate Drain: The indoor unit produces condensate (water) that needs to be drained away. The drain line can be routed to a nearby drain, or a condensate pump may be required if gravity drainage isn't possible.
- Local Building Codes and HOA Restrictions: Check with your local building department and homeowner's association to see if there are any restrictions on the placement or appearance of the outdoor unit. Some HOAs may have rules about visible equipment on the exterior of your home.
- Distance Limitations: There are limitations on the distance and height difference between the indoor and outdoor units. Exceeding these limitations can reduce the system's efficiency and performance. Your installer can advise you on the maximum allowable distances.
- Electrical Access: Both the indoor and outdoor units require access to electrical power.
A professional HVAC installer can assess your specific situation and recommend the best locations for your mini-split units, taking into account all relevant factors and restrictions.
Q: How much does ductless mini-split installation cost? What factors affect the price?
The cost of ductless mini-split installation can vary significantly depending on several factors. It's important to get quotes from multiple installers to get an accurate estimate for your specific needs.
Typical Cost Range:
For a single-zone system (one outdoor unit and one indoor unit), you can expect to pay anywhere from $3,000 to $8,000 installed. Multi-zone systems (one outdoor unit and multiple indoor units) will cost more, ranging from $5,000 to $15,000 or more, depending on the number of zones and the complexity of the installation.
Factors Affecting the Price:
- Number of Indoor Units (Zones): The more indoor units you need, the higher the overall cost will be.
- BTU Capacity: The BTU (British Thermal Unit) capacity of the system will affect the price. Higher BTU systems, which are needed for larger rooms, will cost more.
- Brand and Model: Different brands and models of mini-split systems have different price points. Some brands are known for their higher quality, efficiency, or advanced features.
- Installation Complexity: More complex installations, such as those involving difficult wiring runs, long refrigerant line distances, or challenging mounting locations, will cost more.
- Electrical Work: The cost of electrical work can vary depending on the complexity of the wiring and the need for a new circuit breaker.
- Permits and Inspections: Some localities require permits and inspections for HVAC installations, which can add to the overall cost.
- Labor Costs: Labor costs can vary depending on the installer's experience and location.
- Additional Features: Features like smart controls, advanced filtration systems, and specialized mounting options can increase the price.
- SEER Rating: The Seasonal Energy Efficiency Ratio (SEER) rating affects the price; higher SEER ratings typically mean higher upfront costs but lower energy bills over time.
Getting an Accurate Quote:
To get an accurate quote, schedule on-site consultations with several HVAC installers. They will assess your specific needs, evaluate the installation locations, and provide you with a detailed estimate that includes the cost of the equipment, labor, and any necessary electrical work.
Q: How do I maintain a ductless mini-split system after installation?
Proper maintenance is essential for ensuring the longevity and efficiency of your ductless mini-split system. Regular maintenance can help prevent breakdowns, improve energy efficiency, and extend the lifespan of the equipment.
Recommended Maintenance Tasks:
- Air Filter Cleaning or Replacement: This is the most important maintenance task. Clean or replace the air filters in the indoor units every 1-3 months, depending on usage and air quality. Dirty filters restrict airflow, reducing efficiency and potentially damaging the system. Most filters are washable; simply rinse them with water and let them dry completely before reinstalling.
- Coil Cleaning: The indoor and outdoor coils should be cleaned at least once a year. You can use a fin comb to straighten bent fins and a coil cleaner to remove dirt and debris. It's best to have a professional do this, especially for the outdoor unit, to avoid damaging the delicate fins.
- Condensate Drain Line Cleaning: Periodically check the condensate drain line to ensure it's clear of obstructions. You can use a wet/dry vacuum to suction out any debris. If you notice water leaking from the indoor unit, it's likely a sign that the drain line is clogged.
- Outdoor Unit Inspection: Regularly inspect the outdoor unit for any signs of damage, such as bent fins, loose connections, or debris buildup. Keep the area around the unit clear of vegetation and other obstructions.
- Professional Maintenance: Schedule a professional maintenance checkup at least once a year. A qualified HVAC technician can inspect the system, clean the coils, check the refrigerant levels, and identify any potential problems before they become major issues.
- Remote Control Batteries: Replace the batteries in your remote control as needed.
- Check for Unusual Noises: Pay attention to any unusual noises coming from the indoor or outdoor units. These noises could indicate a problem that needs to be addressed by a professional.
Why Regular Maintenance is Important:
- Improved Energy Efficiency: Clean filters and coils allow the system to operate more efficiently, reducing energy consumption and lowering your utility bills.
- Extended Lifespan: Regular maintenance can help prevent breakdowns and extend the lifespan of the equipment.
- Improved Air Quality: Clean filters help remove dust, pollen, and other allergens from the air, improving indoor air quality.
- Prevention of Costly Repairs: Identifying and addressing small problems early on can prevent them from escalating into more costly repairs.
By following these maintenance tips, you can keep your ductless mini-split system running smoothly and efficiently for years to come.