Duraflame Heaters At Lowes
Many homeowners relying on Duraflame heaters purchased from Lowe's encounter a common problem: insufficient heating or inconsistent temperature. Your heater might be running, but the room isn't warming up as expected, or the temperature fluctuates wildly. This can be frustrating, especially during colder months. Before calling a professional, let's walk through some troubleshooting steps you can take yourself. This guide provides a systematic approach to diagnosing and addressing common issues.
Understanding Your Duraflame Heater
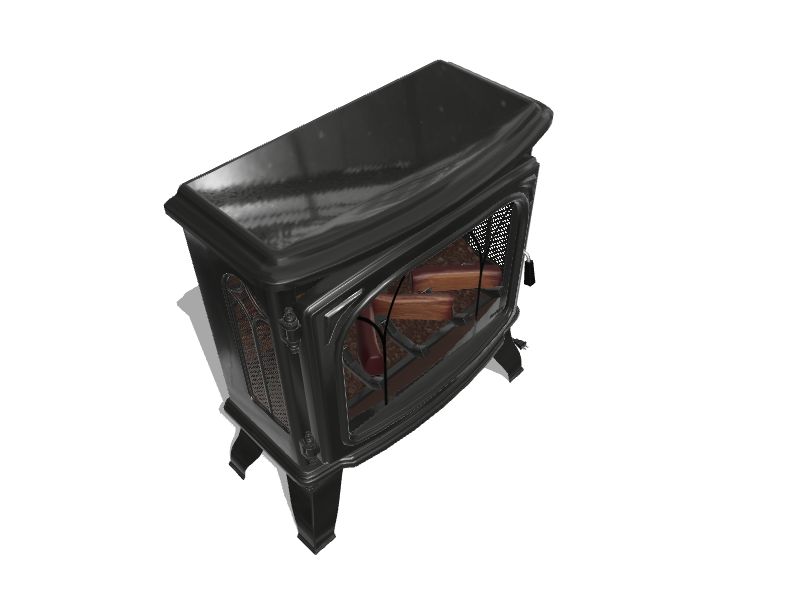
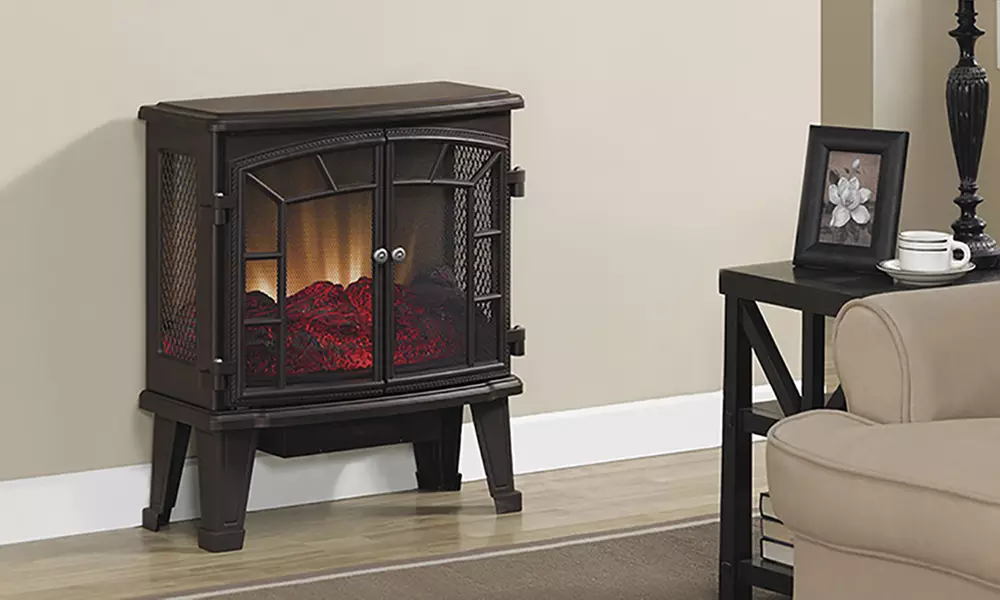
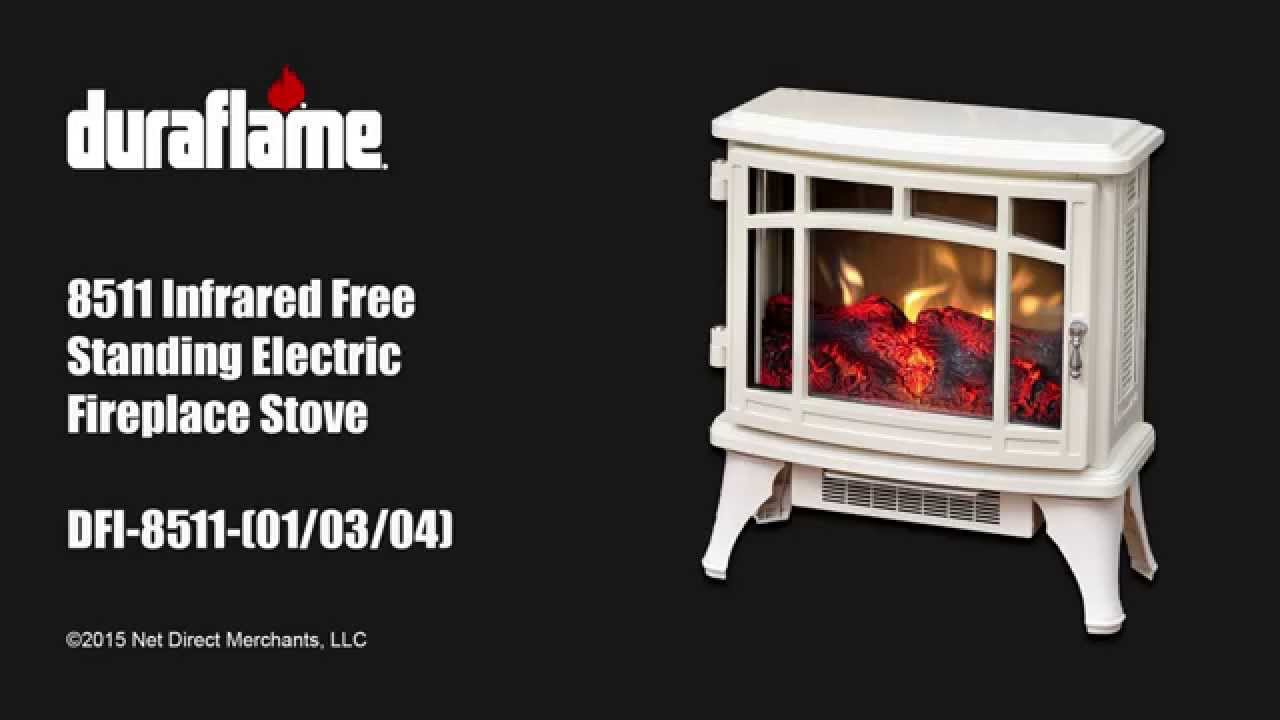
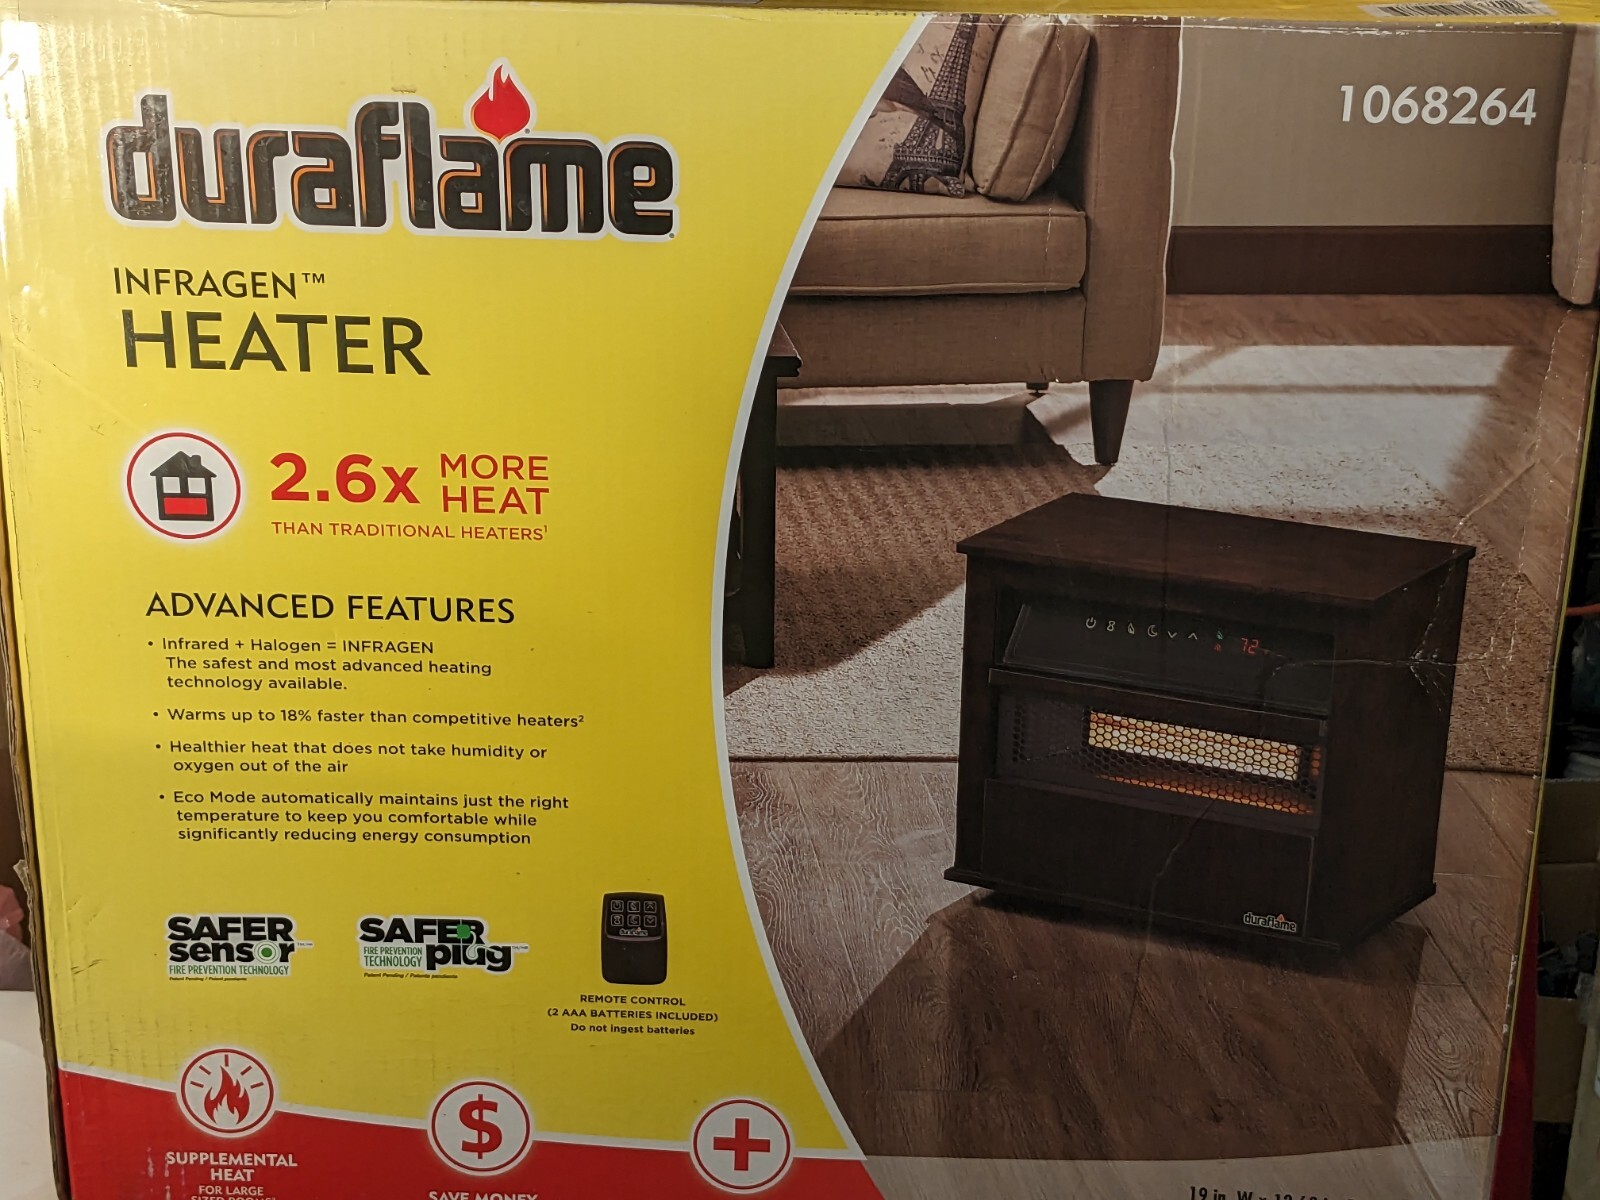
Before diving into troubleshooting, it's crucial to understand the type of Duraflame heater you have. Are you using an electric space heater, an infrared heater, or an electric fireplace with a heater? Each type has slightly different components and potential failure points. Check your owner's manual for specific details about your model.
Step 1: Initial Assessment (No Tools Required)
Start with a visual inspection and some simple checks. These don't require any tools and can often pinpoint obvious problems.
1.1 Power Supply
Is the heater plugged in securely? Sounds simple, but it's often overlooked. Make sure the plug is firmly seated in the outlet.
Check the outlet itself. Test the outlet with another device (a lamp, phone charger, etc.) to ensure it's providing power. If the outlet isn't working, check the circuit breaker.
Inspect the power cord. Look for any signs of damage, such as cuts, frayed wires, or exposed conductors. Never use a heater with a damaged power cord, as this poses a serious fire hazard. If the cord is damaged, stop here and contact a professional for repair or replacement.
1.2 Heater Placement
Is the heater blocked? Ensure the heater isn't obstructed by furniture, curtains, or other objects. Blockages can restrict airflow and prevent the heater from effectively warming the room. Allow at least 3 feet of clearance around the heater.
Consider the room size. Is the heater appropriately sized for the room you're trying to heat? A small heater may struggle to warm a large room, especially in very cold weather. Check the heater's specifications to determine the recommended room size.
Check for drafts. Drafts can significantly reduce the effectiveness of a heater. Seal any obvious drafts around windows, doors, and other openings. Weatherstripping and caulk can be helpful for this.
1.3 Thermostat Setting
Is the thermostat set correctly? Make sure the thermostat is set to a temperature higher than the current room temperature. Some heaters have multiple heat settings; ensure you've selected an appropriate setting for your needs.
Check the thermostat mode. Some heaters have different modes, such as "low," "high," or "automatic." Ensure you're in the correct mode for your desired level of heating. In "automatic" mode, the heater will cycle on and off to maintain the set temperature.
1.4 Air Vents
Are the air vents clean and unobstructed? Dust and debris can accumulate on the air vents, restricting airflow and reducing heating efficiency. Use a vacuum cleaner with a brush attachment to clean the vents regularly.
Step 2: Advanced Troubleshooting (Basic Tools Required)
If the initial assessment doesn't reveal the problem, you'll need some basic tools for further investigation. These include a screwdriver (Phillips and flathead), a multimeter, and possibly a voltage tester.
2.1 Overheat Protection
Many Duraflame heaters have an overheat protection feature that automatically shuts off the heater if it gets too hot. This is a safety mechanism to prevent fires.
Check for a reset button. Some heaters have a reset button located on the back or bottom of the unit. If the heater has shut off due to overheating, pressing the reset button may restore it to normal operation. Let the heater cool down completely before pressing the reset button.
2.2 Checking the Heating Element
Warning: This step involves working with electricity. If you're not comfortable with electrical work, stop here and contact a qualified technician.
Unplug the heater from the outlet before attempting any electrical troubleshooting.
Access the heating element. Consult your owner's manual for instructions on how to access the heating element. This usually involves removing a back panel or other enclosure using a screwdriver.
Visually inspect the heating element. Look for any signs of damage, such as broken coils, burns, or corrosion. If the heating element is visibly damaged, it will need to be replaced. Replacement heating elements can often be purchased online or from appliance repair stores.
Test the heating element with a multimeter. Set the multimeter to the resistance (Ohms) setting. Touch the probes to the terminals of the heating element. A functioning heating element should show a resistance reading within a specified range (consult your owner's manual or the heater's specifications for the correct range). If the multimeter shows an open circuit (no resistance) or a very high resistance, the heating element is likely faulty and needs to be replaced.
2.3 Testing the Thermostat
The thermostat controls the heater's on/off cycles and regulates the temperature. A faulty thermostat can cause the heater to not turn on, turn off prematurely, or maintain an inconsistent temperature.
Locate the thermostat. The thermostat is usually located near the heating element or on the control panel.
Test the thermostat with a multimeter. With the heater unplugged, set the multimeter to the continuity setting. Disconnect the wires from the thermostat terminals. Touch the probes to the thermostat terminals. When the thermostat is calling for heat (i.e., the temperature setting is higher than the room temperature), the multimeter should show continuity (a closed circuit). When the thermostat is not calling for heat, the multimeter should show no continuity (an open circuit). If the thermostat doesn't behave as expected, it may be faulty and needs to be replaced.
2.4 Checking the Limit Switch
The limit switch is a safety device that shuts off the heater if it overheats. A faulty limit switch can prevent the heater from turning on.
Locate the limit switch. The limit switch is usually located near the heating element.
Test the limit switch with a multimeter. With the heater unplugged, set the multimeter to the continuity setting. Disconnect the wires from the limit switch terminals. The limit switch should normally show continuity (a closed circuit). If the limit switch shows no continuity (an open circuit), it may be faulty and needs to be replaced. However, before replacing it, ensure that the heater is not actually overheating due to another problem. Replacing the limit switch without addressing the underlying cause of overheating will only result in the new limit switch failing as well.
Step 3: When to Call a Professional
While many heater problems can be resolved with DIY troubleshooting, certain issues require the expertise of a qualified HVAC technician. It's best to call a professional in the following situations:
- If you're not comfortable working with electricity. Electrical work can be dangerous, and it's best to leave it to a professional if you're not confident in your abilities.
- If you suspect a gas leak. If you smell gas near your heater, immediately evacuate the area and call your gas company or the fire department.
- If you've tried the troubleshooting steps above and the heater still isn't working. This indicates a more complex problem that requires specialized knowledge and equipment.
- If the heater is making unusual noises. Loud buzzing, grinding, or clicking noises can indicate a mechanical problem that needs to be addressed by a professional.
- If you're unsure about any of the steps outlined in this guide. It's always better to err on the side of caution and seek professional assistance rather than risk damaging the heater or injuring yourself.
Safety First!
Always unplug the heater before performing any maintenance or repairs. Never work on a heater while it's plugged in. Use caution when working with electricity. Wear appropriate safety gear, such as insulated gloves and safety glasses. If you're unsure about any of the steps outlined in this guide, contact a qualified technician.
Preventative Maintenance
Regular preventative maintenance can help keep your Duraflame heater running smoothly and efficiently. Here are some tips:
- Clean the air vents regularly. Use a vacuum cleaner with a brush attachment to remove dust and debris from the vents.
- Inspect the power cord for damage. Replace the cord if it's frayed or damaged.
- Check the thermostat settings. Ensure the thermostat is set correctly and functioning properly.
- Keep the heater area clear of obstructions. Allow at least 3 feet of clearance around the heater.
By following these troubleshooting steps and preventative maintenance tips, you can often resolve common Duraflame heater problems yourself. Remember to prioritize safety and seek professional assistance when needed. With a little care and attention, you can keep your Duraflame heater running efficiently and comfortably for years to come.