Dust On Ceiling Around Air Vents
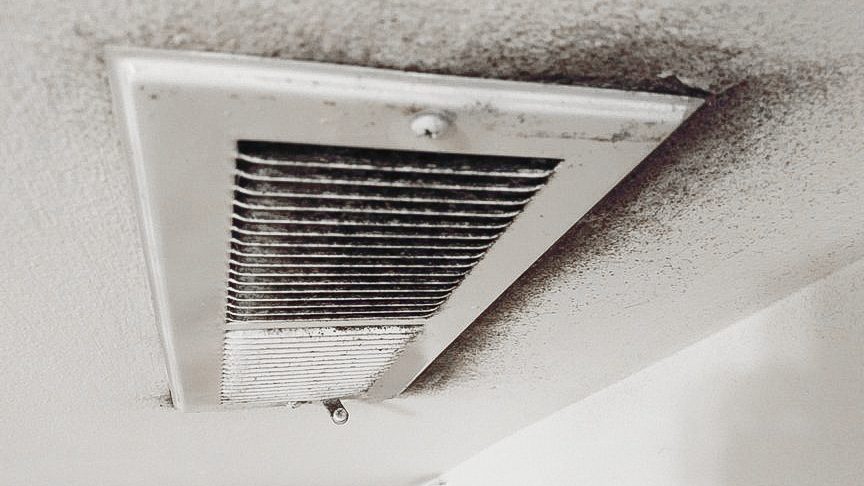
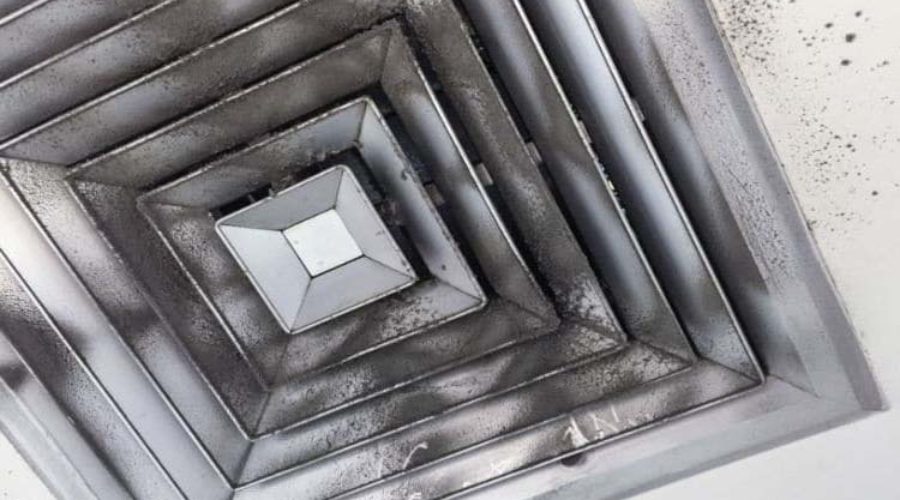
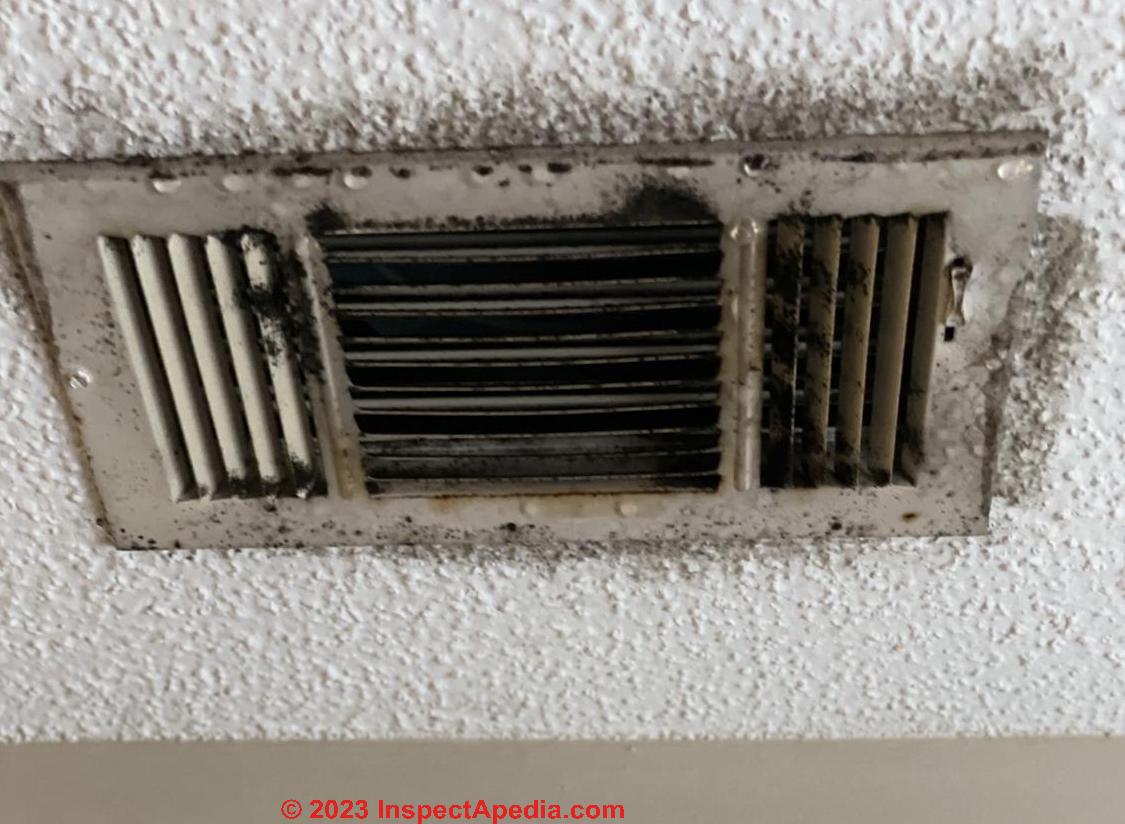
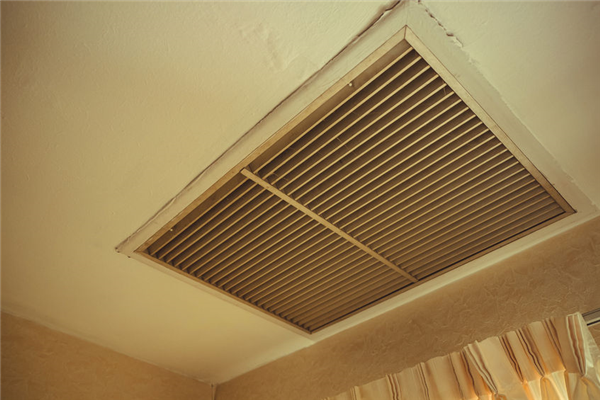
Seeing unsightly dark smudges or dust accumulating around your ceiling air vents is a common household problem. This soiling is not just an aesthetic issue; it often signals underlying problems with your HVAC system's performance and indoor air quality. Before calling a professional, there are several troubleshooting steps you can take to diagnose and potentially resolve the problem yourself. This guide will provide a step-by-step approach to tackling dust around air vents, empowering you to identify the cause and implement basic solutions safely.
Understanding the Problem: Why is Dust Gathering Around My Vents?
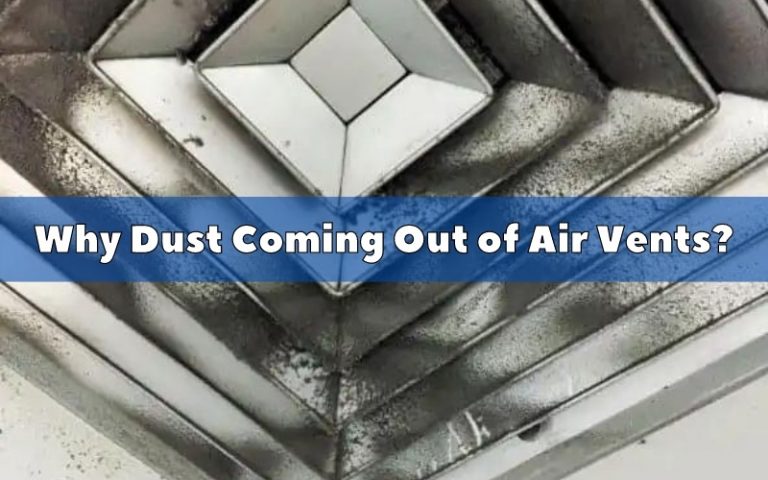
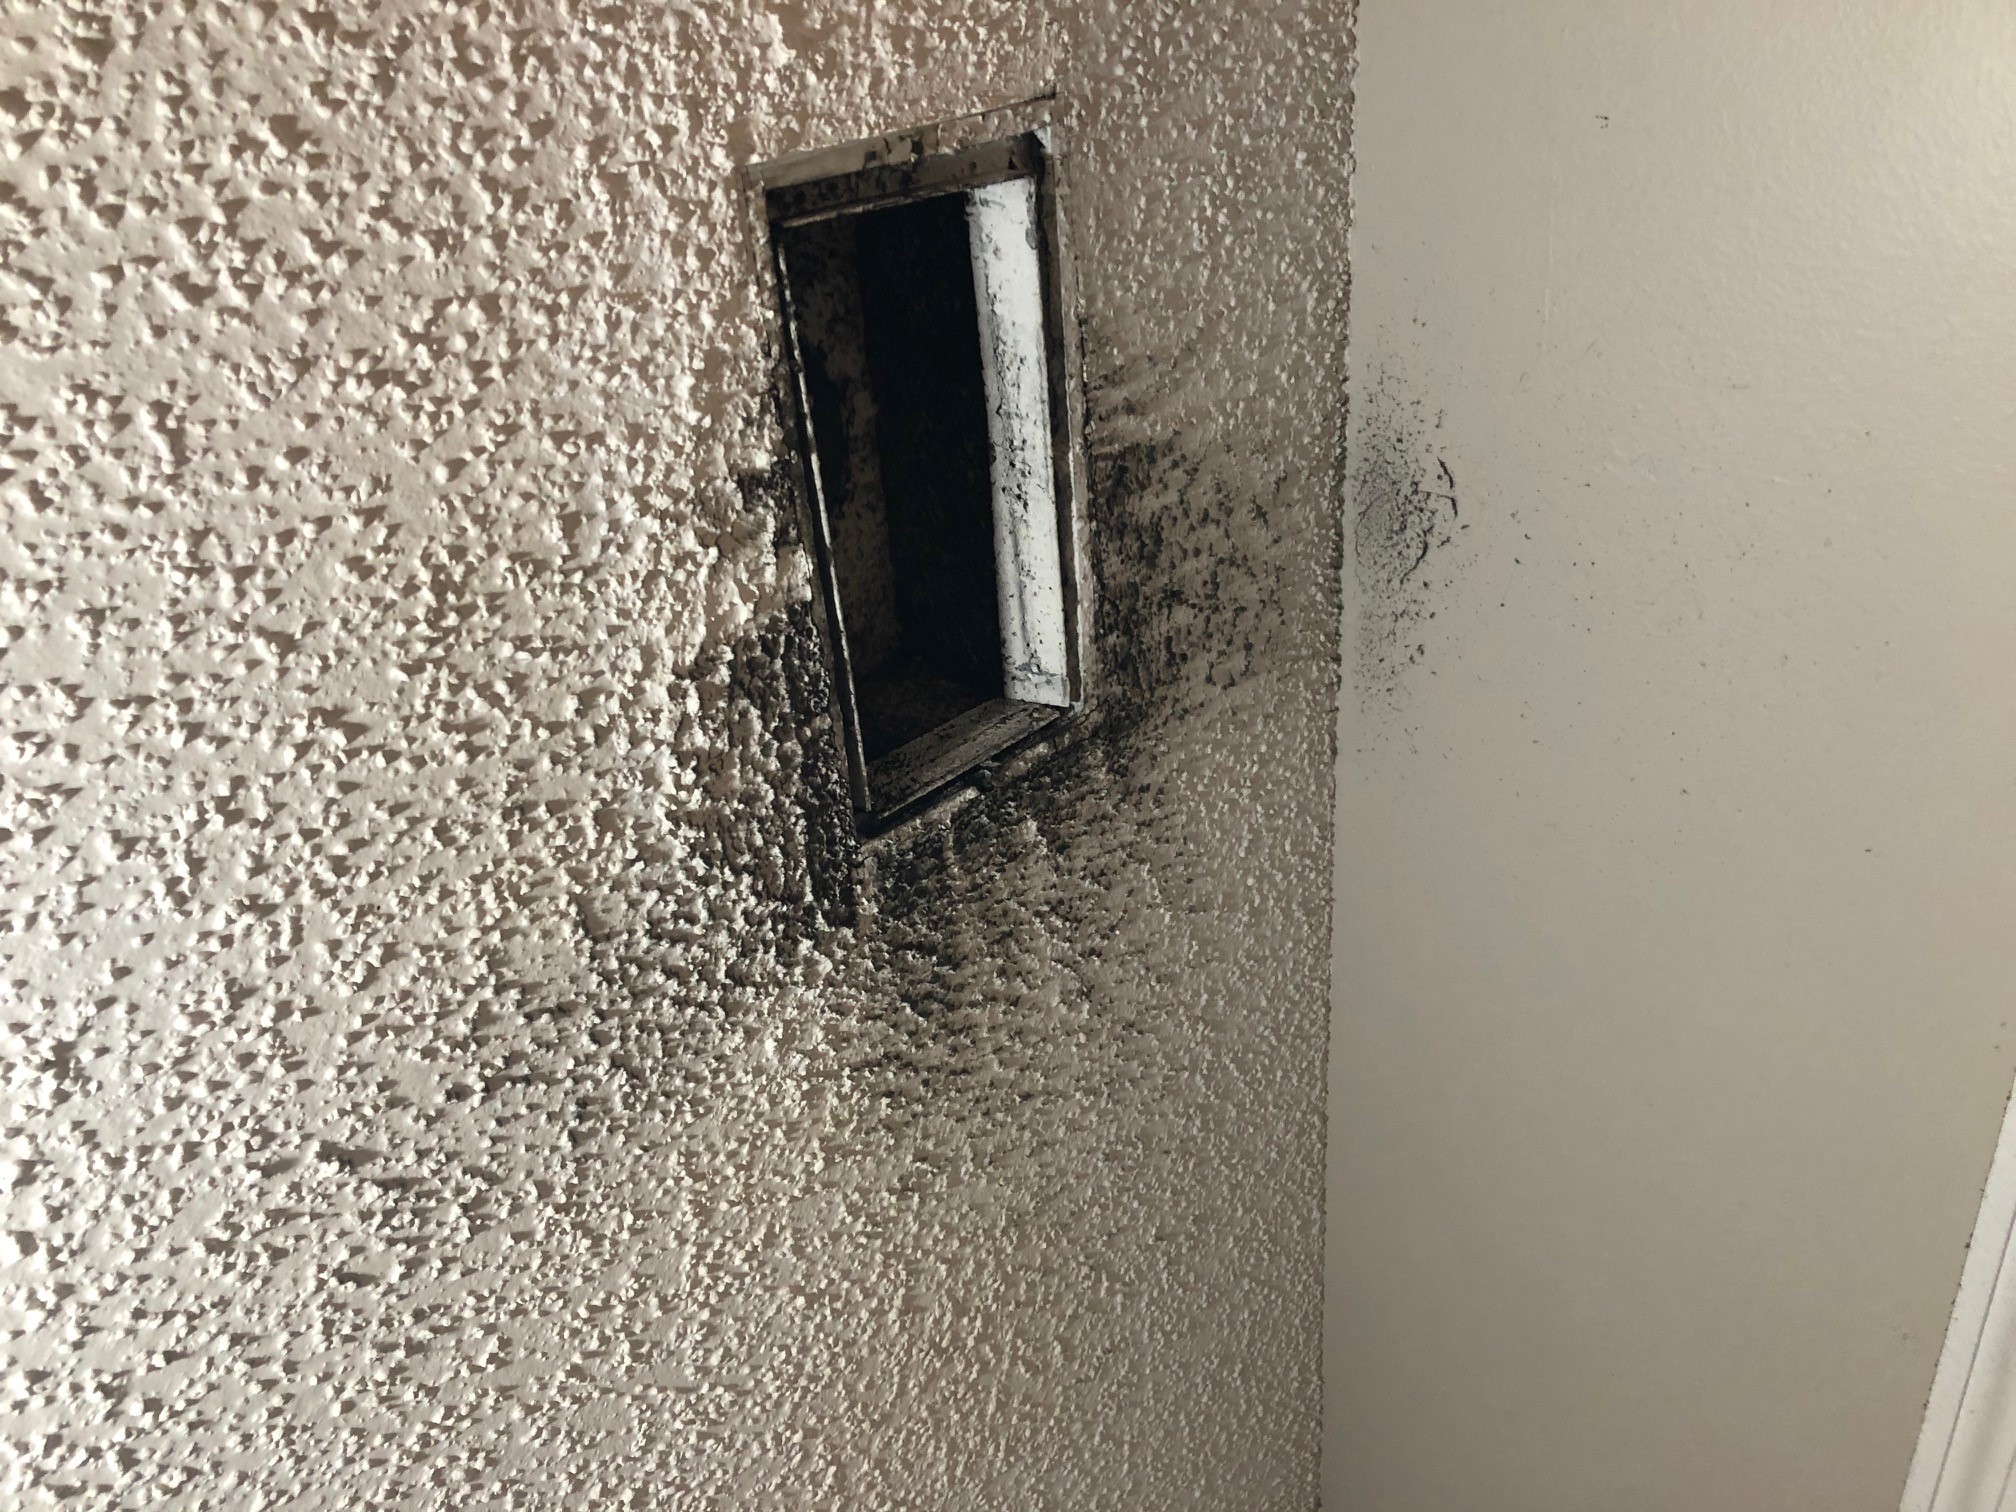
The dark stains or dust accumulation around air vents are primarily caused by static electricity and air filtration issues. The constant flow of air through the vents, especially when the air filter is dirty or inadequate, creates a static charge. This static charge attracts dust particles, pollutants, and debris from the surrounding environment, causing them to cling to the surfaces around the vent.
Here's a breakdown of the contributing factors:
- Dirty Air Filter: This is the most common culprit. A clogged filter reduces airflow and allows more dust and particles to circulate through the system.
- Poorly Sealed Ductwork: Leaks in the ductwork draw in air from attics, crawl spaces, or wall cavities, pulling in dust, insulation particles, and other contaminants.
- Inadequate Air Filtration: A low-quality or improperly rated air filter won't effectively capture fine particles.
- High Dust Levels in the Home: General house dust from pets, carpets, or outdoor sources contributes to the problem.
- Static Electricity: The constant airflow generates static electricity, attracting airborne particles to the vent surfaces.
- Improperly Balanced System: An unbalanced system may cause excessive airflow through certain vents, increasing the static charge and dust accumulation.
Step-by-Step Troubleshooting Guide
Step 1: Safety First!
Before starting any troubleshooting, prioritize your safety:
- Turn off the HVAC system at the thermostat. This prevents accidental activation while you're working.
- If you're working near electrical components (like the furnace or air handler), turn off the power at the breaker box.
- Wear a dust mask and eye protection to avoid inhaling dust and debris.
- Use a stable ladder or step stool to reach the vents safely.
Step 2: Inspect and Replace the Air Filter
The air filter is the first place to start. A dirty filter is the most frequent cause of dust accumulation around vents.
- Locate the Air Filter: The air filter is typically located near the furnace, air handler, or return air vent. Check your HVAC system's manual for the exact location.
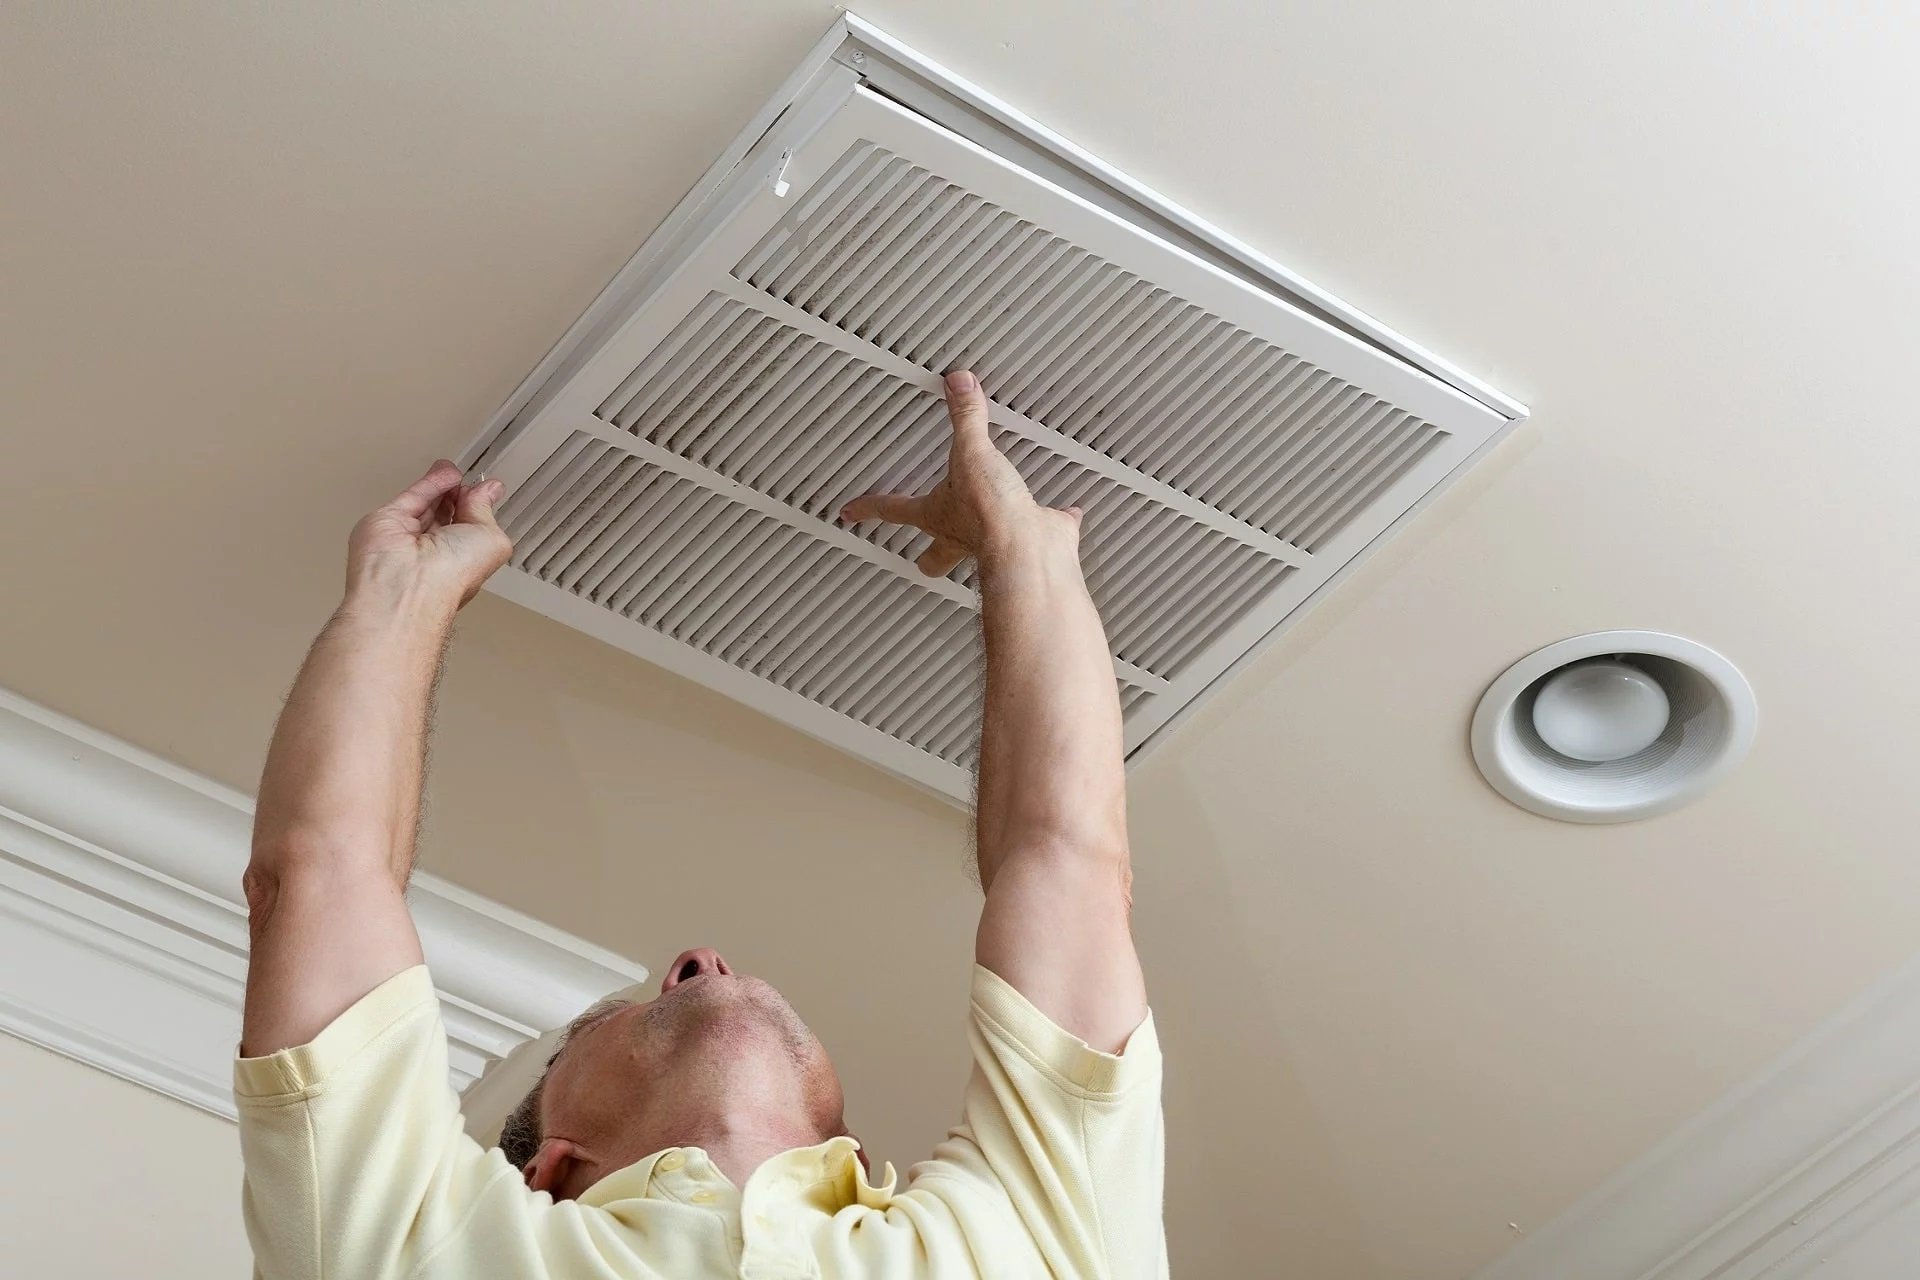
- Inspect the Filter: Remove the filter and hold it up to the light. If you can't see light through it, it's definitely dirty and needs replacing.
- Replace the Filter:
- Note the size and type of the old filter. This information is usually printed on the filter frame.
- Purchase a replacement filter of the same size and type. Consider using a MERV 8 or higher filter for better filtration (but check your HVAC system's manual to ensure compatibility).
- Install the new filter, ensuring the airflow direction arrow on the filter matches the airflow direction in your HVAC system.
Frequency: Aim to check your air filter monthly and replace it every 1-3 months, or more frequently if you have pets, allergies, or live in a dusty environment.
Step 3: Clean the Vents
Even with a clean filter, the vents themselves can be dirty and contribute to the problem.
- Remove the Vent Covers: Most vent covers are held in place by screws or clips. Carefully remove the covers.
- Wash the Vent Covers: Wash the vent covers with warm soapy water. Use a brush or sponge to remove dirt and grime. Rinse thoroughly and allow them to dry completely before reinstalling.
- Clean the Duct Opening: Use a vacuum cleaner with a hose attachment to clean the inside of the duct opening as far as you can reach. Be gentle to avoid damaging the ductwork. You can also use a damp cloth to wipe down the visible interior surfaces of the duct.
- Reinstall the Vent Covers: Once the covers are dry and the duct opening is clean, reinstall the vent covers securely.
Step 4: Inspect for Duct Leaks (Visual Inspection)
Leaky ductwork can draw in dust and contaminants from unconditioned spaces. While professional duct sealing is often necessary, you can visually inspect for obvious leaks.
- Locate Accessible Ductwork: Look for exposed ductwork in the attic, basement, or crawl space.
- Check for Obvious Leaks: Examine the seams and joints of the ductwork for gaps, cracks, or loose connections. Look for areas where the duct tape is peeling or deteriorated.
- Feel for Air Leaks: With the HVAC system running (carefully and briefly, if you previously turned it off for safety), hold your hand near the ductwork seams to feel for air leaks.
DIY Temporary Fix (Minor Leaks): For small, easily accessible leaks, you can temporarily seal them with aluminum foil tape (not duct tape, as it deteriorates over time). Clean the area around the leak, then apply the tape securely, pressing firmly to create a good seal. This is a temporary fix; professional duct sealing is recommended for long-term solutions.
Step 5: Check Airflow Balance (Basic Assessment)
An improperly balanced HVAC system can cause excessive airflow through some vents, leading to increased static and dust accumulation. While professional balancing requires specialized equipment, you can perform a basic assessment.
- Feel the Airflow: Go to each supply vent in your home and feel the airflow. Note which vents have the strongest and weakest airflow.
- Adjust Damper Settings (if accessible): Some ductwork systems have dampers (adjustable flaps) near the vents that can be used to control airflow. If you can access these dampers, try slightly closing down the dampers on the vents with the strongest airflow and opening the dampers on the vents with the weakest airflow.
- Monitor and Adjust: After making adjustments, monitor the airflow from the vents over a few days and make further adjustments as needed. The goal is to achieve a more even airflow distribution throughout your home.
Important Note: If you're uncomfortable adjusting the dampers or can't access them easily, it's best to consult with an HVAC professional.
Step 6: Improve Overall House Dust Control
Reducing overall dust levels in your home will minimize the amount of dust that can accumulate around the vents.
- Regular Cleaning: Dust and vacuum regularly, paying attention to carpets, rugs, and upholstery.
- Use a Vacuum with a HEPA Filter: HEPA filters capture fine dust particles and allergens.
- Wash Bedding Frequently: Wash bedding weekly to remove dust mites and allergens.
- Control Pet Dander: Bathe pets regularly and vacuum frequently to remove pet dander.
- Minimize Clutter: Clutter traps dust and makes cleaning more difficult.
- Consider an Air Purifier: An air purifier with a HEPA filter can help remove airborne dust and allergens.
When to Call a Professional
While the above steps can address many common causes of dust around air vents, certain situations require professional attention. Never attempt repairs involving electricity, gas, or complex HVAC components unless you are a qualified technician.
Call a qualified HVAC professional if:
- You suspect a major duct leak: Large or inaccessible duct leaks require specialized equipment and techniques for proper sealing.
- You find mold growth in the ductwork: Mold can pose serious health risks and requires professional remediation.
- You're uncomfortable working with electrical components: Electrical repairs should always be performed by a licensed electrician.
- You suspect a problem with the furnace or air conditioner: These appliances contain complex components that require specialized knowledge and training to repair.
- You've tried the above steps and the problem persists: The underlying issue may be more complex and require professional diagnosis and repair.
- The HVAC system is old or inefficient: A professional can assess the system's overall performance and recommend upgrades or replacements if needed.
Specifically, DO NOT attempt to:
- Repair any electrical wiring or components within the furnace or air handler.
- Handle refrigerant lines or add refrigerant to the system.
- Disassemble or repair the blower motor or other moving parts.
- Work on any gas lines or gas-burning components.
Preventive Maintenance Tips
Preventive maintenance is key to minimizing dust accumulation around air vents and maintaining a healthy indoor environment.
- Regular Air Filter Changes: Stick to a regular air filter replacement schedule (every 1-3 months).
- Annual HVAC System Tune-Up: Schedule an annual tune-up with a qualified HVAC technician. This includes cleaning, inspection, and maintenance of all system components.
- Duct Cleaning (if necessary): Consider professional duct cleaning every 3-5 years, or more frequently if you have allergies or respiratory problems.
- Monitor Airflow: Periodically check the airflow from the vents and address any changes promptly.
- Maintain Good Indoor Air Quality: Implement the dust control measures mentioned above.
By following these troubleshooting steps and preventive maintenance tips, you can effectively address dust accumulation around your air vents, improve your HVAC system's performance, and maintain a cleaner, healthier home.