Electric Radiant Ceiling Heat 1970s
Electric radiant ceiling heat, a popular heating method in the 1970s, offered a seemingly efficient and unobtrusive way to warm homes. However, decades later, many homeowners are facing challenges with these systems. This article will guide you through understanding, troubleshooting, and potentially repairing your vintage electric radiant ceiling heat. We'll cover common problems, safety precautions, and when it's time to call in a professional.
Understanding 1970s Electric Radiant Ceiling Heat
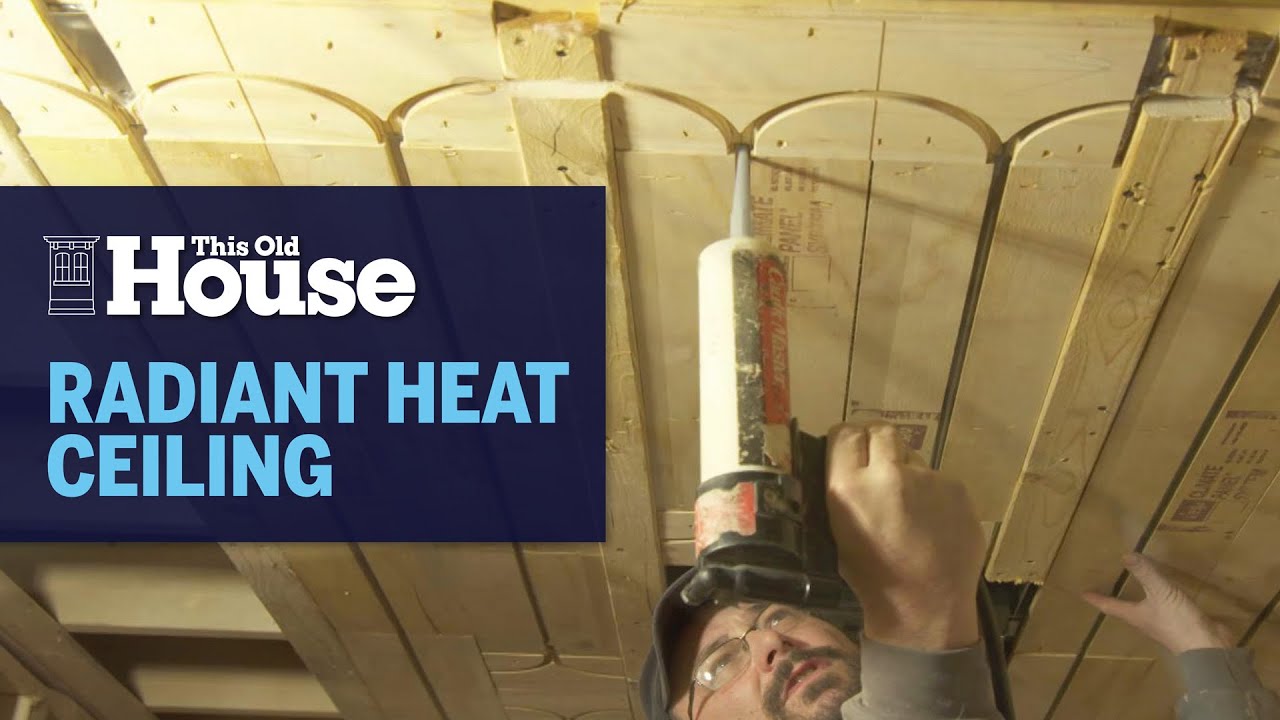
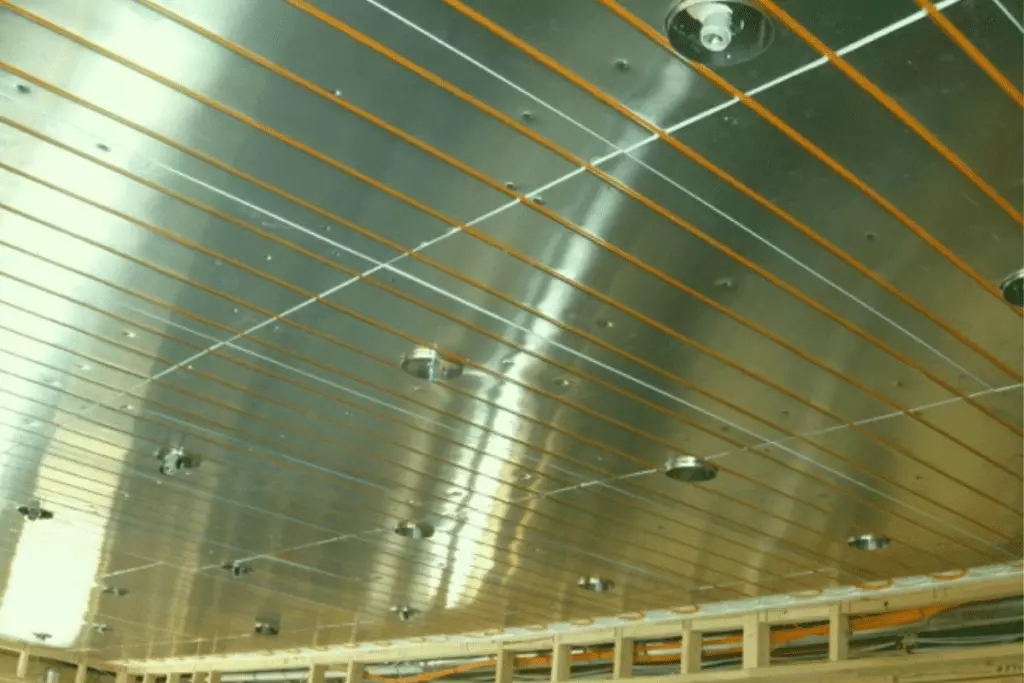
Unlike forced-air systems, electric radiant ceiling heat relies on the principle of radiation. Electric resistance cables are embedded within the ceiling plaster, drywall, or panels. When electricity flows through these cables, they heat up, radiating warmth downwards to the occupants and objects in the room. These systems were often touted for their silent operation and dust-free heating, eliminating the need for ductwork.
Key Components
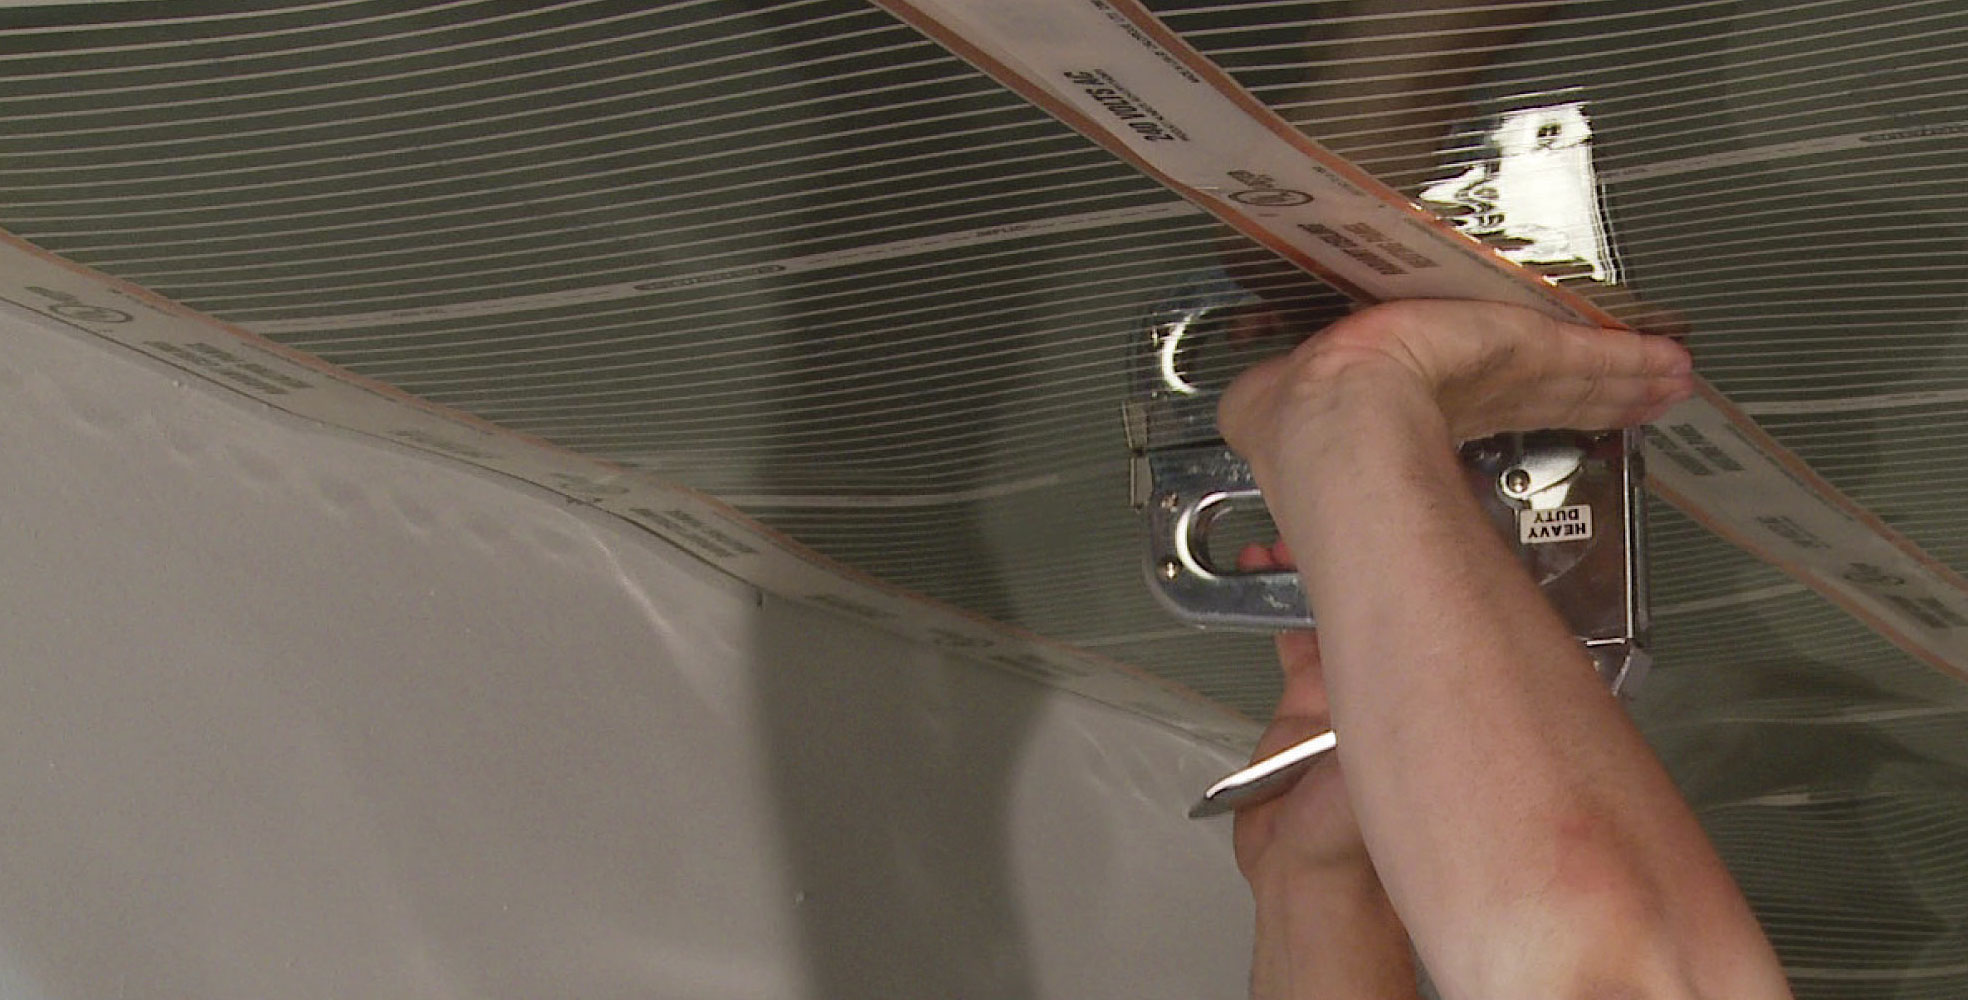
- Heating Cables: The core of the system, these resistance wires generate heat. They're usually arranged in a grid pattern.
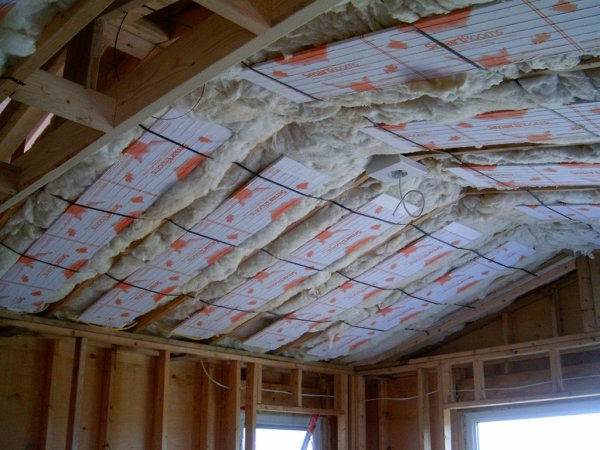
- Insulation: Ideally, insulation is placed above the heating cables to direct heat downwards. However, the quality and amount of insulation varied greatly depending on the installation.
- Thermostats: Thermostats control the flow of electricity to the heating cables, regulating the room temperature.
- Junction Boxes: These boxes house the electrical connections for the heating cables.
- Circuit Breakers: Provides protection for the entire circuit.
Common Problems with Vintage Electric Radiant Ceiling Heat
Age is a significant factor when dealing with these systems. Over time, components degrade, leading to various issues. Here's a rundown of common problems:
- Cold Spots: Areas of the ceiling that don't heat up indicate a break in the heating cable. This is perhaps the most frequent issue.
- Uneven Heating: Some areas might be warmer than others, suggesting variations in cable resistance or insulation issues.
- Thermostat Malfunctions: Thermostats can fail, leading to inaccurate temperature control or complete system shutdown.
- Circuit Breaker Tripping: An overloaded circuit or a short circuit in the heating cables can cause the breaker to trip frequently.
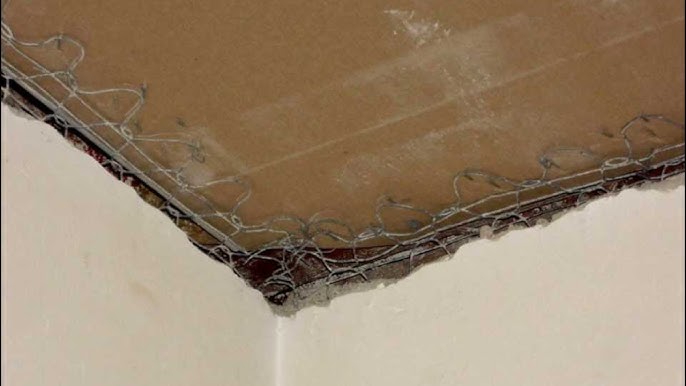
- Wiring Issues: Old wiring can become brittle and corroded, leading to poor connections and potential fire hazards.
- Insulation Degradation: Insulation settles, becomes compressed, or even disappears over the years, reducing the system's efficiency.
Troubleshooting: A Step-by-Step Guide
Before attempting any troubleshooting, always turn off the circuit breaker that supplies power to the radiant ceiling heat. Safety is paramount!
Tools You'll Need
- Non-contact voltage tester
- Multimeter
- Screwdrivers (various sizes)
- Pliers
- Wire strippers
- Wire connectors
- Safety glasses
- Gloves
- Ladder (if needed)
Steps:
- Safety First: Turn off the circuit breaker. Use a non-contact voltage tester to verify that the power is off at the thermostat and any accessible junction boxes.
- Inspect the Thermostat: Remove the thermostat cover and visually inspect the wiring. Look for loose connections, corrosion, or burnt wires. Use the multimeter to test the thermostat's functionality according to the manufacturer's instructions (if available). A faulty thermostat often can be a simple fix.
- Check the Circuit Breaker: Ensure the circuit breaker is functioning correctly. If it trips immediately after being reset, it indicates a short circuit.
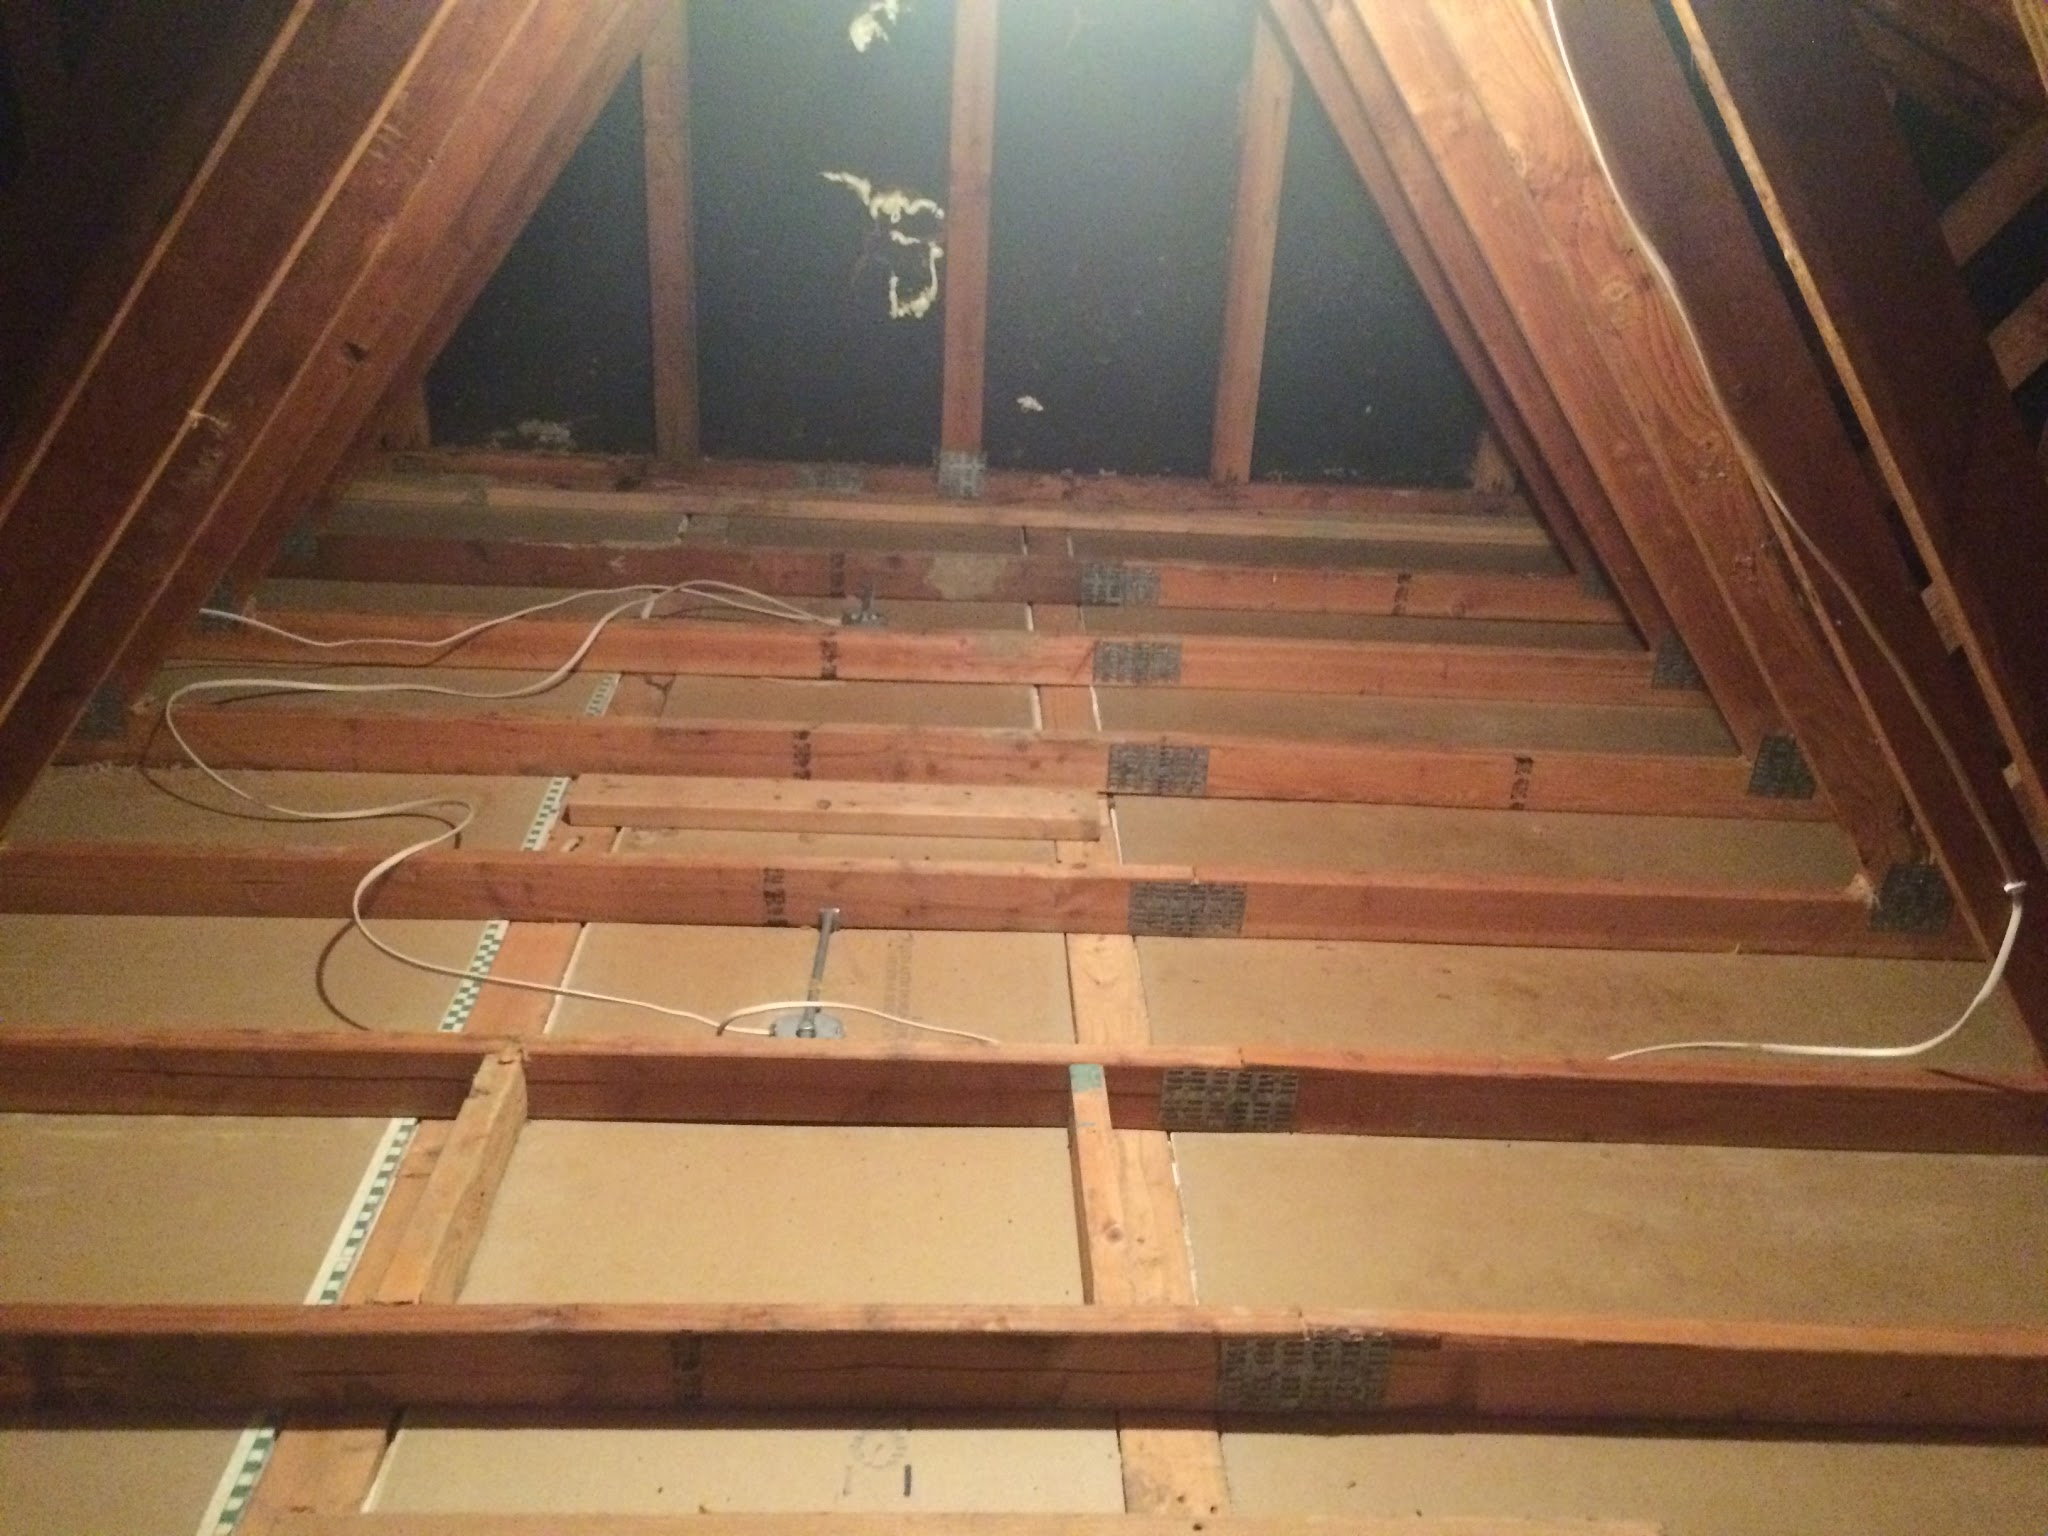
- Locate Junction Boxes: Find the junction boxes connected to the heating cables. These are usually located in the attic or above the ceiling.
- Inspect Junction Box Wiring: Carefully open the junction boxes and inspect the wiring connections. Look for loose wires, corrosion, or signs of overheating. Tighten any loose connections and replace any damaged wiring.
- Test Heating Cable Continuity: Using a multimeter, test the continuity of each heating cable. A lack of continuity indicates a break in the cable. This usually means that the cable is not working.
- Identify Cold Spots: If you can safely access the ceiling (e.g., from the attic), use a thermal imaging camera or an infrared thermometer to pinpoint the exact location of cold spots. This helps narrow down the area to search for cable breaks.
Repairing Electric Radiant Ceiling Heat: DIY vs. Professional
Simple tasks, such as replacing a thermostat or tightening loose wiring connections, can often be handled by a DIY enthusiast. However, working with heating cables requires specialized knowledge and experience.
DIY-Friendly Repairs
- Thermostat Replacement: Replacing a faulty thermostat is generally straightforward. Ensure you purchase a compatible thermostat and follow the wiring instructions carefully.
- Tightening Loose Connections: Loose wiring connections are a common problem. Tighten any loose screws or wire connectors.
- Replacing Damaged Wiring (minor): If you find a small section of damaged wiring, you can replace it with appropriately sized and rated wire. Use proper wire connectors and ensure a secure connection.
When to Call a Professional
The following situations warrant the expertise of a qualified electrician or HVAC technician:
- Broken Heating Cables: Repairing a broken heating cable is a complex task. Attempting to splice or repair a cable yourself can be dangerous and may not be a long-term solution. Locating the break is difficult without proper equipment.
- Extensive Wiring Damage: If you find widespread wiring damage, it's best to have a professional assess the situation and recommend the appropriate repairs.
- Frequent Circuit Breaker Tripping: If the circuit breaker continues to trip after troubleshooting, it indicates a serious electrical problem that requires professional attention.
- Uncertainty About the System: If you're unsure about any aspect of the system or lack the necessary skills and experience, don't hesitate to call a professional. Electrical work can be dangerous, and it's always better to err on the side of caution.
- Presence of Asbestos: Be extremely careful if you suspect asbestos is present in the ceiling material. Disturbing asbestos can release harmful fibers into the air. Contact a qualified asbestos abatement professional immediately. Asbestos was commonly used in building materials during the 1970s.
Repair Costs: What to Expect
Repair costs for electric radiant ceiling heat can vary widely depending on the nature of the problem and the extent of the repairs. Here's a general idea of what you might expect:
- Thermostat Replacement: $50 - $200 (including parts and labor)
- Wiring Repair (minor): $100 - $300
- Heating Cable Repair (if possible): $300 - $800 per break (note: complete replacement is often recommended)
- Complete System Replacement: $2,000 - $5,000+ (depending on the size of the area and the chosen heating system)
- Diagnostic Fee: $75 - $150
It's important to obtain quotes from multiple qualified professionals before making any decisions. Be sure to ask for a detailed breakdown of the costs involved.
Alternatives to Electric Radiant Ceiling Heat
If your radiant ceiling heat system is beyond repair or if you're looking for a more energy-efficient heating solution, consider these alternatives:
- Forced-Air Heating: A traditional and widely used system that uses ductwork to distribute warm air throughout the house.
- Heat Pumps: Heat pumps are highly efficient and can provide both heating and cooling.
- Mini-Split Systems: Ductless mini-split systems offer zoned heating and cooling, allowing you to control the temperature in individual rooms.
- Radiant Floor Heating: Similar to radiant ceiling heat, but with heating cables or hydronic tubing installed in the floor. Often considered more efficient as heat rises.
Safety Tips
- Always turn off the circuit breaker before working on any electrical components.
- Use a non-contact voltage tester to verify that the power is off.
- Wear safety glasses and gloves to protect yourself.
- Never work on electrical systems in wet or damp conditions.
- If you're unsure about any aspect of the repair, call a professional.
Preventative Maintenance
While 1970s radiant ceiling heat systems don't have a lot of moving parts, some preventative steps can help maintain their performance and longevity:
- Regularly inspect thermostats: Look for signs of damage or malfunction.
- Keep the ceiling clean: Dust and debris can insulate the heating elements and reduce their efficiency.
- Consider insulation upgrades: Adding more insulation above the heating cables can improve energy efficiency. However, ensure the insulation is compatible with electric radiant heat and doesn't pose a fire hazard.
- Schedule professional inspections: Have a qualified electrician inspect the system every few years to identify and address any potential problems.
Conclusion
Dealing with 1970s electric radiant ceiling heat can be challenging, but with a basic understanding of the system and some careful troubleshooting, you may be able to address some common issues yourself. Remember to prioritize safety and don't hesitate to call a professional when faced with complex repairs or potential hazards. Modern solutions may offer superior efficiency and control.