Emergency Oil Burner Switch On Or Off
One of the most frustrating experiences for a homeowner, especially during cold weather, is a malfunctioning oil burner. A common issue revolves around the emergency oil burner switch – also sometimes called a “fuel shut-off switch” or "service switch" – being in the wrong position. Sometimes it gets accidentally switched off, causing the burner to fail, or sometimes it gets stuck in the on position when it shouldn't be.
This article aims to help you troubleshoot this specific problem safely and methodically. We'll cover how to diagnose whether the emergency switch is indeed the culprit, and some simple fixes you can attempt yourself. However, safety is paramount. If at any point you feel uncomfortable or unsure, or if the problem persists after trying these steps, call a qualified HVAC technician.
Understanding the Emergency Oil Burner Switch
Before we dive in, it's crucial to understand what this switch does and where to find it.
What is the Emergency Oil Burner Switch?
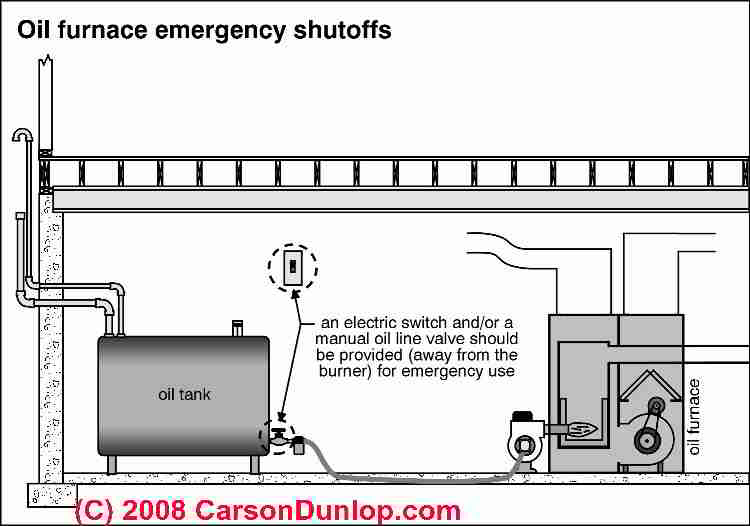
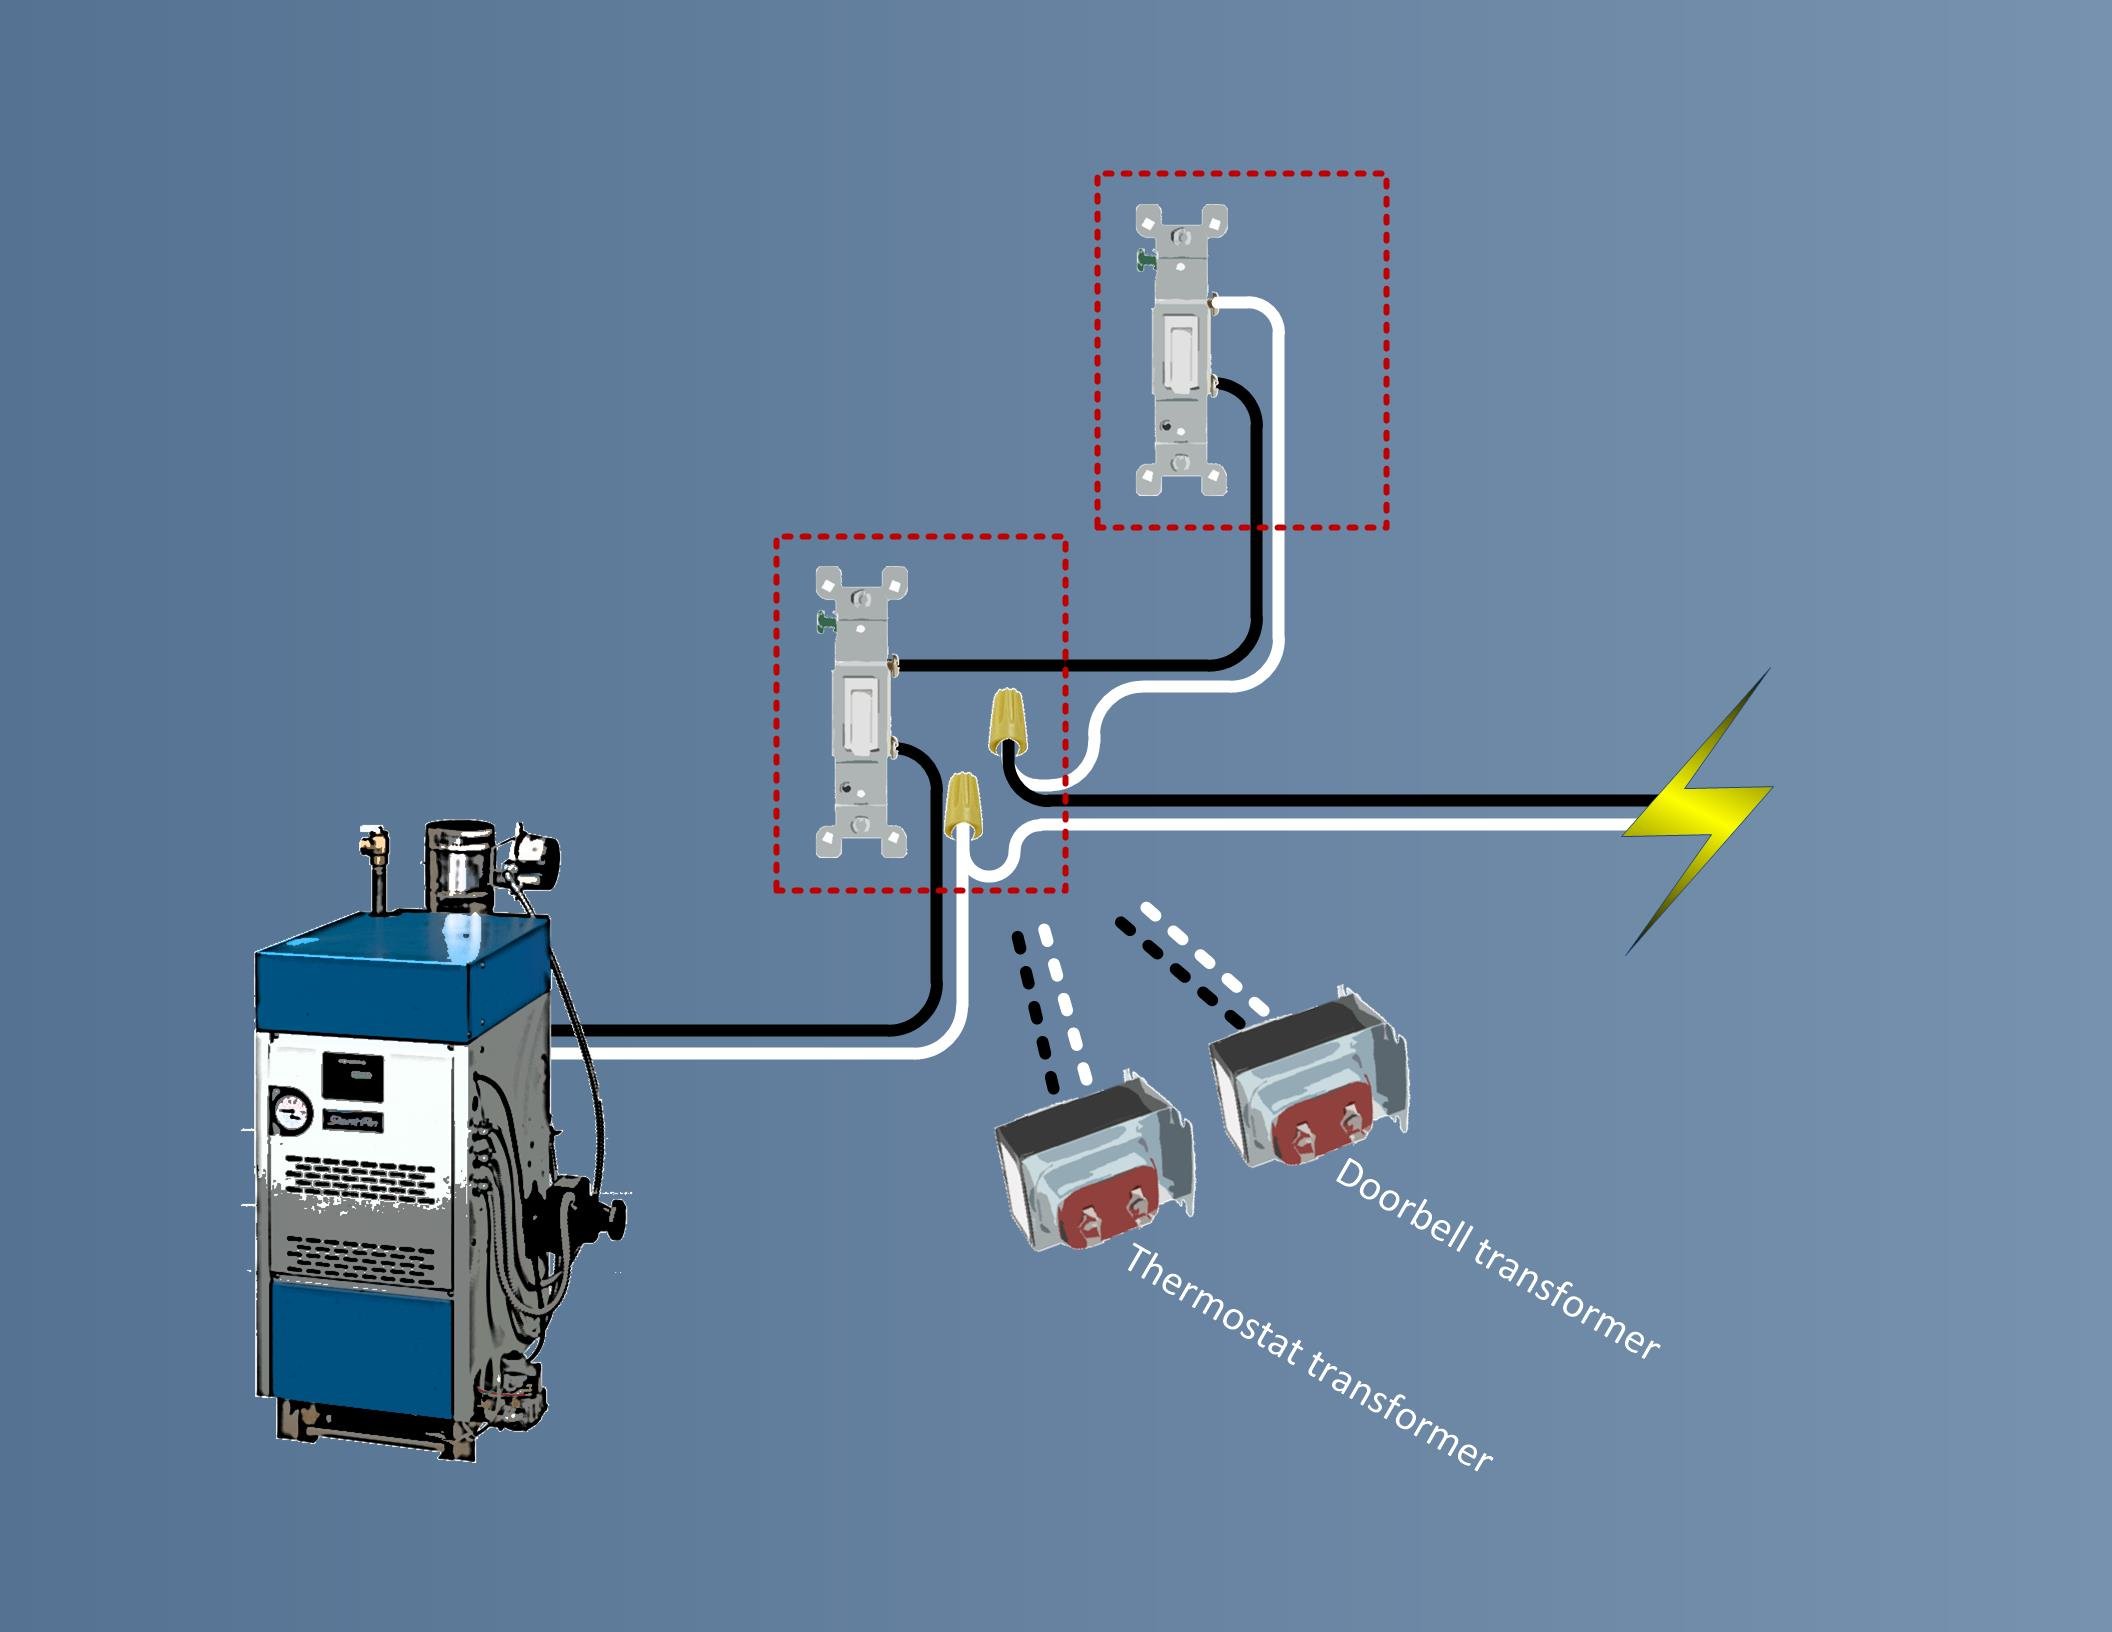
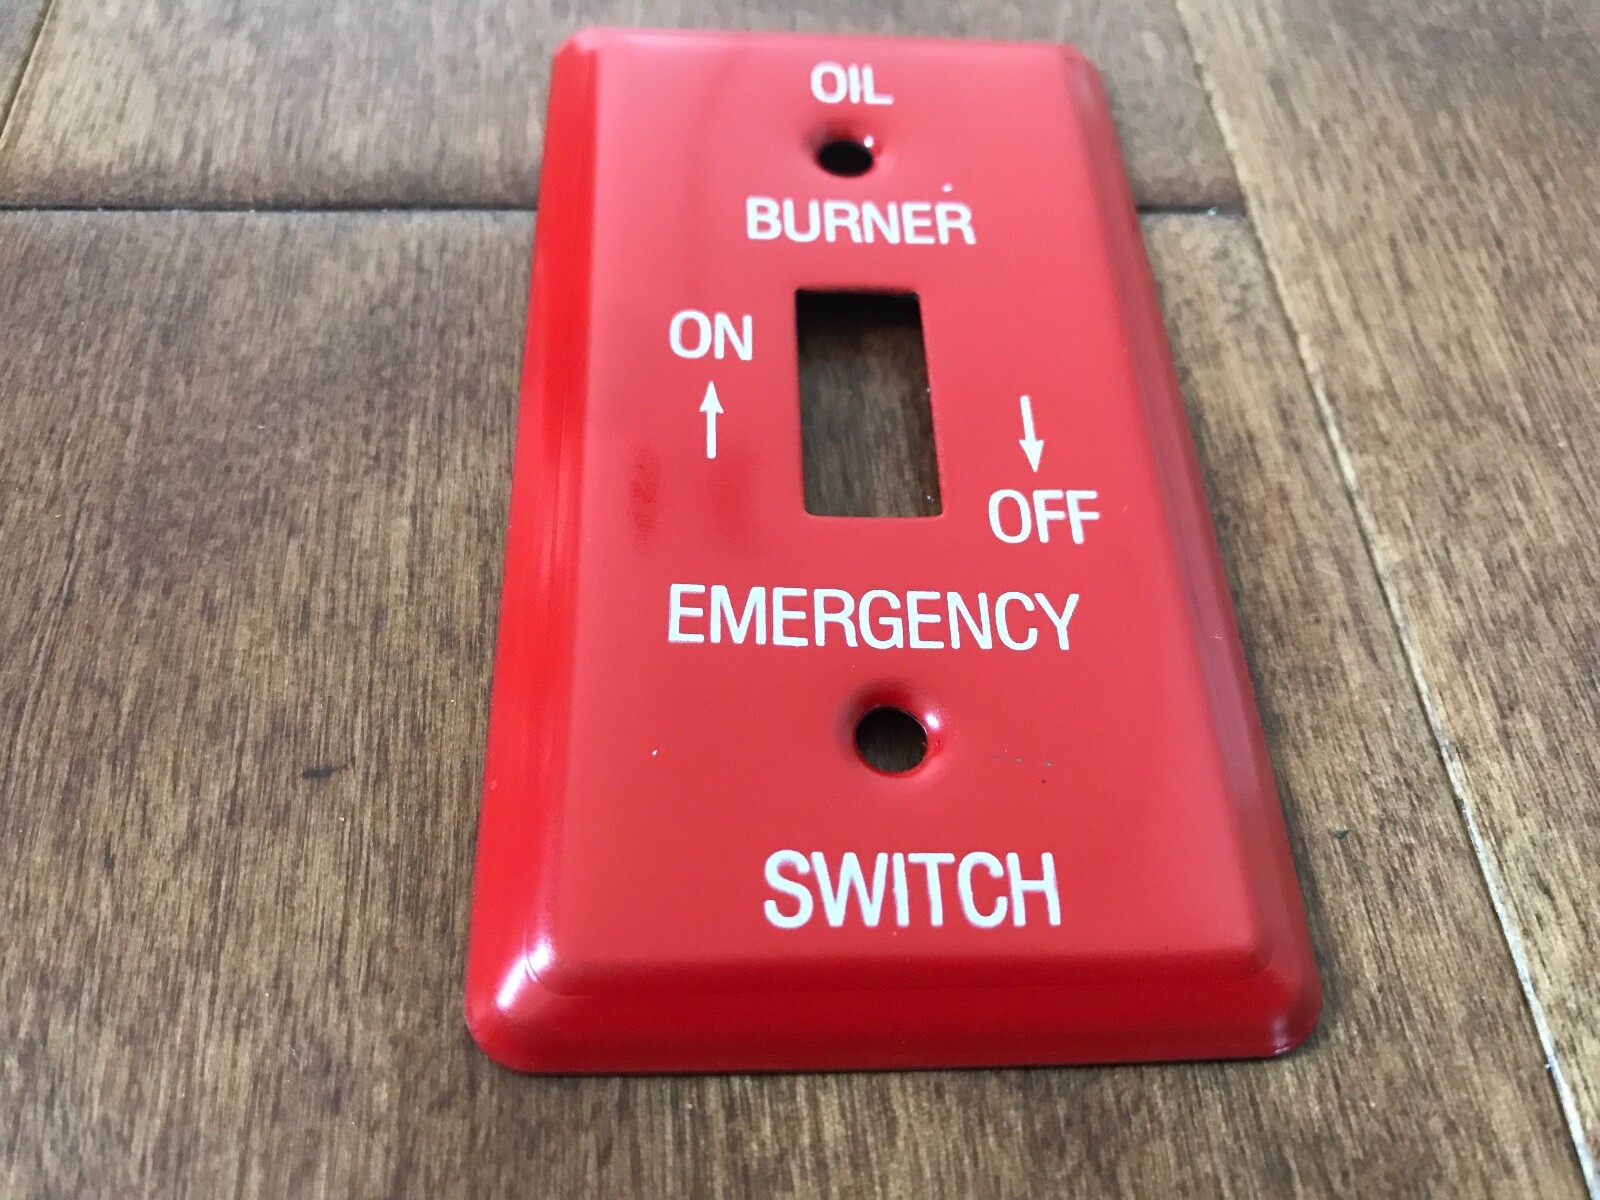
The emergency oil burner switch is a safety device that allows you to quickly cut power to your oil burner. It's essentially a big, easily accessible on/off switch for your heating system. In an emergency, such as a fuel leak or a fire, flipping this switch will immediately shut down the burner, preventing further complications.
Where is it Located?
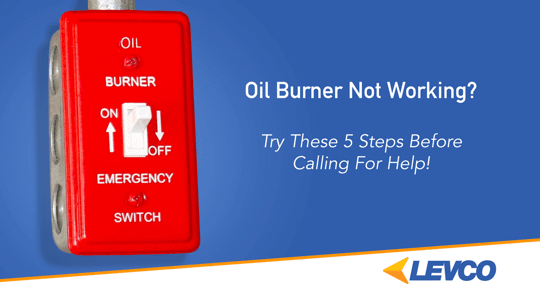
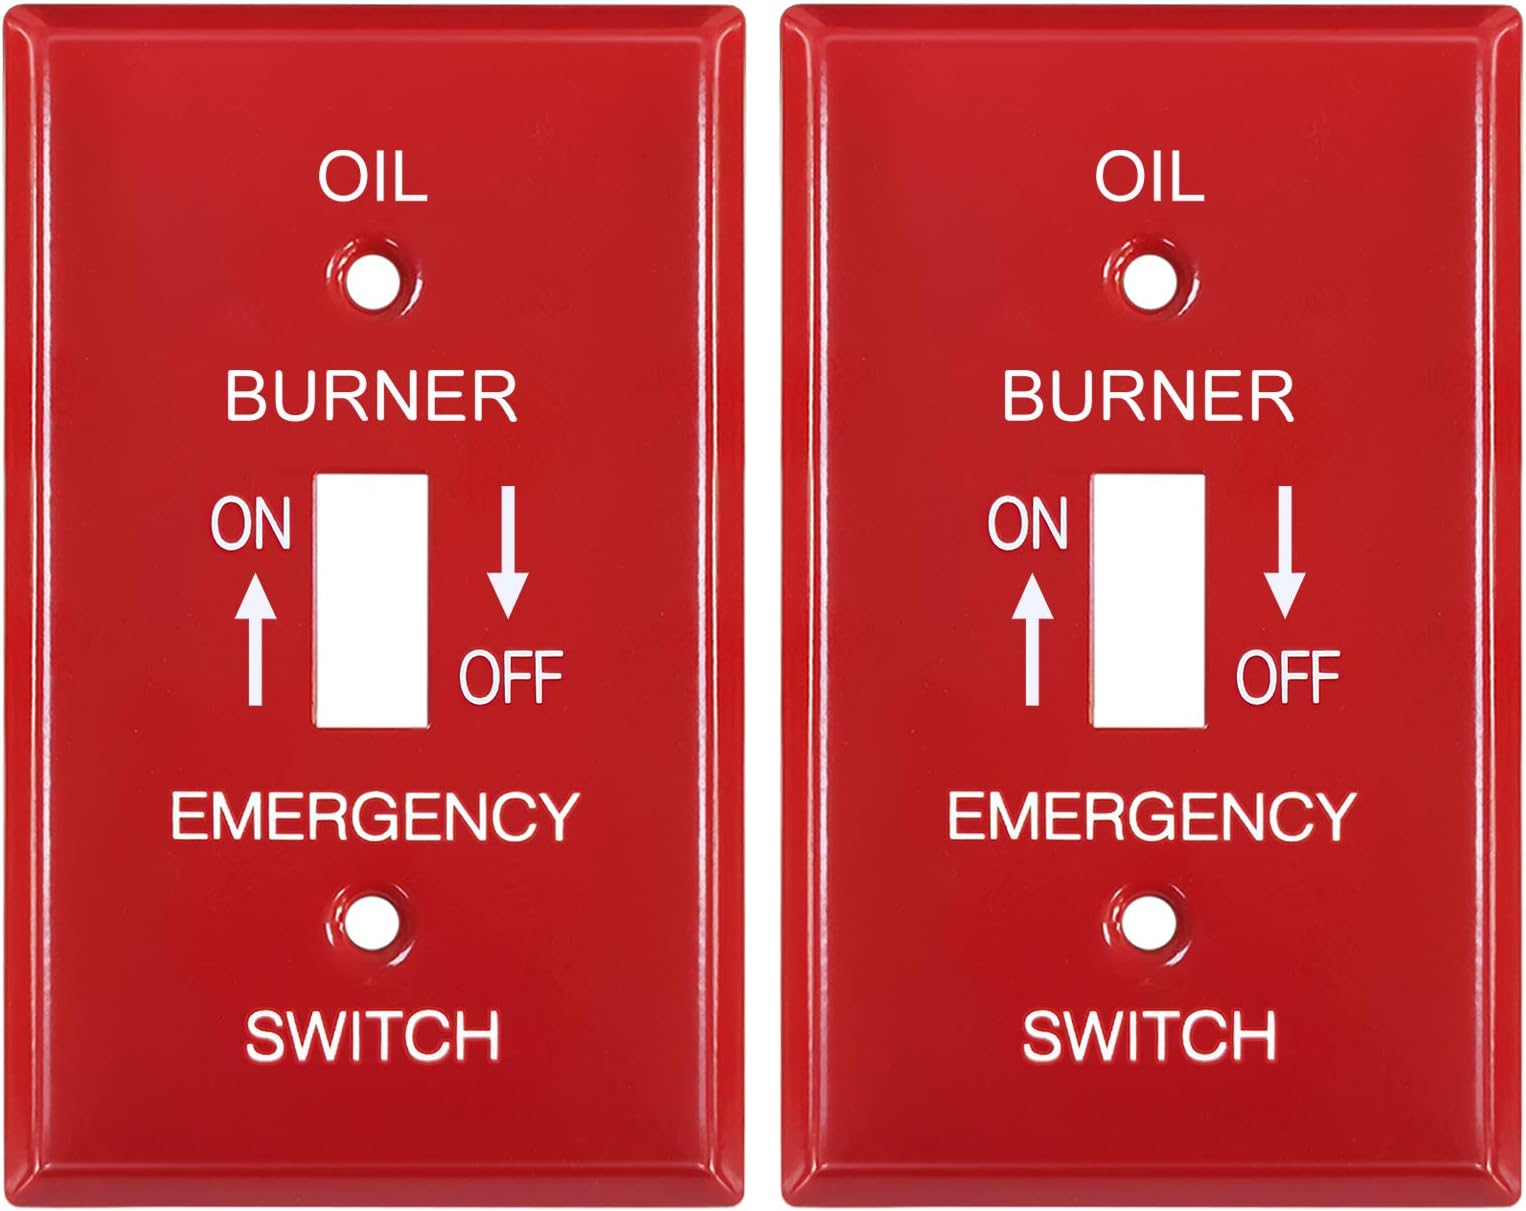
The location varies, but it's typically found near the oil burner itself, often at the top of the basement stairs, or in a hallway leading to the basement. Look for a red switch plate, often labeled "Oil Burner Emergency Switch," "Fuel Shut-Off," or something similar. The switch itself is usually a standard toggle switch.
Troubleshooting: Is the Switch the Problem?
Let's determine if the emergency switch is causing your heating problems.
Step 1: Confirm the Switch's Position
The first and simplest step: ensure the switch is in the "on" position. It sounds obvious, but accidental switching is a common cause of burner failure. The "on" position is typically indicated by the switch lever being flipped up or towards the direction indicated by the word "ON" on the plate.
If the switch is already "on" and the burner still isn't working, proceed to the next step. If it's "off," flip it "on" and wait a few minutes. Listen for the burner to start. If it does, problem solved!
Step 2: Check the Circuit Breaker
Even if the emergency switch is "on," the circuit breaker controlling the burner might have tripped. Locate your home's electrical panel (usually in the basement, garage, or utility room). Identify the breaker labeled "Oil Burner," "Furnace," or something similar. If the breaker is in the tripped position (usually indicated by being in the middle, neither fully "on" nor fully "off"), flip it fully "off" and then back "on."
After resetting the breaker, wait a few minutes and listen for the burner to start. If it starts, great! If the breaker trips again soon after, this indicates a more serious electrical problem requiring professional attention.
Step 3: Listen for the Burner
If both the emergency switch and the circuit breaker are "on" and functioning, carefully listen to the oil burner. Do you hear any sounds at all?
- No Sound: If you hear nothing – no hum, no clicking, no fan – it suggests a potential power issue, a faulty motor, or a problem with the burner's control system.
- Humming: A humming sound might indicate the motor is trying to start but is somehow blocked. This could be due to a seized motor, a faulty capacitor, or debris blocking the blower fan.
- Clicking: Clicking sounds often point to ignition problems. The burner is trying to ignite the fuel, but something is preventing it. This could be a faulty igniter, a dirty flame sensor, or a blocked nozzle.
These sounds provide valuable clues for further diagnosis.
Step 4: Check the Oil Tank Level
Another common, yet easily overlooked, cause of burner failure is an empty oil tank. Check the tank's gauge to ensure you have sufficient fuel. If the gauge reads near empty or empty, call your oil supplier for a delivery.
Simple DIY Fixes (Proceed with Caution!)
If the previous steps haven't solved the problem, here are a few simple DIY fixes you can attempt. Remember: safety first! Always turn off the emergency switch and the circuit breaker before attempting any of these repairs.
1. Resetting the Burner (If Applicable)
Some oil burners have a reset button, typically located on the burner's control box (a rectangular box attached to the burner). If your burner has one, look for a small red or black button. Only press the reset button once. Repeatedly pressing it can flood the burner with oil and create a fire hazard.
Wait a few minutes after pressing the reset button to allow the burner to cycle through its start-up sequence. If it starts, great! If it doesn't, or if it shuts down again shortly after, there's a more significant problem.
2. Cleaning the Flame Sensor (If Accessible and Comfortable)
The flame sensor is a small rod located near the burner nozzle. Its purpose is to detect the presence of a flame and signal the burner to continue running. If the sensor is dirty, it might not detect the flame, causing the burner to shut down.
Caution: This step requires some mechanical aptitude and comfort working with small parts. If you are unsure, skip this step and call a professional.
- Turn off the emergency switch and the circuit breaker.
- Carefully locate the flame sensor. It's usually a thin metal rod.
- Gently remove the sensor. It may be held in place by a screw or clip.
- Use a clean, dry cloth or fine steel wool to gently clean the sensor. Remove any soot or carbon buildup.
- Reinstall the sensor carefully.
- Turn the emergency switch and circuit breaker back on.
- Wait a few minutes and listen for the burner to start.
3. Checking for Obvious Obstructions
Visually inspect the area around the oil burner. Are there any obvious obstructions blocking airflow to the burner or the vent pipe? Remove any debris that might be interfering with the burner's operation.
When to Call a Professional
The following situations warrant immediate professional assistance:
- Persistent Problems: If you've tried the above steps and the burner still isn't working, there's likely a more complex issue requiring specialized knowledge and tools.
- Fuel Leaks: If you smell oil or see any signs of a fuel leak, immediately turn off the emergency switch and call a qualified HVAC technician and your oil supplier. Fuel leaks are a serious fire hazard.
- Electrical Problems: If the circuit breaker trips repeatedly, or if you suspect any electrical issues with the burner, do not attempt any further troubleshooting. Call a qualified electrician.
- Unfamiliar Noises: If you hear any loud banging, grinding, or other unusual noises coming from the burner, turn it off and call a professional.
- You're Uncomfortable: If you're not comfortable working with the burner or its components, don't hesitate to call a professional. It's always better to be safe than sorry.
Specifically, a technician can diagnose and repair issues like:
- Faulty Oil Nozzle: Replacing a clogged or worn nozzle.
- Ignition Problems: Repairing or replacing the igniter or transformer.
- Fuel Pump Issues: Repairing or replacing a faulty fuel pump.
- Motor Problems: Repairing or replacing a seized or failing motor.
- Control System Malfunctions: Diagnosing and repairing issues with the burner's control system, including the cad cell relay.
- Draft Problems: Diagnosing and correcting issues with chimney draft.
Preventive Maintenance
The best way to avoid oil burner problems is to schedule regular maintenance with a qualified HVAC technician. A yearly tune-up will ensure that your burner is running efficiently and safely, and can help prevent costly repairs down the road.
During a tune-up, a technician will typically:
- Clean and inspect the burner.
- Adjust the air-fuel mixture.
- Check the oil pressure.
- Inspect the flue pipe and chimney.
- Replace the oil filter and nozzle.
- Test the safety controls.
By following these steps, you can keep your oil burner running smoothly and efficiently for years to come.
Final Thoughts
Troubleshooting an oil burner issue, particularly related to the emergency switch, can seem daunting. By understanding the function of the switch, following a methodical approach, and exercising caution, you can often resolve simple problems yourself. However, never hesitate to call a professional when the situation demands it. A qualified technician can diagnose and repair more complex issues, ensuring the safe and reliable operation of your heating system throughout the winter months.