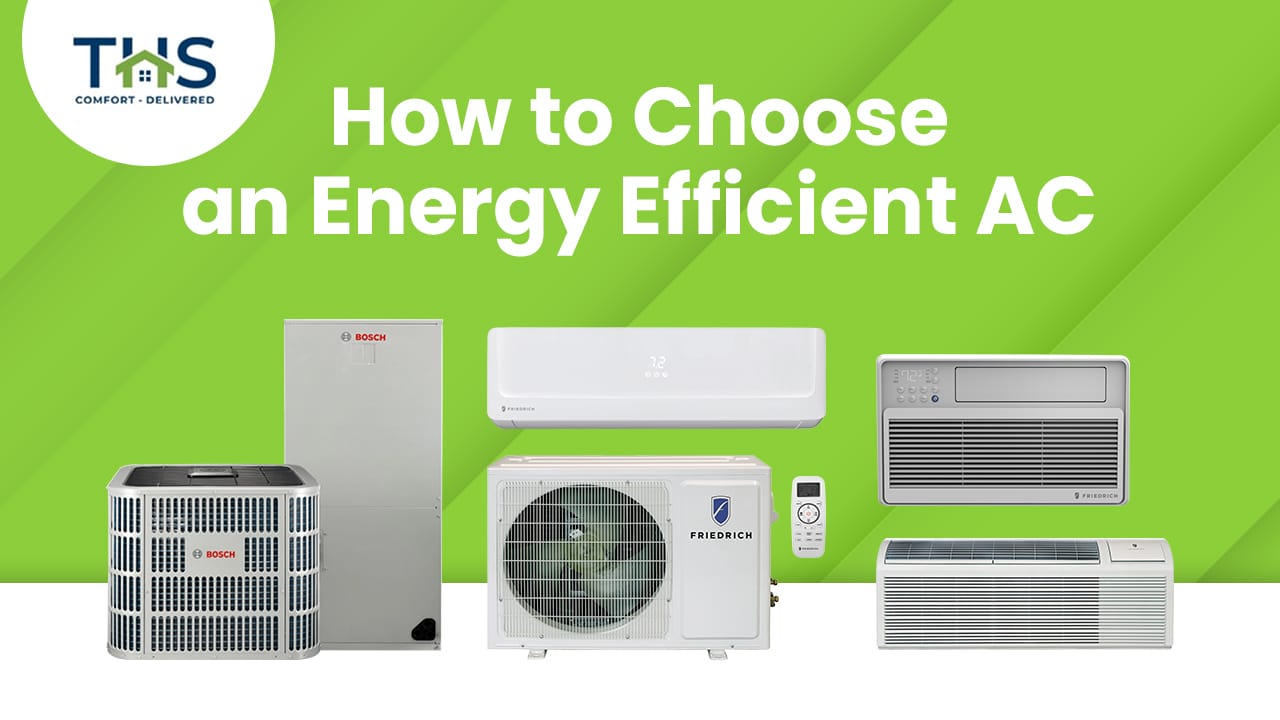
Energy Efficient Central Air Conditioning Units
Is your energy-efficient central air conditioning unit blowing warm air, or struggling to keep your home cool, even when set to a low temperature? This is a frustratingly common problem, and often, it's something you can diagnose and even fix yourself. This article will guide you through a methodical troubleshooting process, helping you identify the root cause and take appropriate action. Remember, safety is paramount. If at any point you feel uncomfortable or unsure, call a qualified HVAC technician. Your family's safety is more important than saving a few dollars. Before you begin, remember to turn OFF the power to the A/C unit at the breaker box before attempting any hands-on troubleshooting.
Step 1: Preliminary Checks (No Tools Required)
Start with the easiest and safest checks. These require no tools and can often point you in the right direction.
Check the Thermostat
This might seem obvious, but it's often overlooked. Make sure your thermostat is set to "Cool" mode, and that the set temperature is lower than the current room temperature. It's surprising how often a simple setting change is the culprit. Also, check the thermostat's batteries, even if it appears to be working. Low batteries can cause erratic behavior.
Inspect Air Vents
Walk through your home and check all air vents. Are they all open and unobstructed? Blocked vents can restrict airflow, making the system work harder and cool less efficiently. Make sure furniture, rugs, and curtains aren't blocking any vents.
Assess Air Filter
A dirty air filter is the number one cause of cooling problems. A clogged filter restricts airflow, forcing the A/C unit to work harder, reducing its efficiency, and potentially causing it to overheat. Locate your air filter (usually in the indoor unit, furnace, or a wall/ceiling vent) and remove it. Hold it up to the light. If you can barely see through it, it needs to be replaced. Replace the filter with a new one of the correct size and type (check the old filter for the size). Aim to replace your filter every 1-3 months, depending on usage and air quality.
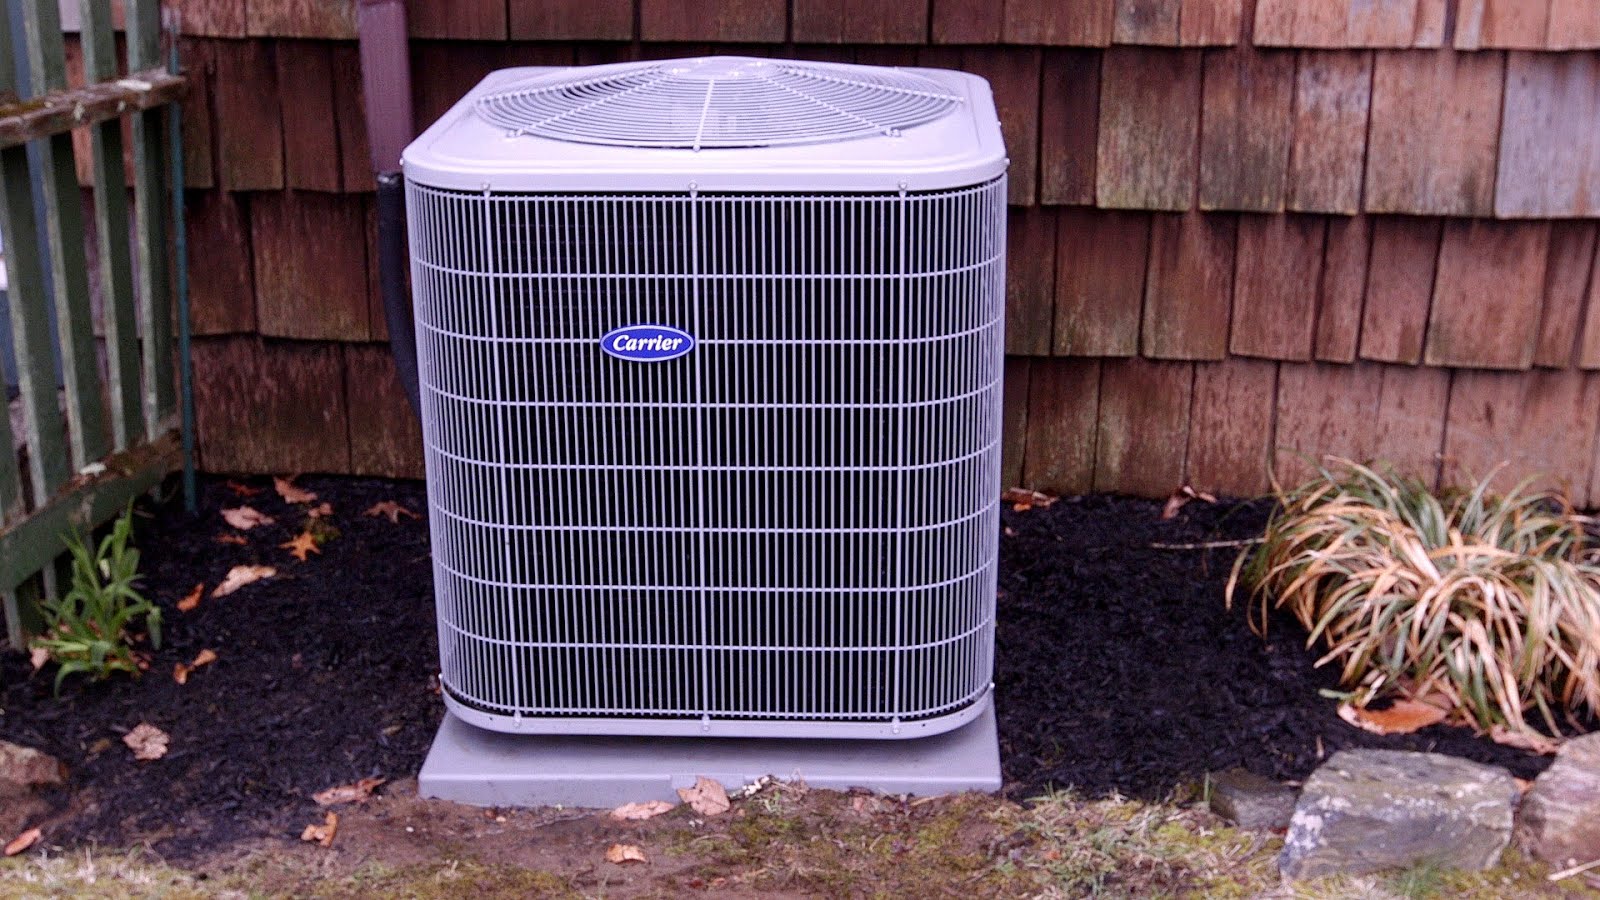
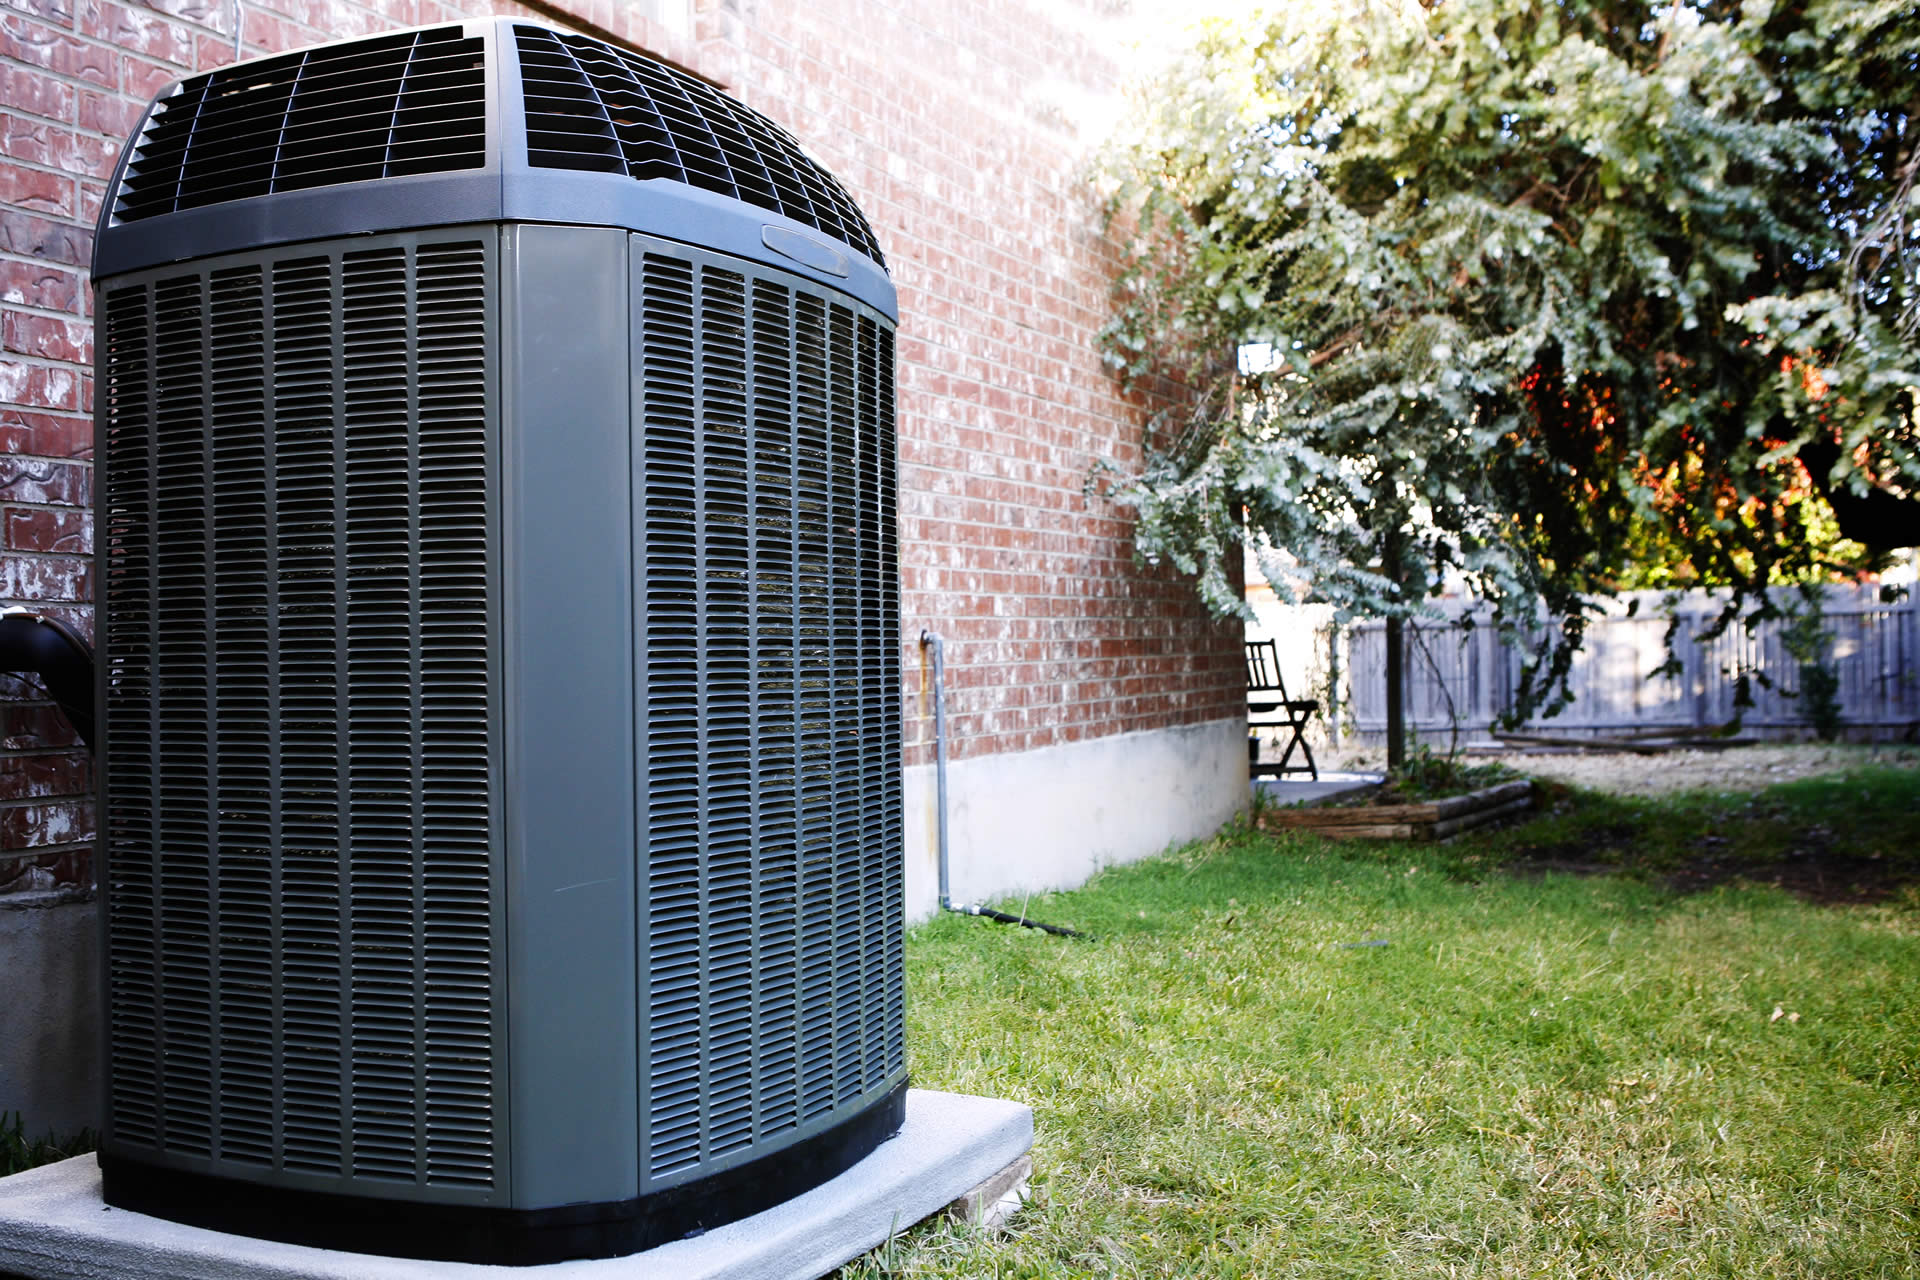
Step 2: Outdoor Unit Inspection (Power OFF)
Next, we'll inspect the outdoor unit (the condenser). Before proceeding, ensure the power to the A/C unit is turned OFF at the breaker box. This is crucial for your safety.
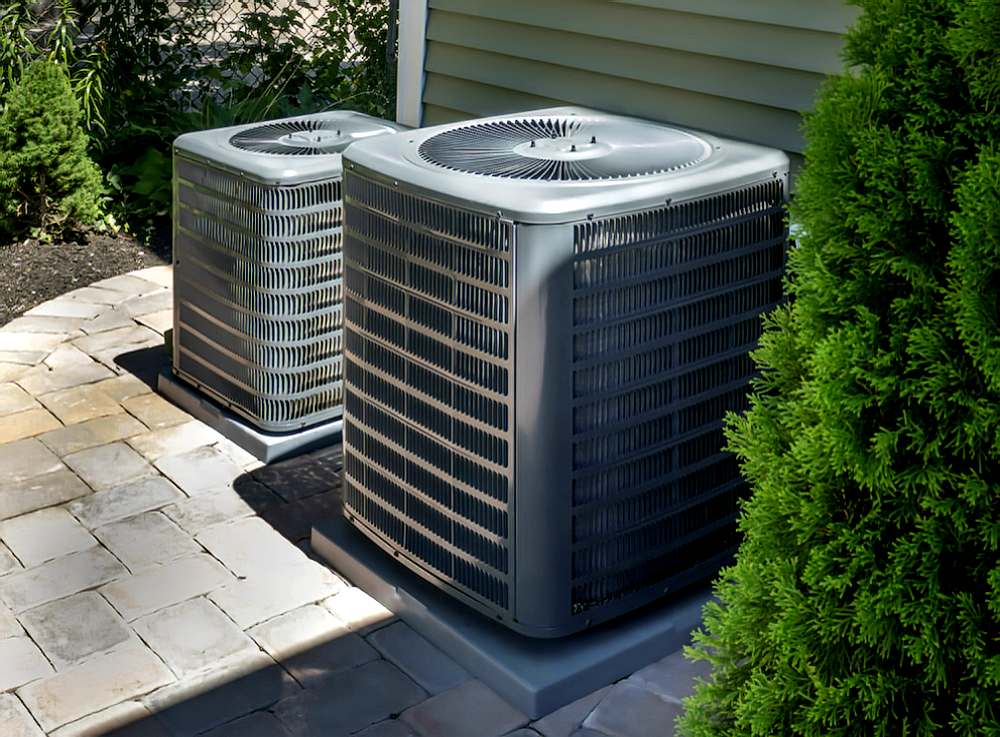
Visual Inspection
Carefully inspect the outdoor unit for any obvious damage. Look for:
- Debris: Are there leaves, grass clippings, branches, or other debris blocking the unit? Clear away any debris obstructing the unit, ensuring at least 2-3 feet of clearance around it.
- Bent Fins: The aluminum fins surrounding the unit's coils are delicate. Are they bent or damaged? Gently straighten bent fins with a fin comb (available at most hardware stores) or a butter knife. Be careful not to damage the coils themselves.
- Ice Buildup: Is there ice on the unit, even on a warm day? This could indicate a refrigerant leak or airflow problem. Do NOT attempt to remove the ice yourself. It’s best to turn the unit off and allow it to melt naturally. This can take up to 24 hours. Then proceed with diagnostics.
- Leaks: Look for any signs of refrigerant leaks (oily residue) around the unit's connections and lines. If you suspect a leak, do not attempt to repair it yourself. Refrigerant is a hazardous substance, and you'll need a professional HVAC technician.
Coil Cleaning (Gentle Approach)
Over time, the outdoor unit's coils can become dirty, reducing its ability to dissipate heat. You can clean the coils with a garden hose, but be gentle. Do not use a pressure washer! Spray the coils from the inside out, using a wide, gentle spray pattern. Avoid bending the fins. Special coil cleaner can be purchased from hardware stores and applied per the instructions on the label.
Step 3: Indoor Unit Inspection (Power OFF)
Now, let's turn our attention to the indoor unit. Again, make sure the power is OFF at the breaker box.
Check the Evaporator Coils
Accessing the evaporator coils can be tricky, depending on your system. They're usually located inside the air handler or furnace. If you can safely access them, check for:
- Dirt and Dust: If the coils are visibly dirty, they'll need to be cleaned. You can use a vacuum cleaner with a brush attachment to gently remove loose dirt and dust. You can also use a no-rinse coil cleaner, following the manufacturer's instructions.
- Ice Buildup: Like the outdoor unit, ice buildup on the evaporator coils indicates a problem (often airflow restriction or refrigerant issues). As before, allow any ice to melt naturally before proceeding.
Inspect the Blower Motor
The blower motor circulates air throughout your home. Check for:
- Obstructions: Make sure nothing is blocking the blower motor fan.
- Loose Connections: Visually inspect the wiring connections to the blower motor for any looseness or corrosion.
Step 4: Checks Requiring Basic Equipment
These checks require a few basic tools. If you don't have them, you might consider borrowing them or skipping these steps and calling a professional.
Multimeter Testing (Voltage)
Warning: Working with electricity can be dangerous. If you are not comfortable using a multimeter, skip this step and call a professional. Always ensure the power is OFF before working with electrical components.
A multimeter can be used to check for voltage at various points in the system. Specifically, you can verify that the thermostat is sending a signal to the A/C unit to turn on. To do this:
- Safety First: Turn the power OFF at the breaker box.
- Locate the Thermostat Wires: Find the thermostat wires at the A/C unit's control panel. There will be several low voltage wires.
- Identify the Cooling Wire: The wire that activates the cooling system is usually labeled "Y" or "Cool."
- Set the Multimeter: Set your multimeter to measure AC voltage.
- Test for Voltage: With the A/C unit turned on at the thermostat, carefully touch the multimeter probes to the "Y" wire terminal and the common (usually labeled "C") terminal. You should read approximately 24 volts AC. If there is no voltage, the thermostat may be faulty, or there may be a wiring issue between the thermostat and the A/C unit.
- Turn the Power OFF: After testing, turn the power OFF at the breaker box before reconnecting any wires.
Capacitor Testing (Caution Advised)
Warning: Capacitors store electrical charge and can deliver a dangerous shock, even when the power is off. Only attempt this if you are comfortable discharging a capacitor safely and using a multimeter. If unsure, call a professional.
Capacitors are used to start and run the compressor and fan motors. A faulty capacitor can cause the A/C unit to fail. To test a capacitor:
- Safety First: Turn the power OFF at the breaker box.
- Discharge the Capacitor: Use a screwdriver with an insulated handle to short the capacitor terminals. This is crucial to prevent electric shock. Touch the screwdriver blade to both terminals simultaneously.
- Locate the Capacitor: The capacitor is usually located inside the outdoor unit's control panel.
- Remove the Capacitor: Carefully disconnect the wires from the capacitor terminals, noting their positions.
- Test with a Multimeter: Set your multimeter to measure capacitance (uF or microfarads). Connect the multimeter probes to the capacitor terminals. Compare the reading to the capacitor's rating (printed on the capacitor). If the reading is significantly lower (more than 10% below) than the rated capacitance, the capacitor is likely faulty and needs to be replaced.
- Reassemble: If the capacitor tests good, carefully reconnect the wires to the correct terminals and reassemble the unit.
When to Call a Professional HVAC Technician
While many A/C problems can be addressed with DIY troubleshooting, some issues require professional expertise and equipment. Call a qualified HVAC technician if you encounter any of the following:
- Refrigerant Leaks: Suspect a refrigerant leak, even if you are able to locate the leak, only a certified professional can safely fix this. Refrigerant requires a license to handle.
- Compressor Problems: The compressor is the heart of the A/C unit. If you suspect compressor failure (e.g., loud noises, no cooling), don't attempt to repair it yourself.
- Electrical Issues: If you're uncomfortable working with electricity or suspect a more complex electrical problem, call a professional.
- Ice Buildup Persists: If ice continues to form on the coils after addressing airflow issues, there's likely a refrigerant problem requiring professional attention.
- You're Unsure: If you're unsure about any step in the troubleshooting process, or if you've tried the above steps and the problem persists, it's best to call a professional.
By following these troubleshooting steps, you can often identify and resolve common A/C problems, saving you time and money. Remember to prioritize safety and call a professional when needed. With a little knowledge and effort, you can keep your energy-efficient central air conditioning unit running smoothly and efficiently for years to come.