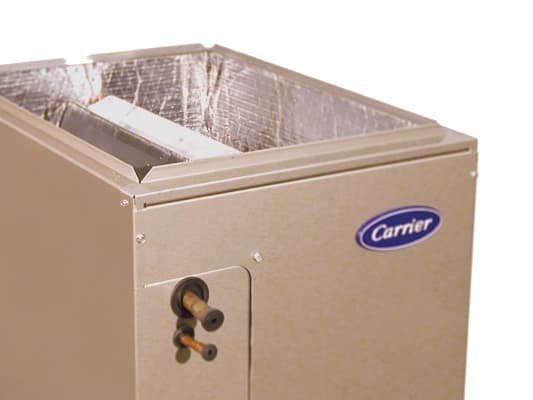
Evaporator Coil For Carrier Air Conditioner
One of the most common problems homeowners encounter with their Carrier air conditioner is a malfunctioning evaporator coil. This vital component, located inside your indoor air handler, is responsible for absorbing heat from your home's air, providing that cool relief we all crave on hot days. When it fails, your AC might blow warm air, run constantly, or even freeze up. Before calling a professional, let's explore some troubleshooting steps you can take yourself.
Understanding the Evaporator Coil
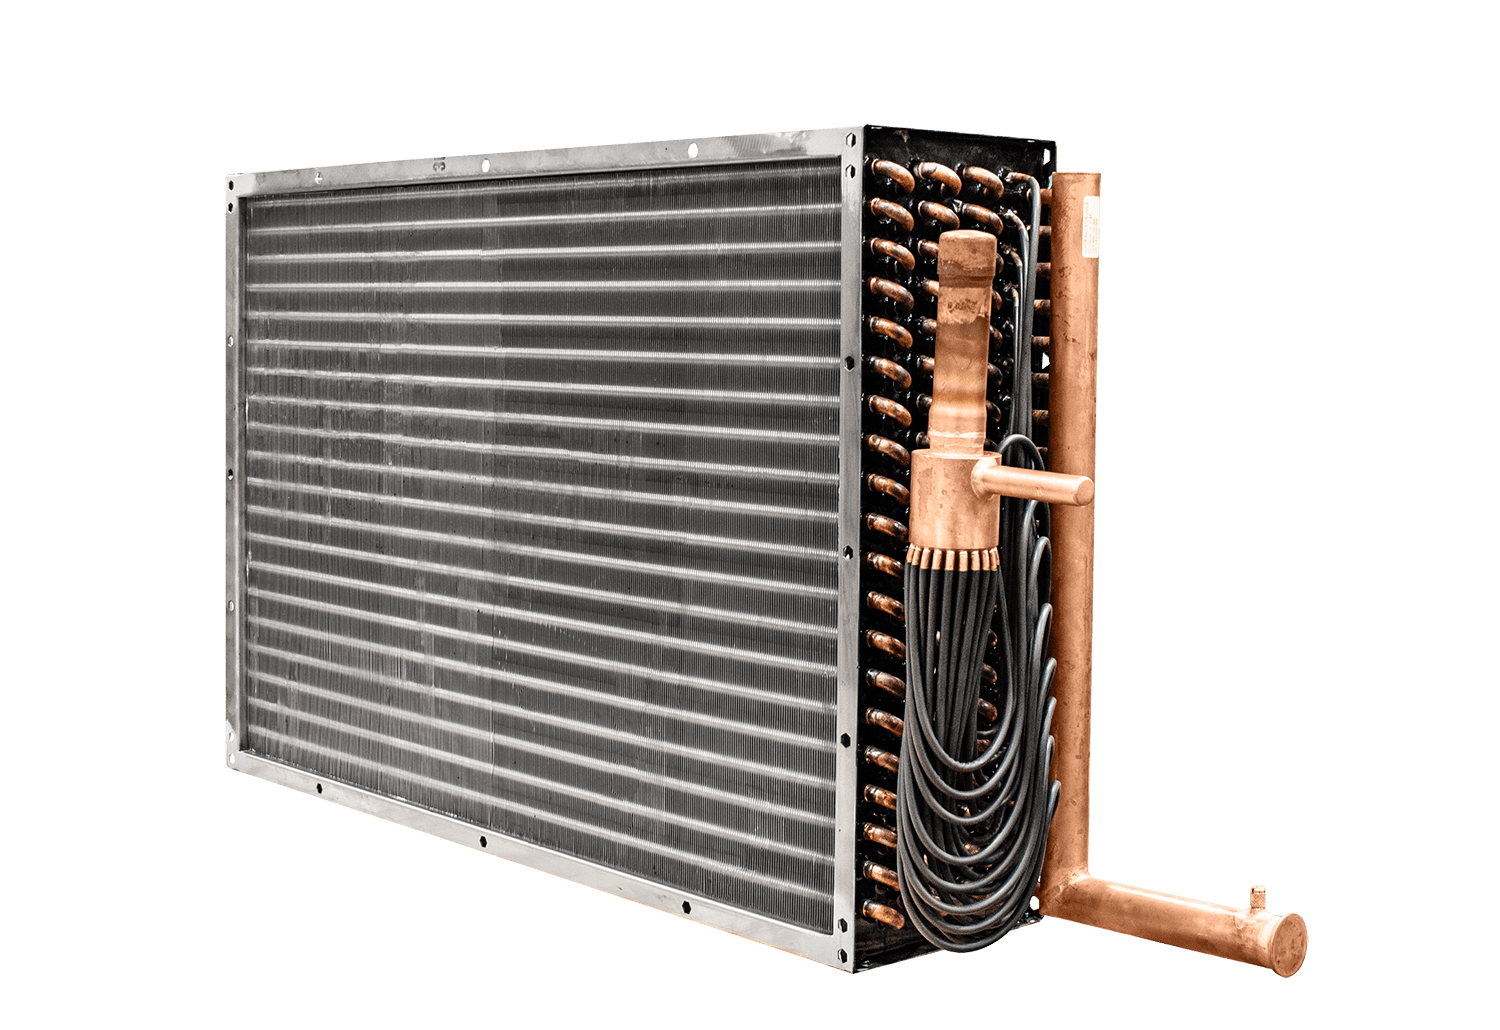
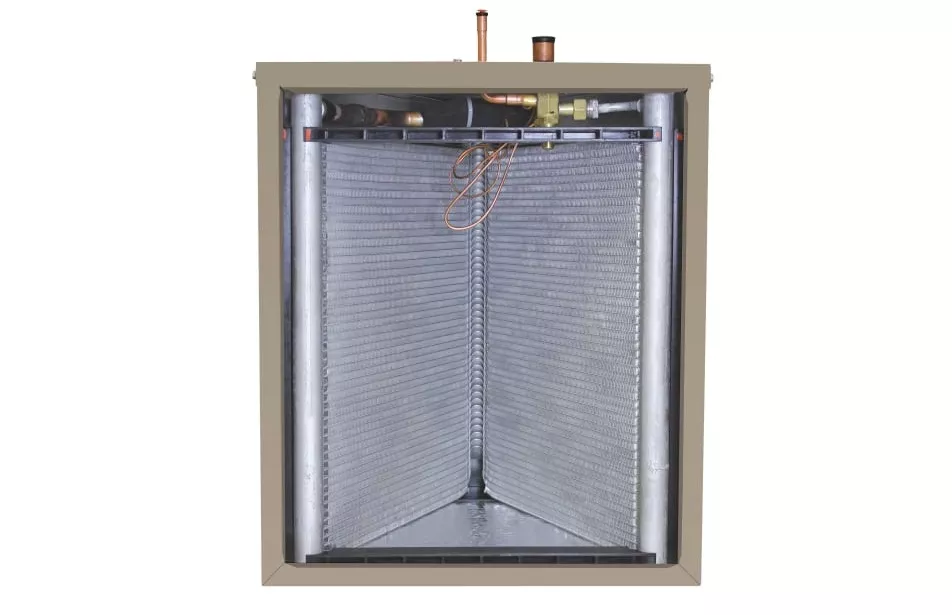
First, let's quickly define what the evaporator coil does. Think of it as the cooling engine of your AC system. Refrigerant flows through the coil, absorbing heat from the air blown across it by the blower fan. This cools the air, which is then circulated back into your home. If the coil is dirty, blocked, or leaking, it can't effectively perform its job.
Problem: AC Blowing Warm Air
This is a classic symptom of an evaporator coil issue. But before we dive in, let's rule out a few other possibilities:
- Check Your Thermostat: Make sure it's set to "Cool" and the temperature is set lower than the current room temperature. Seems obvious, but it's easily overlooked!
- Inspect Your Outdoor Unit (Condenser): Is it running? If not, you might have a problem with the condenser, not the evaporator coil. Listen for the fan and compressor. A humming sound with no fan indicates a potential capacitor issue (call a pro for this).
- Air Filter: A clogged air filter restricts airflow, which can affect the evaporator coil's performance.
If those are all good, let's focus on the evaporator coil.
Step 1: Inspect the Air Filter
The Importance of a Clean Filter: A dirty air filter is the number one cause of evaporator coil problems. It restricts airflow, causing the coil to overheat and potentially freeze.
How to Inspect: Locate your air filter (usually in the air handler or a wall/ceiling vent). Remove it and hold it up to the light. If you can't see much light through it, it's dirty.
DIY Fix: Replace the filter with a new one of the correct size and type. Refer to your AC unit's manual or the old filter for specifications. Make a habit of checking and replacing your filter monthly, especially during periods of heavy AC use.
Step 2: Access and Visually Inspect the Evaporator Coil
Safety First: Turn off the power to your air handler at the breaker before proceeding. This is crucial for your safety.
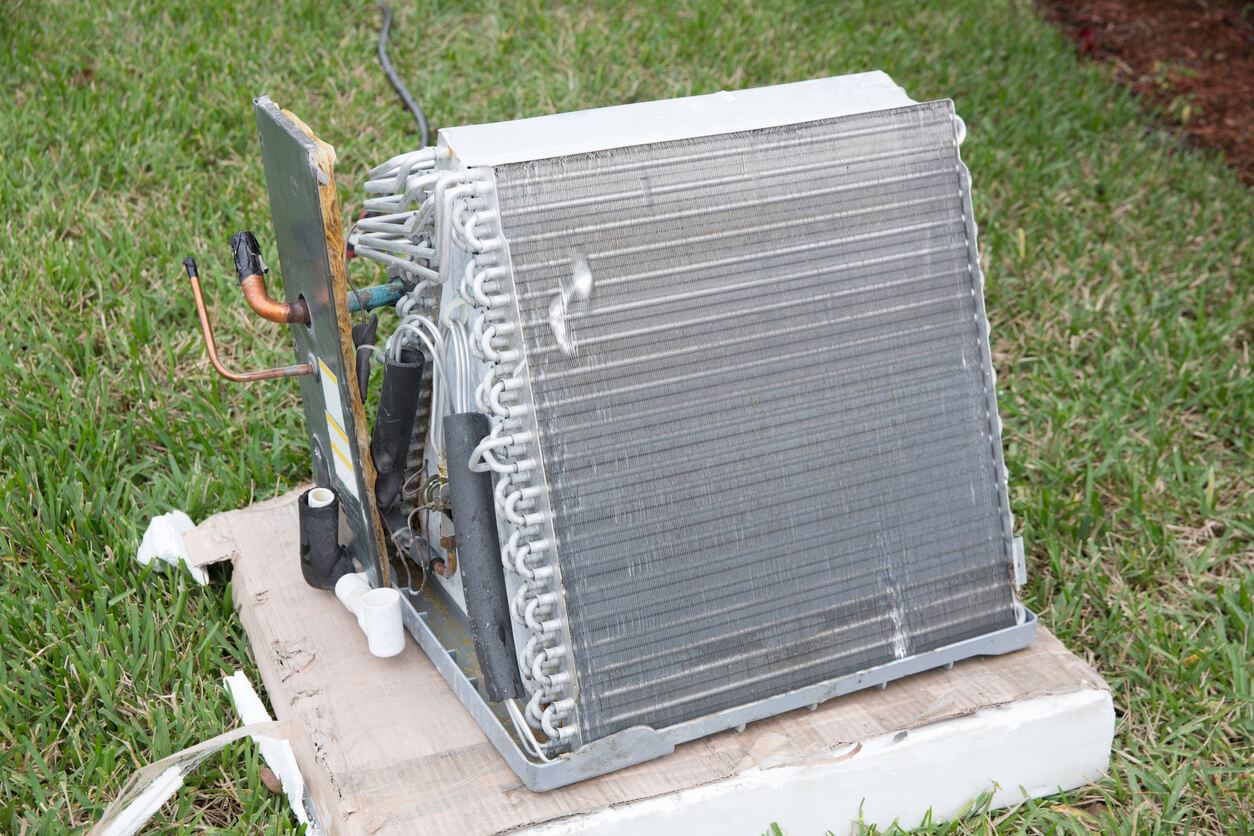
Locating the Coil: The evaporator coil is usually housed inside the indoor air handler unit. It’s often behind an access panel held in place by screws. Consult your unit's manual if you're unsure.
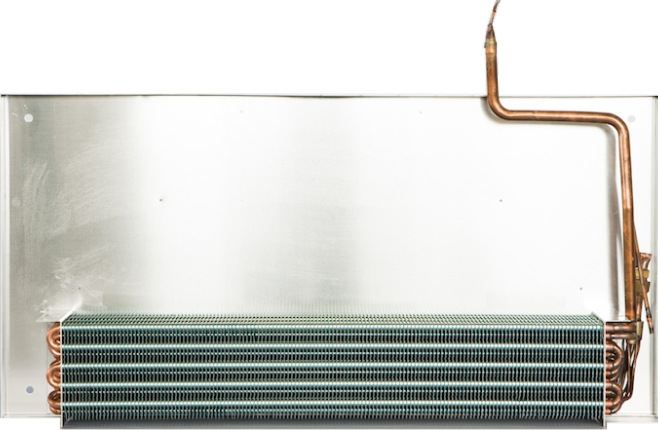
Visual Inspection: Once the access panel is removed, carefully examine the evaporator coil. Look for the following:
- Dust and Debris: Is the coil covered in dust, dirt, or pet hair? This restricts airflow and reduces efficiency.
- Ice Buildup: A frozen evaporator coil is a common issue. This indicates restricted airflow, low refrigerant, or a malfunctioning component.
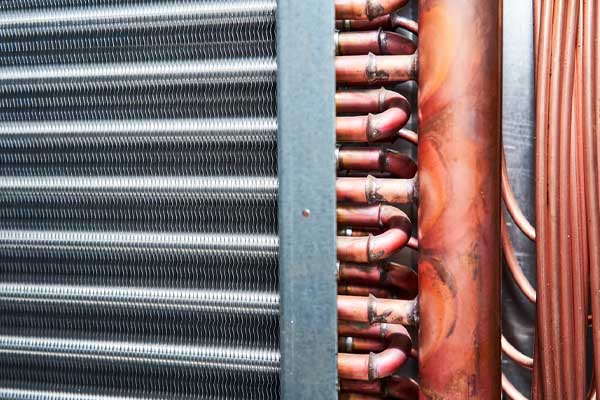
- Signs of Leaks: Look for oily residue or corrosion on the coil or nearby refrigerant lines. This suggests a refrigerant leak (requires professional attention).
Step 3: Cleaning the Evaporator Coil (If Applicable)
Important Note: If you see signs of ice buildup or a refrigerant leak, do not attempt to clean the coil. Proceed to the "When to Call a Professional" section.
Cleaning Procedure (for dust/debris only):
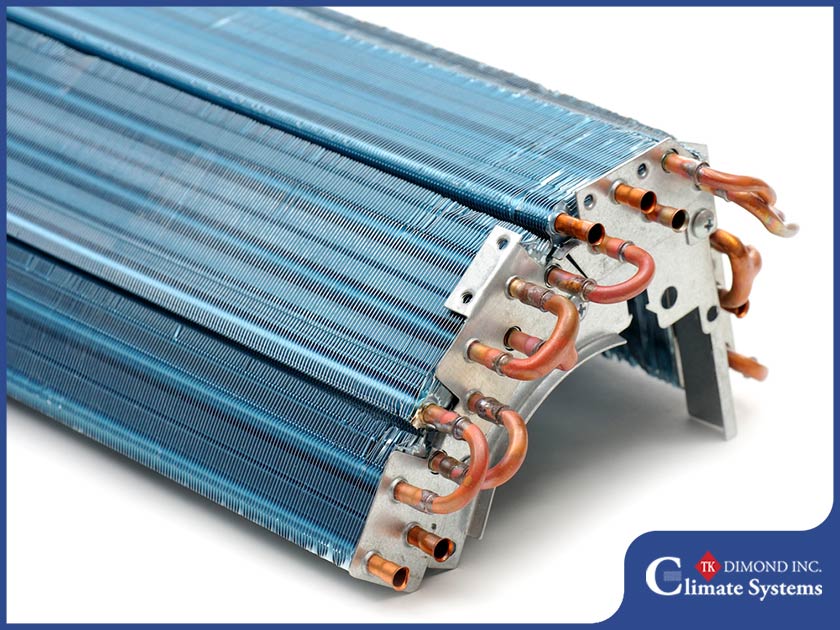
- Gentle Vacuuming: Use a vacuum cleaner with a brush attachment to gently remove loose dust and debris from the coil. Be careful not to damage the delicate fins.
- Fin Comb (Optional): If the coil fins are bent, use a fin comb (available at most hardware stores) to straighten them. This improves airflow.
- Evaporator Coil Cleaner: For more stubborn dirt, use a commercially available evaporator coil cleaner. Follow the product instructions carefully. Ensure the cleaner is specifically designed for evaporator coils and is non-corrosive. Spray the cleaner evenly onto the coil and let it sit for the recommended time. Rinse with water if the product instructions require it.
After Cleaning: Allow the coil to dry completely before reassembling the air handler and turning the power back on.
Step 4: Check the Drain Line
Why Check the Drain Line? A clogged drain line can cause water to back up into the air handler, potentially damaging the evaporator coil and other components.
Locating the Drain Line: The drain line is a PVC pipe that exits the air handler. It usually drains into a floor drain or outside.
How to Check: Look for any signs of blockage or overflowing water near the drain line.
DIY Fix:
- Wet/Dry Vacuum: Use a wet/dry vacuum to suck out any clogs from the drain line. Place the vacuum hose over the end of the drain line and create a tight seal.
- Pouring Water: Carefully pour a cup of water mixed with a tablespoon of bleach down the drain line to help clear any remaining debris. Avoid using harsh chemicals that could damage the drain line or the evaporator coil.
Problem: Evaporator Coil Freezing
A frozen evaporator coil is another common issue. It often presents with similar symptoms to a dirty coil, such as warm air blowing from the vents.
Diagnosis and DIY Fixes (If Safe to Attempt)
- Check Air Filter: As with warm air blowing, start by checking and replacing the air filter. Restricted airflow is a primary cause of freezing.
- Melt the Ice: Turn off the AC system and set the thermostat to "Fan Only." This will allow the blower fan to run continuously, which helps to melt the ice on the coil. Do not use a hairdryer or other heat source to melt the ice, as this could damage the coil. Allow several hours for the ice to melt completely. Place towels around the air handler to catch any water.
- After Melting: Once the ice has melted, turn the AC back on and monitor its performance. If the coil freezes again shortly after, there's likely an underlying issue that requires professional attention.
When to Call a Professional
While some evaporator coil issues can be addressed with simple DIY fixes, certain problems require the expertise of a qualified HVAC technician. Here are some situations where you should call a pro:
- Refrigerant Leaks: Any signs of refrigerant leaks, such as oily residue or corrosion on the coil or refrigerant lines, require immediate professional attention. Refrigerant is harmful to the environment and can pose health risks. Only certified technicians can handle refrigerant safely and legally.
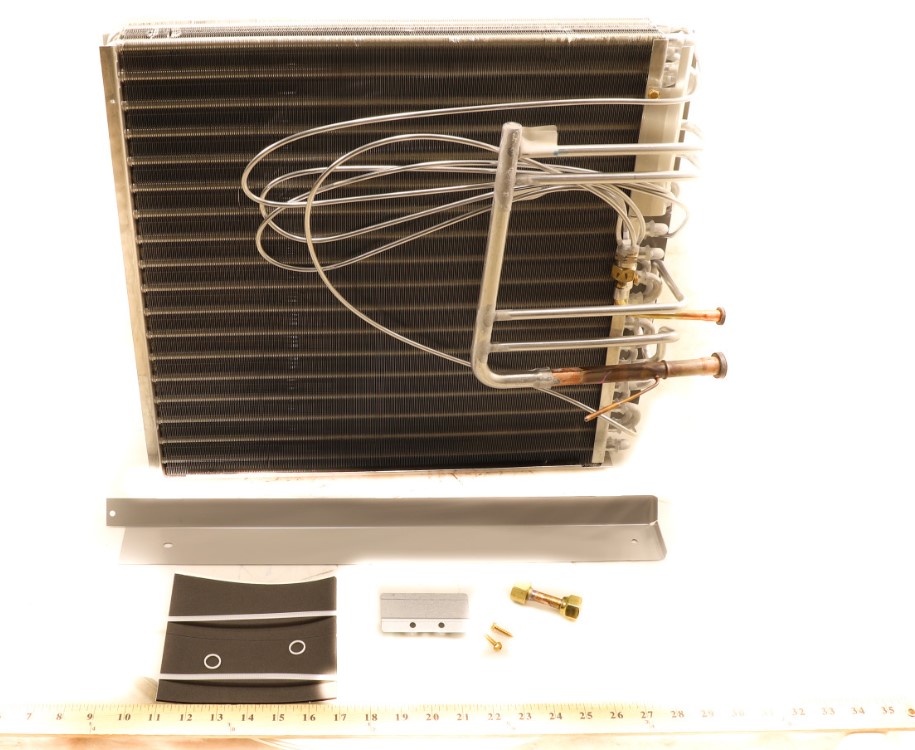
- Coil Damage: If the evaporator coil is physically damaged (e.g., bent fins beyond repair, cracks, or punctures), it likely needs to be repaired or replaced by a professional.
- Persistent Freezing: If the evaporator coil continues to freeze up after you've replaced the air filter and allowed it to thaw, there's an underlying issue that needs to be diagnosed and repaired by a professional. This could be due to low refrigerant, a malfunctioning metering device, or other component failures.
- Electrical Issues: If you suspect any electrical problems with the air handler or the AC system, do not attempt to repair it yourself. Call a qualified electrician or HVAC technician.
- Lack of Expertise: If you're uncomfortable working with electrical components or handling refrigerants, it's always best to err on the side of caution and call a professional.
- Unit is under warranty Some repairs can void the warranty so it is best to contact a professional for these.
Professional Services: A qualified HVAC technician can perform a variety of services related to evaporator coils, including:
- Refrigerant Leak Detection and Repair: Using specialized equipment to locate and repair refrigerant leaks.
- Coil Cleaning and Repair: Thoroughly cleaning and repairing damaged evaporator coils.
- Coil Replacement: Replacing severely damaged or corroded evaporator coils.
- System Diagnosis: Identifying and resolving underlying issues that are causing evaporator coil problems.
- Refrigerant Recharge: Adding refrigerant to the system if it's low due to a leak.
Preventative Maintenance
The best way to avoid evaporator coil problems is to perform regular preventative maintenance. Here are some tips:
- Replace Air Filters Regularly: Check and replace your air filter monthly, or more frequently if you have pets or live in a dusty environment.
- Schedule Annual AC Tune-Ups: Have your AC system professionally inspected and serviced at least once a year. This will help identify and address potential problems before they become major issues.
- Keep the Outdoor Unit Clean: Clear away any debris from around the outdoor condenser unit to ensure proper airflow.
- Consider a UV Light: Installing a UV light inside the air handler can help prevent mold and mildew growth on the evaporator coil, which can improve air quality and system efficiency.
By following these troubleshooting steps and preventative maintenance tips, you can keep your Carrier air conditioner running smoothly and efficiently, ensuring years of cool comfort.