Extend Roof Plumbing Vent
Have you noticed a persistent, unpleasant odor in your home, especially when the heating or cooling system is running? Or perhaps your plumbing fixtures are draining slowly, gurgling, or even backing up? These are often signs of an issue with your plumbing ventilation system, and specifically, that your roof plumbing vent might need an extension.
A properly functioning plumbing vent system is crucial. It allows air to enter your plumbing lines, preventing a vacuum that would hinder wastewater flow. It also vents harmful sewer gases out of your home. When this system is compromised, the results can range from annoying smells to potentially dangerous health hazards.
This article will guide you through a step-by-step process to diagnose and address a common cause of plumbing vent problems: insufficient roof vent height. We'll cover safe DIY fixes and, importantly, when to call in the pros.
Diagnosing the Problem: Is Your Vent Too Short?
Before grabbing any tools, let's confirm that an inadequate vent height is the likely culprit.
Step 1: Gather Your Observations
Carefully consider these common symptoms:
- Foul Odors: A pervasive sewer gas smell, particularly in bathrooms or near plumbing fixtures.
- Slow Drains: Sinks, showers, or toilets that drain slowly or require multiple flushes.
- Gurgling Noises: Strange gurgling sounds coming from drains, especially after flushing a toilet or running water.
- Fixture Backup: In severe cases, wastewater might back up into sinks or tubs.
- HVAC-Related Odors: The unpleasant smell gets worse when the furnace or air conditioner cycles on, possibly pulling the odor from the attic.
Note the frequency and intensity of these symptoms. Do they occur constantly, only at certain times of day, or after specific water usage?
Step 2: Perform a Visual Inspection (No Tools Needed!)
This is a critical first step and requires extreme caution. You will be working on your roof. If you're uncomfortable with heights or the roof is wet or icy, do not proceed. Hire a professional.
- Safety First: Use a sturdy ladder that is properly secured. Have someone spot you. Wear appropriate footwear with good traction. Choose a clear, dry day.
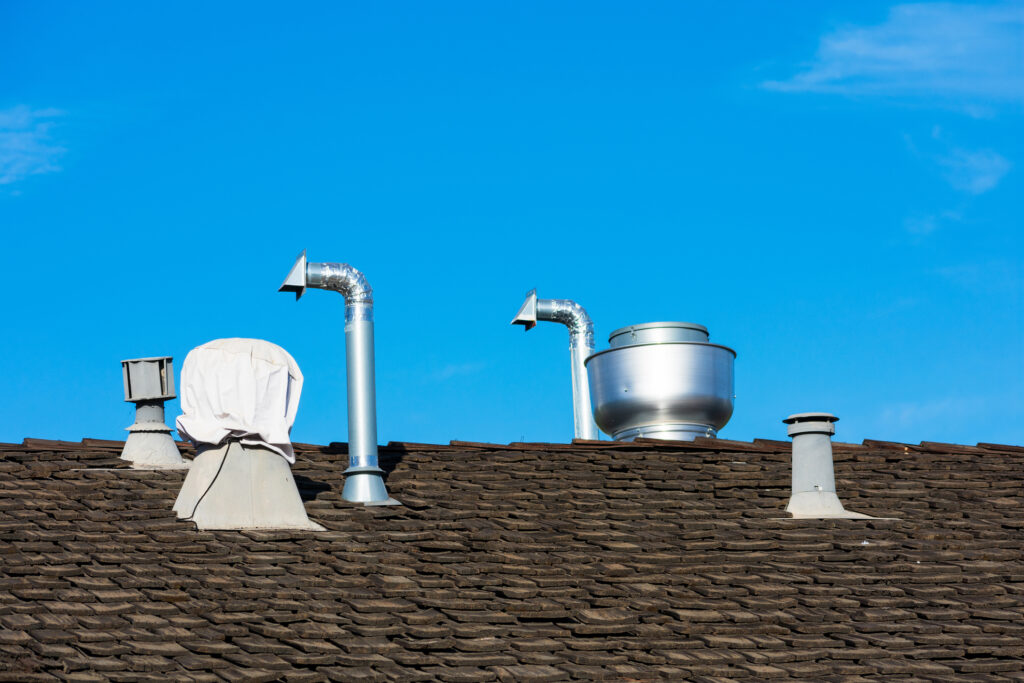
- Locate the Plumbing Vent(s): These are usually black or gray PVC pipes protruding from the roof, typically near bathrooms or the main plumbing stack.
- Observe the Height: This is the key observation. Most building codes require plumbing vents to extend at least 12 inches above the roofline. In areas with heavy snowfall, the requirement may be much higher (2-3 feet or more). Check your local building codes for specific requirements.
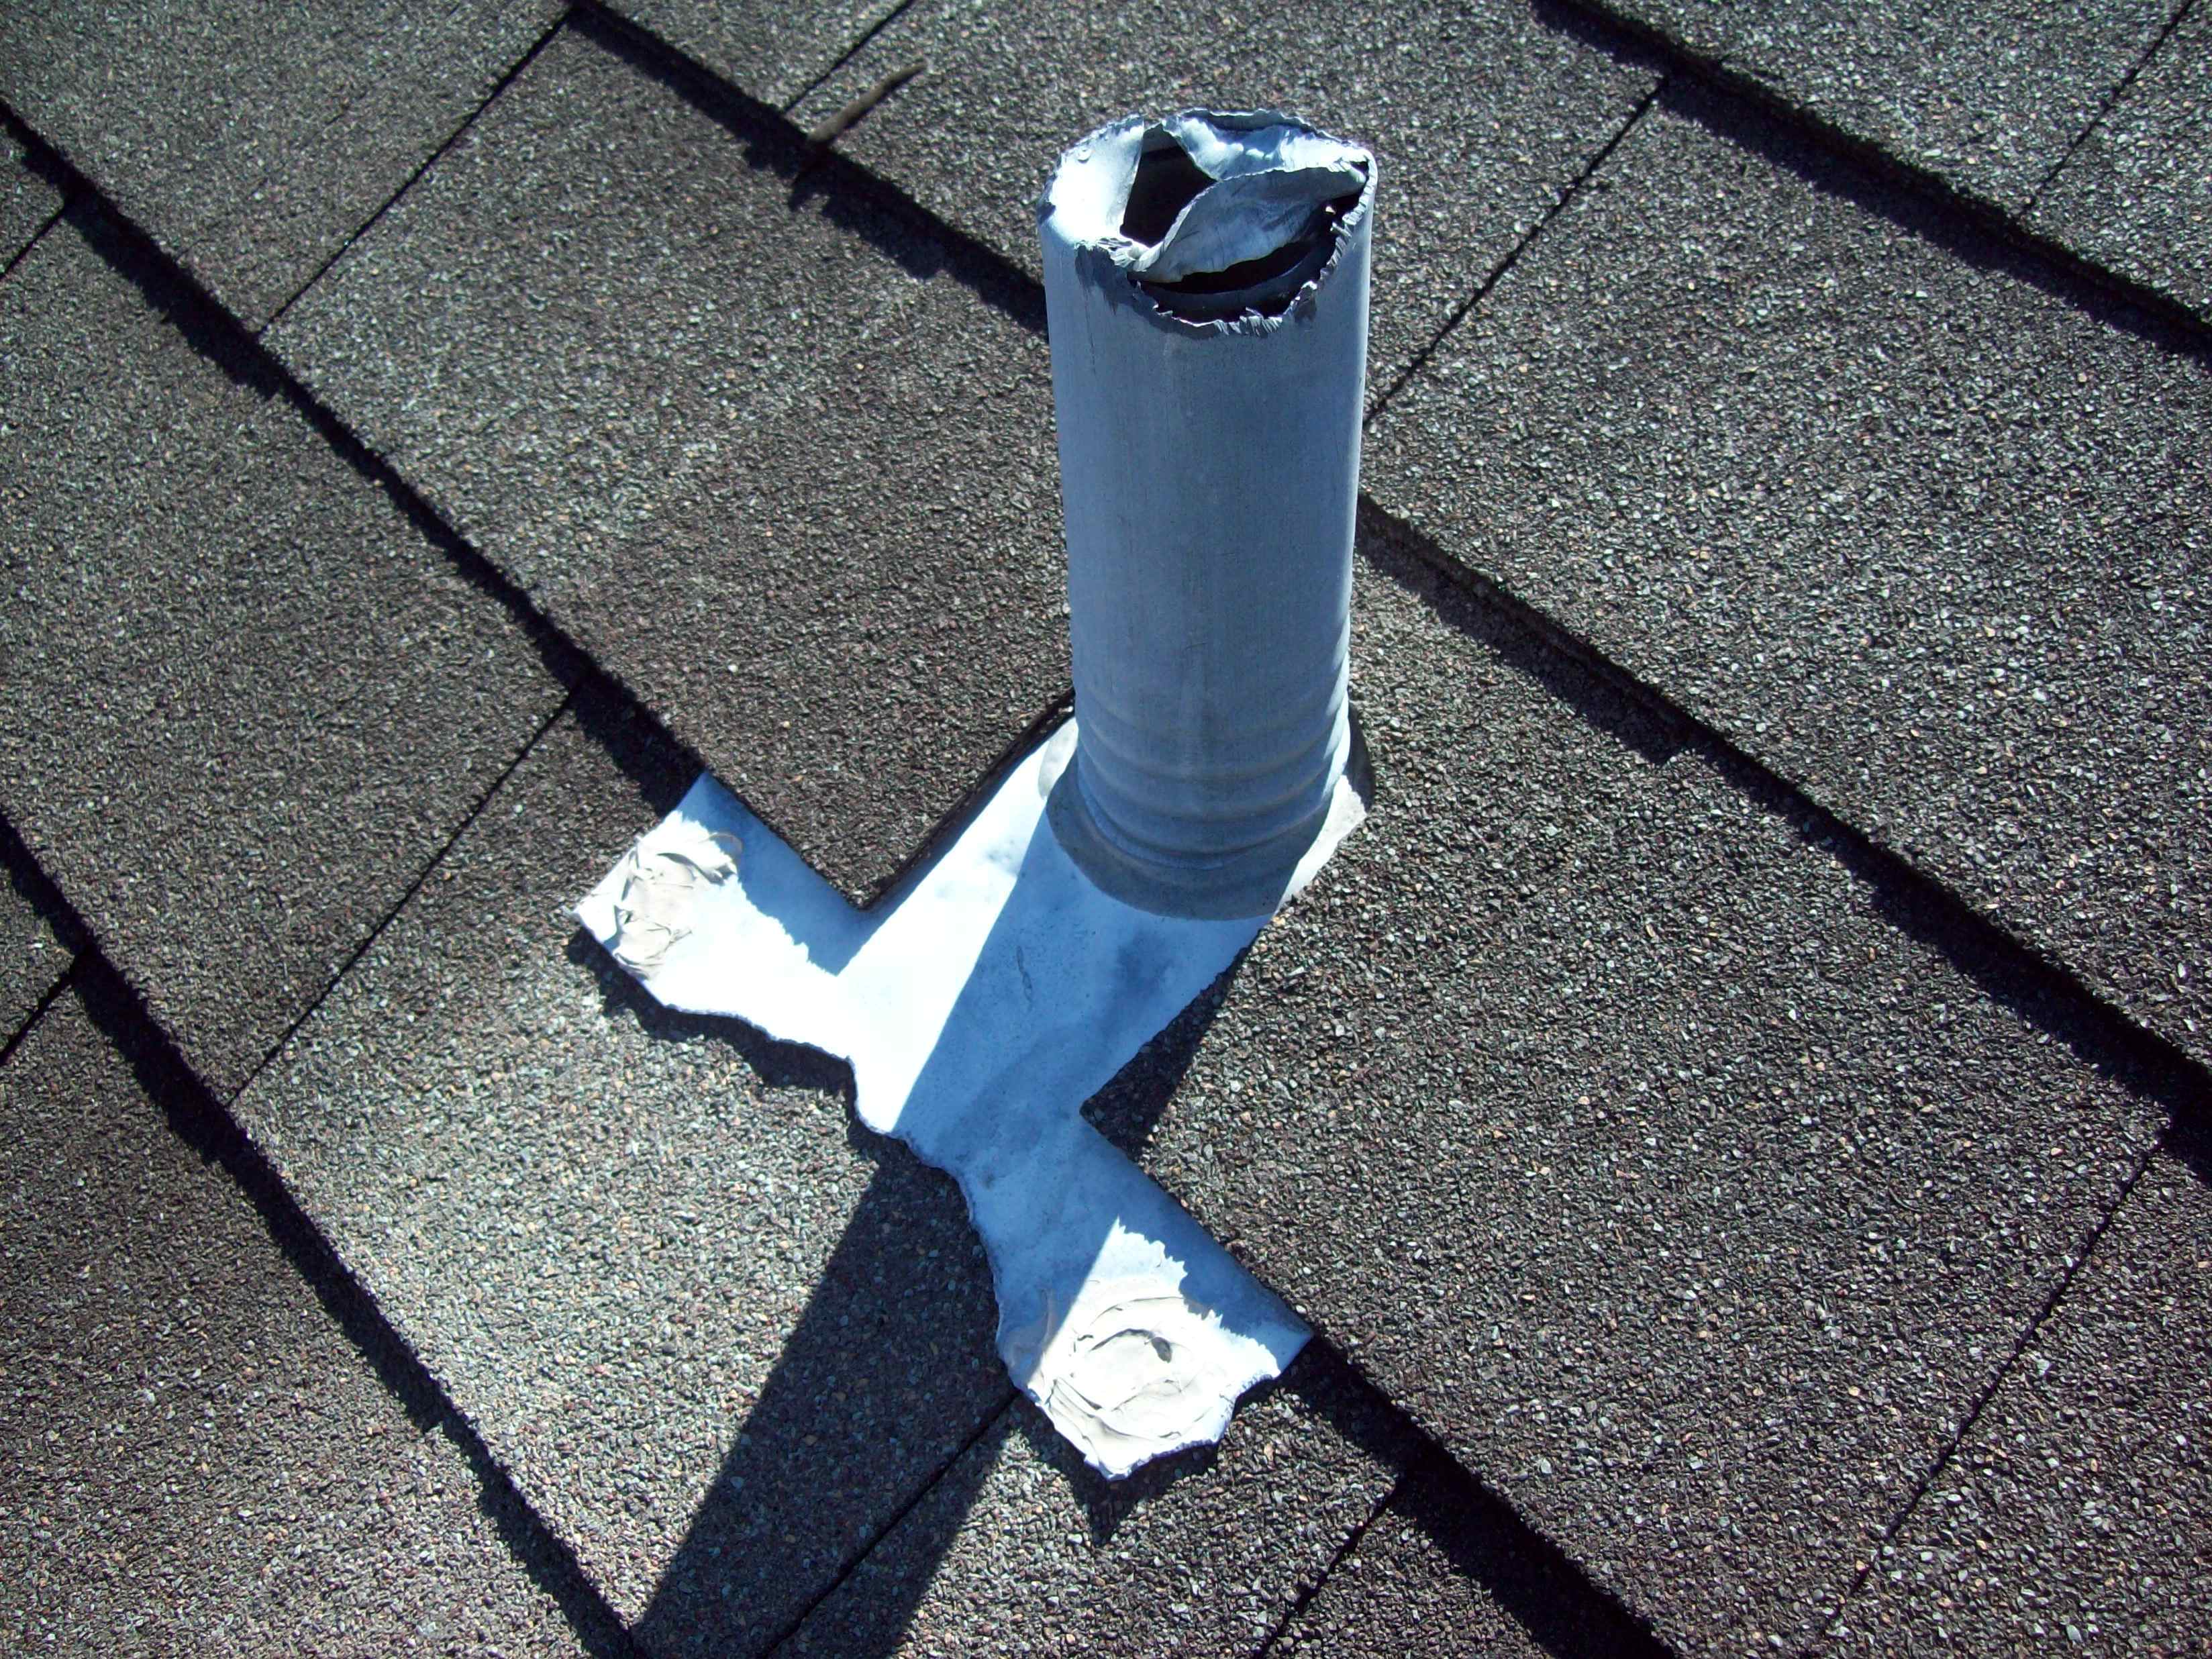
- Check for Obstructions: Look for debris such as leaves, bird nests, or snow/ice blocking the vent opening.
- Note the Proximity to Air Intakes or Windows: If a vent is too close to an air intake for your HVAC system or a window, sewer gases can easily be drawn into the house.
What to look for: Is the vent significantly shorter than 12 inches? Is it buried under snow? Is it directly next to a window or air intake?
If you observe a blocked vent, carefully remove the obstruction (wear gloves!). Test your plumbing to see if this resolves the issue. If the vent is simply too short, proceed to the next steps.
Step 3: Consider External Factors
Sometimes, a short vent isn't the sole problem. Consider these factors:
- Recent Roofing Work: Was the roof recently repaired or replaced? It's possible the vent was accidentally shortened during the process.
- New Construction Nearby: New buildings can sometimes affect wind patterns, causing downdrafts that push sewer gases back down the vent.
- Seasonal Changes: Wind direction and snow accumulation can exacerbate the problem during certain times of the year.
DIY Solutions: Extending the Vent
If you've confirmed that your plumbing vent is too short and you're comfortable working on your roof, here are the steps for a simple extension. Remember safety! If in doubt, call a professional.
What You'll Need:
- PVC pipe (same diameter as your existing vent)
- PVC coupling (to connect the new pipe to the existing vent)
- PVC primer
- PVC cement
- Measuring tape
- Saw (for cutting PVC – a hacksaw or PVC cutter works well)
- Sandpaper or emery cloth
- Ladder
- Safety glasses
- Gloves
- Level
Step-by-Step Instructions:
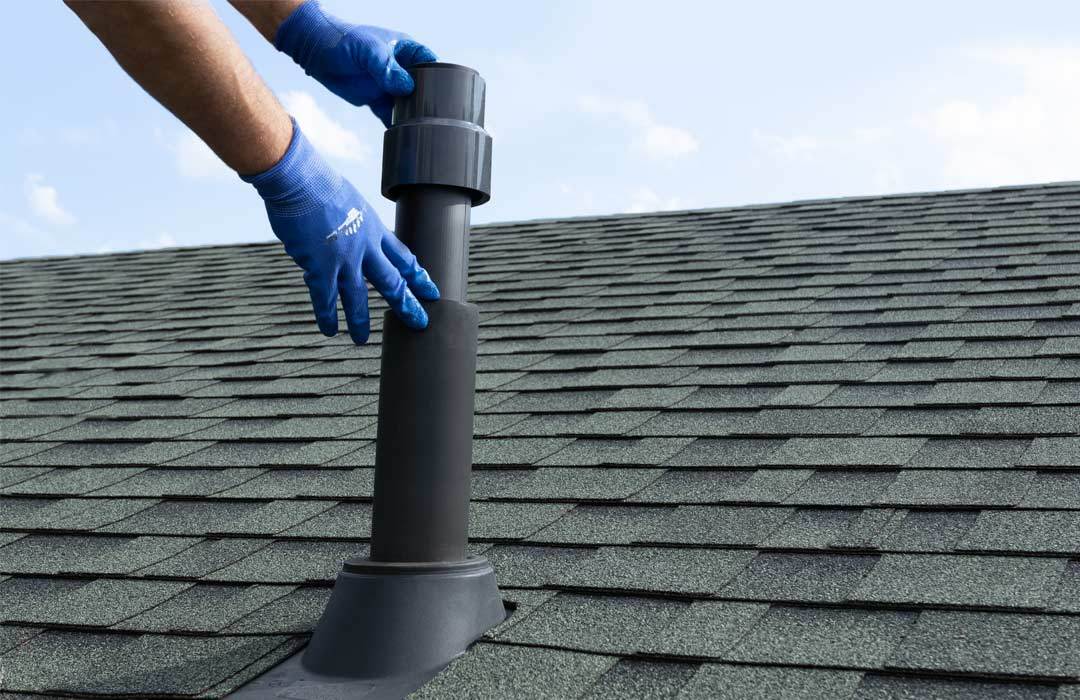
- Measure the Existing Vent: Carefully measure the outer diameter of your existing vent pipe. This is crucial for selecting the correct size of PVC pipe and coupling.
- Determine the Required Extension Length: Calculate how much longer the vent needs to be to meet the 12-inch minimum (or your local code requirement). Add a few extra inches for good measure. Also, consider snow levels in your area.
- Purchase Materials: Buy the necessary length of PVC pipe and a coupling of the correct size from your local hardware store.
- Cut the PVC Pipe: Using the saw, cut the PVC pipe to the desired length. Ensure the cut is straight and clean.
- Prepare the Surfaces: Lightly sand the inside of the coupling and the outside of both the existing vent pipe and the new PVC pipe extension. This roughens the surfaces and improves adhesion.
- Apply Primer: Apply PVC primer to both the inside of the coupling and the outside of the existing vent pipe and the new PVC pipe extension where they will be joined. The primer softens the PVC and prepares it for bonding. Let the primer dry for the recommended time (usually a few seconds).
- Apply Cement: Quickly apply PVC cement to both the inside of the coupling and the outside of the existing vent pipe and the new PVC pipe extension. Work quickly, as the cement sets rapidly.
- Assemble the Connection: Immediately slide the coupling onto the existing vent pipe, then slide the new PVC pipe extension into the other end of the coupling. Twist the pipes slightly as you push them together to ensure even distribution of the cement.
- Hold in Place: Hold the connection firmly for about 30 seconds to allow the cement to set.
- Check for Alignment: Use a level to ensure the extension is vertical. Make any necessary adjustments before the cement fully hardens.
- Allow to Cure: Let the cement cure completely according to the manufacturer's instructions (usually 24 hours) before testing your plumbing.
- Test Your Plumbing: After the cement has cured, run water in your sinks, showers, and toilets. Listen for gurgling noises and check for slow drains. The odors should also dissipate.
Important Notes:
- Use the Correct PVC Cement: Different types of PVC cement are designed for different applications. Make sure you use a cement that is suitable for plumbing applications.
- Work in a Well-Ventilated Area: PVC primer and cement release fumes. Work outdoors or in a well-ventilated area.
- Avoid Over-Tightening: Do not over-tighten any connections, as this could damage the PVC pipe.
- Consider a Vent Cap: Adding a vent cap can help prevent debris from entering the vent and can also reduce wind-induced noise.
When to Call a Professional
While extending a plumbing vent can be a straightforward DIY project, there are situations where it's best to call a licensed plumber or HVAC technician:
- You're Uncomfortable Working on Your Roof: This is the most important reason. Your safety is paramount.
- The Vent Requires Significant Modification: If the vent needs to be moved, rerouted, or significantly altered, it's best left to a professional.
- You Suspect Other Plumbing Problems: If extending the vent doesn't resolve the issue, there may be other problems in your plumbing system, such as a clogged drain line or a blocked vent stack.
- Your Local Codes Require Permits: Some jurisdictions require permits for plumbing work. A professional will be familiar with local codes and can ensure the work is done properly.
- You Have a Complex Vent System: Some homes have complex vent systems with multiple vents and interconnected piping. Diagnosing and repairing these systems requires specialized knowledge and experience.
- You are dealing with Cast Iron Pipes: Most older homes have cast iron plumbing. If you are inexperienced with plumbing, repairing cast iron can be dangerous.
Specifically, consider calling a pro if:
- The vent pipe is broken or cracked.
- You need to cut into existing walls or ceilings to access the vent.
- The vent is difficult to reach or located in a hazardous area.
- You are unsure about any step in the process.
Preventative Maintenance
Once you've addressed the immediate problem, take steps to prevent future issues:
- Regularly Inspect Vents: Check your roof vents at least twice a year for obstructions or damage, especially after storms or heavy snowfall.
- Trim Overhanging Branches: Keep trees and shrubs trimmed to prevent leaves and debris from falling into the vents.
- Consider Vent Caps: Install vent caps to prevent birds and other animals from nesting in the vents.
- Maintain Your Plumbing System: Regularly flush your drains with hot water and baking soda to prevent clogs and maintain proper ventilation.
By following these steps, you can diagnose and address a common plumbing vent issue, improve the air quality in your home, and prevent more serious plumbing problems down the road. Remember, safety is always the priority. Don't hesitate to call a professional if you're unsure about any aspect of the project.
.jpg)


:max_bytes(150000):strip_icc()/roof-jack-0efdac88-2a2dfd320bc34caea49f0889c9c0fc74.jpg)