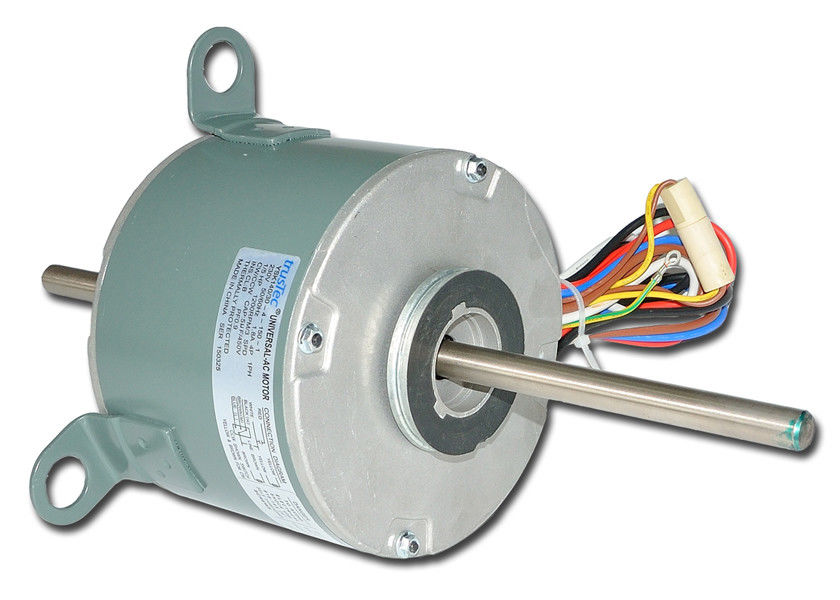
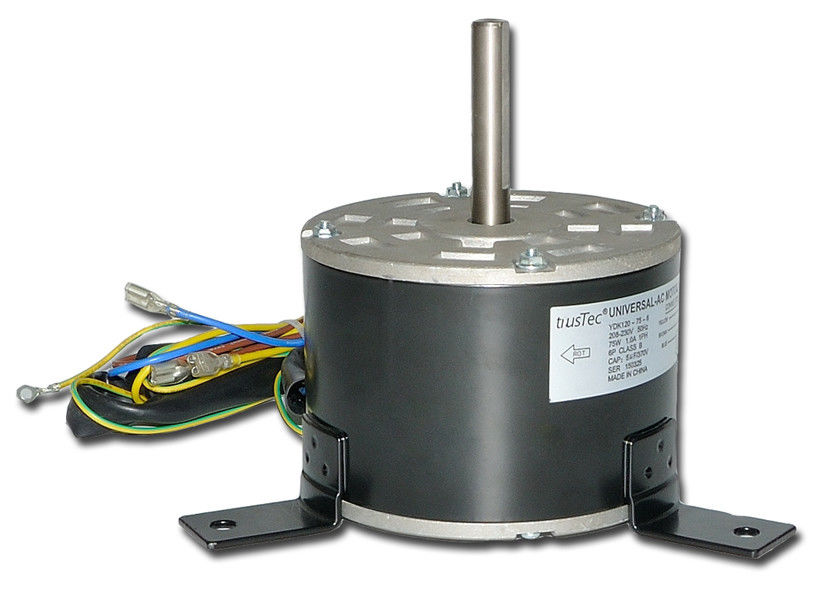
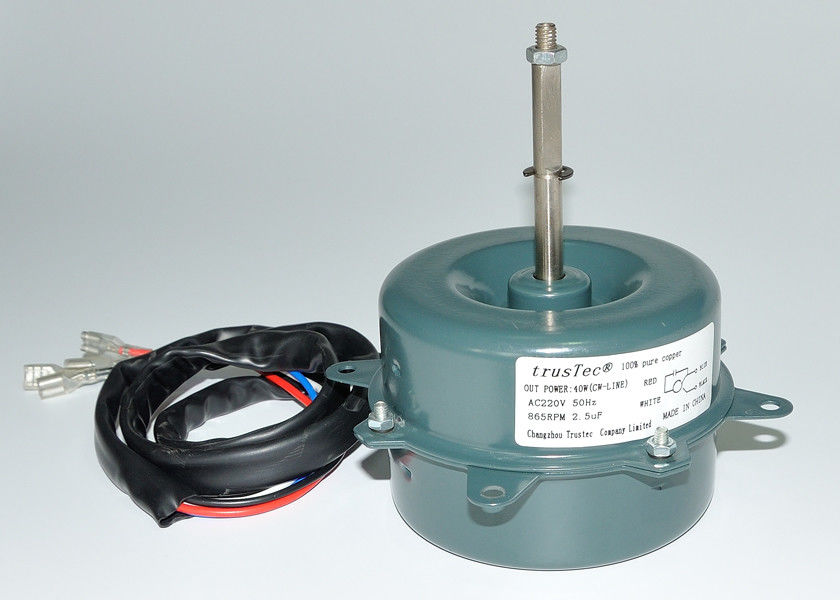
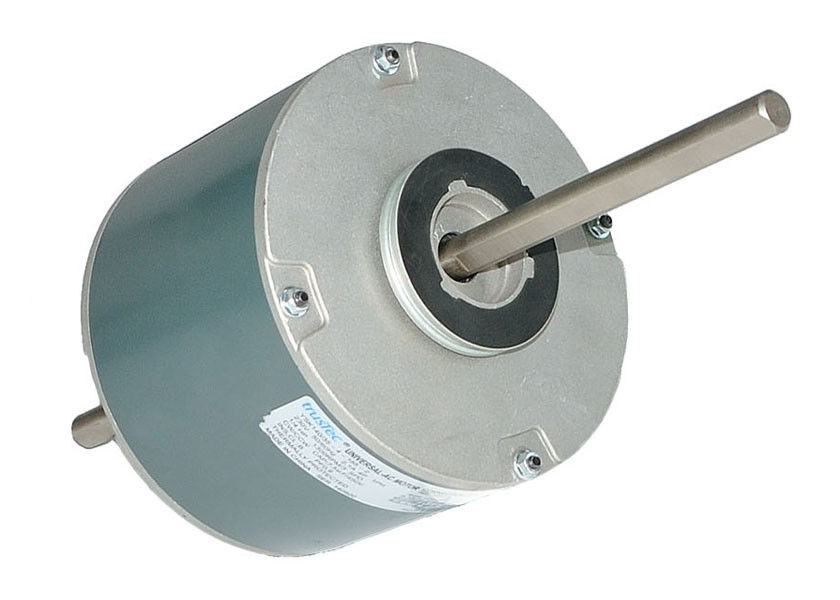
Fan Motor For Ac Unit

A malfunctioning air conditioner on a hot day is a common household woe. Often, the culprit isn't a major component failure, but rather a problem with the fan motor. This guide will walk you through troubleshooting common AC fan motor issues. We'll focus on the outdoor condenser unit fan motor, as issues with the indoor blower motor are typically more complex and often best left to a professional.
Understanding the AC Fan Motor's Role
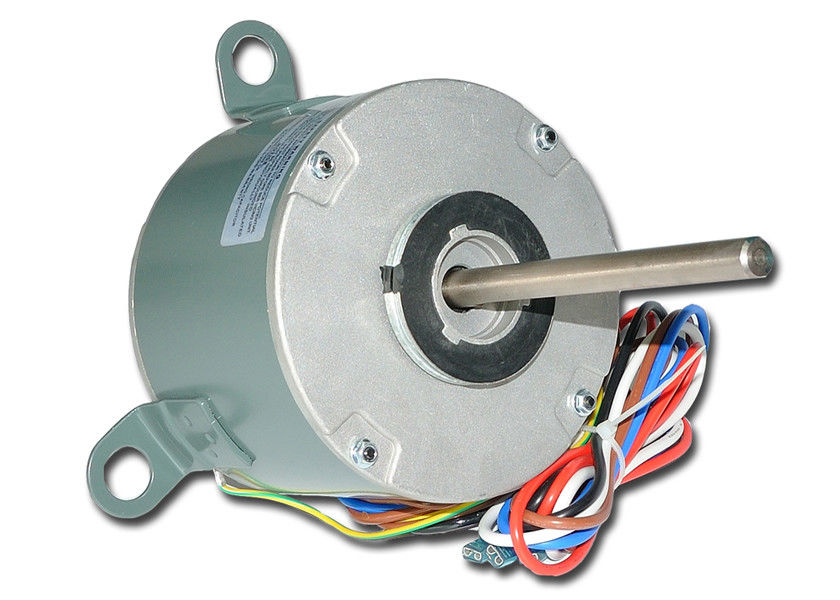
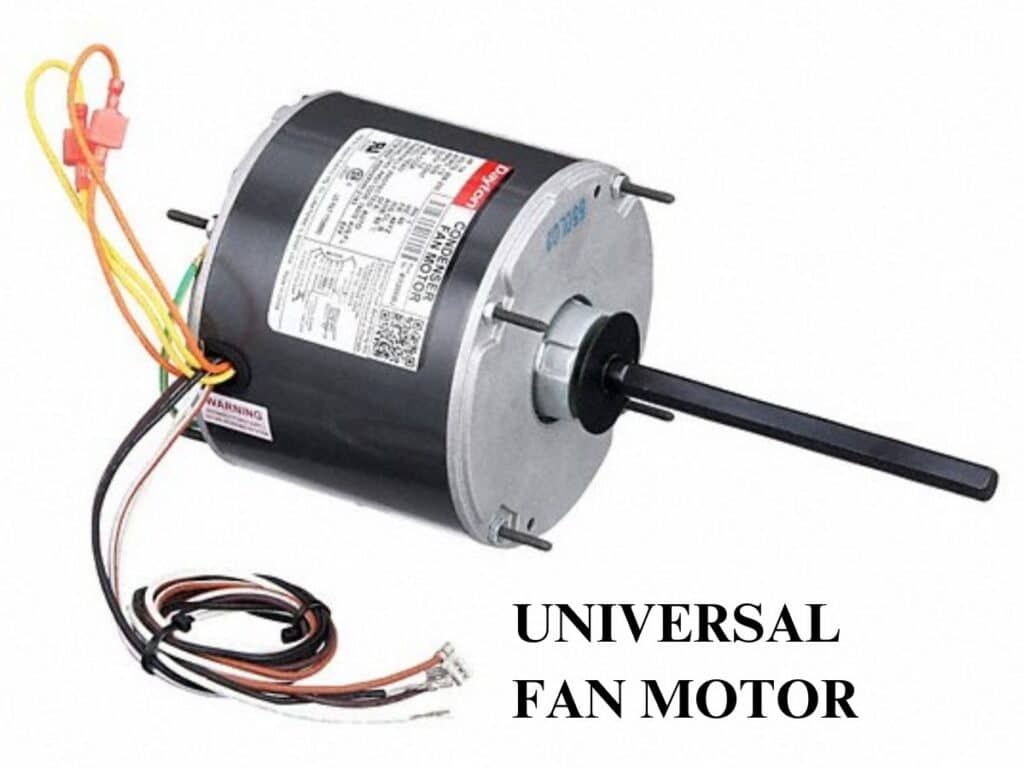
The fan motor in your outdoor AC unit is responsible for circulating air across the condenser coils. This process dissipates heat, allowing the refrigerant to cool and effectively cool your home. If the fan isn't working, the unit can overheat, leading to inefficient cooling or even a complete shutdown. Before you begin, always prioritize safety. Turn off the power to the AC unit at the breaker box before inspecting anything.
Safety First!
Working with electricity can be dangerous. Turn off the power to the AC unit at the breaker box. Double-check with a non-contact voltage tester to ensure the power is off before proceeding. If you're uncomfortable working with electricity, call a qualified HVAC technician.
Step-by-Step Troubleshooting Guide
1. Preliminary Checks: Is the Unit Even On?
Before diving deep, make sure the obvious isn't being overlooked:
- Thermostat Settings: Ensure the thermostat is set to "Cool" and the temperature is set lower than the current room temperature.
- Breaker Check: Visually inspect the breaker for the AC unit in your electrical panel. Look for a tripped breaker (it will be in the "off" or middle position). Reset it by flipping it fully to the "off" position and then back to the "on" position.
- Emergency Switch: Some outdoor AC units have an emergency shut-off switch located near the unit itself. Make sure it's in the "on" position.
If none of these solve the problem, move on to the next steps.
2. Visual Inspection: Look for Obvious Problems
Carefully examine the outdoor unit, focusing on the fan and surrounding area:
- Obstructions: Check for any debris blocking the fan blades, such as leaves, twigs, or even bird nests. Carefully remove any obstructions.
- Damaged Blades: Inspect the fan blades for cracks, bends, or other damage. Severely damaged blades can cause the motor to malfunction or become unbalanced.
- Visible Wiring Issues: Look for frayed or disconnected wires near the motor. If you see any, do not attempt to repair them yourself. Call a professional.
- Condenser Coil Condition: While not directly related to the motor, a heavily clogged condenser coil restricts airflow and can overwork the motor. Consider cleaning the coils (see section below).
3. Testing the Fan Motor (with power off!)
After visual inspection, we can do some manual testing with the power OFF!
- Spin the Fan Blade: Manually try spinning the fan blade. It should spin freely without resistance. If it's difficult to turn or makes grinding noises, the motor bearings may be failing. If it doesn't turn at all even after removing obstruction, the motor may be seized.
4. Cleaning the Condenser Coils (Power Off!)
Dirty condenser coils can hinder airflow and strain the fan motor. Cleaning them can improve efficiency and potentially resolve the issue. Always turn off the power before cleaning.
- Tools Needed: Garden hose with a spray nozzle, fin comb (optional).
- Cleaning Process: Gently spray the condenser coils with the garden hose. Spray from the inside out to avoid bending the fins. If the fins are bent, use a fin comb to straighten them.
- Important Note: Avoid using high-pressure washers, as they can damage the delicate fins.
After cleaning, wait for the coils to dry completely before turning the power back on.
5. Checking the Capacitor (Professional Help Recommended)
The capacitor is a small, cylindrical component that provides the initial jolt of electricity needed to start the fan motor. A faulty capacitor is a common cause of fan motor failure.
Important Safety Warning: Capacitors store electrical charge, even after the power is turned off. Discharging a capacitor can be dangerous and should only be performed by a qualified technician.
Signs of a bad capacitor:
- The fan motor hums but doesn't start.
- The fan motor starts slowly or intermittently.
- The capacitor is bulging or leaking.
Testing and Replacing the Capacitor: Testing and replacing a capacitor involves using a multimeter and safely discharging the capacitor before removal. This is a task best left to a qualified HVAC technician. They have the proper tools, knowledge, and safety precautions to handle this potentially dangerous component.
6. Checking the Contactor (Professional Help Recommended)
The contactor is an electrical relay switch that controls the power to the outdoor unit, including the fan motor and compressor. A faulty contactor can prevent the fan motor from receiving power.
Signs of a bad contactor:
- The fan motor doesn't run, and the compressor may not run either.
- You hear a buzzing or humming sound from the contactor.
- The contactor appears burned or damaged.
Testing and Replacing the Contactor: Testing and replacing a contactor involves working with high voltage electricity and requires specialized knowledge. This is a task best left to a qualified HVAC technician.
7. Direct Motor Replacement (Proceed with Caution)
If you've ruled out other issues and suspect the motor itself is faulty, you *may* be able to replace it yourself, but only if you have experience with electrical wiring and are comfortable working with power. If not, contact a professional.
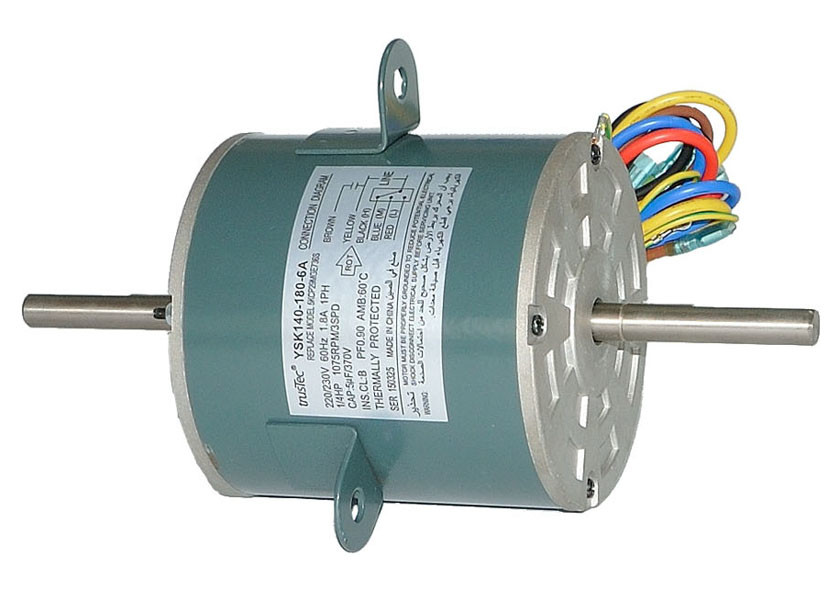
- Finding the Right Replacement: You'll need to identify the exact replacement motor for your AC unit. Check the motor itself for a model number. You can usually find replacement motors online or at HVAC supply stores. Make sure the voltage, horsepower, and shaft size match the original motor.
- Tools Needed: Screwdrivers, wire strippers, wire connectors, multimeter (optional), socket set, adjustable wrench.
- Step-by-Step Replacement (General Guide - consult your AC unit's manual for specific instructions):
- Disconnect the Power: Ensure the power to the AC unit is turned off at the breaker box.
- Access the Motor: Remove the necessary panels to access the fan motor.
- Disconnect Wiring: Carefully disconnect the wiring from the old motor. Take pictures of the wiring connections before disconnecting them to ensure you reconnect them correctly. Use wire strippers to prepare the wires for reconnection.
- Remove the Old Motor: Unbolt or unscrew the old motor from its mounting bracket.
- Install the New Motor: Mount the new motor in the bracket.
- Reconnect Wiring: Connect the wiring to the new motor, matching the connections from the pictures you took earlier. Use wire connectors to secure the connections.
- Reassemble the Unit: Reinstall the panels you removed to access the motor.
- Test the Unit: Turn the power back on and test the AC unit.
- Important Notes:
- Wiring Diagrams: Many motors have wiring diagrams on the motor itself or in the AC unit's service manual. Consult these diagrams carefully.
- Grounding: Make sure the motor is properly grounded.
- Motor Rotation: Some motors are reversible, while others are not. If the fan blades are spinning in the wrong direction, consult the motor's instructions to reverse the rotation (if possible). Usually involves swapping two wires.
If you are even slightly unsure about replacing the motor yourself, call a professional. Incorrect wiring can damage the unit and create a safety hazard.
When to Call a Professional
While this guide provides steps for basic troubleshooting, some situations require professional help:
- Working with Refrigerant: If the AC unit is leaking refrigerant, do not attempt to repair it yourself. Refrigerant is a hazardous substance and requires specialized equipment and training to handle safely.
- Complex Electrical Issues: If you suspect a problem with the wiring, contactor, or other electrical components, call a qualified electrician or HVAC technician.
- Compressor Problems: If the compressor is making unusual noises or not running, this is a sign of a serious problem that requires professional attention.
- Lack of Experience: If you're uncomfortable working with electricity or AC components, it's always best to err on the side of caution and call a professional.
Preventative Maintenance
Regular maintenance can help prevent fan motor problems and extend the life of your AC unit:
- Clean the Condenser Coils: Clean the condenser coils at least once a year, or more often if you live in a dusty or pollen-rich environment.
- Clear Debris: Regularly clear any debris from around the outdoor unit.
- Inspect the Fan Blades: Check the fan blades for damage and replace them if necessary.
- Schedule Professional Maintenance: Have your AC unit professionally inspected and serviced at least once a year.
By following these troubleshooting steps and performing regular maintenance, you can keep your AC fan motor running smoothly and efficiently, ensuring a cool and comfortable home.