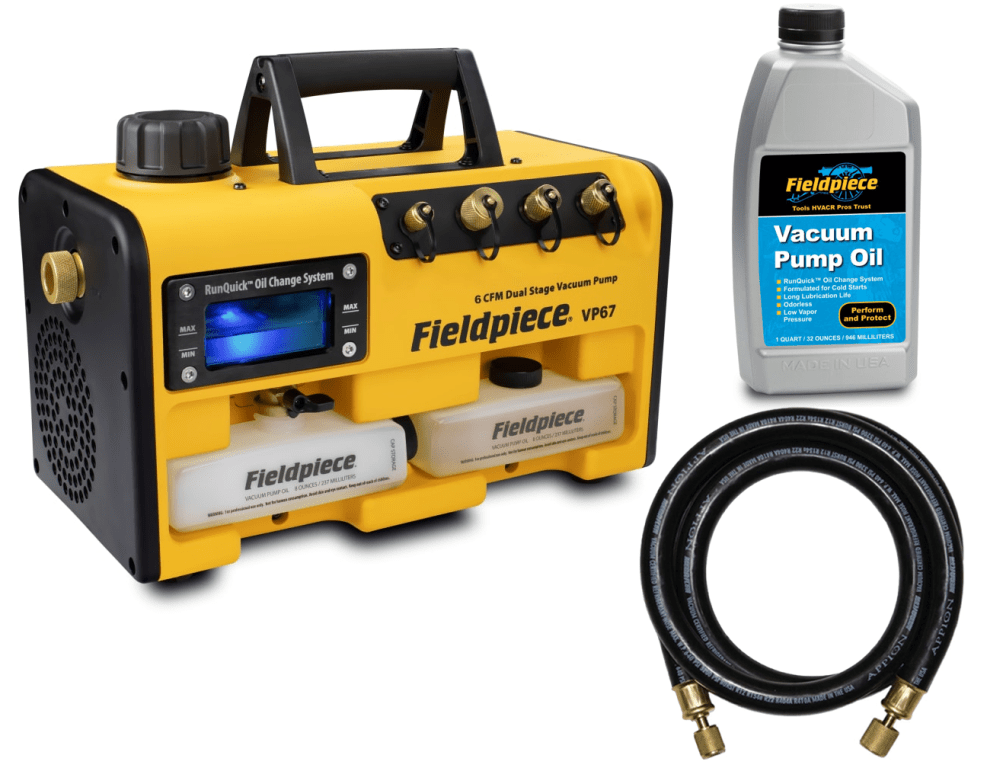
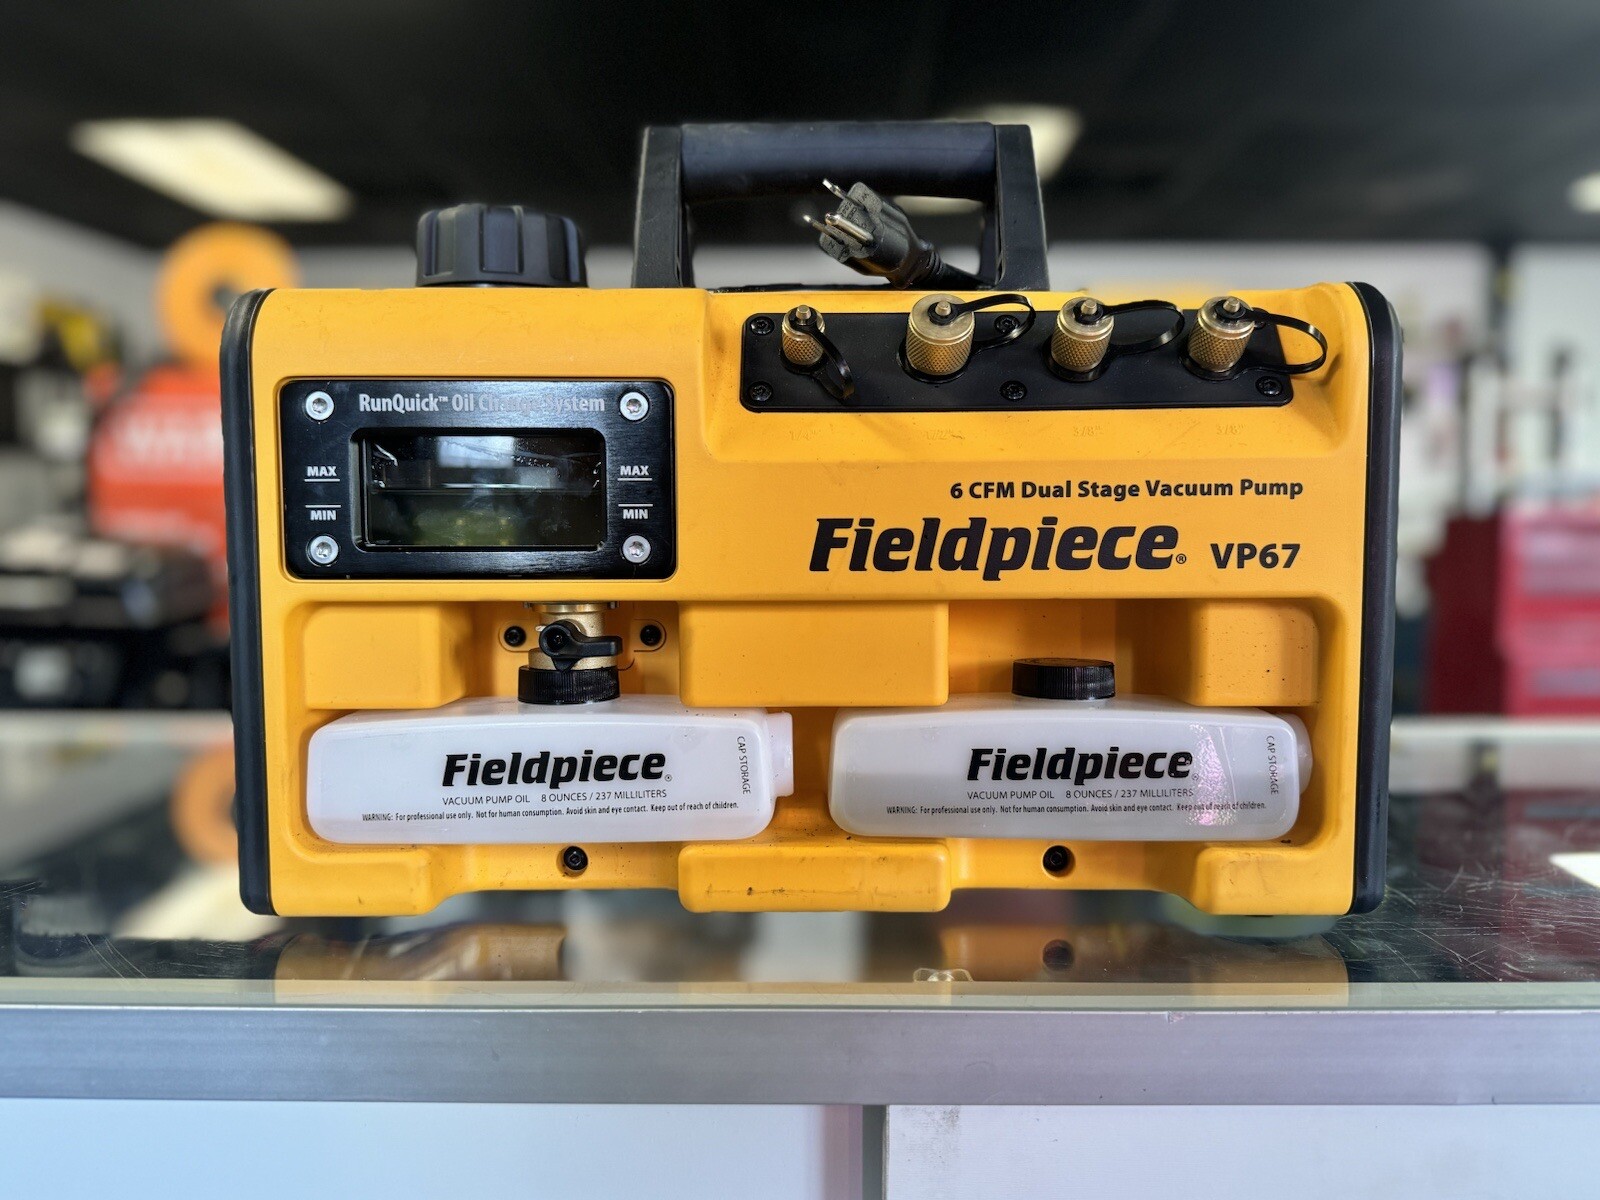
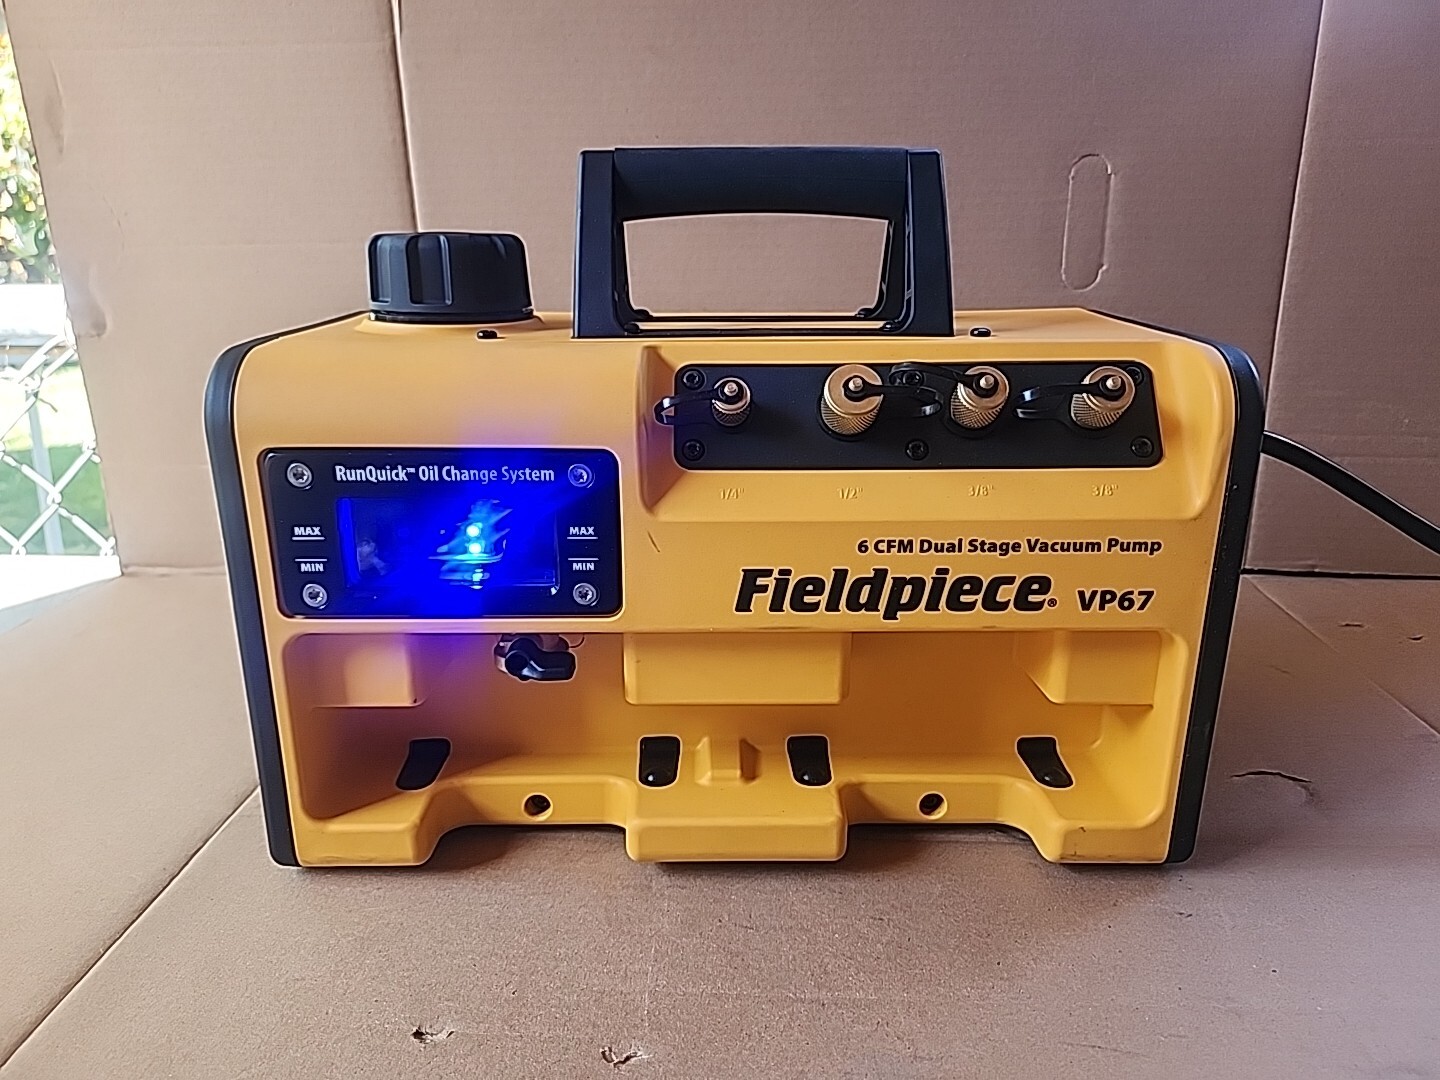
Fieldpiece Vp67 6 Cfm Vacuum Pump

Many homeowners experience frustrating issues with their HVAC systems. Often, these problems stem from air or moisture contamination within the refrigerant lines. A crucial tool in addressing this is a vacuum pump, and the Fieldpiece VP67 6 CFM vacuum pump is a popular choice. This article guides you through troubleshooting common issues with your VP67, empowering you with DIY solutions where possible, and highlighting when professional help is necessary.
Understanding the Basics
Before diving into troubleshooting, let's quickly cover the VP67's purpose. It's designed to remove air and moisture from refrigeration systems (like your AC or heat pump) after repairs or installations. This process, called evacuation, ensures the system operates efficiently and avoids damaging internal components. A vacuum pump creates a low-pressure environment, allowing these contaminants to boil off and be expelled.
The Key Metric: Micron Level
The success of your evacuation is measured in microns. A micron is a unit of pressure, and a lower micron reading indicates a deeper vacuum. Aiming for a low micron reading (typically below 500 microns) is critical for a properly functioning system.
Common Problem: The Pump Won't Pull a Vacuum (or Pulls Slowly)
This is perhaps the most frequently encountered problem. Your VP67 is running, but the micron gauge isn't dropping as expected, or it's taking an exceptionally long time to reach the target micron level. This indicates a leak or an issue with the pump's performance.
Step 1: Preliminary Checks - Is Everything Connected Correctly?
Often, the simplest explanation is the correct one. Start by verifying all connections:
a. Hose Connections: Ensure your hoses are securely connected to the VP67 and the system being evacuated. Use the correct size and type of hose designed for vacuum work. Look for any visible signs of damage like cracks or wear.
b. Valve Positions: Confirm that all valves on your manifold gauge set and the system are in the correct positions for evacuation. Valves on the manifold should be open, and access valves on the system being evacuated should also be open.
c. Oil Level: Check the vacuum pump oil level. It should be visible in the sight glass. If it's low, add the correct type of vacuum pump oil. *Never* use regular motor oil. The correct oil has a low vapor pressure, which is essential for reaching deep vacuums.
Step 2: Identifying Potential Leaks
A leak, even a small one, can prevent your pump from achieving the desired vacuum level. Here's how to systematically search for them:
a. Soap Bubble Test: This is a classic method. Mix a solution of dish soap and water. Apply the solution to all connections, fittings, and potential leak points (like around valve stems). Watch for bubbles forming, indicating escaping air. Pay close attention to:
- Hose connections to the VP67.
- Hose connections to the manifold gauge set.
- Manifold gauge connections to the system.
- Schrader valves on the system.
b. Electronic Leak Detector: For more precise leak detection, consider using an electronic leak detector. These devices can detect even minute leaks that might be missed by the soap bubble test. Follow the manufacturer's instructions for proper usage.
c. Tightening Connections: If you find a leak, try tightening the connection. Use two wrenches to prevent damaging the fitting. One wrench holds the fitting, while the other tightens the nut.
Step 3: Inspecting and Replacing Hoses and Fittings
If leaks persist even after tightening, the hoses or fittings themselves might be the problem.
a. Hose Inspection: Visually inspect the hoses for cracks, kinks, or abrasions. Flexible hoses can develop internal damage that's not immediately visible. If you suspect damage, replace the hose. High-quality vacuum hoses are crucial for efficient evacuation.
b. Fitting Replacement: Damaged or worn fittings can also leak. Replace any fittings that show signs of corrosion, damage, or wear. Ensure the new fitting is the correct type and size for the application.
Step 4: Addressing Schrader Valves
Schrader valves (the valves you connect your hoses to on the system) are notorious for leaking. Here's how to deal with them:
a. Schrader Valve Core Replacement: The core inside the Schrader valve can become damaged or worn. Use a Schrader valve core removal tool to replace the core. Ensure you use a core designed for refrigeration systems.
b. Valve Core Torque: After replacing the core, use a torque wrench to tighten it to the manufacturer's recommended torque specification. Over-tightening can damage the core and cause it to leak.
Step 5: Checking and Changing the Vacuum Pump Oil
The vacuum pump oil plays a critical role in the pump's performance. Contaminated or old oil will significantly reduce its ability to pull a deep vacuum.
a. Oil Condition: Observe the color and clarity of the oil in the sight glass. If it's cloudy, dark, or contains debris, it needs to be changed. Contaminated oil will release moisture back into the system, increasing your evacuation time.
b. Oil Change Procedure:
- Turn off the pump and disconnect it from the power source.
- Locate the oil drain plug (refer to your VP67's manual for its location).
- Place a container under the drain plug to catch the old oil.
- Remove the drain plug and allow the oil to drain completely.
- Replace the drain plug and tighten it securely.
- Locate the oil fill port (again, consult your manual).
- Add fresh, clean vacuum pump oil until it reaches the correct level in the sight glass.
- Replace the fill port cap and tighten it securely.
Step 6: Pump Down Test (Isolate the Problem)
To determine if the problem lies with the VP67 itself or with the system you are evacuating, perform a pump down test:
a. Disconnect from System: Disconnect the VP67 from the system you were evacuating.
b. Blank Off Ports: Seal off both the inlet ports on the VP67. Use blanking caps or tightly plug them with your fingers (temporarily).
c. Run the Pump: Turn on the VP67 and let it run for a few minutes.
d. Monitor Micron Reading (if possible): If you have a micron gauge connected directly to the VP67 (some models have this feature), monitor the micron reading. If the pump can quickly pull down to a low micron level (below 500 microns) when blanked off, the pump itself is likely functioning correctly. The problem is then likely with the system you were evacuating (leaks, moisture, etc.).
e. If No Micron Gauge: If you don't have a micron gauge connected directly to the VP67, simply listen to the pump. A properly functioning pump should sound like it's working less hard when the ports are blanked off, and you should feel a strong vacuum if you briefly remove your finger from one of the ports.
When to Call a Professional
While many issues can be resolved with these DIY steps, certain situations require professional HVAC technician intervention:
a. Internal Pump Damage: If the VP67 is making unusual noises (grinding, rattling), or if the pump down test reveals that the pump itself is unable to pull a vacuum, it likely has internal damage. Repairing internal components often requires specialized tools and knowledge.
b. Refrigerant Leaks Within the System: If you suspect a refrigerant leak within the system being evacuated, *do not attempt to repair it yourself*. Refrigerant handling requires EPA certification and specialized equipment. Contact a licensed HVAC technician.
c. Complex System Issues: If you've exhausted all the troubleshooting steps and are still unable to achieve the desired vacuum level, the problem might be more complex than a simple leak or oil issue. An HVAC technician can diagnose and repair more intricate problems within the system.
d. Electrical Issues: If the pump is not turning on, or if you suspect an electrical problem, *do not attempt to repair it yourself* unless you are qualified to do so. Electrical repairs can be dangerous and should be left to a qualified electrician or HVAC technician.
Preventative Maintenance for Your VP67
Regular maintenance will extend the life of your VP67 and ensure it performs optimally.
a. Regular Oil Changes: Change the vacuum pump oil regularly, as recommended in the VP67's manual. The frequency depends on usage and environmental conditions.
b. Cleanliness: Keep the VP67 clean and free of debris. Wipe it down after each use.
c. Proper Storage: Store the VP67 in a clean, dry place. Protect it from extreme temperatures and humidity.
d. Inspect and Replace Air Filter (if applicable): Some vacuum pumps have an air filter. Inspect it regularly and replace it if it's dirty.
Safety Precautions
Always prioritize safety when working with the VP67 and HVAC systems.
a. Wear Safety Glasses: Protect your eyes from flying debris or oil splashes.
b. Wear Gloves: Protect your hands from refrigerant, oil, and sharp edges.
c. Disconnect Power: Always disconnect the VP67 from the power source before performing any maintenance or repairs.
d. Work in a Well-Ventilated Area: Refrigerant and vacuum pump oil vapors can be harmful. Work in a well-ventilated area to avoid inhaling these vapors.
e. Dispose of Waste Properly: Dispose of used vacuum pump oil and refrigerant responsibly, following local regulations.
By following these troubleshooting steps and safety precautions, you can often resolve common issues with your Fieldpiece VP67 vacuum pump and ensure your HVAC system operates efficiently. Remember, when in doubt, consult a qualified HVAC technician.