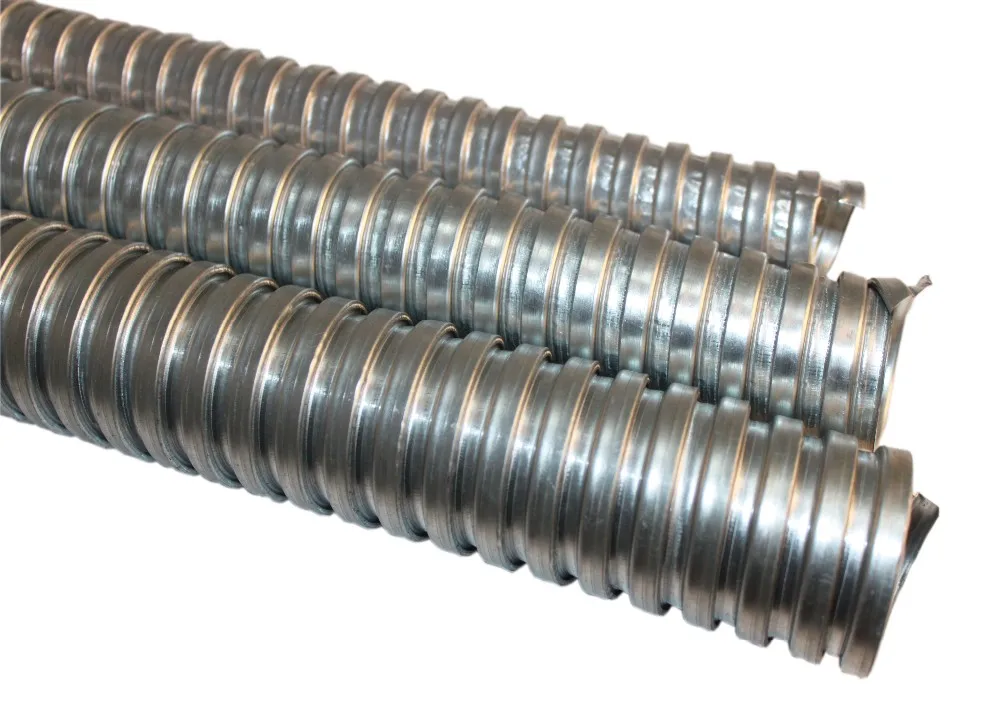
Flexible Furnace Exhaust Pipe

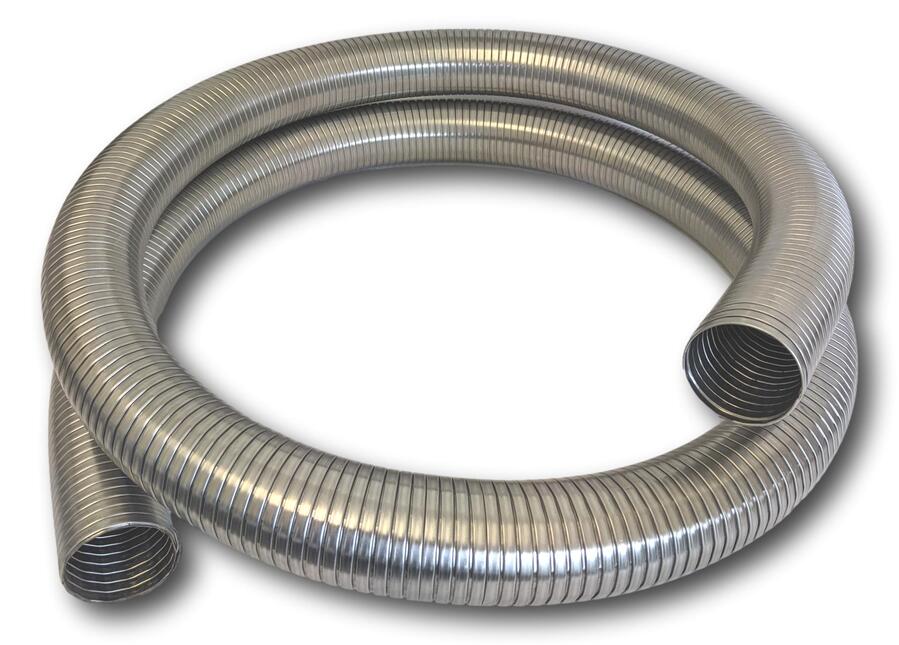
One of the most common heating system headaches homeowners encounter involves the flexible exhaust pipe (also known as a vent connector) that connects your furnace to the main chimney flue. These pipes, often made of aluminum or stainless steel, play a crucial role in safely venting harmful combustion byproducts like carbon monoxide outside your home. However, their flexibility also makes them vulnerable to a range of issues. This article provides a clear, step-by-step guide to diagnosing and resolving some common problems, while highlighting when it's time to call in a professional.
Common Problem: Disconnection or Damage
A frequently observed issue is a disconnection or visible damage to the flexible exhaust pipe. This can manifest as:
- The pipe completely separating from the furnace or chimney.
- Visible holes, dents, or crushed sections.
- Loose or corroded clamps.
Even a small breach in the exhaust pipe can lead to dangerous carbon monoxide leaks, so addressing this promptly is paramount.
Step-by-Step Diagnosis and DIY Fixes
Before you begin any troubleshooting, ensure the furnace is turned OFF. Locate the furnace's main power switch (usually on the side of the unit) and flip it to the "OFF" position. Also, turn off the gas supply to the furnace using the gas shut-off valve, typically located on the gas pipe leading to the furnace.
Step 1: Visual Inspection
Carefully inspect the entire length of the flexible exhaust pipe, from where it connects to the furnace to where it enters the chimney flue. Look for:
- Disconnections: Are either end of the pipe detached?
- Holes or Cracks: Can you see any visible openings in the pipe material?
- Dents or Crushing: Are there any areas where the pipe is significantly deformed?
- Corrosion: Is there rust or significant deterioration of the pipe material or clamps?
- Loose Clamps: Are the clamps securing the pipe to the furnace and chimney tight?
- Sagging: Is the pipe sagging excessively, potentially creating a low point where condensation can accumulate?
Document your findings. Taking pictures can be helpful for later reference or when consulting with a professional.
Step 2: Check the Clamps
Examine the clamps securing the flexible exhaust pipe to the furnace and chimney. These clamps are usually either screw-type hose clamps or crimp-style clamps.
- Screw-type clamps: Try tightening the screw on each clamp. If the screw is stripped or the clamp is significantly corroded, it will need to be replaced.
- Crimp-style clamps: These clamps are not adjustable and must be replaced if they are loose or damaged.
Caution: Do not overtighten the clamps, as this can damage the pipe.
Step 3: Minor Disconnection Repair
If the flexible exhaust pipe is only slightly disconnected and shows no signs of damage (holes, cracks, or significant dents), you might be able to reattach it yourself.
- Clean the Connection Points: Use a wire brush to clean the surfaces of the furnace outlet and chimney inlet where the pipe will connect. This will ensure a tight seal.
- Reattach the Pipe: Carefully slide the flexible exhaust pipe back onto the furnace outlet and into the chimney inlet. Ensure it's seated securely.
- Secure with Clamps: Tighten the clamps securely around the connection points. If the original clamps are damaged or corroded, replace them with new clamps of the correct size.
- Inspect for Leaks (After Professional Check): After reattaching and turning the system back on (ONLY after a professional inspection), you can cautiously check for exhaust leaks. A common method is to use a lit incense stick or smoke pencil near the connections. If the smoke is drawn towards the connection, there's likely a leak, and you'll need to contact a professional immediately.
Important: This step should only be performed if the pipe is in good condition and the disconnection is minor.
Step 4: Addressing Sagging
Excessive sagging in the flexible exhaust pipe can lead to condensation buildup, which can accelerate corrosion and potentially block the flue. To address sagging:
- Check Support: Ensure the pipe is adequately supported along its length. Building codes typically require support straps every few feet.
- Add Support Straps: If support is lacking, install additional support straps to lift the pipe and eliminate the sag. These straps should be securely attached to the pipe and to a nearby structural element (like a joist or wall stud).
- Adjust the Slope: Ideally, the flexible exhaust pipe should have a slight upward slope towards the chimney. This allows condensation to drain back into the furnace, where it can be safely disposed of. Adjust the support straps to achieve this slope.
Step 5: Checking for Obstructions
Though less common with flexible pipes (compared to rigid ones), obstructions can still occur. Animals, debris, or even collapsed sections of the pipe can block the flow of exhaust gases.
- Visual Inspection: With the furnace OFF and cool, visually inspect the interior of the pipe as much as possible. Use a flashlight to illuminate the inside.
- Professional Inspection: If you suspect an obstruction but cannot visually confirm it, contact a professional. They have specialized tools and equipment to safely remove obstructions and ensure the flue is clear. Do not attempt to clear an obstruction yourself if you are unsure of what you are doing.
When to Call a Professional
While some minor issues with flexible exhaust pipes can be addressed safely by homeowners, there are several situations where professional intervention is absolutely necessary:
- Any sign of carbon monoxide poisoning: Symptoms include headache, dizziness, nausea, shortness of breath, and confusion. Evacuate the premises immediately and call emergency services.
- Significant damage to the pipe: If the pipe has holes, cracks, or is severely crushed, it must be replaced by a qualified HVAC technician. Attempting to repair a damaged pipe with tape or other makeshift solutions is extremely dangerous.
- Corrosion: Extensive corrosion indicates a weakening of the pipe material. A corroded pipe needs to be replaced by a professional.
- Uncertainty about the cause of the problem: If you are unsure about the cause of the issue or how to properly address it, err on the side of caution and call a professional.
- Suspected blockage you cannot clear: If you suspect a blockage within the chimney or flexible exhaust pipe and cannot safely remove it yourself, a professional has the tools and expertise to clear the obstruction without damaging the system.
- If you have any concerns about working with gas appliances: Gas appliances can be dangerous if not handled properly. If you are uncomfortable working with gas, do not attempt any repairs yourself.
- After making any repairs: Even if you successfully reattach a disconnected pipe, it is strongly recommended to have a professional inspect the entire system to ensure it is functioning safely and efficiently. They can perform a combustion analysis to verify that the furnace is burning fuel properly and that there are no carbon monoxide leaks.
Preventative Measures
Taking proactive steps can help prevent problems with your flexible exhaust pipe:
- Annual Furnace Inspection: Schedule an annual furnace inspection by a qualified HVAC technician. They will inspect the exhaust pipe, clean the furnace, and perform any necessary maintenance.
- Regular Visual Checks: Periodically (at least twice a year) visually inspect the flexible exhaust pipe for any signs of damage, corrosion, or disconnections.
- Ensure Proper Ventilation: Make sure the area around the furnace is well-ventilated to prevent moisture buildup and corrosion.
- Carbon Monoxide Detectors: Install carbon monoxide detectors on every level of your home, especially near sleeping areas. Test the detectors regularly to ensure they are working properly. Replace batteries annually.
Choosing a Replacement Flexible Exhaust Pipe
If a professional determines that your flexible exhaust pipe needs to be replaced, consider the following factors when selecting a new one:
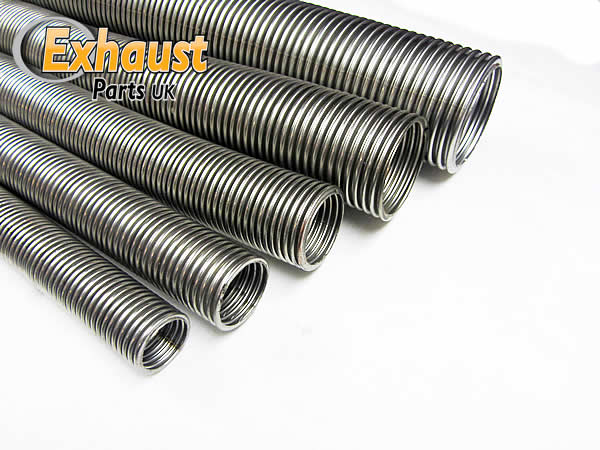
- Material: Stainless steel is generally more durable and resistant to corrosion than aluminum.
- Diameter: Ensure the replacement pipe has the same diameter as the original pipe.
- Length: Choose a pipe that is the correct length for your installation. Avoid using excessive lengths of flexible pipe, as this can increase resistance to airflow.
- UL Listing: Look for a pipe that is UL-listed, which means it has been tested and certified to meet safety standards.
Important: Always follow the manufacturer's instructions when installing a flexible exhaust pipe.
Conclusion
By understanding the common problems associated with flexible furnace exhaust pipes and following these troubleshooting steps, you can address minor issues safely and confidently. However, remember that your safety and the proper functioning of your heating system are paramount. When in doubt, always call a qualified HVAC professional. Regular maintenance and prompt attention to any potential problems will help ensure that your furnace operates safely and efficiently for years to come.