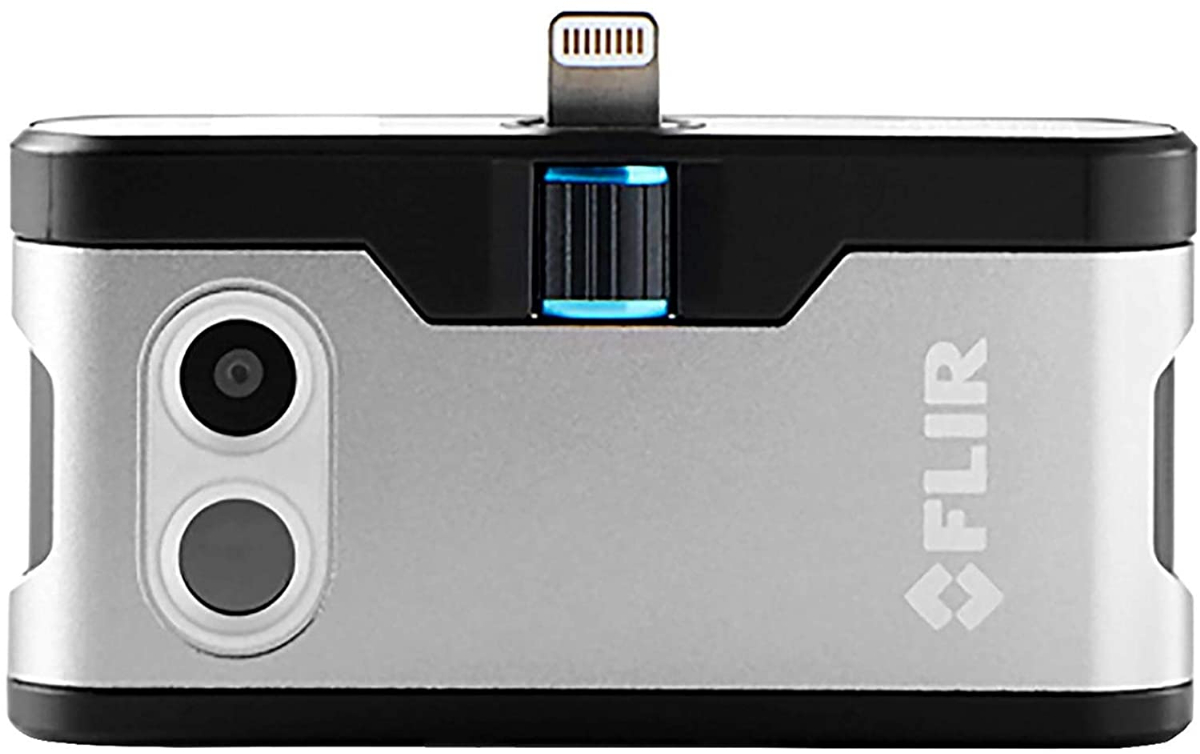
Flir One Gen 3 Thermal Camera

Homeowners often face the frustrating issue of uneven heating or cooling. One room might be sweltering while another feels like an icebox, even when the thermostat is set at a comfortable temperature. This inefficiency not only impacts comfort but also drives up energy bills. Before calling in a professional, a FLIR One Gen 3 thermal camera can be a valuable tool for identifying the root cause of the problem.
Using Your FLIR One Gen 3 for Troubleshooting
The FLIR One Gen 3 attaches to your smartphone, transforming it into a thermal imaging device. It detects heat signatures, allowing you to visualize temperature differences that are invisible to the naked eye. This makes it perfect for spotting insulation gaps, air leaks, and malfunctioning HVAC components.
Safety First
Before you begin, always prioritize safety. Never inspect electrical panels with the FLIR One without proper training and safety precautions. Avoid touching any exposed wiring. If you suspect a gas leak, immediately evacuate the area and call your gas company.
Understanding Thermal Images
The FLIR One uses a color scale to represent temperature. Typically, hotter areas appear as lighter colors (yellow, orange, red), while cooler areas appear as darker colors (blue, purple, black). Understanding this color mapping is crucial for interpreting the thermal images you capture.
Diagnosing Common Heating and Cooling Issues with Your FLIR One
Here's a step-by-step guide to diagnosing common heating and cooling problems using your FLIR One Gen 3:
1. Identify the Problem Areas
Start by identifying the rooms or areas that are consistently too hot or too cold. This helps focus your investigation.
2. Initial Scan: Walls and Ceilings
Without tools, perform a general scan of the interior walls and ceilings of the problematic room(s) using the FLIR One. Move slowly and methodically, paying close attention to:
- Corners and edges: These are common areas for insulation gaps. Look for significant temperature differences compared to the surrounding wall.
- Areas around windows and doors: Check for drafts and air leaks. Cooler spots around windows and doors in the winter (or warmer spots in the summer) indicate air infiltration.
- Ceilings under attics: If the attic isn't properly insulated, you'll likely see significant heat loss through the ceiling in the winter (or heat gain in the summer).
- Areas near exterior walls: Temperature variations can indicate missing or insufficient insulation within the wall cavity.
3. Window and Door Inspection
Focus your attention on windows and doors. Without tools, check:
- Window frames: Scan the perimeter of the window frame for air leaks. Look for cool drafts (in winter) or warm drafts (in summer) entering around the frame.
- Door frames: Similarly, scan the door frame, paying attention to the top, bottom, and sides.
- Weather stripping: Examine the weather stripping for gaps or damage. A faulty seal will allow air to pass through.
- Glass surfaces: While single-pane windows will naturally be colder than the surrounding wall in winter (or warmer in summer), excessive coldness (or warmth) and condensation can indicate that the window's seal is broken, rendering it less energy efficient.
4. Inspecting Outlets and Switches
Safety First: Turn off the power to the outlet or switch at the breaker box before removing the cover plate. This is a crucial safety step. You'll need a screwdriver for this step.
Once the power is off and you’ve verified it with a non-contact voltage tester (recommended for safety), carefully remove the cover plate of outlets and switches on exterior walls. Use the FLIR One to scan inside the outlet box:
- Air leaks: Gaps around the outlet box can allow drafts to enter. Sealing these gaps can significantly reduce energy loss.
- Insulation: Check for the presence (or absence) of insulation within the wall cavity behind the outlet box.
5. HVAC System Inspection (Basic Checks)
These checks require caution. If you're uncomfortable working with your HVAC system, call a professional.
Air Vents:
- Airflow: Without tools, visually inspect the airflow from each vent. Is it strong and consistent? Weak airflow can indicate a blockage in the ductwork.
- Temperature Consistency: Use the FLIR One to compare the temperature of the air exiting each vent. Significant temperature differences between vents can indicate duct leaks or imbalances in the system.
- Duct Connections: (Requires a ladder and potentially some crawling) Use the FLIR One to inspect exposed ductwork in the attic or basement. Look for temperature differences that indicate leaks at duct connections. Be careful when navigating attics; watch out for nails and weak spots.
Furnace/Air Conditioner (Exterior):
- Clearance: Without tools, ensure that the outdoor unit of your air conditioner or heat pump is free from obstructions (bushes, debris). Proper airflow is essential for efficient operation.
- Ice Buildup: In cold weather, ice buildup on the outdoor unit can indicate a problem with the defrost cycle. While some ice is normal, excessive buildup requires professional attention.
DIY Actions You Can Take
Based on your findings with the FLIR One, here are some simple DIY actions you can take to address common heating and cooling problems:
- Caulking and Weather Stripping: Seal air leaks around windows and doors with caulk and weather stripping. This is a relatively inexpensive and effective way to reduce drafts and improve energy efficiency. You'll need caulk gun, caulk, and weather stripping for this.
- Outlet and Switch Sealant: Use foam outlet and switch sealers to prevent air from leaking through electrical outlets and switches on exterior walls. You'll need foam outlet/switch sealers.
- Adding Insulation: If you identify areas with missing or insufficient insulation, consider adding more insulation to the attic or wall cavities (if accessible). This may require more specialized tools and knowledge; consider hiring a professional for larger insulation projects.
- Duct Sealing: Seal leaky ductwork with duct tape or mastic sealant. This will prevent heated or cooled air from escaping before it reaches the intended rooms. You'll need duct tape or mastic sealant. Ensure the tape is UL 181 listed for ductwork.
- Clear Obstructions: Ensure that vents are not blocked by furniture or other objects.
When to Call a Professional
While the FLIR One is a helpful tool, some issues require professional expertise. Here are some situations where you should call an HVAC technician:
- Refrigerant Leaks: If you suspect a refrigerant leak in your air conditioner or heat pump (e.g., ice buildup, poor cooling performance), do not attempt to repair it yourself. Refrigerant handling requires specialized equipment and training.
- Electrical Issues: If you encounter any electrical problems while inspecting your HVAC system, immediately stop and call a qualified electrician.
- Gas Leaks: If you suspect a gas leak, evacuate the area and call your gas company.
- Complex Ductwork Problems: Extensive ductwork repairs or modifications are best left to professionals.
- Furnace or Air Conditioner Malfunctions: If your furnace or air conditioner is not working properly, a qualified technician can diagnose and repair the underlying issue.
- Significant Insulation Deficiencies: While you can add some insulation yourself, larger projects or complex insulation challenges are best handled by a professional insulation contractor. They can ensure proper installation and avoid potential problems like moisture buildup.
- You're Uncomfortable: If at any point during the troubleshooting process you feel uncomfortable or unsure about what you're doing, it's always best to err on the side of caution and call a professional.
Conclusion
By using your FLIR One Gen 3 thermal camera and following these troubleshooting steps, you can often identify and address common heating and cooling problems in your home. This can save you money on energy bills and improve your overall comfort. Remember to prioritize safety and call a professional when necessary. With a little effort and the right tools, you can take control of your home's energy efficiency and comfort.