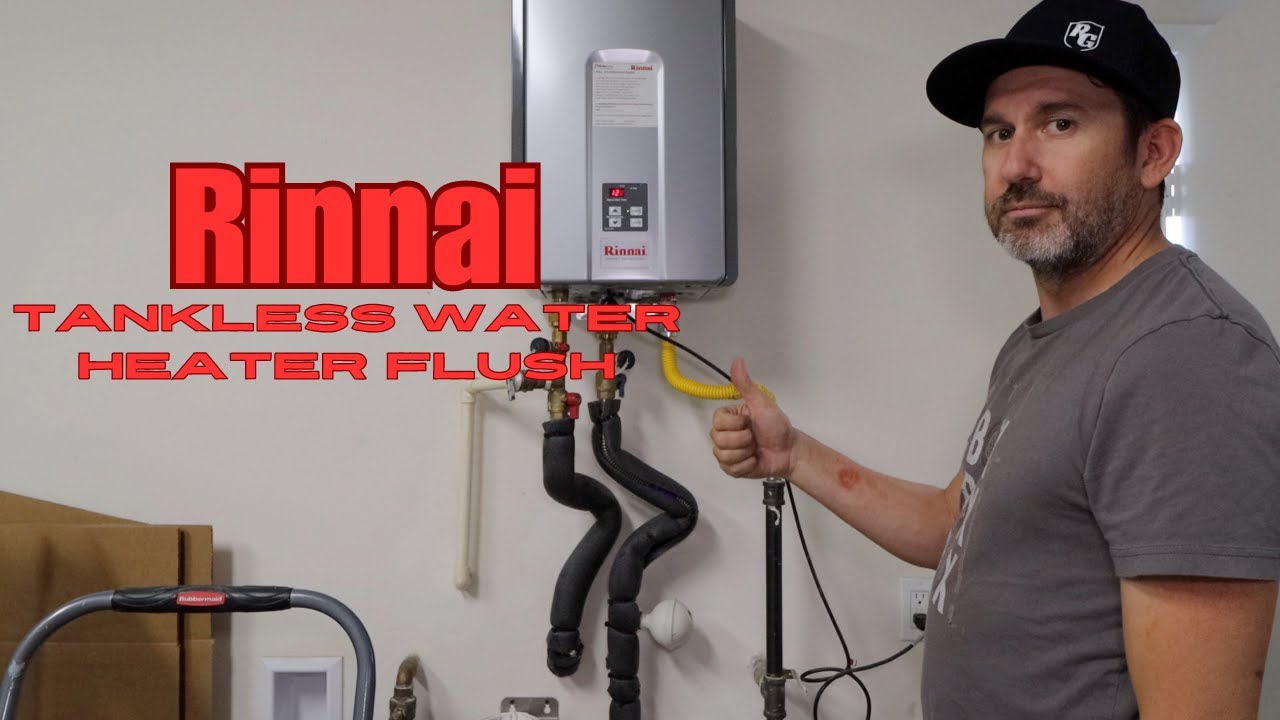
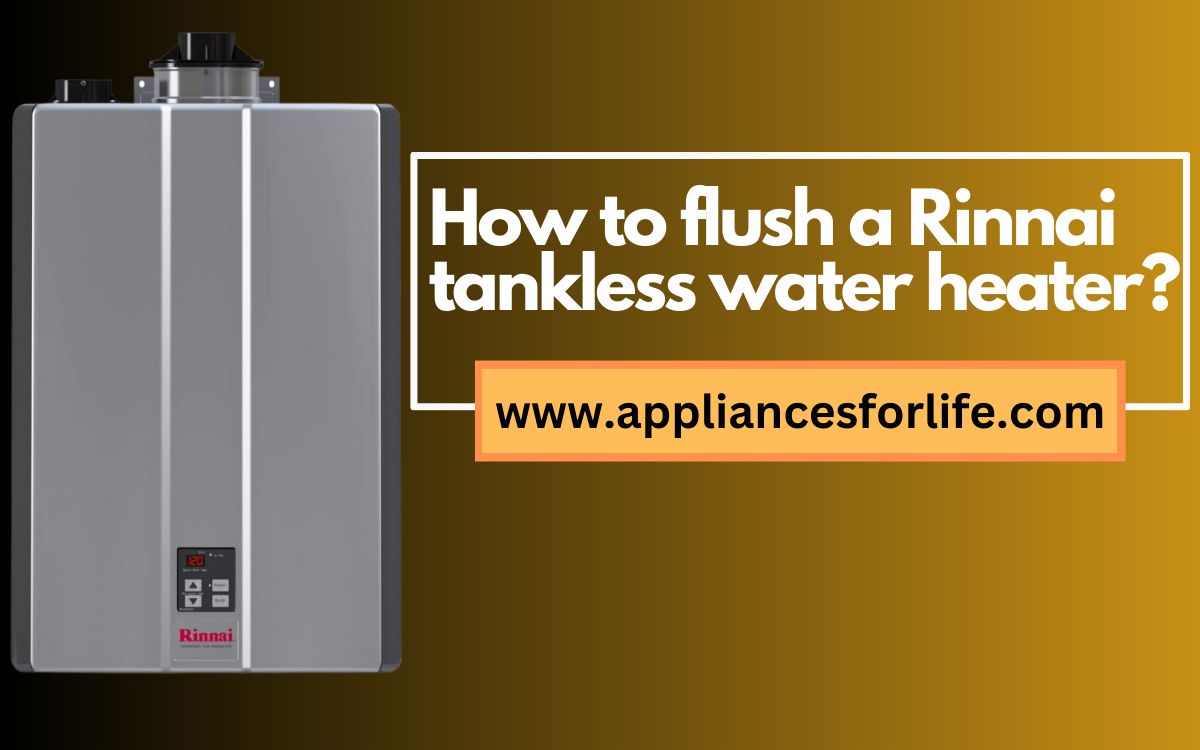
Flushing Rinnai Tankless Water Heater With Vinegar

Tankless water heaters offer a continuous supply of hot water, eliminating the frustration of running out mid-shower. Rinnai, a leading manufacturer, provides reliable and efficient tankless systems. However, like all water heaters, they require periodic maintenance to ensure optimal performance and longevity. One crucial maintenance task is flushing the system to remove mineral buildup. While professional descaling is an option, homeowners can often perform this task themselves using readily available household vinegar. This guide provides a comprehensive overview of flushing a Rinnai tankless water heater with vinegar, empowering you to maintain your system effectively.
Why Flushing is Necessary
Water, especially hard water, contains minerals like calcium and magnesium. Over time, these minerals can accumulate inside the heat exchanger of your tankless water heater, forming scale. This scale acts as an insulator, reducing the efficiency of heat transfer. As a result, your heater has to work harder to heat the water, consuming more energy and potentially shortening its lifespan. Reduced hot water flow and inconsistent temperatures can also indicate scale buildup. Regular flushing removes this scale, restoring your unit's efficiency and preventing costly repairs.
Preparing to Flush Your Rinnai Tankless Water Heater
Before starting the flushing process, gather the necessary materials and ensure the heater is safely isolated.
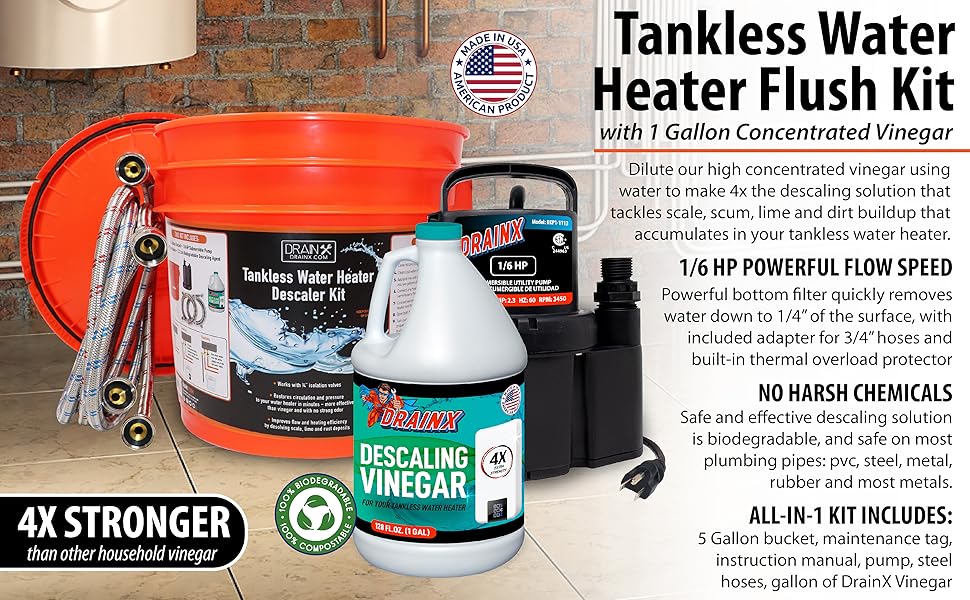
Materials Needed:
- Vinegar: Several gallons of white distilled vinegar (amount depends on the size of your unit, typically 3-5 gallons).
- Submersible Pump: A small, portable submersible pump with hose connections.
- Hoses: Two lengths of hose compatible with your pump and the service valves on your Rinnai unit.
- Bucket: A large bucket or container to hold the vinegar solution.
- Screwdriver: For accessing the unit and potentially removing panels.
- Adjustable Wrench: For tightening hose connections.
- Gloves and Eye Protection: To protect your skin and eyes from vinegar.
Safety Precautions:
- Turn off the Power: Locate the circuit breaker for your water heater and turn it off to prevent electrical shock.
- Turn off the Gas: Locate the gas shut-off valve for the water heater and turn it off.
- Read the Manual: Consult your Rinnai owner's manual for specific instructions and warnings related to your model.
Step-by-Step Flushing Process
Follow these steps carefully to flush your Rinnai tankless water heater with vinegar:
- Locate Service Valves: Rinnai tankless water heaters are equipped with inlet and outlet service valves. These are typically located on the bottom of the unit and are used to isolate the water heater from the main water lines.
- Close the Valves: Use a screwdriver to close both the inlet (cold water) and outlet (hot water) service valves. This will prevent water from entering or leaving the unit during the flushing process.
- Connect the Hoses: Attach one hose to the outlet service valve and the other hose to the inlet service valve. Secure the connections with adjustable wrenches. Make sure the connections are tight to prevent leaks.
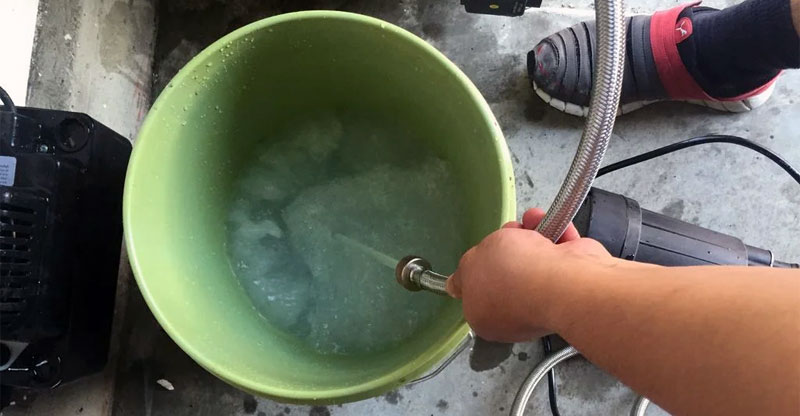
- Position the Bucket and Pump: Place the bucket below the water heater and insert the submersible pump into the bucket. Place the free end of the hose connected to the *outlet* service valve into the bucket. This will create a closed loop for the vinegar solution.
- Add Vinegar: Fill the bucket with white distilled vinegar. Ensure the pump is fully submerged.
- Open the Service Valves: Slowly open both the inlet and outlet service valves. This will allow the vinegar solution to circulate through the water heater.
- Run the Pump: Plug in the submersible pump and let it run for at least one hour. For heavily scaled units, you may need to run the pump for up to two hours. Monitor the vinegar solution in the bucket. If it becomes heavily discolored, you may need to replace it with fresh vinegar.
- Flush with Clean Water: After circulating the vinegar, turn off the pump and unplug it. Close both service valves. Disconnect the hoses from the service valves.
- Reconnect Water Lines: Open the cold water inlet valve slightly to flush out any remaining vinegar from the system. Allow water to run for a few minutes. Then, fully open the cold water inlet valve. Next, open the hot water outlet valve.
- Check for Leaks: Inspect all connections for leaks. Tighten any connections as needed.
- Restore Power and Gas: Turn the gas and power back on to the water heater.
- Test the System: Run hot water from a faucet to ensure the water heater is functioning correctly.
Troubleshooting
While flushing with vinegar is generally a straightforward process, you may encounter some issues.
- Leaks: If you notice leaks during the flushing process, immediately turn off the pump and close the service valves. Tighten the hose connections and inspect the hoses for damage.
- Pump Failure: If the pump stops working, check the power cord and ensure the pump is fully submerged in the vinegar solution. If the pump still doesn't work, you may need to replace it.
- No Hot Water: If you don't get hot water after flushing, check the power and gas supply to the water heater. Also, ensure the service valves are fully open.
Professional Descaling vs. DIY Flushing
While DIY flushing with vinegar is a cost-effective maintenance option, professional descaling offers several advantages.
"Professional descaling often involves specialized equipment and chemicals that can remove stubborn scale buildup more effectively than vinegar."
Professionals can also inspect the unit for other potential issues and provide a more thorough cleaning. However, professional descaling can be more expensive than DIY flushing. Consider your budget and the severity of the scale buildup when deciding which option is best for you.
Rinnai Tankless Water Heater Features and Benefits
Rinnai tankless water heaters offer numerous benefits, including:
- Endless Hot Water: Provides a continuous supply of hot water on demand.
- Energy Efficiency: Heats water only when needed, reducing energy waste. Many models boast an Energy Star certification.
- Space Saving: Compact design saves valuable floor space compared to traditional tank water heaters.
- Long Lifespan: Tankless water heaters typically last longer than tank water heaters.
Rinnai offers a range of tankless water heaters to suit different needs and budgets. Key features to consider include:
- Flow Rate: Measured in gallons per minute (GPM), the flow rate determines how much hot water the unit can deliver simultaneously.
- BTU Input: The BTU input indicates the heating power of the unit. Higher BTU input means faster heating.
- Condensing vs. Non-Condensing: Condensing models are more energy-efficient but also more expensive.
- Smart Features: Some Rinnai models offer smart features such as Wi-Fi connectivity and remote control.
Rinnai Model Comparisons
Here's a brief comparison of popular Rinnai tankless water heater models:
- Rinnai RUR199iN: A high-efficiency condensing model suitable for large homes. Features a high flow rate and smart features.
- Rinnai RU180iN: A non-condensing model that offers a good balance of performance and affordability.
- Rinnai V65iN: A compact and affordable option for smaller homes or apartments.
Warranty Information
Rinnai tankless water heaters typically come with a limited warranty. The warranty coverage varies depending on the model and component. Common warranty terms include:
- Heat Exchanger: Up to 12 years
- Parts: Up to 5 years
- Labor: Typically 1 year
It's crucial to register your water heater with Rinnai to ensure proper warranty coverage. Regularly maintaining your unit, including flushing, can also help you avoid warranty issues.
Conclusion
Flushing your Rinnai tankless water heater with vinegar is a simple yet effective maintenance task that can extend the life of your unit and maintain its efficiency. By following the steps outlined in this guide, you can keep your water heater running smoothly and enjoy a continuous supply of hot water for years to come. Remember to prioritize safety and consult your owner's manual for specific instructions and warnings related to your model. If you're unsure about performing the flushing process yourself, consider contacting a qualified HVAC professional.