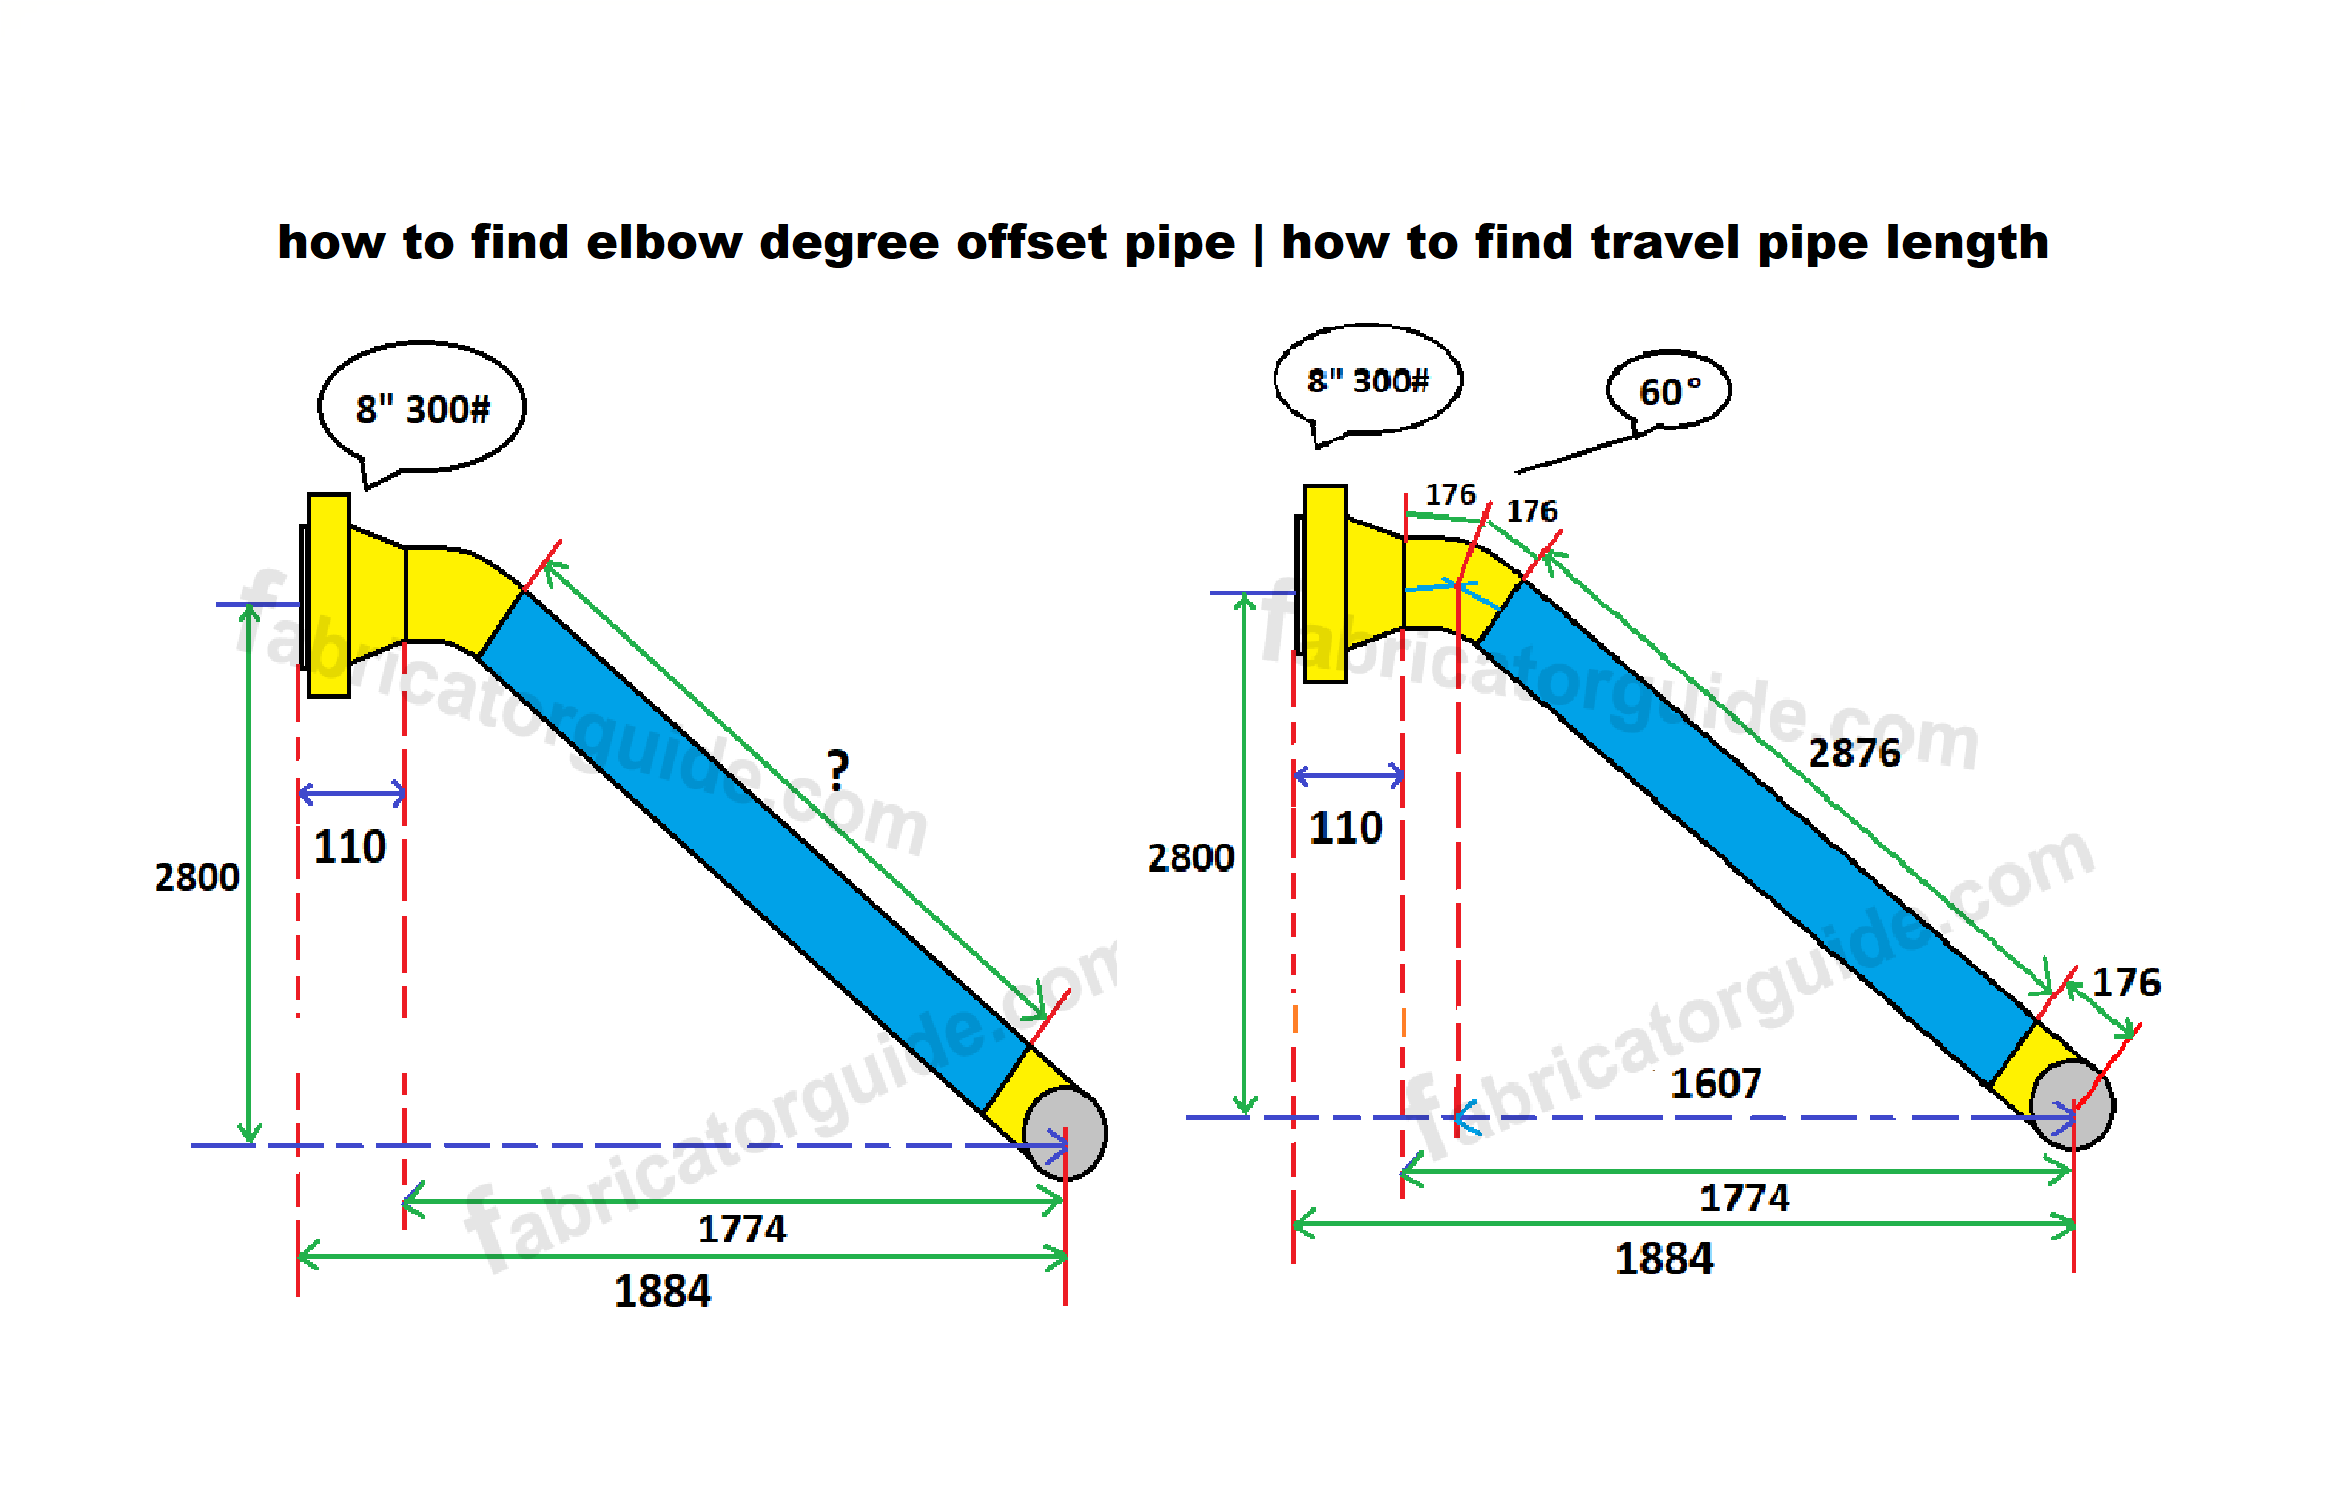
Formula For 22 1 2 Degree Offset

Dealing with plumbing projects, especially those involving offsets, can feel daunting for any homeowner. One common hurdle is creating a precise 22 ½ degree offset. This is often necessary when navigating around obstructions like walls, pipes, or other fixtures. If your offset isn't right, you'll end up with pipes that don't align correctly, potentially leading to leaks, wasted materials, and a whole lot of frustration. This article breaks down the formula, the troubleshooting process, and offers simple fixes you can try yourself, all while highlighting when it's time to call in a professional.
Understanding the 22 ½ Degree Offset Formula
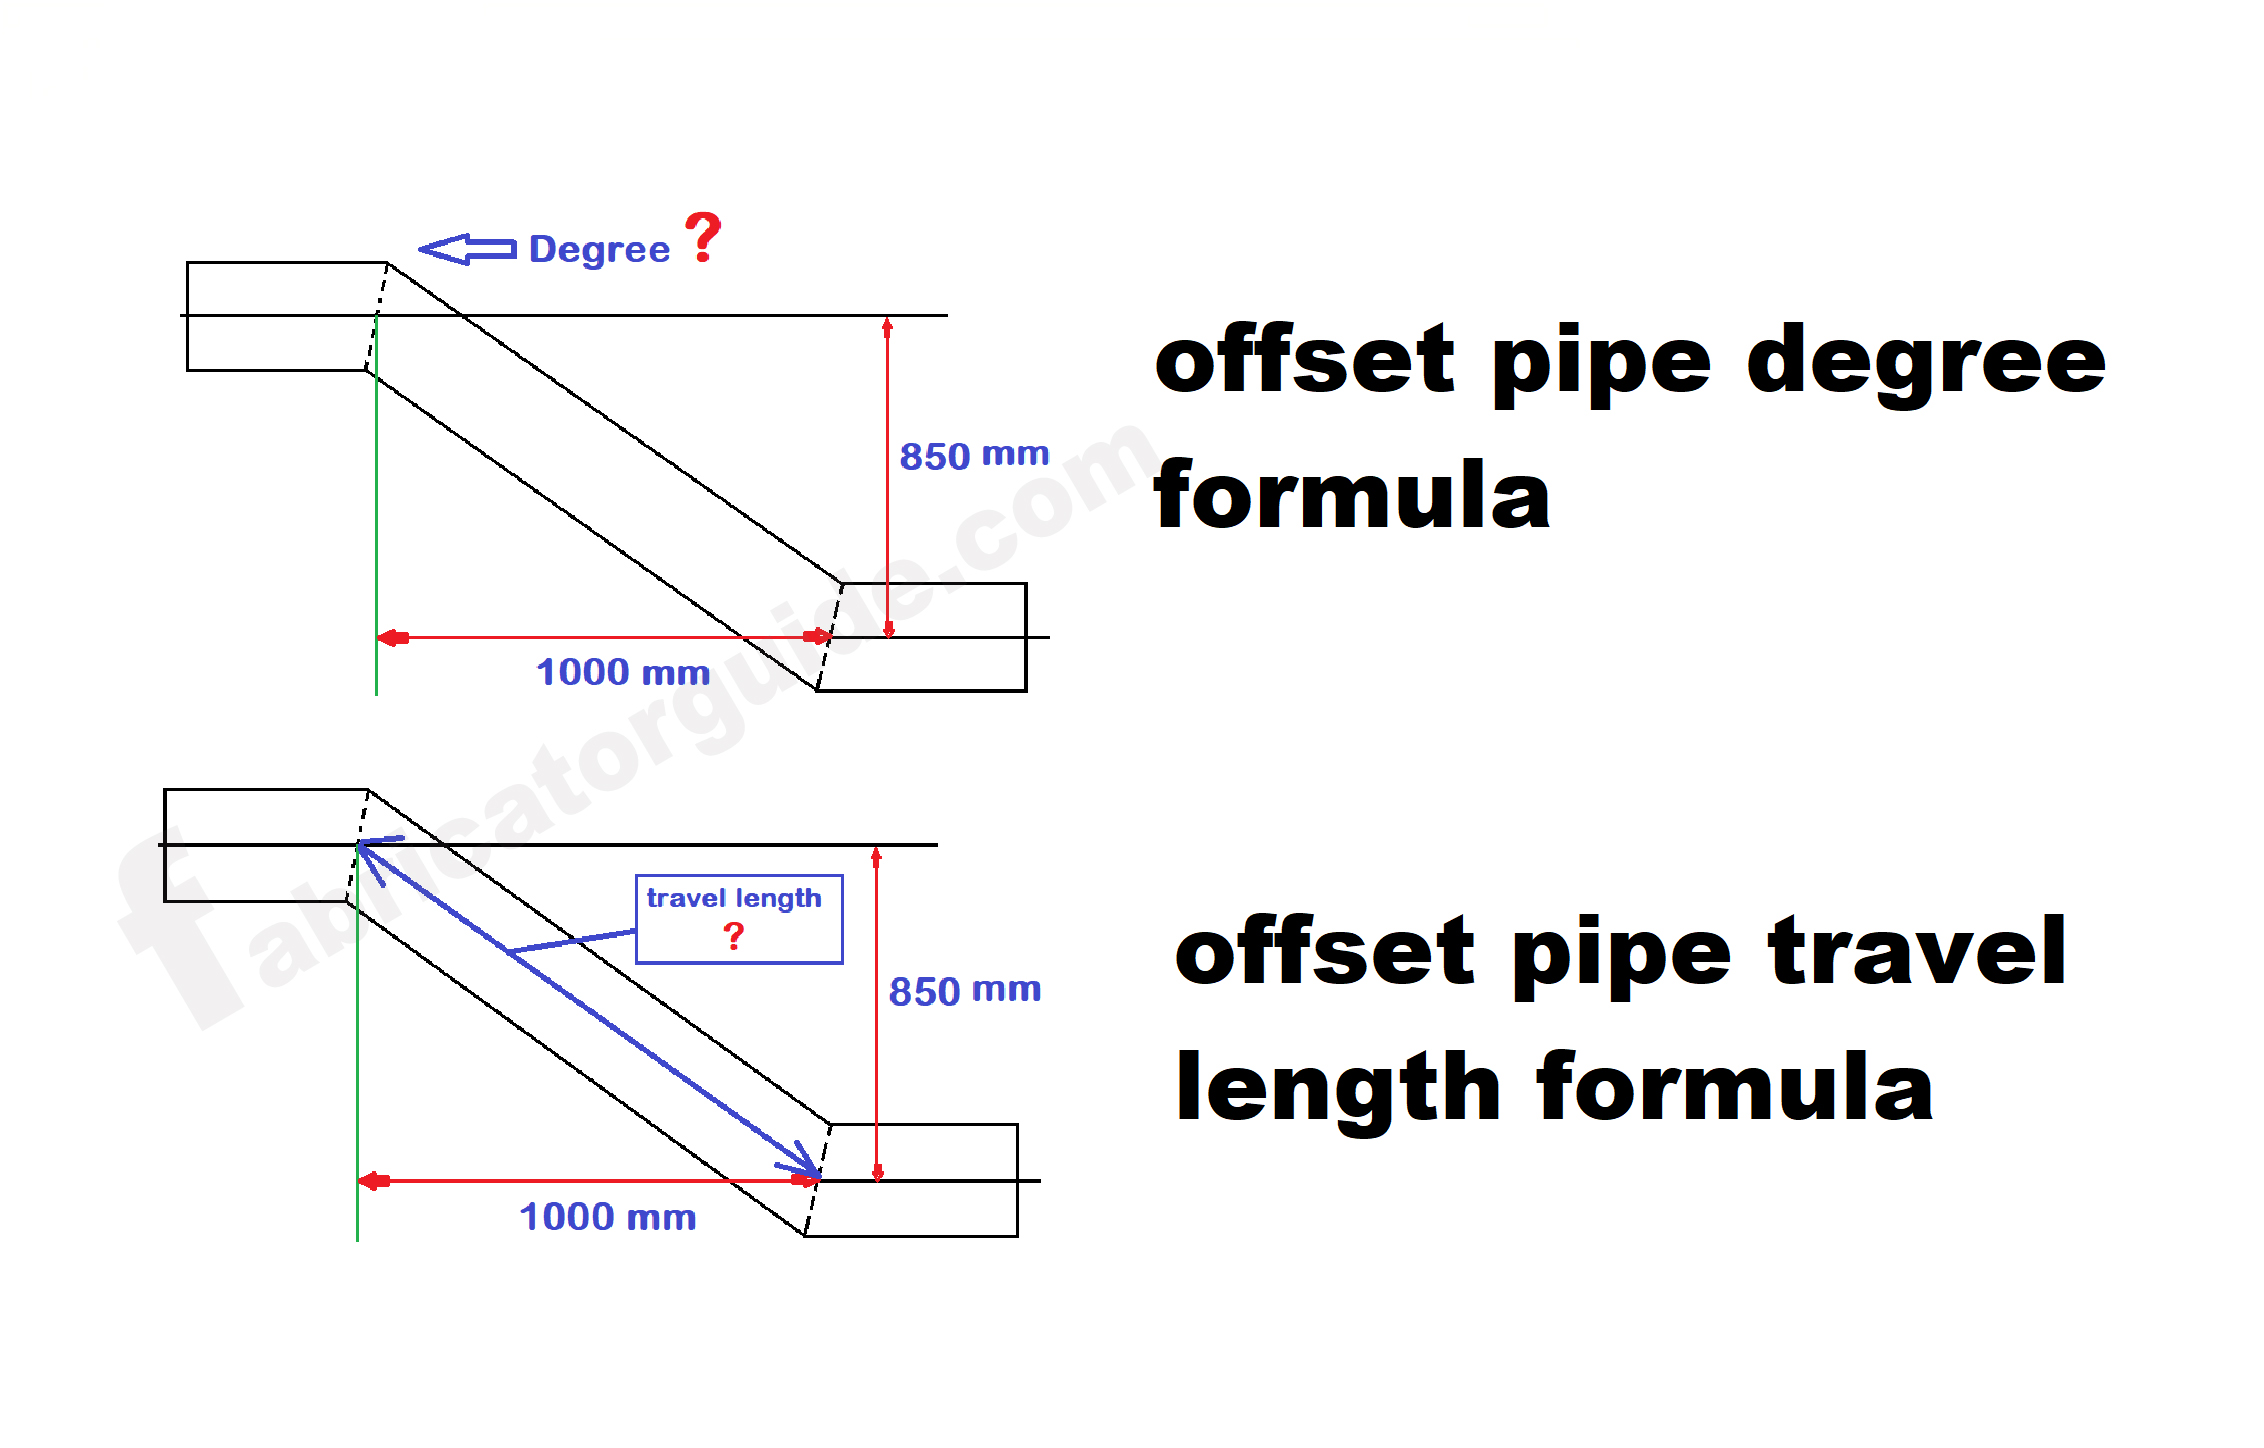
Before diving into troubleshooting, let's solidify the foundation: the 22 ½ degree offset formula. This formula allows you to calculate the necessary fitting allowance and travel distance for your offset.
The Key Components
You'll need to understand the following terms:
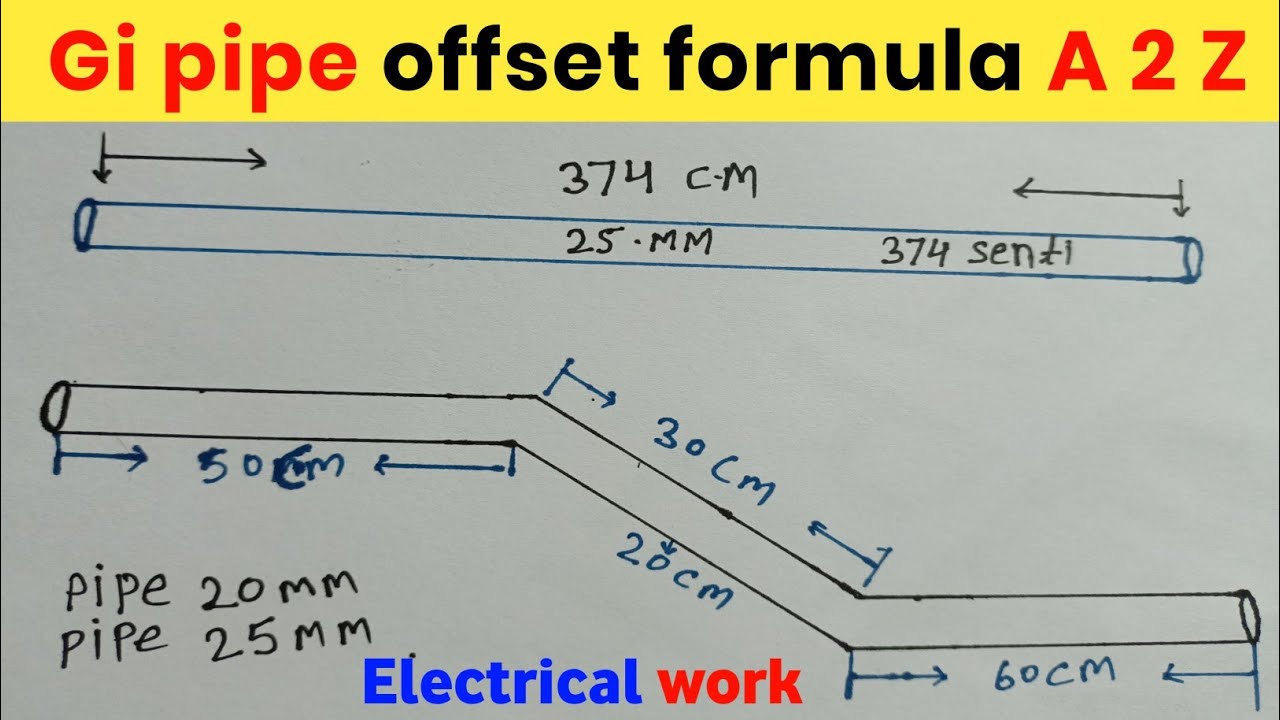
- Offset: The desired distance the pipe needs to shift laterally. Think of this as the amount you're moving the pipe "sideways."
- Fitting Allowance: The amount of pipe you need to add to account for the depth the pipe goes into the fitting.
- Travel (or Run): The diagonal distance the pipe needs to travel to create the offset. This is the length of pipe connecting the two fittings.
The Formula
For a 22 ½ degree offset, the formulas are:
- Travel = Offset x 2.613
- Fitting Allowance = varies by fitting type and size (check the manufacturer's specifications).
Important Note: The 2.613 is a constant multiplier specific to the 22 ½ degree angle. This number is derived from trigonometric functions.
Troubleshooting a Misaligned 22 ½ Degree Offset
So, you've attempted a 22 ½ degree offset, but something's not quite right. Here’s a step-by-step guide to diagnose the problem:
Step 1: The Visual Inspection – A Critical First Step
Before grabbing any tools, carefully examine your setup. Look for the obvious:
- Are the fittings fully seated? Make sure the pipes are pushed all the way into the fittings and that solvent cement (if applicable) has created a solid bond.
- Are the fittings the correct angle? Double-check that you're using 22 ½ degree fittings. Sometimes, in the heat of the moment, it's easy to grab the wrong one.
- Is there any binding or stress on the pipes? If the pipes seem forced into position, it indicates a measurement error or incorrect fitting placement.
- Any visible leaks? (If the system is already pressurized). Even a small drip can indicate a misalignment putting strain on a joint.
Step 2: Measuring is Key - Verify Your Calculations
The most common cause of a misaligned offset is an error in calculation or measurement. Retrace your steps:
- Re-measure the required offset: Ensure the "offset" value you used in the formula is accurate. Did you account for any existing pipe runs or obstructions properly?
- Verify your travel calculation: Did you correctly multiply the offset by 2.613? Use a calculator to double-check your math.
- Check your fitting allowance: Did you accurately account for the fitting allowance of *both* fittings? This information is critical and can be found in the fitting's specifications or on the manufacturer’s website. Different fitting materials (PVC vs. Copper) and different sizes will have different allowances.
- Measure your cuts: Are the pipe sections cut to the exact lengths you calculated? Even small errors in cutting can accumulate and throw off the entire offset.
Step 3: The Level Test – Ensuring Vertical Alignment
Offsets aren't just about horizontal displacement. They also need to maintain proper vertical alignment. Use a level to check:
- Vertical plumb: Ensure the pipes are vertically straight before and after the offset. Misalignment here can indicate an issue with how the fittings are joined or the supporting structure.
- Horizontal level: If the pipes are supposed to be level, verify that they remain level after the offset.
Step 4: Dry Fitting – The Power of Pre-Assembly
Before committing to solvent cement or solder, always perform a dry fit. This means assembling the pipes and fittings without permanently joining them. This allows you to visualize the entire offset and identify potential problems *before* they become permanent.
- Assemble the entire offset: Connect all pipe sections and fittings as they will be in the final installation.
- Check for fit: Does everything line up smoothly? Are there any gaps or points of excessive stress?
- Make adjustments: This is your opportunity to fine-tune the lengths of the pipe sections to achieve a perfect fit. Mark any necessary adjustments with a pencil.
Simple DIY Fixes (Proceed with Caution!)
If your misalignment is minor, you might be able to correct it yourself. However, always prioritize safety and proceed with caution. Remember, improper plumbing can lead to leaks, water damage, and potential health hazards.
Fix 1: Minor Adjustments with Flexible Couplings
For slight misalignments, flexible couplings (such as Fernco couplings) can be a lifesaver. These couplings allow for a small degree of movement and can compensate for minor errors.
When to use it: When the misalignment is less than ¼ inch and the pipes are relatively straight.
How to use it:
- Ensure the water supply is completely shut off.
- Clean the pipe ends thoroughly.
- Loosen the clamps on the flexible coupling.
- Slide the coupling over the pipe ends, ensuring it's centered over the joint.
- Tighten the clamps securely, alternating between them to ensure even pressure.
- Test for leaks.
Important: Flexible couplings are generally *not* suitable for high-pressure applications.
Fix 2: Shortening Pipe Sections (If Possible)
If your travel pipe is slightly too long, you might be able to shorten it. This requires careful measurement and precise cutting.
When to use it: When the pipe is only slightly too long (less than ½ inch) and you have enough straight pipe to work with.
How to use it:
- Ensure the water supply is completely shut off.
- Carefully measure the amount of pipe that needs to be removed.
- Use a pipe cutter or saw to make a precise cut. Ensure the cut is square.
- Deburr the cut end of the pipe to remove any sharp edges.
- Dry fit the pipe to ensure it now fits correctly.
- Apply solvent cement (for PVC) or solder (for copper) and reassemble the joint.
- Test for leaks.
Caution: Cutting pipes too short is a more serious problem! Err on the side of caution and remove only a small amount of material at a time.
Fix 3: Using a Street Fitting
A "street fitting" is a fitting that has one end that is designed to fit *inside* another fitting, rather than over the outside of a pipe. Using a street fitting can sometimes buy you a little bit of room when you are tight on space.
When to use it: When you need to slightly shorten the distance between two fittings and you have enough room to replace one of them with a street fitting.
How to use it:
- Ensure the water supply is completely shut off.
- Cut the pipe as close as possible to the existing fitting you want to replace.
- Clean the pipe end and the inside of the existing fitting on the other side of the pipe.
- Apply solvent cement (for PVC) or solder (for copper) to both surfaces.
- Insert the street fitting into the existing fitting.
- Connect the pipe to the other end of the street fitting.
- Test for leaks.
When to Call a Professional Plumber
While DIY fixes can be tempting, there are situations where it's essential to call a licensed plumber. Attempting to fix complex plumbing problems yourself can lead to serious issues and costly repairs.
Here are some red flags that indicate it's time to call a pro:
- Major Misalignment: If the offset is significantly misaligned (more than ½ inch), forcing it into place can damage the pipes and fittings, leading to leaks and potential water damage.
- Damage to Existing Pipes: If you've damaged any existing pipes during the troubleshooting process, it's best to leave the repair to a professional.
- Uncertainty About the Cause: If you've tried the troubleshooting steps and still can't identify the source of the problem, a plumber can diagnose the issue and recommend the appropriate solution.
- Complex Plumbing Systems: If you're working with a complex plumbing system, such as one with multiple branches or unusual configurations, it's best to seek professional help.
- Code Requirements: Plumbing work often requires permits and must adhere to local building codes. A licensed plumber is familiar with these requirements and can ensure that your plumbing is up to code.
- You lack experience: If you are uncomfortable with any of these steps, call a professional. Plumbing issues, if not addressed properly can be extremely damaging to your home.
Remember: A licensed plumber has the knowledge, experience, and tools to handle complex plumbing problems safely and effectively. Don't hesitate to call for help if you're unsure about anything.
Preventative Measures for Future Success
The best way to avoid troubleshooting is to prevent problems in the first place. Here are some tips for ensuring a successful 22 ½ degree offset:
- Double-Check Your Measurements: Before cutting any pipes, double-check your measurements to ensure they are accurate.
- Use a Pipe Cutter: A pipe cutter provides a cleaner and more accurate cut than a saw.
- Deburr the Cut Ends: Always deburr the cut ends of the pipe to remove any sharp edges.
- Dry Fit Everything First: Always dry fit all the pipes and fittings before applying solvent cement or solder.
- Use the Correct Fittings: Make sure you are using the correct fittings for the job.
- Apply Solvent Cement or Solder Properly: Follow the manufacturer's instructions when applying solvent cement or solder.
- Take your time: Don't rush through the process. Take your time and pay attention to detail.
By following these tips, you can increase your chances of a successful 22 ½ degree offset and avoid the need for troubleshooting in the future.
Plumbing projects can be empowering! With careful planning, accurate measurements, and a methodical approach, you can tackle simple offsets and gain valuable home improvement skills. Remember to prioritize safety and know your limits. When in doubt, calling a professional is always the wisest course of action.