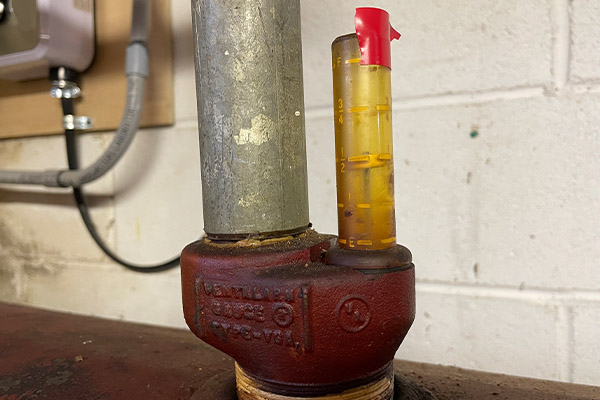
Fuel Tank Gauge For Fuel Oil Tank

Imagine waking up on a frigid winter morning to a house that's uncomfortably cold. Or perhaps your central air conks out during the peak of summer's heat, leaving you sweltering. One surprisingly common culprit behind these heating and cooling nightmares, especially in homes relying on fuel oil, is a malfunctioning fuel tank gauge. A faulty gauge can lead to unexpectedly running out of fuel, halting your heating system and causing significant discomfort and potential damage.
This article provides a step-by-step guide to troubleshoot your fuel tank gauge, helping you identify the problem and potentially fix it yourself. We'll cover everything from simple visual checks to tests requiring basic tools, and most importantly, when it's time to call in a professional HVAC technician.
Understanding Your Fuel Tank Gauge
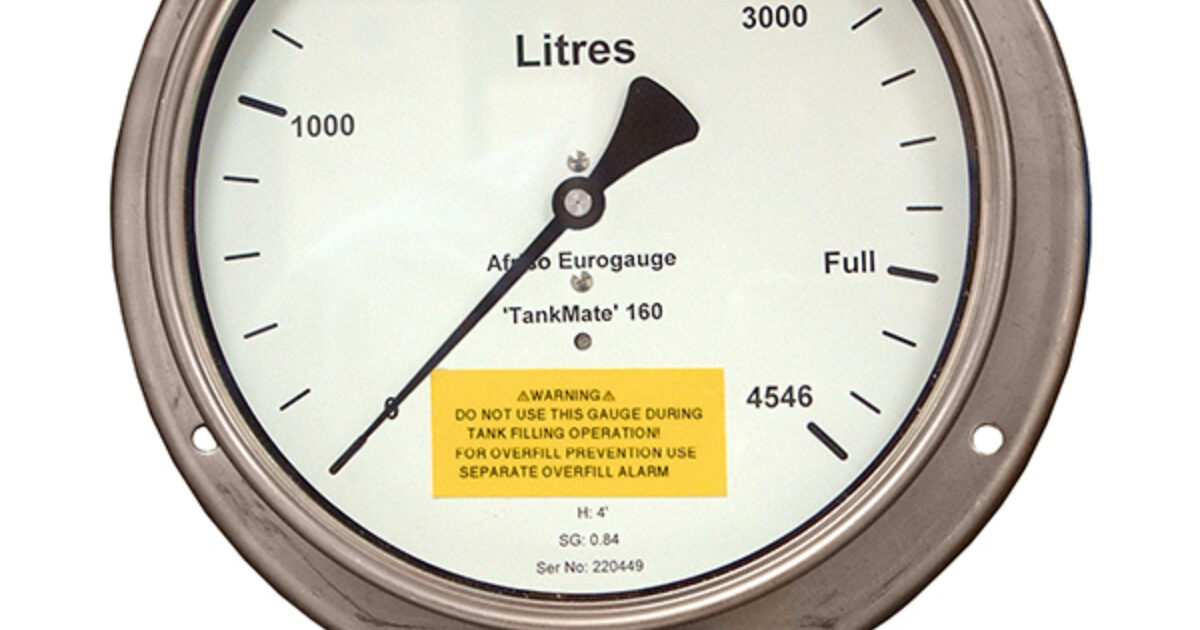
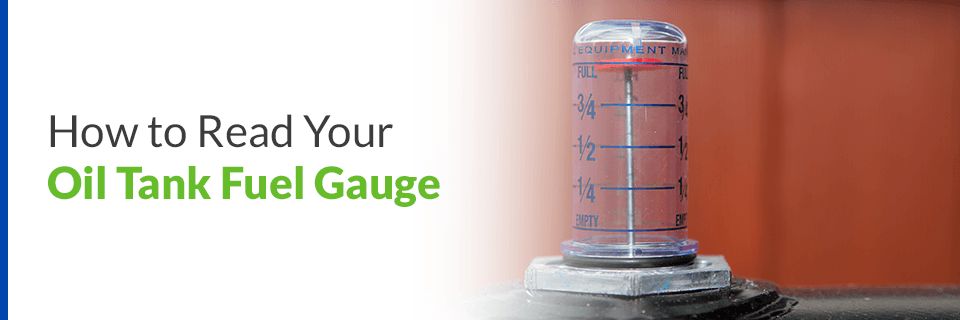
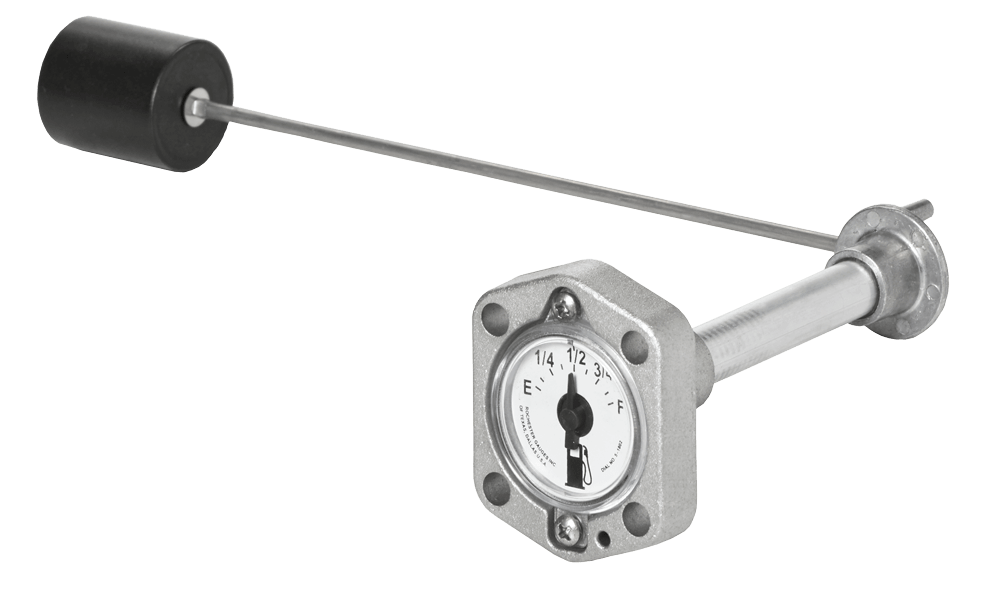
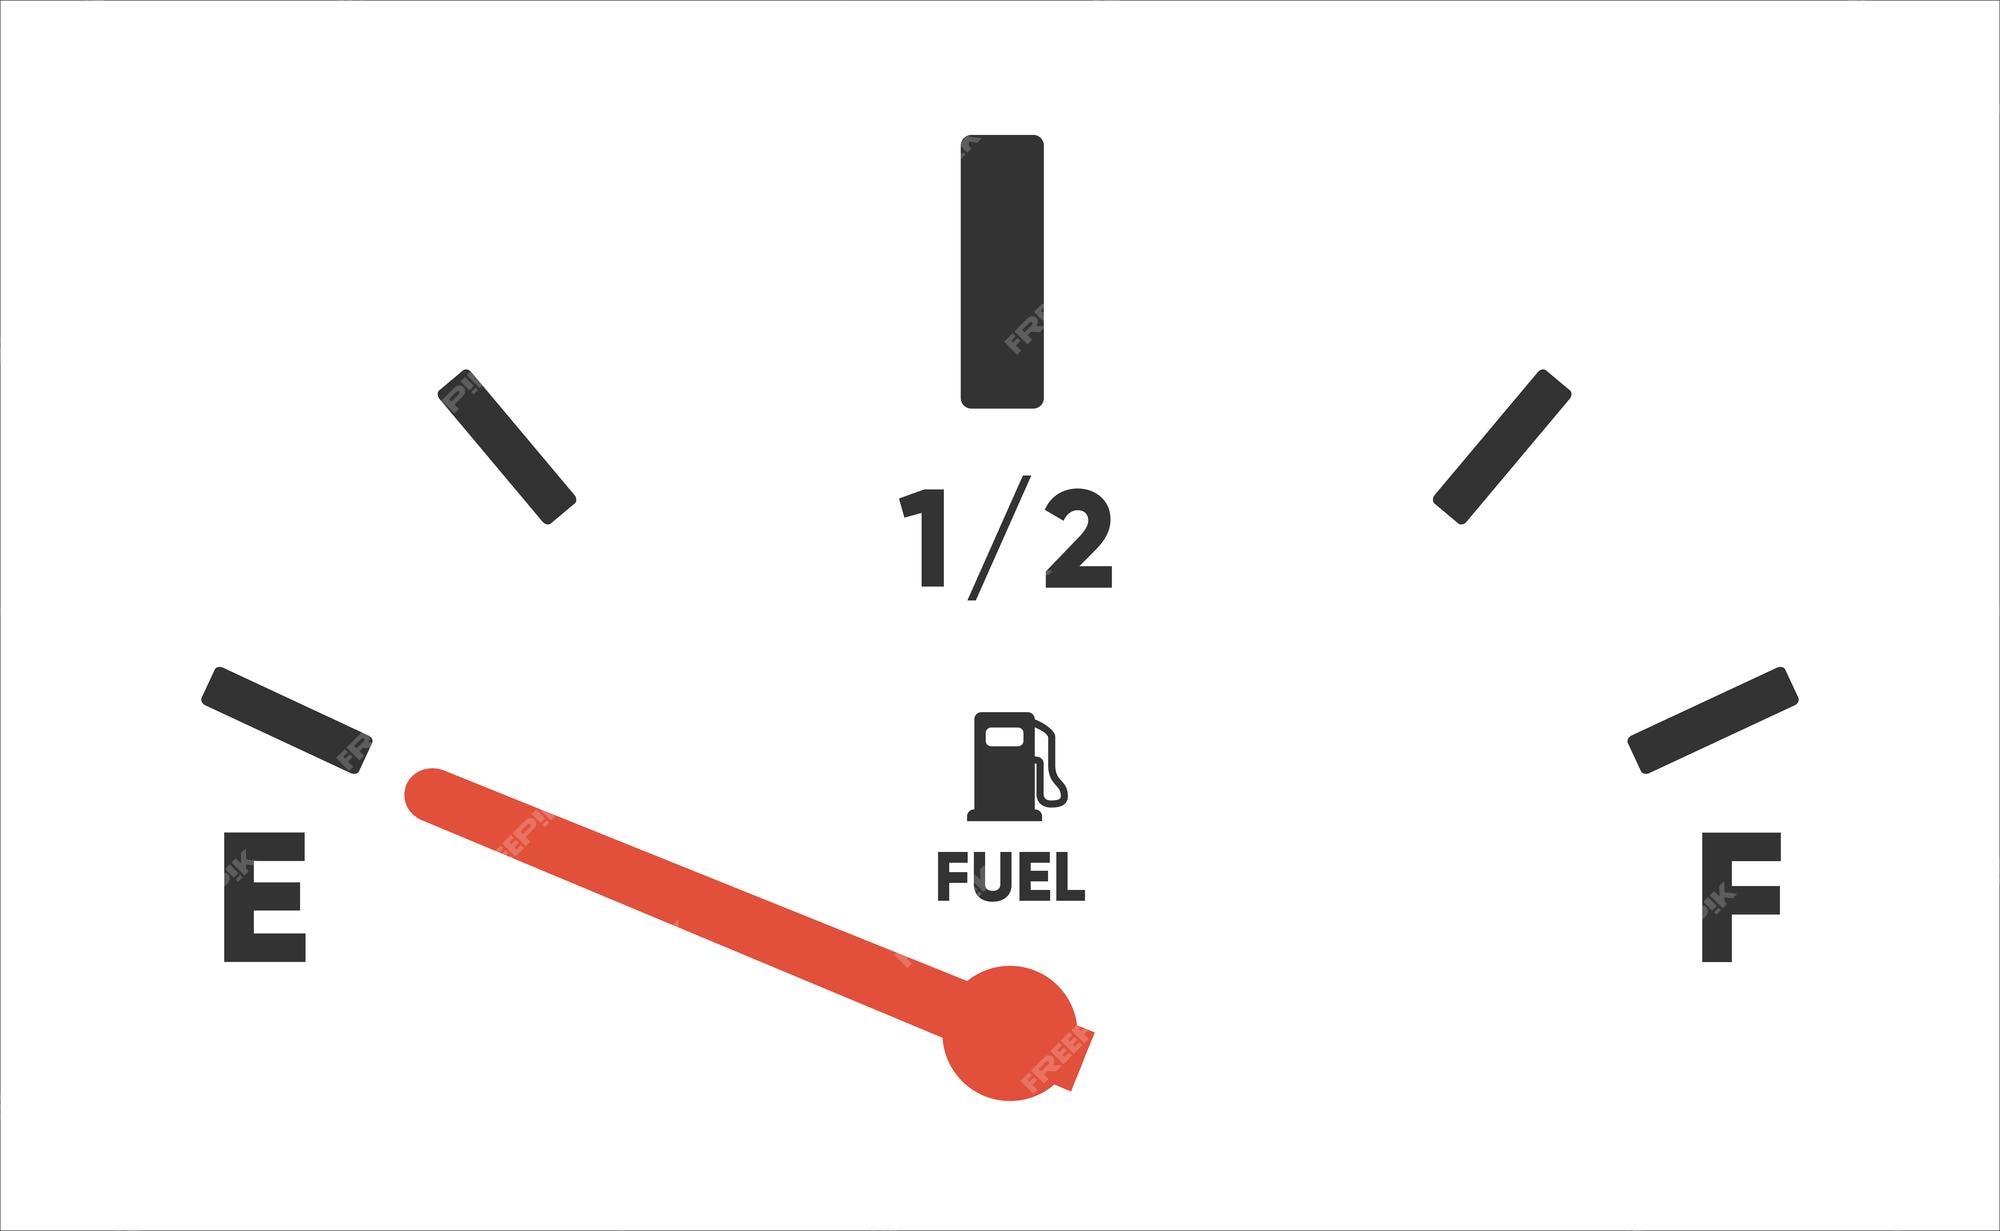
Before diving into troubleshooting, it's crucial to understand how your fuel tank gauge works. Most residential fuel oil tanks use a mechanical float gauge. This consists of a float inside the tank connected to a dial on top, typically calibrated to show the fuel level as a percentage (e.g., 1/4, 1/2, Full) or gallons.
As the fuel level drops, the float descends, causing the dial to rotate and indicate the new level. Simple, right? But like any mechanical device, these gauges are prone to wear, corrosion, and other issues.
Step-by-Step Troubleshooting Guide
Here's a methodical approach to diagnosing a faulty fuel tank gauge:
Step 1: Visual Inspection (No Tools Required)
Start with the simplest checks. These don't require any tools and can often reveal the problem right away.
- Check the Gauge Face: Look for any physical damage to the gauge face, such as cracks, breaks, or condensation inside. Condensation can obscure the reading or damage the internal mechanism.
- Examine the Dial: Is the dial stuck, loose, or difficult to read? Does it appear to be pointing to an obviously incorrect level, even when you know you recently filled the tank?
- Inspect the Float Arm (If Visible): Some gauges have a visible float arm extending into the tank. Check if it appears bent, broken, or disconnected. *Never attempt to reach into the tank*. This is a job for a professional.
- Check for Leaks Around the Gauge: Look for any signs of fuel oil leaks around the base of the gauge. Leaks are a serious hazard and require immediate attention from a qualified technician. If you detect a leak, do not attempt to fix it yourself. Call a professional immediately.
DIY Action: If you find condensation inside the gauge face, you might try carefully wiping it clean (if accessible without disassembling anything). If the dial is simply obscured by dirt or grime, gently clean the gauge face. *However, do not attempt to disassemble the gauge itself.*
Step 2: Compare Gauge Reading with Actual Fuel Level (Requires Dipstick or Calibration Table)
This step requires a way to verify the actual fuel level in the tank. You can use a dipstick (a long, calibrated stick) or a calibration table provided by your fuel supplier.
Using a Dipstick:
- Carefully remove the fill cap on your fuel tank. Ensure there are no open flames or sources of ignition nearby. Fuel oil vapors are flammable.
- Slowly insert the dipstick into the tank until it reaches the bottom.
- Withdraw the dipstick and observe the fuel level markings.
- Compare the dipstick reading with the fuel tank gauge reading. If there's a significant discrepancy, the gauge is likely inaccurate.
Using a Calibration Table:
- Your fuel oil supplier may provide a calibration table that correlates the fuel level height (measured from the bottom of the tank) to the volume of fuel in the tank.
- Carefully measure the fuel level height using a clean measuring tape.
- Consult the calibration table to determine the corresponding fuel volume.
- Compare the calculated fuel volume with the fuel tank gauge reading. Again, a significant discrepancy indicates a problem.
DIY Action: If the dipstick or calibration table reveals a small discrepancy, it *could* be due to slight tank tilting or minor inaccuracies in the gauge. *However, if the discrepancy is large or consistent, it strongly suggests a faulty gauge.*
Step 3: Check the Float Mechanism (Requires Basic Tools - Screwdriver)
Caution: This step involves working with the gauge itself. Be very careful not to damage any components. If you're uncomfortable with this step, skip it and call a professional.
- Turn off the power to your heating system's fuel pump. This is a safety precaution.
- Carefully remove the cover of the fuel tank gauge. This usually involves unscrewing a few screws.
- Gently try to move the float arm up and down. It should move freely. If it's stuck or very stiff, the float mechanism may be corroded or damaged.
- Observe the dial as you move the float arm. Does the dial respond smoothly and accurately to the movement? If the dial jumps erratically, doesn't move at all, or doesn't correspond to the float arm's position, the gauge is likely faulty.
DIY Action: If the float arm is simply stuck due to minor corrosion, you *might* try applying a small amount of penetrating oil (such as WD-40) to the pivot points of the float arm. *Work the arm gently to free it up. If this doesn't work easily, do not force it. You could damage the gauge further.*
Step 4: Inspect the Wiring (If Applicable - Requires Basic Electrical Knowledge & Multimeter)
Some modern fuel tank gauges may incorporate electronic components or wiring to communicate with a remote display or monitoring system. *This step requires basic electrical knowledge and the use of a multimeter. If you are not comfortable working with electrical circuits, skip this step and call a professional.*
- Turn off the power to your heating system at the breaker.
- Carefully inspect the wiring connections to the gauge. Look for loose connections, corrosion, or damaged wires.
- Use a multimeter to check the continuity of the wires. This will verify that the wires are not broken or shorted. Consult the gauge's wiring diagram for the correct connections to test.
- Check the voltage at the gauge's power supply terminals (if applicable). Ensure that the voltage is within the specified range.
DIY Action: If you find loose wiring connections, carefully tighten them. If you find corroded connections, clean them with a wire brush or electrical contact cleaner. If you find a broken wire, you *might* be able to repair it with a wire connector, *provided you have the necessary skills and tools.*
When to Call a Professional HVAC Technician
While many fuel tank gauge issues can be diagnosed and potentially fixed with these DIY steps, there are several situations where it's essential to call a qualified HVAC technician:
- Any Sign of a Fuel Leak: Fuel oil leaks are a serious fire hazard and require immediate professional attention.
- Uncertainty or Discomfort: If you are not comfortable working with your fuel tank gauge or electrical components, don't hesitate to call a professional. It's better to be safe than sorry.
- Complex Problems: If you've followed these troubleshooting steps and still can't identify the problem, it's likely a more complex issue that requires specialized knowledge and tools.
- Gauge Replacement: If the gauge is clearly damaged or irreparable, a professional can safely and correctly replace it, ensuring proper installation and calibration.
- Suspect Tank Issues: If you suspect there might be problems with the fuel tank itself (e.g., corrosion, leaks, or sediment buildup), it's crucial to have a professional inspection.
- Electrical Issues You're Unfamiliar With: Any time electrical troubleshooting leads to results you're not familiar with, call in a professional. Never work on something you're unsure about.
Safety Precautions
Working with fuel oil and heating systems requires caution. Always observe the following safety precautions:
- Never Smoke or Use Open Flames: Fuel oil vapors are flammable. Avoid any sources of ignition near the fuel tank.
- Turn Off Power: Before working on any electrical components, turn off the power at the breaker.
- Wear Protective Gear: Wear gloves and eye protection when working with fuel oil.
- Ventilate the Area: Ensure adequate ventilation when working near the fuel tank.
- Dispose of Rags Properly: Dispose of any rags or materials that have come into contact with fuel oil in a sealed metal container.
- Have a Fire Extinguisher Nearby: Keep a fire extinguisher readily available in case of an emergency.
Conclusion
Troubleshooting a fuel tank gauge can seem daunting, but by following these steps, you can often diagnose the problem and potentially fix it yourself. Remember to prioritize safety and don't hesitate to call a professional HVAC technician when needed. By taking a proactive approach, you can ensure your heating system runs smoothly and efficiently, keeping your home comfortable throughout the year.