Furnace Control Board Goodman

Decoding Your Goodman Furnace Control Board: A Homeowner's Guide
The control board is the brain of your Goodman furnace. It orchestrates the entire heating process, from igniting the burner to powering the blower fan. When things go wrong, understanding this critical component can save you time, money, and a whole lot of frustration. This guide will walk you through the basics of the Goodman furnace control board, common problems, troubleshooting steps, and when it's time to call in a professional.
Understanding the Control Board
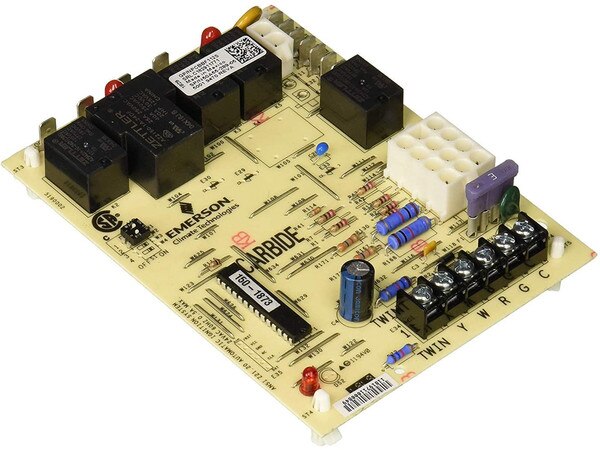
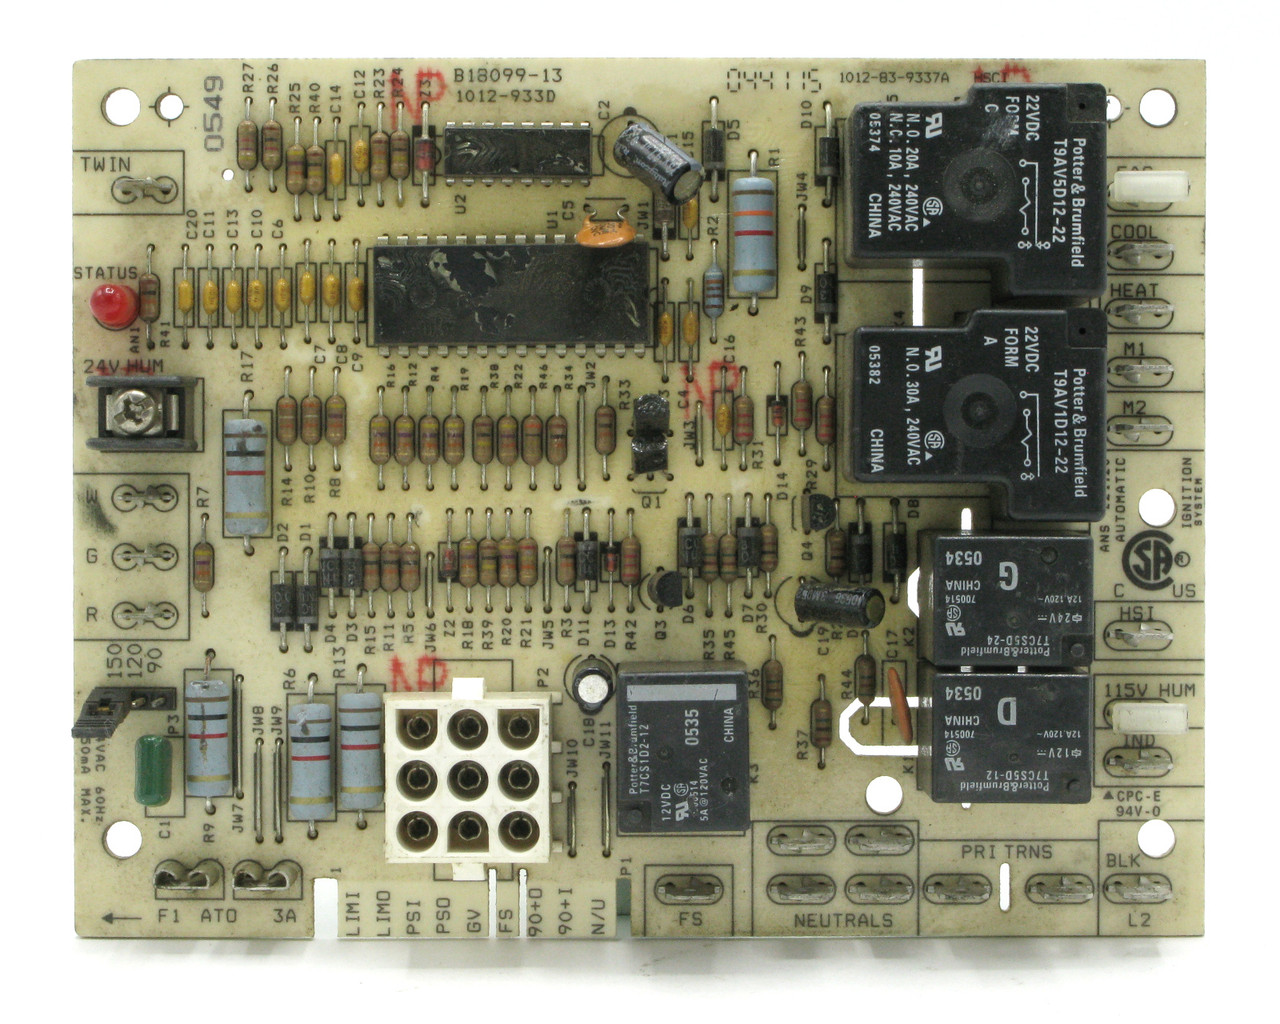
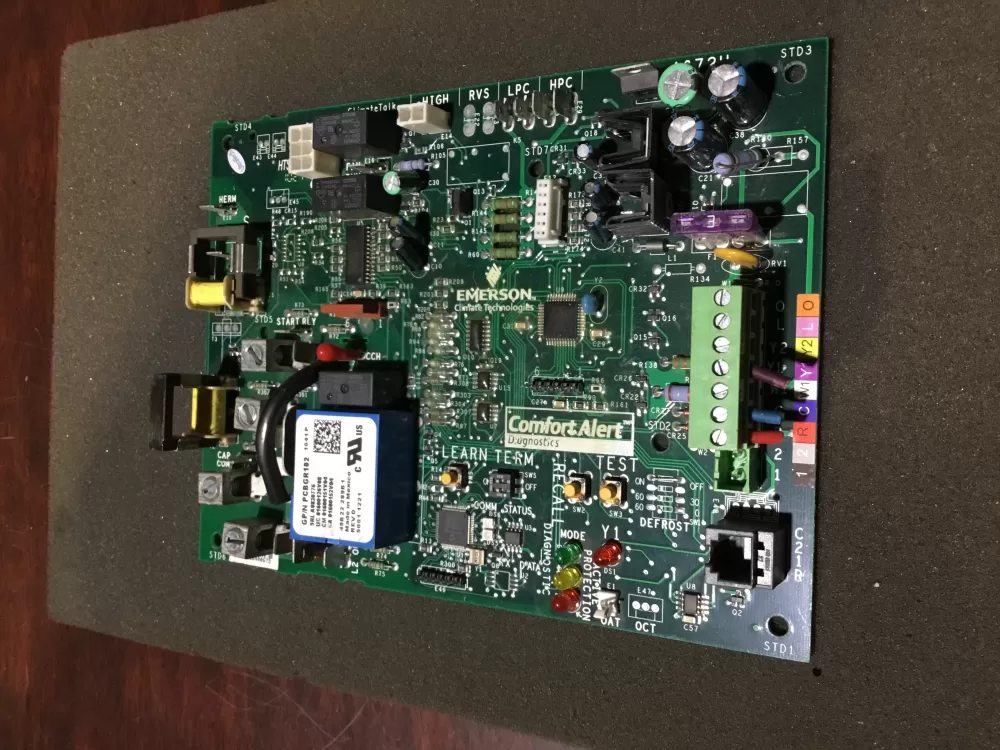
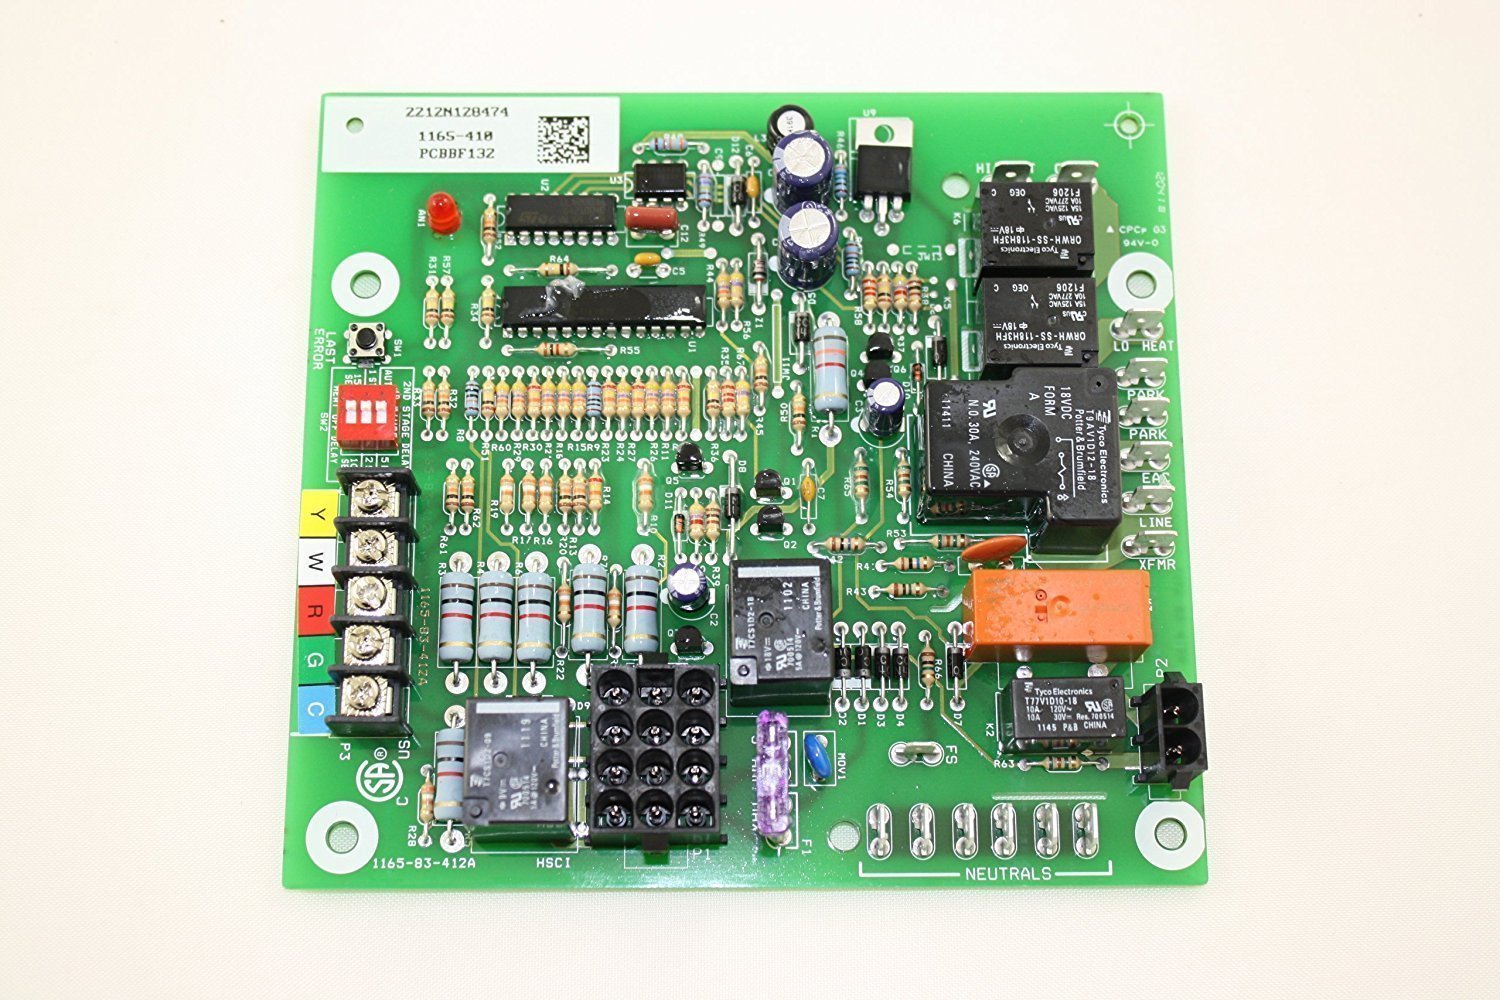
Your Goodman furnace control board, typically a green circuit board housed within the furnace's control compartment, manages the sequence of operations for heating. It receives signals from thermostats, sensors, and switches, then activates various components like the inducer motor, gas valve, and blower motor. Common labels you might see on the board include:
- R, W, G, Y, C: These are standard thermostat wiring terminals (Red, White, Green, Yellow, Common).
- 24VAC: Connection points for the 24-volt AC transformer.
- L1, L2: Line voltage connections. Caution: High Voltage!
- FS1, FS2: Flame sensor connection.
- LS: Limit switch connection.
- Rollout Switch: Connection point for the rollout switch.
Each board also has an LED indicator that flashes error codes, a crucial tool for diagnosing problems. Consult your furnace's manual or the sticker on the inside of the furnace door to decode these flash codes.
Tools and Safety Equipment
Before you start, gather the necessary tools and safety gear:
- Multimeter: For testing voltage and continuity.
- Screwdrivers: Both Phillips and flathead.
- Nut drivers: For specific screws on your unit.
- Wire strippers/crimpers: If you need to replace wiring.
- Safety glasses: To protect your eyes.
- Work gloves: To protect your hands.
- Voltage tester: To confirm power is off.
- Flashlight or work light: For better visibility.
Safety First! Always turn off the power to the furnace at the breaker before working on any electrical components. Double-check with a voltage tester to ensure the power is off before touching any wires or terminals. Never bypass safety switches.
Common Goodman Furnace Control Board Problems
Many furnace problems can be traced back to the control board. Here are some of the most frequent issues:
- Furnace Not Starting: No response when the thermostat calls for heat. This could indicate a completely failed control board, a faulty thermostat, or a problem with the power supply.
- Intermittent Operation: The furnace starts and stops randomly, often due to a failing component on the board or a loose connection.
- Blower Fan Issues: The blower fan doesn't turn on, runs constantly, or cycles erratically. This could be caused by a faulty relay on the board or a problem with the fan motor itself.
- Error Codes: The LED on the control board flashes a specific sequence, indicating a particular problem. Consult your furnace's manual for the error code definitions.
- No Flame: The igniter fails to light the gas, often due to a faulty igniter, gas valve, or flame sensor. The control board may be preventing ignition due to a detected fault.
- Limit Switch Tripping: The furnace overheats and shuts down, often caused by a dirty filter, blocked vents, or a faulty limit switch. The control board is reacting to the limit switch being tripped.
Troubleshooting Your Goodman Furnace Control Board
Here's a step-by-step guide to troubleshooting common control board issues:
- Check the Power: Ensure the breaker to the furnace is on. Use a voltage tester to confirm you have 120V at the furnace disconnect switch.
- Examine the Control Board: Visually inspect the board for any signs of damage, such as burnt components, cracked traces, or corrosion. Look for loose connections or wires.
- Decode Error Codes: Count the flashes of the LED on the control board and compare them to the error code chart in your furnace's manual or on the furnace door.
- Test the Thermostat: Make sure your thermostat is properly set and functioning correctly. You can test the thermostat by bypassing it (carefully connecting the R and W wires) to see if the furnace starts. If it does, the thermostat is likely the problem.
- Check the Flame Sensor: The flame sensor is a small metal rod located near the burner. Clean it with fine steel wool to remove any carbon buildup. A dirty flame sensor can prevent the furnace from staying lit.
- Test the Limit Switch: Locate the limit switch (usually a small, round button-like device near the top of the furnace). Press the button to reset it. If it trips repeatedly, there may be an airflow problem or a faulty limit switch. Use a multimeter to test for continuity.
- Check the Rollout Switch: This switch is a safety device that shuts off the gas if the flames roll out of the combustion chamber. It is often a manual reset type. If tripped, find the cause (usually a blocked flue) before resetting it.
- Inspect Wiring and Connections: Check all wiring connections to the control board and other components. Loose or corroded connections can cause intermittent problems.
- Test Fuses: Some control boards have fuses. Use a multimeter to check for continuity to see if any fuses are blown.
When to Replace the Control Board
If you've exhausted the troubleshooting steps and the control board is still malfunctioning, it may need to be replaced. Clear indications for replacement include:
- Visible damage to the board (burnt components, cracked traces).
- Consistent error codes that point to a faulty board.
- The furnace fails to start or operate properly despite checking other components.
- Intermittent operation that cannot be traced to other causes.
To replace the control board, follow these steps:
- Turn off the power to the furnace at the breaker.
- Take a picture of the wiring connections to the old control board. This is crucial for reconnecting the wires correctly to the new board.
- Label each wire with a piece of masking tape and a pen. Write down the terminal it connects to (e.g., "R," "W," "G").
- Disconnect all the wires from the old control board.
- Remove the old control board from its mounting.
- Install the new control board in its mounting.
- Reconnect all the wires to the new control board, using your picture and labels as a guide. Double-check that each wire is connected to the correct terminal.
- Turn the power back on to the furnace.
- Test the furnace to ensure it is operating correctly.
Make sure the replacement Goodman control board is the exact match to the original. The model number can be found on the old board. Using the wrong board can cause further damage.
Estimating Repair Costs
The cost of repairing or replacing a Goodman furnace control board can vary depending on several factors:
- Cost of the Control Board: Replacement control boards can range from $100 to $500, depending on the model and complexity.
- Labor Costs: If you hire a professional HVAC technician, labor costs can range from $100 to $300 per hour. The total labor cost will depend on the complexity of the repair and the technician's hourly rate.
- Diagnostic Fee: Some HVAC companies charge a diagnostic fee to assess the problem. This fee can range from $50 to $100.
Therefore, the total cost of replacing a Goodman furnace control board can range from $200 to $800 or more, depending on whether you do it yourself or hire a professional.
When to Call a Professional
While some control board issues can be resolved with DIY troubleshooting, there are times when it's best to call a qualified HVAC technician:
- You are not comfortable working with electricity or gas.
- You cannot identify the problem or the error code.
- The problem is complex or requires specialized tools.
- You suspect a gas leak.
- You are unsure about any aspect of the repair.
Remember, working with gas and electricity can be dangerous. If you are not confident in your abilities, it's always best to err on the side of caution and call a professional. A qualified HVAC technician can diagnose the problem accurately and safely repair your furnace.
By understanding the basics of your Goodman furnace control board, you can troubleshoot simple problems and potentially save money on repair costs. However, always prioritize safety and don't hesitate to call a professional when needed.