Furnace Exhaust Piping
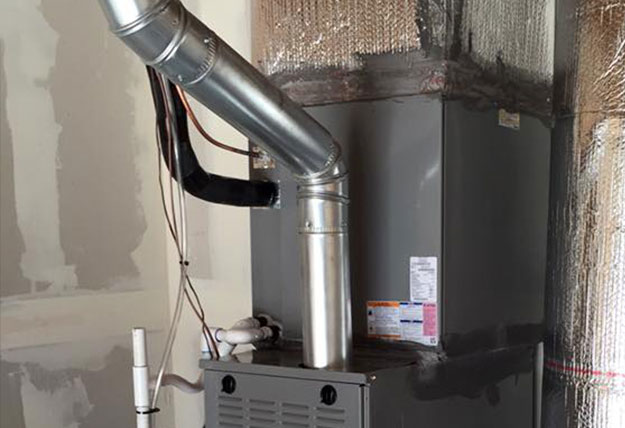
Many homeowners experience the frustration of a furnace that isn't heating the house effectively, or worse, one that shuts down intermittently. One often overlooked culprit behind these problems is the furnace exhaust piping. This article will guide you through a simple troubleshooting process to identify and potentially resolve exhaust-related issues, helping you stay warm and safe.
Understanding Your Furnace Exhaust
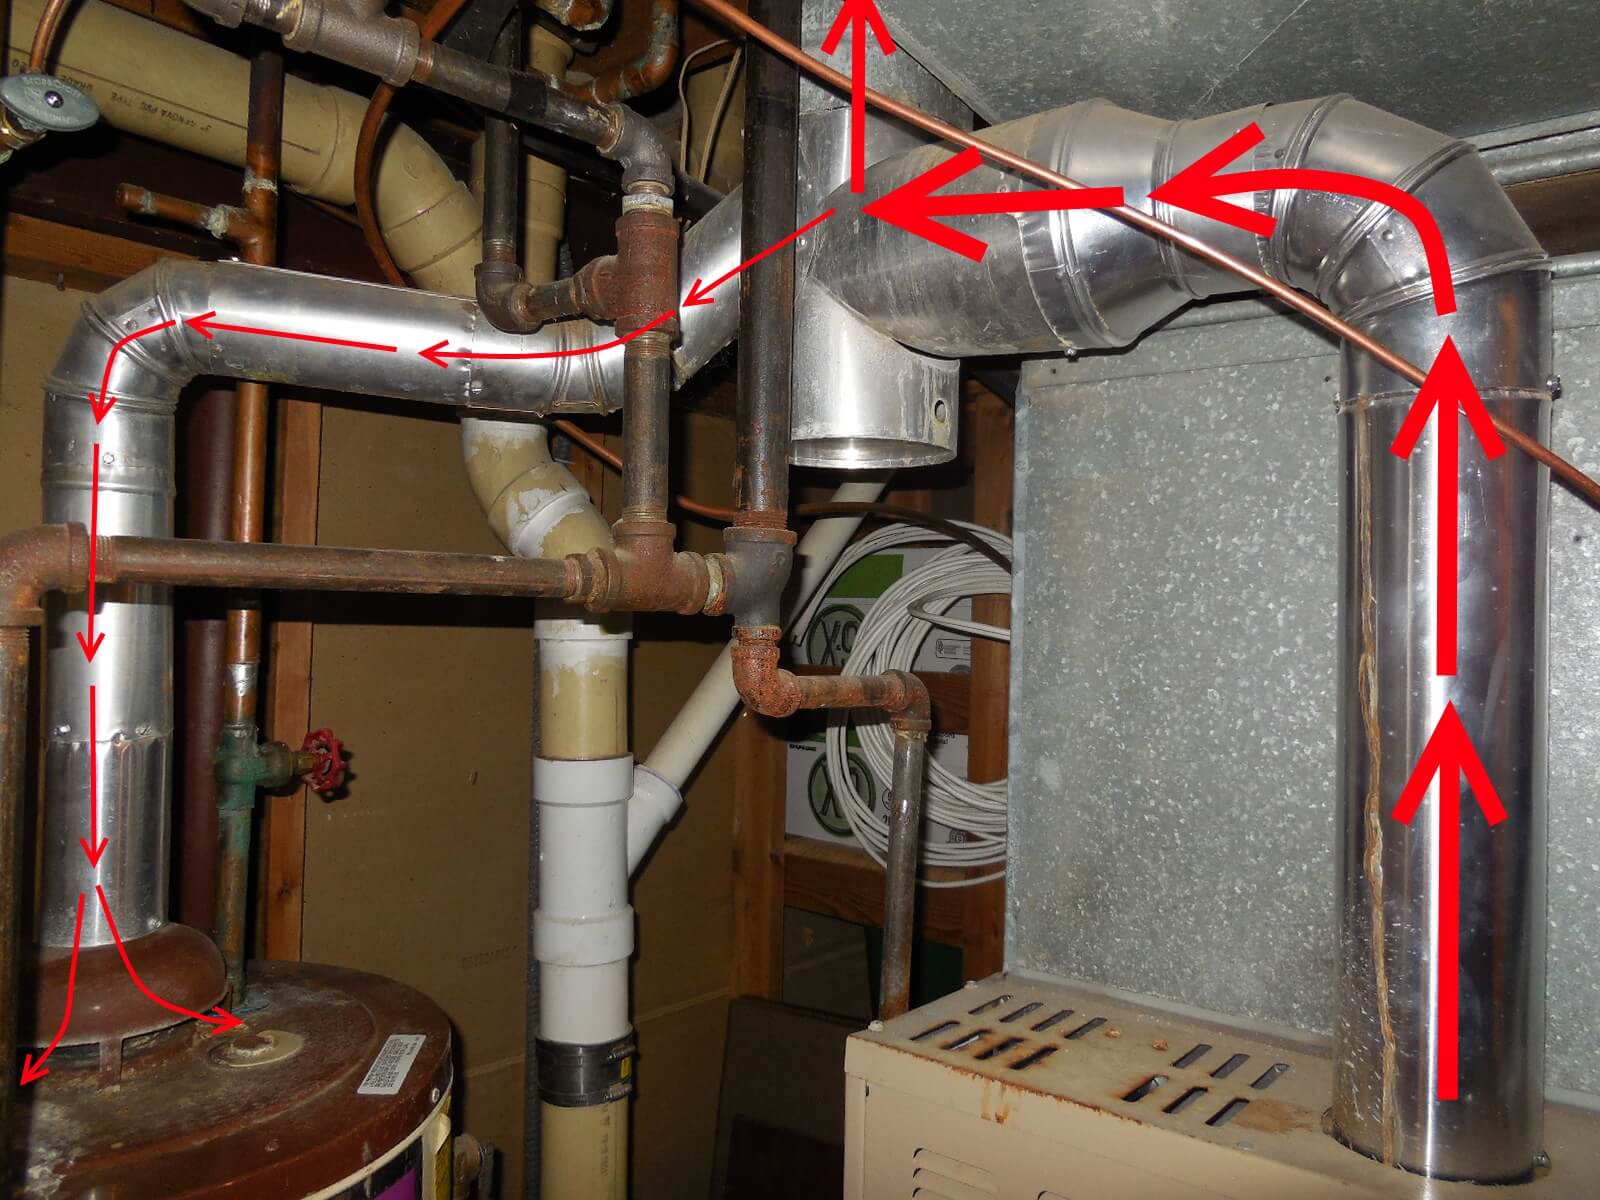
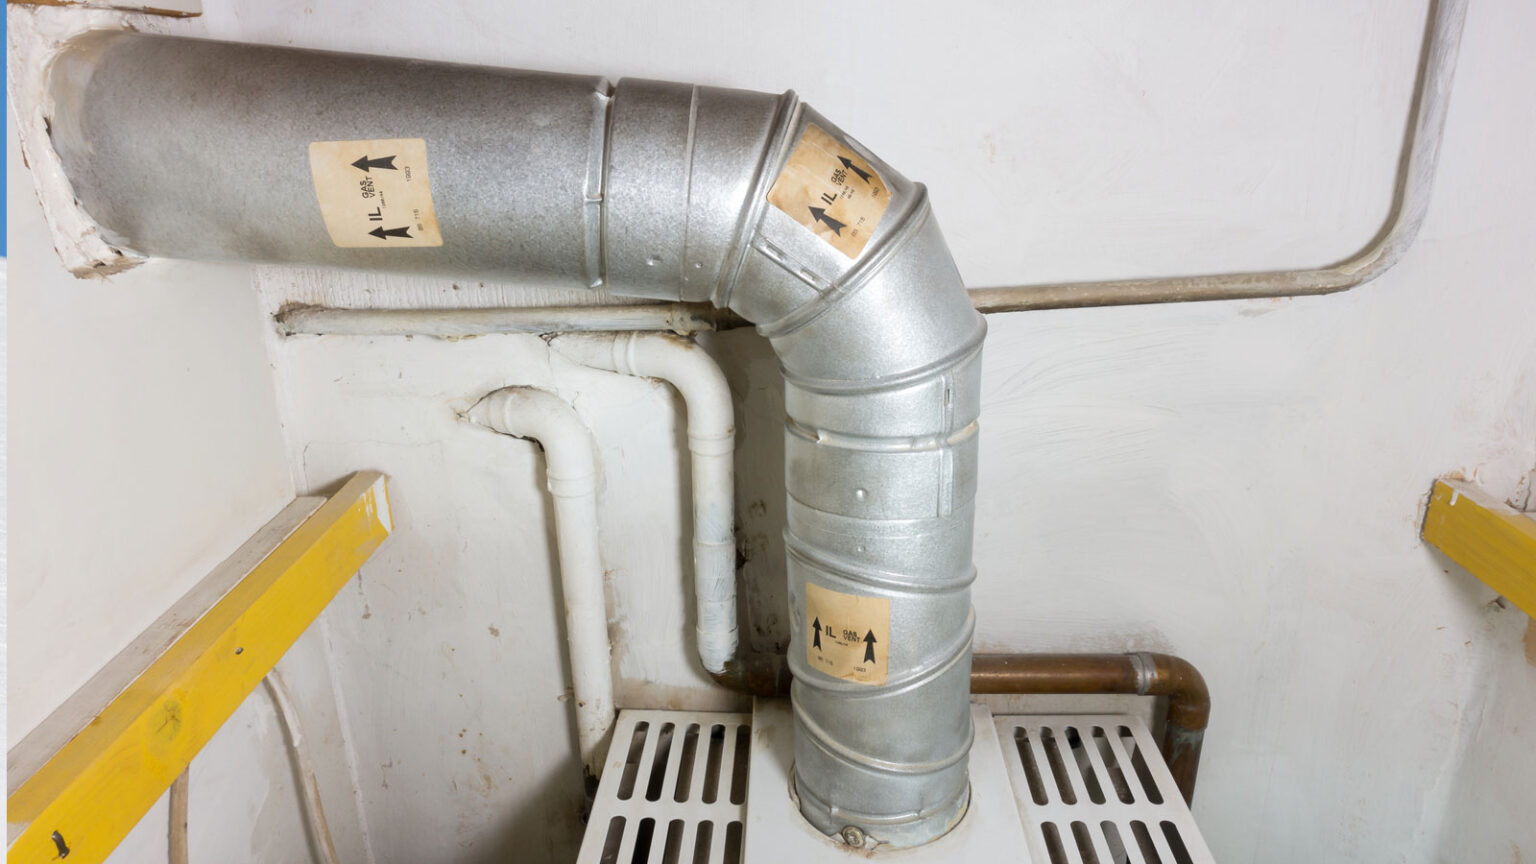
Before diving in, it's crucial to understand the basics. Your furnace burns fuel (natural gas or propane) to generate heat. This process creates exhaust gases, including carbon monoxide, which must be safely vented outside your home. The exhaust piping, often made of PVC, CPVC, or metal, is responsible for this vital task. A blocked or damaged exhaust system can lead to:
- Insufficient heating: The furnace may not run efficiently, struggling to reach the desired temperature.
- Furnace shutdowns: Safety mechanisms can shut down the furnace if exhaust gases aren't properly venting.
- Carbon monoxide buildup: A potentially deadly hazard.
Diagnosis: A Step-by-Step Approach
Let's break down the troubleshooting process into manageable steps.
Step 1: Visual Inspection (No Tools Required)
Start with a thorough visual inspection of the exhaust piping from the furnace to its termination point outside. Look for:
- Disconnections: Are any sections of the pipe separated or loose? Even a small gap can disrupt the venting.
- Cracks or holes: Check for visible damage to the piping material.
- Sagging or improper support: Is the piping properly supported to prevent stress and potential breakage? Long horizontal runs should be properly supported.
- Obstructions: Look for bird nests, debris, or ice buildup at the exhaust termination point outside your home. Also inspect the intake pipe (if applicable) for obstructions. Many high-efficiency furnaces use two pipes: one for intake air and one for exhaust.
- Condensation issues: Excessive condensation dripping from the piping may indicate a problem. A small amount of condensation is normal, especially with high-efficiency furnaces, but excessive amounts can be problematic. Check for proper slope of the exhaust pipe back towards the furnace or a condensation drain.
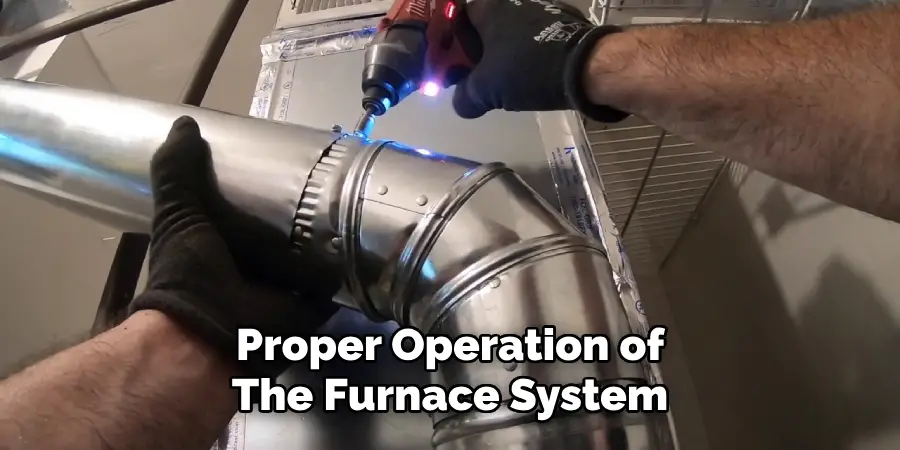
DIY Action: If you find a simple disconnection, carefully reattach the pipe sections. Ensure they are securely connected and properly sealed (refer to the furnace manufacturer's recommendations for appropriate sealant if needed). Clear any visible debris or obstructions at the exhaust termination outside.
Step 2: Check the Condensate Drain (No Tools Required)
High-efficiency furnaces produce condensate as a byproduct of combustion. This condensate needs to be drained away. Locate the condensate drain line (usually a small PVC pipe) and:
- Visually inspect: Is the drain line clogged or kinked?
- Check the drain pan: Is the drain pan (if present) overflowing?
- Look for signs of leakage: Water stains around the furnace can indicate a condensate drainage problem.
DIY Action: Carefully clear any visible obstructions in the drain line. A wet/dry vacuum can be useful for this. Ensure the drain line has a proper slope and is not kinked. If the drain pan is overflowing, try to clear the drain opening in the pan. Pouring a cup of hot (but not boiling) water down the drain line can help dissolve minor clogs.
Step 3: Inspect the Vent Termination (No Tools Required - Use Caution!)
Go outside and inspect the vent termination point. This is where the exhaust gases exit your home. Exercise caution when working at heights.
- Look for blockages: As mentioned earlier, bird nests, debris, and ice buildup are common culprits.
- Check for proper clearance: Ensure the vent termination is a safe distance from windows, doors, and other air intakes to prevent exhaust gases from re-entering your home. Local codes often specify minimum clearance distances.
- Inspect the vent cap: Is the vent cap damaged or missing? A damaged or missing cap can allow debris and moisture to enter the exhaust system.
DIY Action: Carefully remove any debris or obstructions from the vent termination. Ensure the vent cap is securely in place and in good condition.
Step 4: Test for Draft (Requires a Lighter or Incense)
Important Safety Note: Perform this test only if you've confirmed there are no visible gas leaks and have a working carbon monoxide detector. This test helps determine if the exhaust is properly drafting (pulling gases away from the furnace).
Carefully light a lighter or a stick of incense near the draft diverter (if your furnace has one) or the base of the exhaust vent (if your furnace is high-efficiency). Observe the smoke or flame:
- Proper draft: The smoke or flame should be drawn upwards into the exhaust vent, indicating a good draft.
- Poor or reversed draft: The smoke or flame may linger, waver, or even be drawn backwards, indicating a drafting problem.
DIY Action: If you observe a poor or reversed draft, immediately shut off the furnace and proceed with caution. Double-check for any obstructions you may have missed. This situation could indicate a serious venting issue and requires professional attention.
Step 5: Check Pressure Switch Tubing (Requires Basic Tools - Screwdriver)
The pressure switch is a safety device that monitors the exhaust pressure. If the pressure is too low (indicating a venting problem), the switch will prevent the furnace from operating.
Safety First: Turn off the furnace at the breaker box before proceeding!
- Locate the pressure switch: Consult your furnace's manual to find the pressure switch. It's usually a small, round device with one or more small tubes connected to it.
- Inspect the tubing: Carefully examine the tubing for cracks, kinks, or disconnections.
- Gently detach and reattach the tubing: Sometimes, a loose connection can cause a false reading.
DIY Action: Replace any damaged or deteriorated tubing. Ensure the tubing is securely connected to both the pressure switch and the inducer motor housing (or other designated connection point). A small screwdriver may be needed to loosen and tighten clamps.
When to Call a Professional
While these DIY steps can address many common exhaust-related problems, there are situations that require the expertise of a qualified HVAC technician. Stop and call a professional if:
- You smell gas: This is a serious safety hazard. Evacuate the area and call your gas company or 911 immediately.
- You suspect a carbon monoxide leak: If your carbon monoxide detector is alarming, evacuate the premises and call emergency services.
- You find cracks or holes in the heat exchanger: The heat exchanger is a critical component within the furnace, and damage to it is a serious safety concern. It can lead to carbon monoxide leaks.
- You're uncomfortable working with gas or electrical components: Safety is paramount. If you're unsure about any step, it's best to call a professional.
- You've tried the DIY steps and the problem persists: This may indicate a more complex issue that requires specialized tools and knowledge.
- You need to access sealed compartments of the furnace: Many furnace components are behind sealed panels and should only be accessed by trained technicians.
- You are unsure of the proper pipe material or installation techniques if parts need to be replaced. Improper materials or installation can be very dangerous.
Preventative Maintenance
Regular preventative maintenance can help prevent exhaust-related problems and ensure your furnace operates safely and efficiently.
- Schedule annual furnace inspections: A qualified HVAC technician can inspect the entire system, including the exhaust piping, and identify potential problems before they become major issues.
- Check the exhaust termination regularly: Inspect the exhaust termination for debris and obstructions, especially before the heating season begins.
- Replace your carbon monoxide detector batteries annually: Carbon monoxide detectors are life-saving devices. Ensure they are functioning properly.
- Trim back vegetation around the exhaust termination: Overgrown shrubs and trees can block the exhaust vent and create a fire hazard.
By following these troubleshooting steps and practicing preventative maintenance, you can keep your furnace exhaust system in good working order, ensuring a warm, safe, and comfortable home.