Furnace Flame Sensor Testing

Imagine waking up on a chilly morning, only to discover your house is freezing. The thermostat is set correctly, you hear the furnace kick on, but then... nothing. Or worse, the furnace runs for a few seconds and then shuts off. This is a common homeowner headache, and often, the culprit is a dirty or faulty flame sensor.
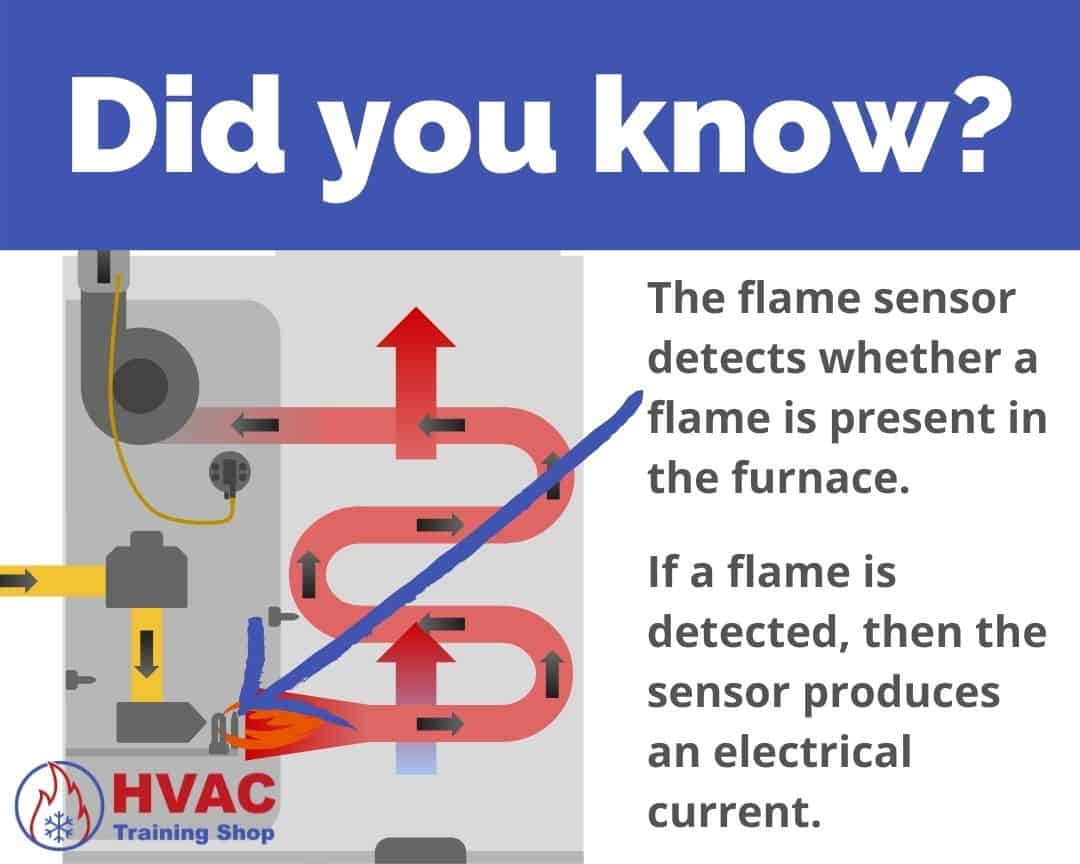
The flame sensor is a small, inexpensive component that plays a critical role in your furnace's operation. It's a safety device that confirms the presence of a flame before allowing the gas valve to remain open. If the sensor doesn't detect a flame, it shuts down the gas supply to prevent a dangerous buildup of unburned gas. This article will guide you through troubleshooting your flame sensor, helping you potentially avoid a costly service call.
Understanding the Problem: No Heat or Short Cycling
Before we dive into testing, let's define the symptoms. You might experience one or more of the following:
- No Heat: The furnace doesn't ignite at all. You might hear the blower fan running, but no warm air.
- Short Cycling: The furnace starts up, runs for a very short time (a few seconds to a minute), and then shuts off. It might repeatedly try to start and fail.
These symptoms can indicate several issues, but the flame sensor is a frequent suspect. Ruling it out is a crucial step in the diagnostic process.
Safety First!
Before you begin any troubleshooting, turn off the power to your furnace. Locate the breaker in your electrical panel that controls the furnace and switch it to the "off" position. This is paramount to avoid electrical shock. If you're not comfortable working with electricity, please call a qualified HVAC technician.
Step-by-Step Flame Sensor Troubleshooting
Here's a methodical approach to diagnosing a potential flame sensor problem:
Step 1: Visual Inspection (No Tools Required)
Start with a visual inspection. You can do this without any tools.
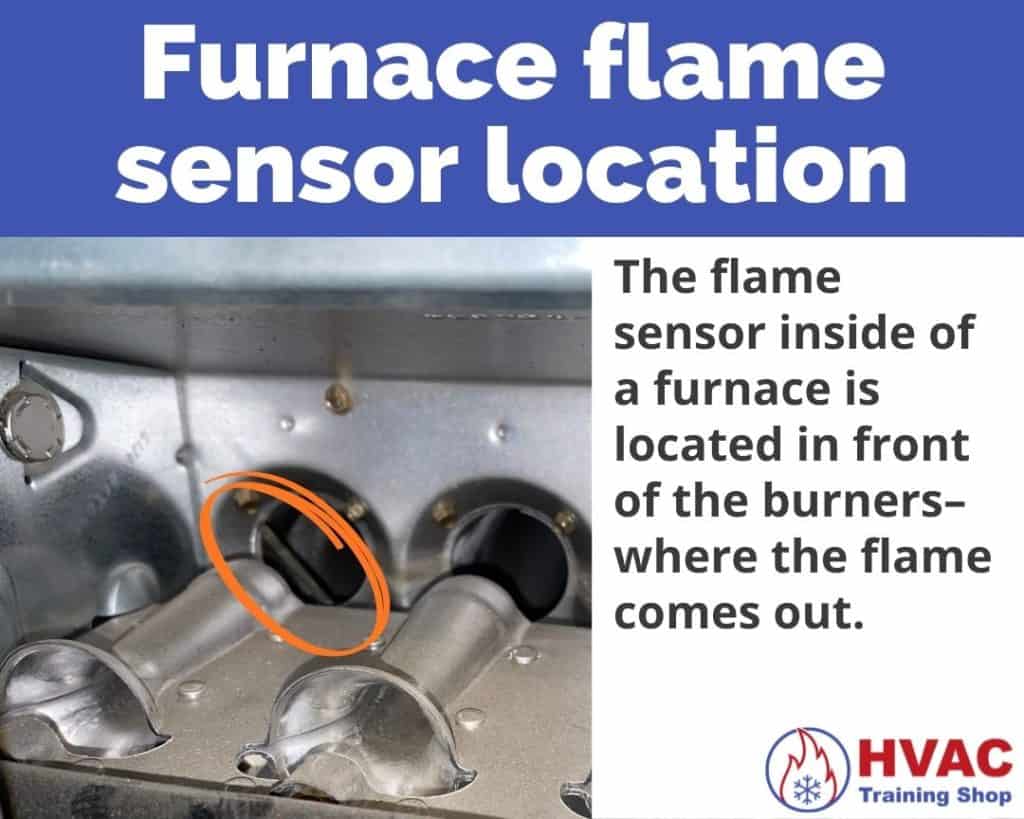
- Locate the Flame Sensor: The flame sensor is typically a thin, metallic rod, usually made of ceramic or metal, positioned near the burner assembly. It's often held in place by a single screw. Look for it near where the burners ignite. Refer to your furnace's owner's manual for its exact location.
- Inspect for Damage: Look for any obvious signs of damage to the sensor. Is it bent, broken, or corroded? Is the ceramic insulator cracked? If you see physical damage, the sensor likely needs to be replaced.
- Check the Wire: Follow the wire that connects the flame sensor to the furnace's control board. Look for any breaks, loose connections, or corrosion on the wire or its terminals. Gently tug on the wire to ensure it's securely connected.
If you spot any of these issues, make a note of them. Even if the sensor looks okay, proceed to the next step.
Step 2: Cleaning the Flame Sensor (Simple DIY Action)
A dirty flame sensor is the most common cause of flame sensor failure. Carbon buildup can insulate the sensor, preventing it from detecting the flame. Cleaning it is a simple DIY task.
- Remove the Flame Sensor: Carefully remove the screw holding the sensor in place. Gently pull the sensor out of its mounting bracket. Handle the sensor with care; it can be fragile.
- Clean the Sensor: Use a piece of fine-grit sandpaper (220 grit or higher) or steel wool to gently clean the metal rod. Do not use harsh abrasives or solvents, as these can damage the sensor. Remove any carbon buildup or corrosion. The goal is to expose clean, shiny metal.
- Reinstall the Sensor: Carefully reinsert the cleaned sensor into its mounting bracket and secure it with the screw. Make sure it's properly positioned near the burner.
- Reconnect the Wire: Ensure the wire is securely connected to the sensor terminal.
After cleaning, turn the power back on to your furnace and test it. If the furnace starts and runs normally, you've solved the problem! If not, proceed to the next step.
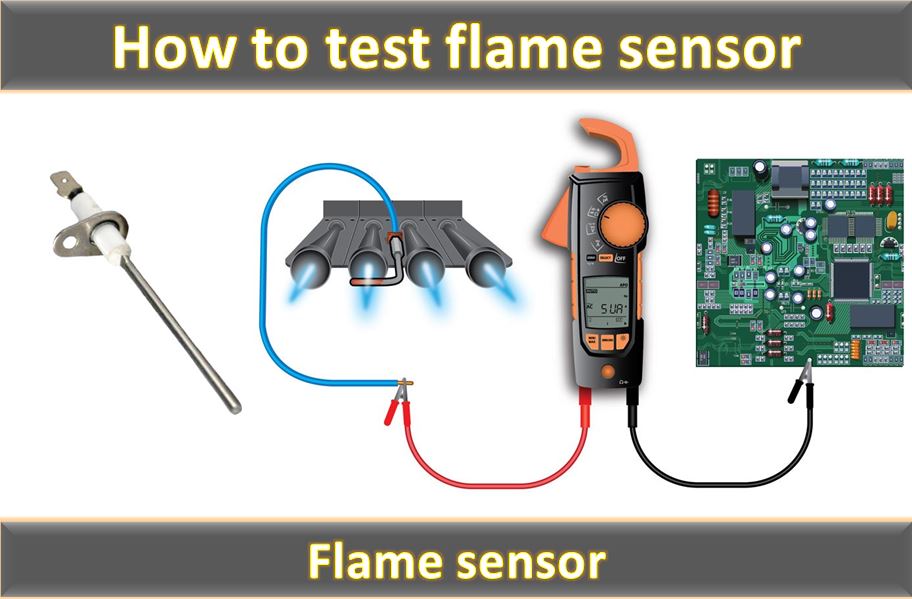
Step 3: Testing with a Multimeter (Requires Basic Equipment)
If cleaning doesn't resolve the issue, you can test the flame sensor's functionality using a multimeter. This requires a basic understanding of how to use a multimeter and some caution.
If you're not comfortable using a multimeter or working with electrical components, skip this step and call a qualified HVAC technician.
- Set the Multimeter: Set your multimeter to measure DC microamps (µA). The symbol for microamps is usually "µA" or "uA" on the multimeter dial.
- Locate the Flame Sensor Wire: Identify the wire that connects the flame sensor to the furnace's control board. You may need to consult your furnace's wiring diagram to locate the correct wire.
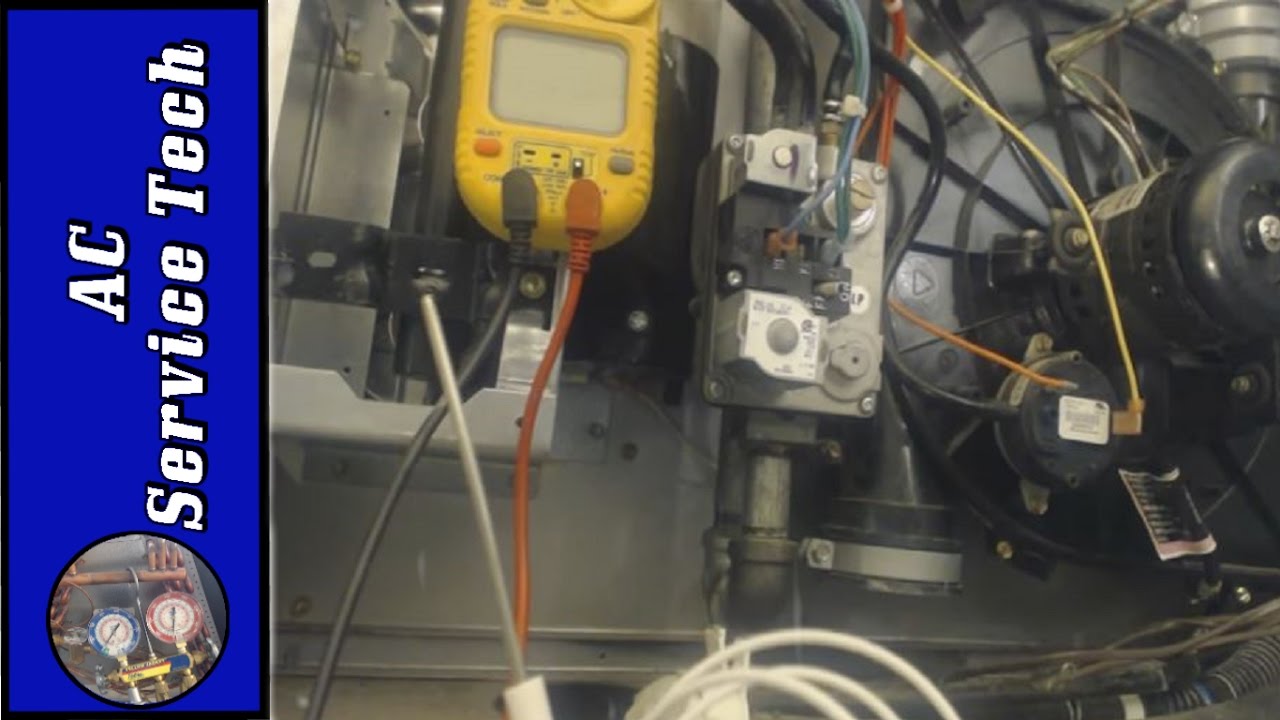
- Connect the Multimeter: This step requires working with a live circuit, so exercise extreme caution! With the furnace power ON and the furnace attempting to ignite, connect one lead of the multimeter to the flame sensor wire. The other lead should be connected to the furnace's ground (usually the metal chassis). You may need to use alligator clips to make a secure connection.
- Observe the Reading: As the furnace attempts to ignite, observe the reading on the multimeter. A healthy flame sensor should produce a reading of 1-10 microamps DC (check your furnace's manual for the exact value. It might be 2-5 microamps).
- Interpret the Results:
- Reading Within Range: If the reading is within the specified range, the flame sensor is likely functioning correctly. The problem may lie elsewhere in the furnace system.
- Reading of Zero or Very Low: If the reading is zero or significantly below the specified range, the flame sensor is likely faulty and needs to be replaced.
- Erratic Reading: An erratic or fluctuating reading can also indicate a faulty flame sensor.
- Turn Off Power: After testing, turn off the power to the furnace before disconnecting the multimeter.
Important Note: Some furnaces use AC microamps instead of DC microamps. Refer to your furnace's service manual to determine the correct setting for your multimeter.
Step 4: Check the Flame Sensor Wiring and Connections (Requires Basic Equipment)
Even if the sensor itself is good, a faulty wire or connection can prevent it from working properly. Use your multimeter (set to continuity) to check the wire running from the flame sensor to the control board.
- Power Off: Make sure the power to the furnace is turned off.
- Disconnect: Disconnect the wire from both the flame sensor and the control board.
- Continuity Test: Touch one multimeter lead to one end of the wire and the other lead to the other end. The multimeter should beep or show a low resistance reading, indicating continuity.
- Check for Shorts to Ground: Touch one multimeter lead to one end of the wire and the other lead to a metal part of the furnace chassis (ground). The multimeter should NOT beep or show continuity, indicating no short to ground.
- Replace Wire: If the wire fails either of these tests (no continuity or short to ground), replace the wire with a new one of the same gauge and type.
- Inspect Connections: Even if the wire is good, make sure the connections at both ends are clean and tight. Corroded or loose connections can cause problems. Clean or replace the connectors as needed.
When to Call a Professional
While many flame sensor issues can be resolved with simple troubleshooting and cleaning, certain situations require the expertise of a qualified HVAC technician. Call a professional if:
- You're not comfortable working with electricity or gas.
- You suspect a gas leak. Smell gas, hear a hissing sound, or have any reason to believe there's a gas leak. Evacuate the area immediately and call your gas company.
- The furnace continues to malfunction after cleaning or replacing the flame sensor. This could indicate a more complex problem with the control board, gas valve, or other components.
- You're unsure about any step in the troubleshooting process. It's always better to be safe than sorry.
- Your furnace is under warranty. Attempting DIY repairs may void the warranty.
- You tested the flame sensor and it reads within the proper range. If the sensor is working, the problem lies elsewhere.
Preventive Maintenance
To minimize the risk of flame sensor problems, consider the following preventive maintenance tips:
- Schedule regular furnace maintenance with a qualified HVAC technician. They can inspect and clean the flame sensor and other components as part of a routine service.
- Change your furnace filter regularly. A dirty filter can restrict airflow, causing the furnace to overheat and potentially damage the flame sensor.
- Keep the area around your furnace clean and free of debris. This will help ensure proper airflow and prevent dust and dirt from accumulating on the flame sensor.
Conclusion
Troubleshooting a furnace flame sensor can be a manageable DIY task, potentially saving you time and money. By following these steps, you can confidently diagnose and address common flame sensor issues. Remember to prioritize safety, and don't hesitate to call a professional when needed. With a little knowledge and patience, you can keep your furnace running smoothly and your home warm all winter long.