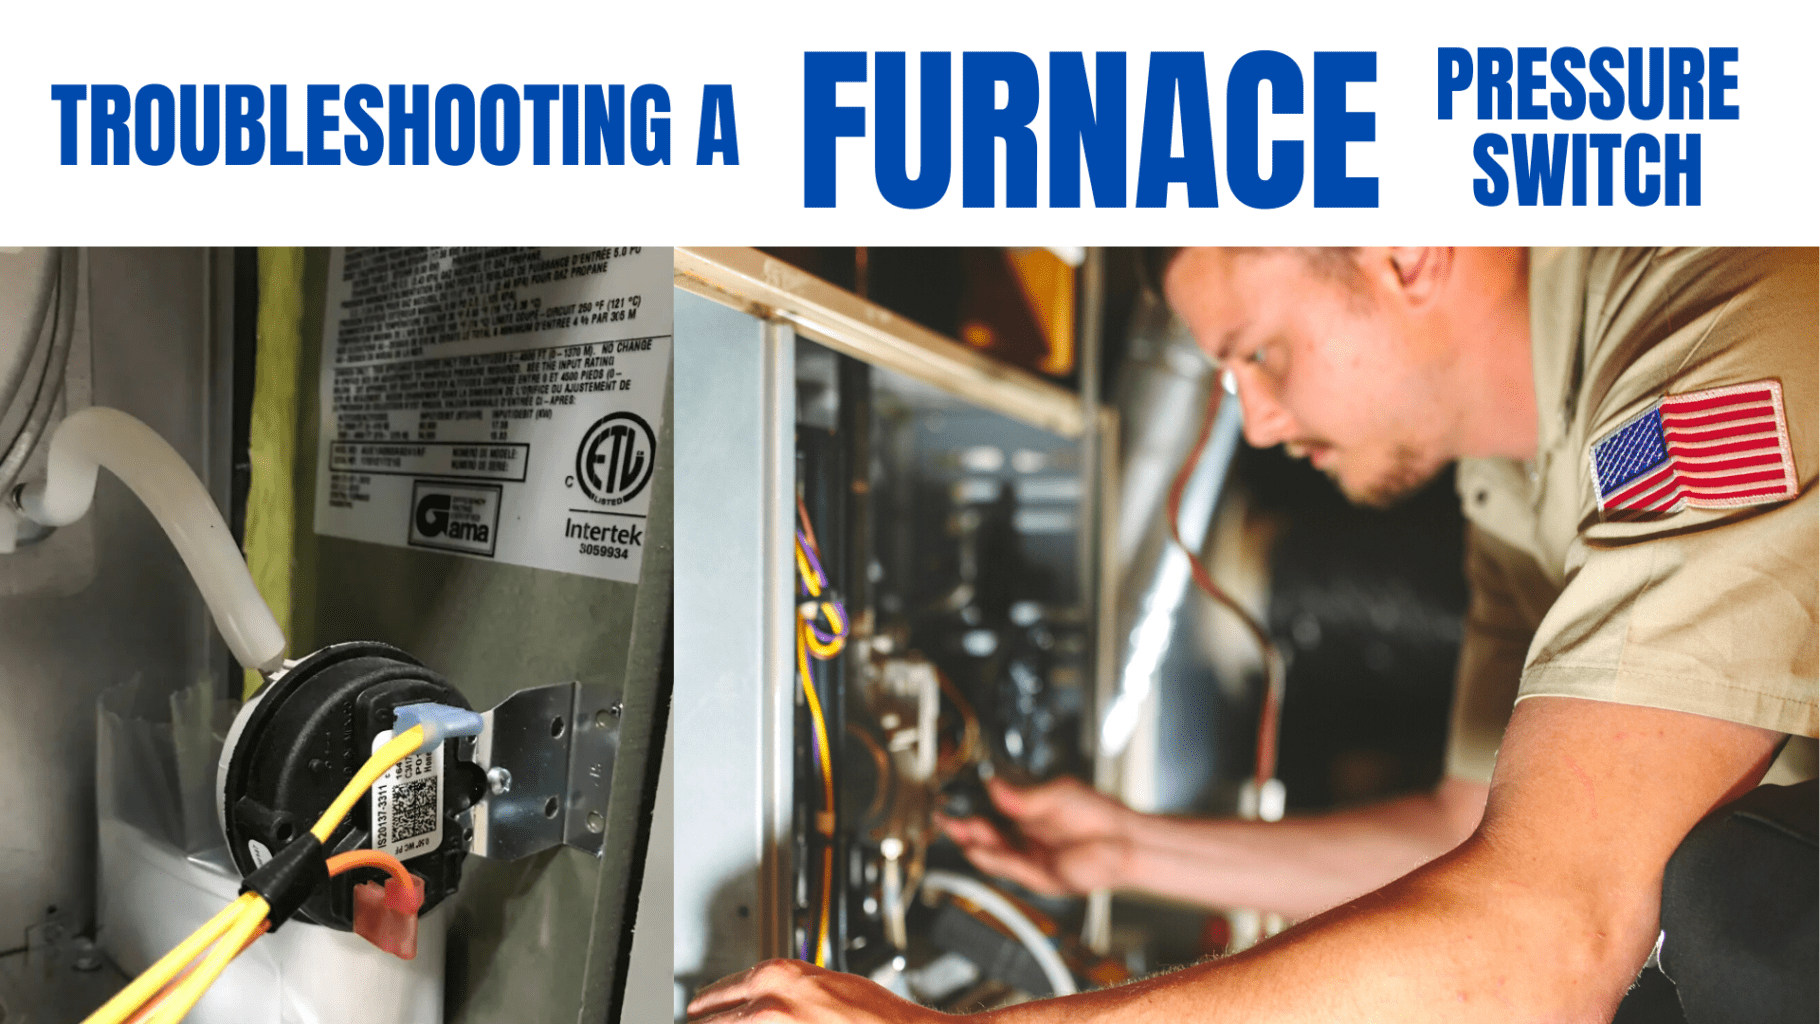
Furnace Low Pressure Switch

Is your furnace playing hard to get? You turn up the thermostat, you hear a click or a hum, but no cozy warmth fills your home. One common culprit behind a furnace that refuses to ignite or shuts down shortly after starting is a faulty or triggered low-pressure switch.
This article will guide you through a systematic troubleshooting process, empowering you to identify if the low-pressure switch is the source of your heating woes and equipping you with the knowledge to perform some basic checks. Remember, safety always comes first! If at any point you feel uncomfortable or unsure, call a qualified HVAC technician.
Understanding the Low-Pressure Switch
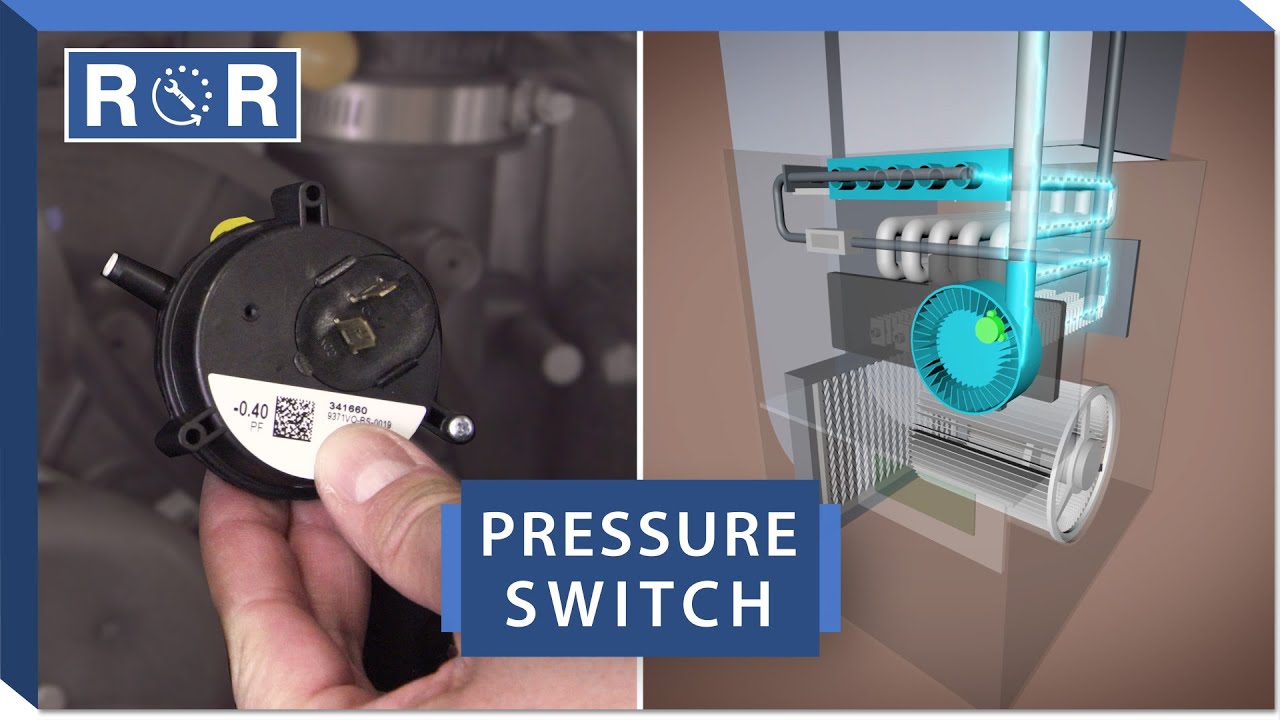
The low-pressure switch is a critical safety device in your furnace. Its primary job is to ensure that the inducer motor, responsible for exhausting combustion gases, is operating correctly and creating sufficient negative pressure within the furnace's venting system. Think of it as a sentinel guarding against the dangerous buildup of carbon monoxide.
If the switch doesn't detect the appropriate level of negative pressure, it will prevent the furnace from igniting or shut it down mid-cycle. This is a good thing! It means the system is designed to protect you from potentially hazardous conditions.
Common causes for a tripped low-pressure switch include:
- Blocked Venting: A clogged vent pipe can restrict airflow, causing insufficient negative pressure. This is the most common reason.
- Faulty Inducer Motor: A failing inducer motor might not generate enough suction.
- Pressure Switch Failure: The switch itself might be defective.
- Condensate Drain Issues: A clogged condensate drain can back up water into the system, affecting pressure.
- Cracked Heat Exchanger: While less common, a crack in the heat exchanger can disrupt pressure and is a serious safety concern.
Troubleshooting Steps: A Methodical Approach
Let's break down the troubleshooting process into manageable steps. Always turn off the power to your furnace at the breaker before performing any checks!
Step 1: Preliminary Checks (No Tools Required)
These initial checks are simple and can be done without any tools. They often reveal the most obvious issues.
- Check the Thermostat: Ensure the thermostat is set to "heat" and the temperature is set a few degrees higher than the current room temperature. A simple mistake can lead to unnecessary troubleshooting. Make sure the batteries are good if it uses them.
- Check the Furnace Power Switch: This is usually a simple on/off switch located on the side of the furnace. Ensure it is in the "on" position.
- Check the Circuit Breaker: Go to your electrical panel and verify that the circuit breaker for the furnace hasn't tripped. If it has, reset it. If it trips again immediately, call a professional. Repeatedly resetting a tripped breaker is dangerous!
- Listen to the Furnace: When you turn on the thermostat, listen carefully. Do you hear the inducer motor starting? Does it sound weak or labored? Or do you hear nothing at all? Pay close attention to any unusual noises.
- Visually Inspect the Vent Pipes: Walk around the outside of your home and visually inspect the vent pipes for any obvious obstructions. Look for bird nests, debris, or collapsed sections of pipe. Also, inspect the intake vent for blockages.
Step 2: Checking the Venting System (Simple Tools May Be Needed)
The venting system is the most likely culprit. This step requires a few basic tools.
- Visually Inspect Venting Connections Inside: With the power OFF, carefully inspect the vent pipes inside your home, near the furnace, for any disconnections, loose connections, or damage. Ensure all joints are properly connected and sealed.
- Check the Condensate Drain: Locate the condensate drain line (usually a PVC pipe leading away from the furnace). Check for any clogs or blockages. You may be able to use a wet/dry vacuum to clear any debris. A clogged drain can cause water to back up and trigger the low-pressure switch.
- Inspect the Vent Termination Outside: Carefully examine the vent termination point outside your home. Use a flashlight to look for obstructions such as leaves, snow, ice, or animal nests. You may need a ladder to reach it safely. If you are uncomfortable working at heights, leave this to a professional. Use a tool like a screwdriver or small auger to carefully clear any obstructions.
Step 3: Checking the Inducer Motor (Requires Multimeter & Some Electrical Knowledge)
This step involves testing the inducer motor, which requires a multimeter and a basic understanding of electrical circuits. If you are not comfortable working with electricity, skip this step and call a professional.
- Visual Inspection: With the power OFF, visually inspect the inducer motor for any signs of damage, such as burnt wires or cracked housing.
- Test for Voltage: Carefully turn the power back on and use a multimeter to check for voltage at the inducer motor terminals when the thermostat calls for heat. Be extremely cautious when working with live electricity! If there is no voltage, the problem may lie in the control board or wiring. If there is voltage but the motor doesn't run, the motor itself may be faulty. Immediately turn off the power before proceeding.
- Check Motor Resistance (Power OFF): With the power OFF, use a multimeter to check the resistance of the inducer motor windings. Consult the motor's specifications (usually printed on the motor itself) for the correct resistance range. If the resistance is significantly outside of this range, the motor is likely faulty.
Step 4: Checking the Low-Pressure Switch Itself (Requires Multimeter)
This step involves testing the low-pressure switch itself.
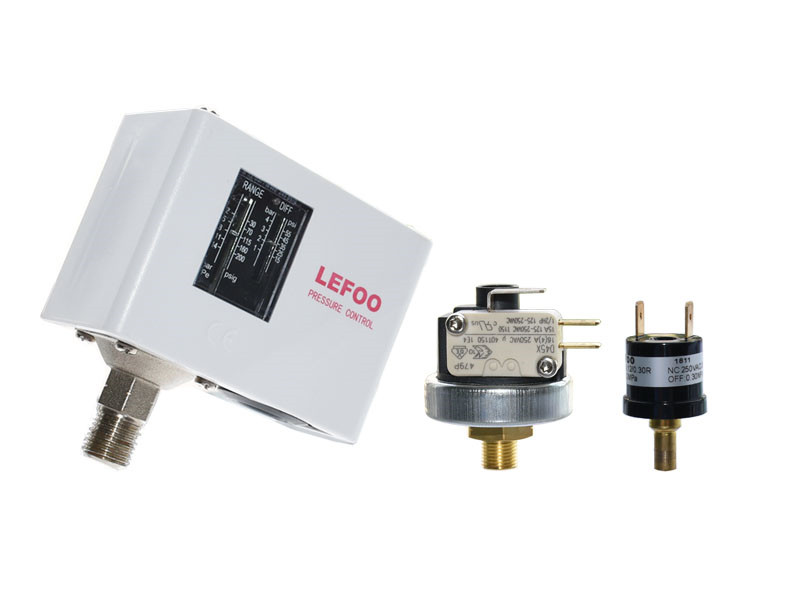
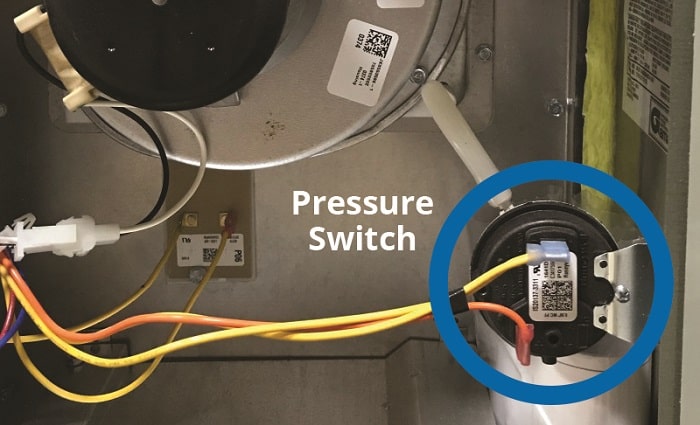
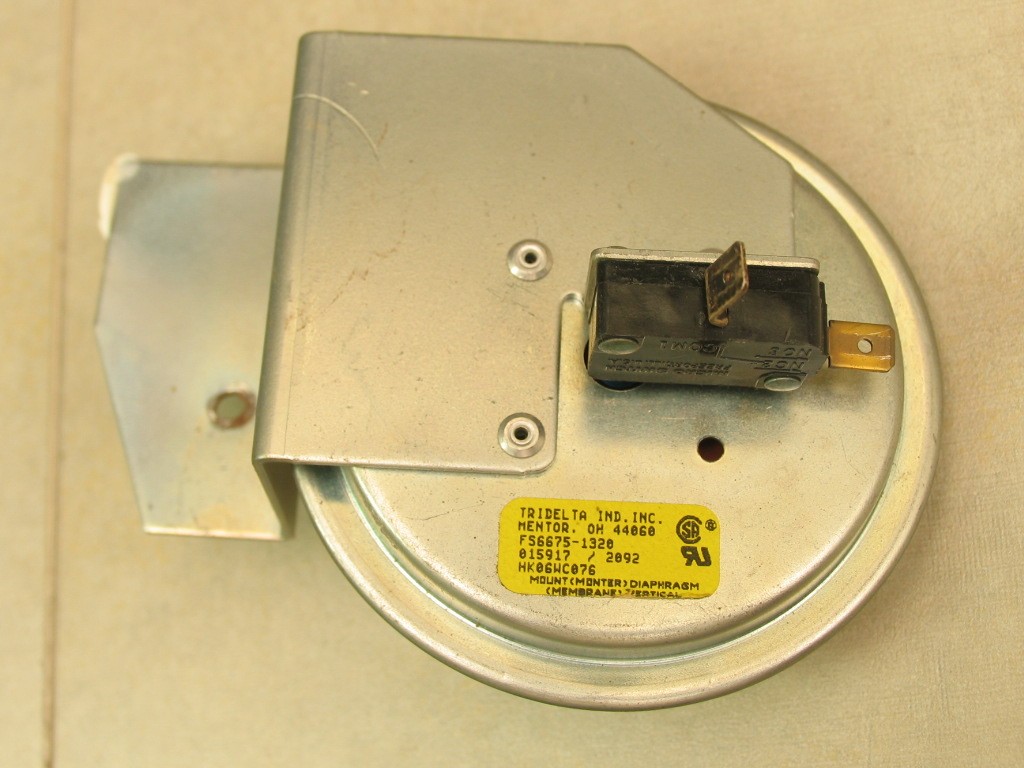
- Locate the Low-Pressure Switch: The low-pressure switch is usually a small, round or rectangular device located near the inducer motor. It will have one or two small hoses connected to it.
- Visual Inspection: With the power OFF, visually inspect the hoses connected to the switch for any cracks, leaks, or disconnections.
- Test for Continuity (Power OFF): With the power OFF, disconnect the wires from the low-pressure switch. Use a multimeter set to the continuity setting (usually indicated by a diode symbol or a beeping sound). Connect the multimeter probes to the terminals of the switch. With the furnace off, the switch should be normally open (no continuity). When the inducer motor is running and creating sufficient negative pressure, the switch should close (continuity). You may need to temporarily bypass the thermostat to force the inducer motor to run for this test – exercise extreme caution and only do so if you are comfortable. If the switch doesn't change state as expected, it may be faulty.
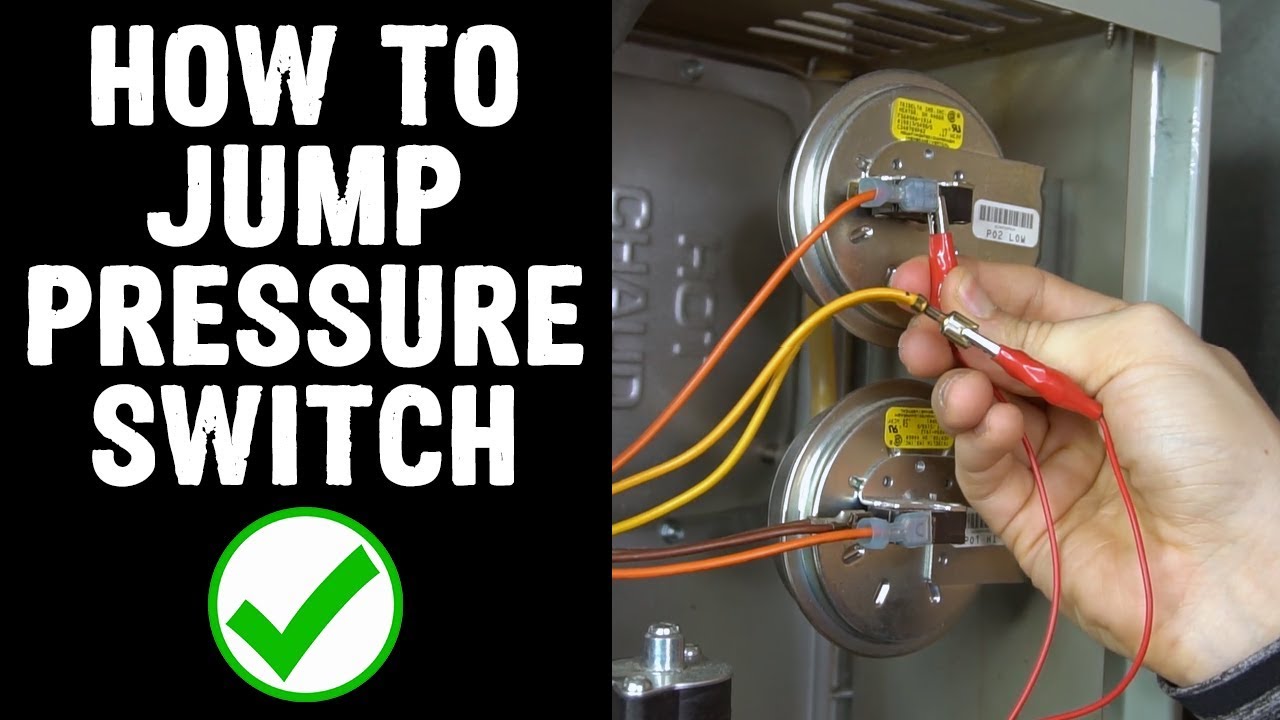
- Bypass the Switch (For Testing Purposes ONLY): With the power OFF, you can briefly bypass the low-pressure switch by disconnecting the wires from the switch and connecting them together. This is for testing purposes ONLY and should not be a permanent solution! If the furnace then starts and runs normally, it confirms that the low-pressure switch is the problem. Immediately turn off the power and replace the switch with a new one. Running the furnace with a bypassed safety switch is dangerous.
DIY Actions: What You Can Do
Based on your troubleshooting, here are some DIY actions you can take:
- Clear Vent Obstructions: If you found any obstructions in the venting system, clear them.
- Clean the Condensate Drain: If the condensate drain was clogged, clean it thoroughly.
- Replace the Low-Pressure Switch: If you have confirmed that the low-pressure switch is faulty, you can replace it yourself. Ensure you purchase the correct replacement part and follow the manufacturer's instructions. Turn off the power to the furnace before replacing any parts.
- Tighten Venting Connections: Make sure all connections in the venting system are tight and secure.
When to Call a Professional HVAC Technician
Certain issues are best left to the professionals. Call a qualified HVAC technician if:
- You are uncomfortable working with electricity or gas.
- You suspect a gas leak.
- The circuit breaker repeatedly trips.
- You find a crack in the heat exchanger. This is a serious safety hazard!
- You are unable to identify the problem after following these troubleshooting steps.
- You suspect a problem with the control board or other complex components.
- You are working at heights and are uncomfortable.
- The inducer motor requires replacement. This is a more complex repair.
Important Safety Reminders:
- Always turn off the power to the furnace at the breaker before performing any checks or repairs.
- Never bypass a safety switch permanently.
- If you smell gas, immediately evacuate your home and call your gas company or fire department.
- Do not attempt to repair a cracked heat exchanger.
Troubleshooting a furnace issue can seem daunting, but by following these steps carefully, you can often identify the problem and perform some simple repairs yourself. Remember to prioritize safety and when in doubt, always call a qualified HVAC technician. A little knowledge and a methodical approach can save you time and money, and keep your home warm and safe.