Furnace Wiring Diagram

One of the most frustrating experiences for a homeowner is waking up to a cold house in the dead of winter, or finding their home sweltering in the summer heat. Often, the culprit is a malfunctioning furnace. While many furnace issues require a qualified HVAC technician, understanding the basic wiring diagram can empower you to troubleshoot some common problems and potentially save on repair costs. This guide provides a practical approach to diagnosing and addressing furnace wiring problems, always prioritizing your safety.
Understanding Your Furnace Wiring Diagram
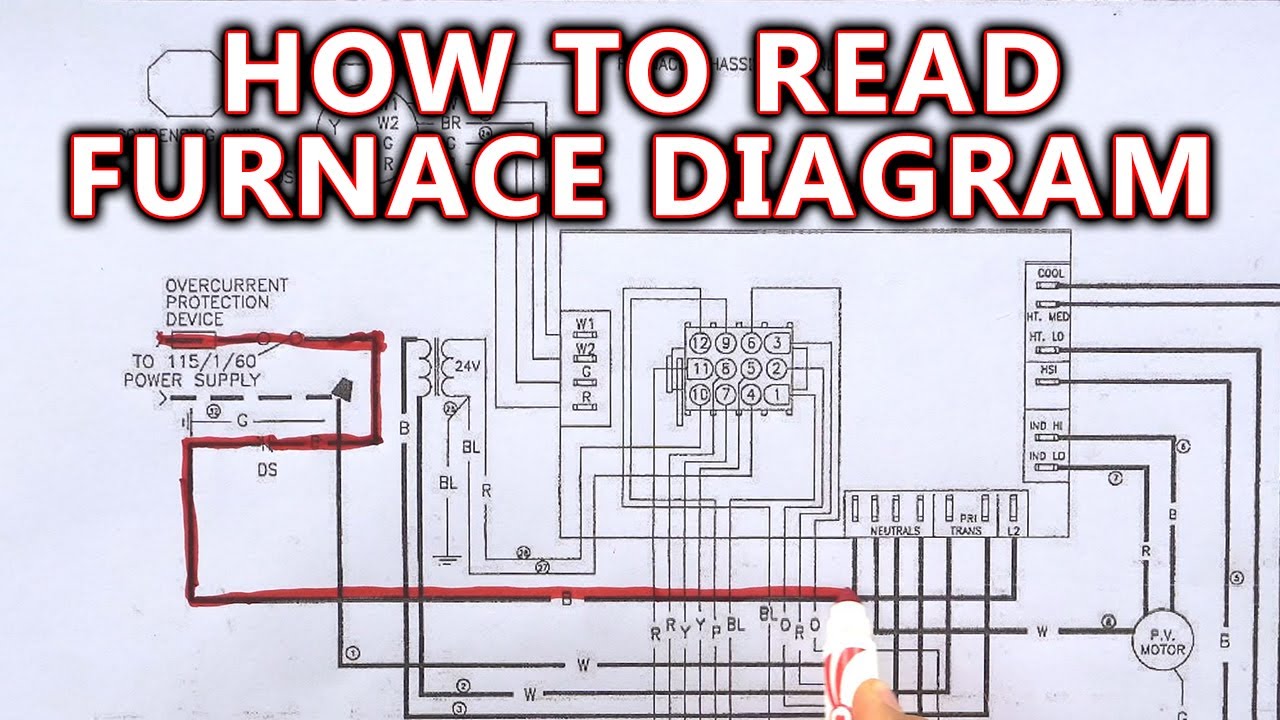
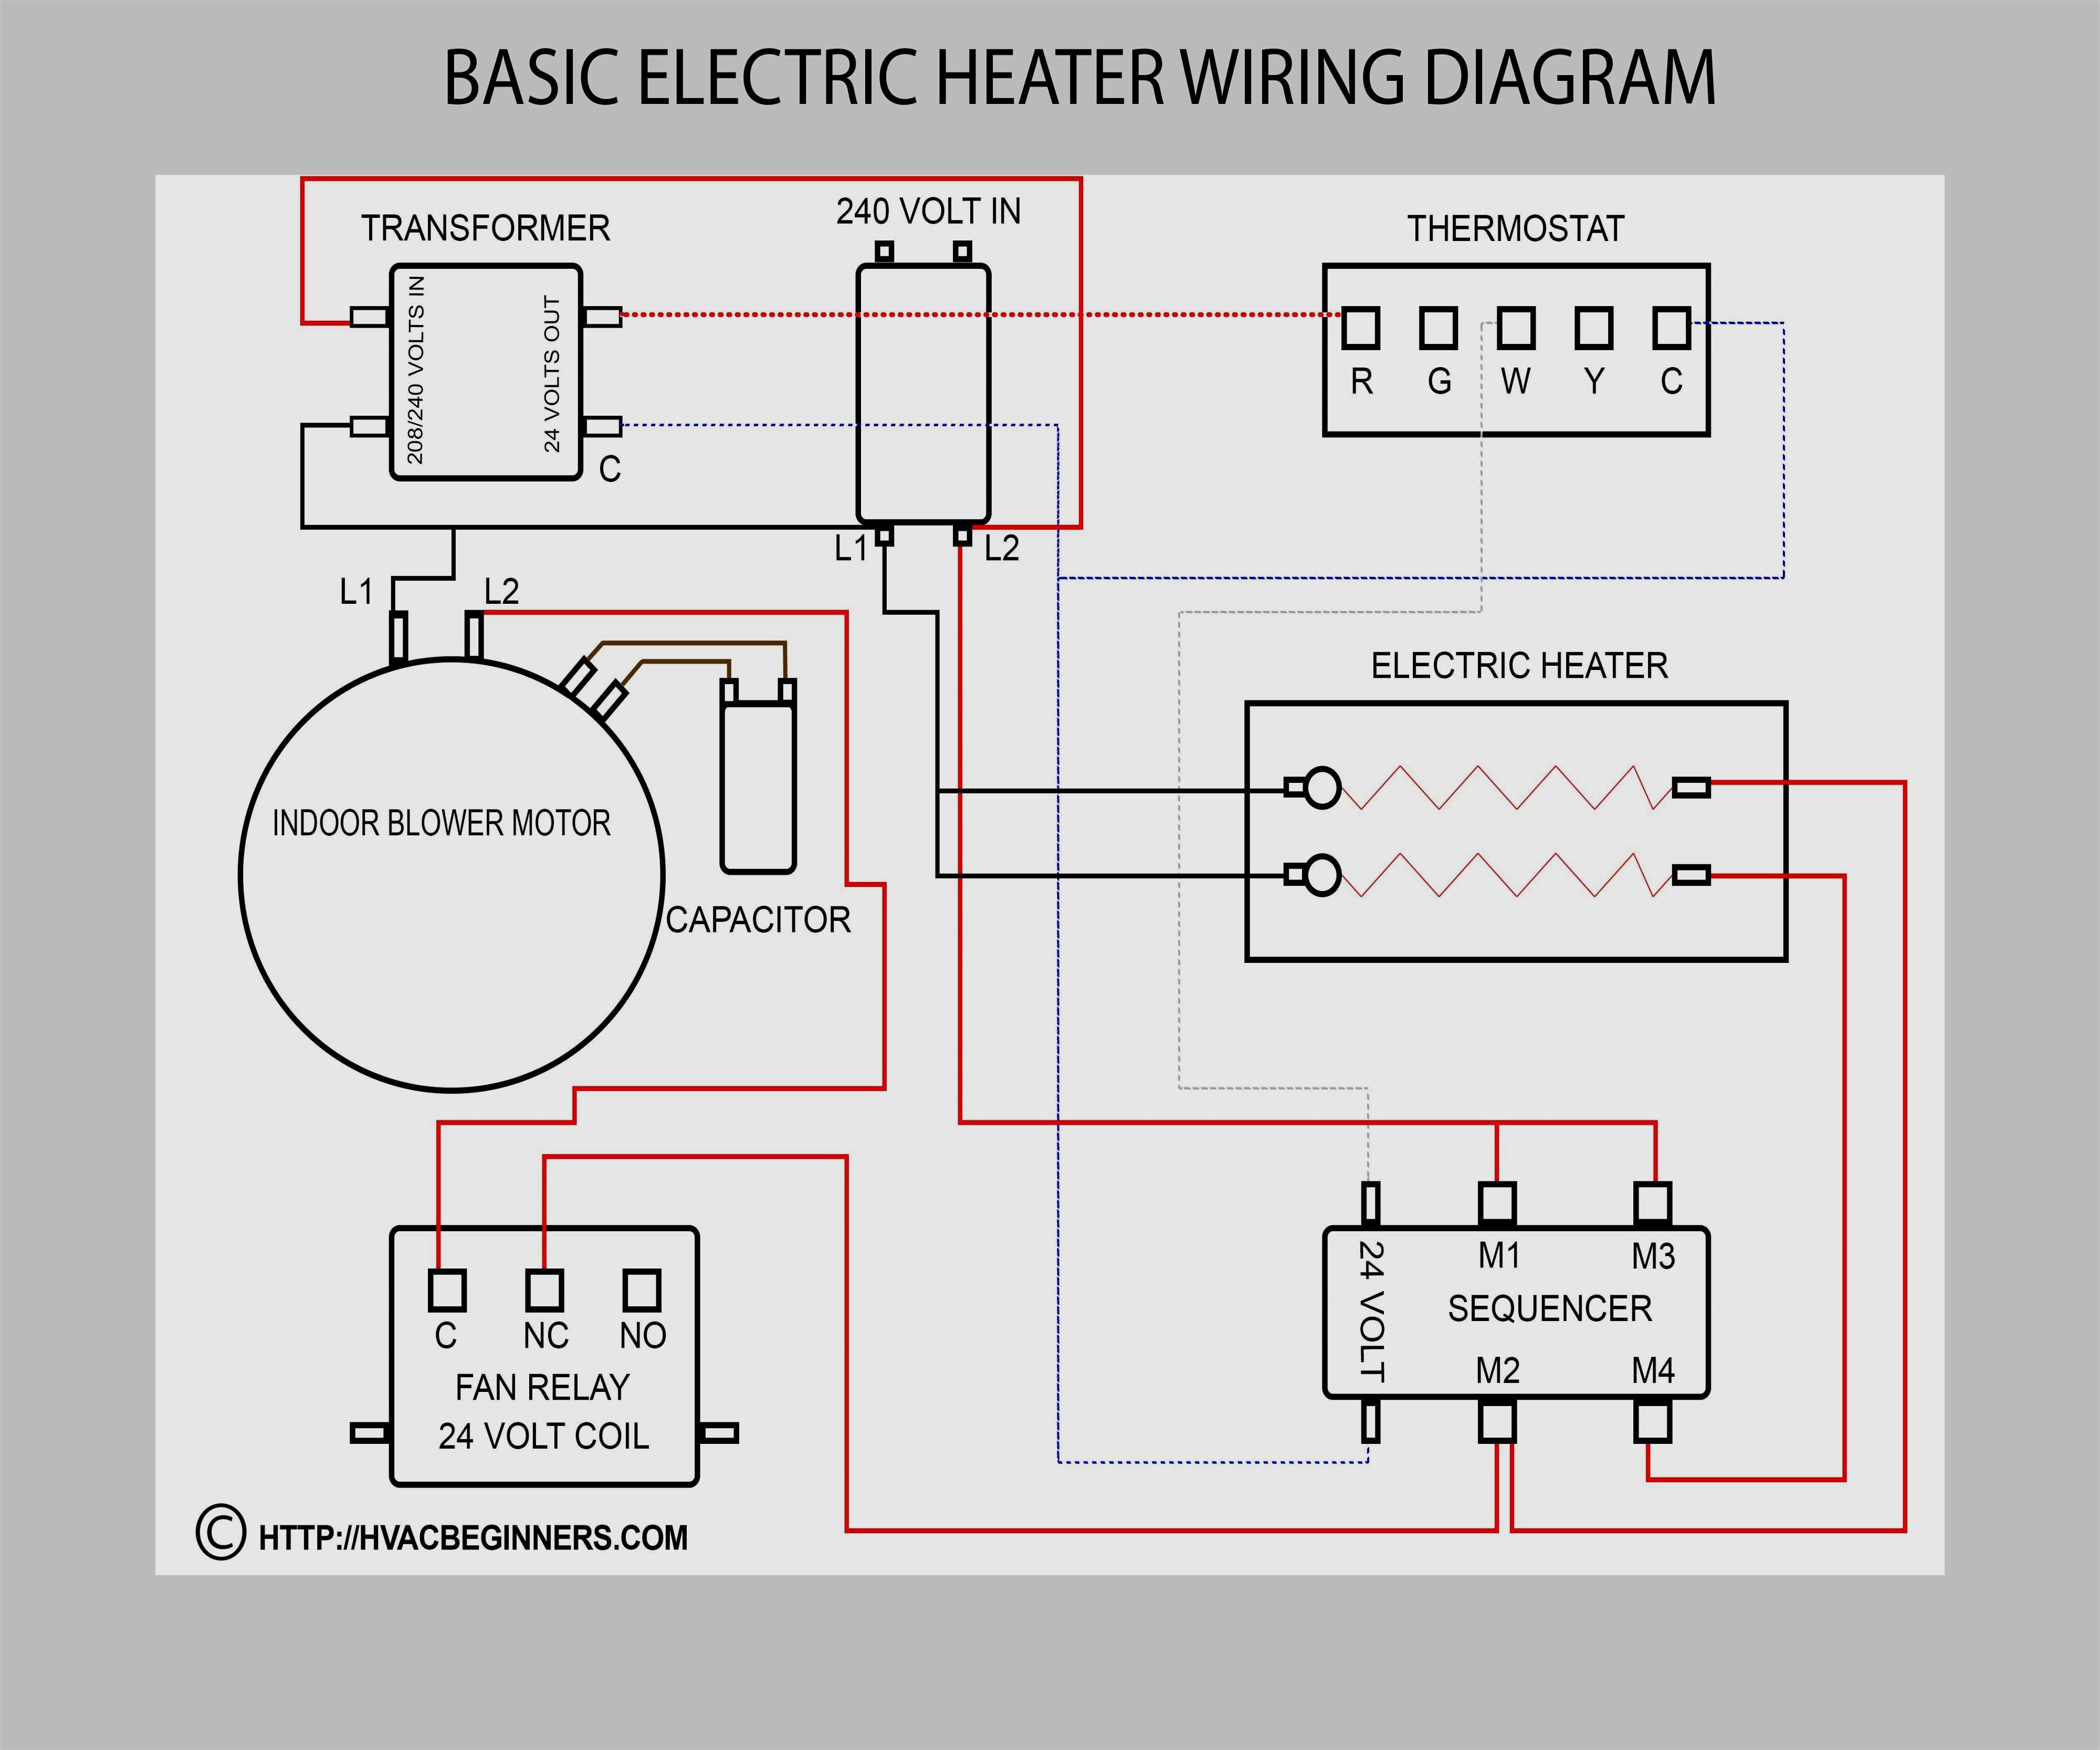
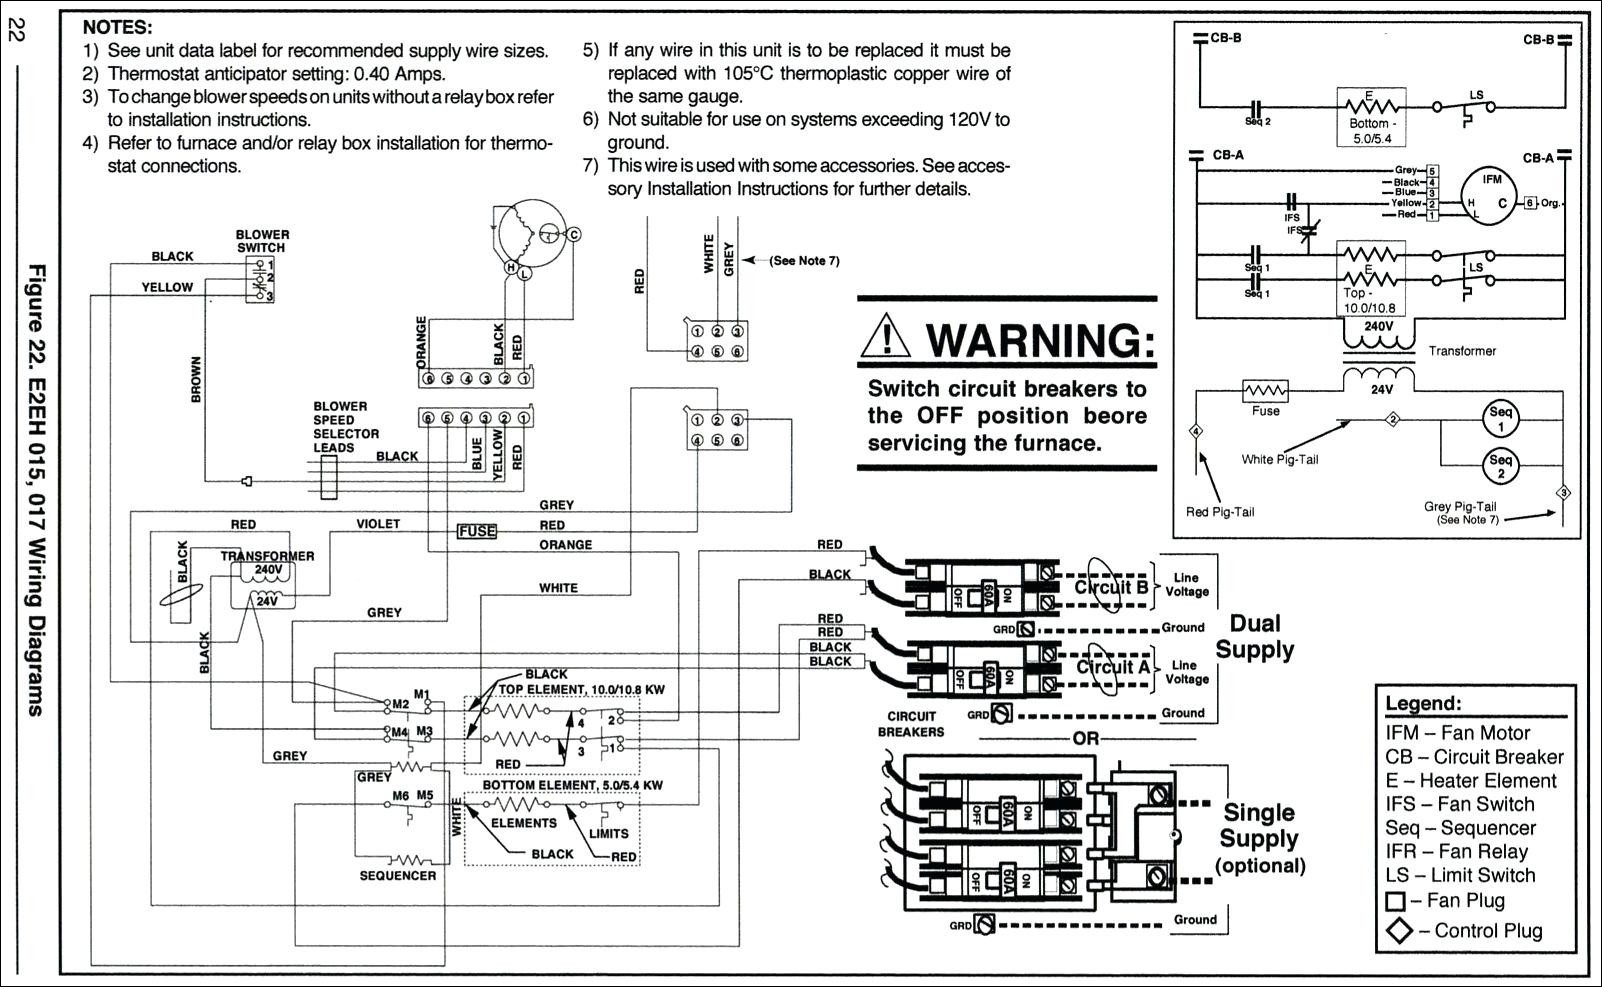
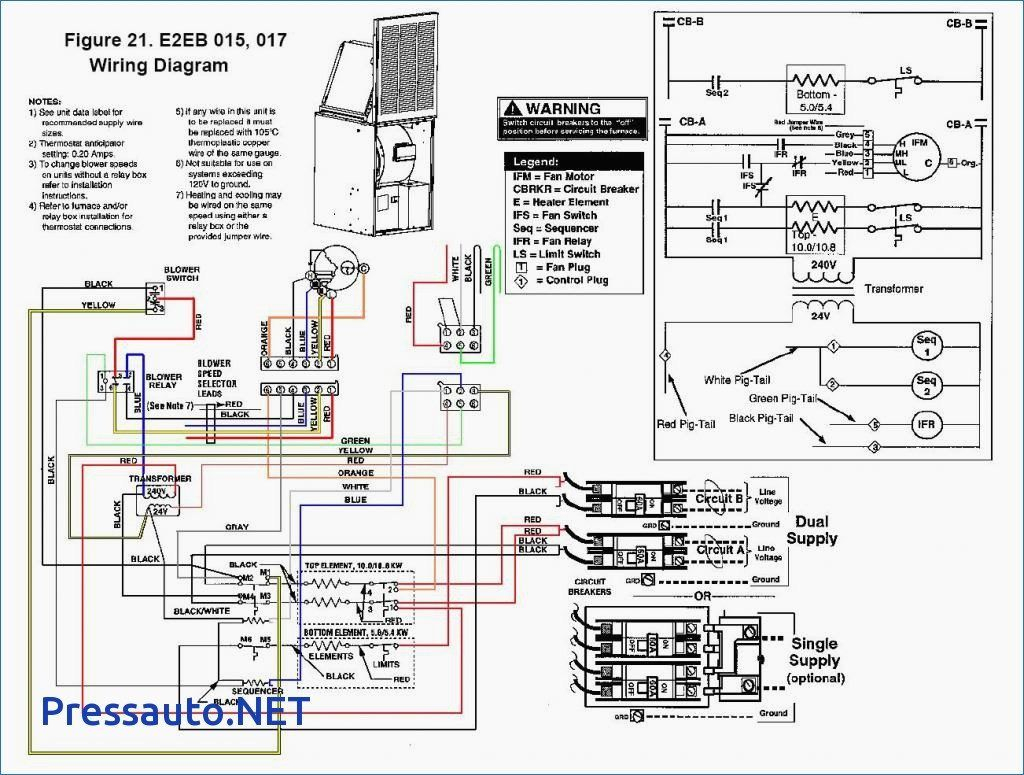
Every furnace has a wiring diagram, usually located on the inside of the furnace access panel. This diagram is essentially a roadmap of your furnace's electrical system, showing how all the components are connected. Before you do anything, locate and familiarize yourself with your furnace's wiring diagram. It might seem intimidating at first, but breaking it down into sections can make it more manageable. It is important to note, that the diagram is furnace-specific, what is true for one furnace is not necessarily true for another.
The diagram will illustrate components like:
- Transformer: Steps down the voltage from your household current (usually 120V) to a lower voltage (typically 24V) used for the control circuits.
- Thermostat: Acts as a switch, signaling the furnace to turn on or off based on the desired temperature.
- Gas Valve: Controls the flow of natural gas to the burners.
- Igniter: Heats up to ignite the gas. This can be a spark igniter or a hot surface igniter.
- Flame Sensor: Detects the presence of a flame and signals the control board to keep the gas valve open.
- Blower Motor: Circulates heated air throughout your home.
- Limit Switch: A safety device that shuts down the furnace if it overheats.
- Control Board: The "brain" of the furnace, controlling the sequence of operations.
- Rollout Switch: Another safety device, usually located near the burners, that shuts down the furnace if flames roll out from the combustion chamber.
Common Heating Problems and Initial Checks (No Tools Required)
Before diving into the wiring, let's cover some common problems that might not even require touching the wires:
- Furnace Not Turning On At All:
- Check the thermostat: Ensure it's set to "Heat" and the temperature is set higher than the current room temperature. Make sure the thermostat is getting power (check the batteries if it has them).
- Check the circuit breaker: Locate the circuit breaker for your furnace in your electrical panel and ensure it hasn't tripped. If it has, reset it. If it trips again immediately, do not keep resetting it. Call an electrician or HVAC technician.
- Check the furnace power switch: Most furnaces have a dedicated power switch (usually located on the side of the unit). Make sure it's in the "On" position.
- Check the air filter: A clogged air filter can restrict airflow and cause the furnace to overheat and shut down. Replace the filter if it's dirty.
- Furnace Turns On But Doesn't Produce Heat:
- Check the gas supply: Ensure your gas supply is turned on. Check other gas appliances in your house to confirm you have gas.
- Check the flame: (If you can safely see the burners) Observe whether the burners light briefly and then shut off, or don't light at all.
- Furnace Turns On and Off Frequently (Short Cycling):
- Check the air filter: Again, a clogged filter is a common culprit.
- Check for blocked vents: Make sure all vents in your home are open and unobstructed.
If these simple checks don't resolve the issue, it's time to investigate the wiring.
Troubleshooting with the Wiring Diagram and Basic Tools (Caution Required!)
Safety First! Before touching any wires, turn off the power to the furnace at the circuit breaker and the furnace power switch. Double-check that the power is off using a non-contact voltage tester. If you are uncomfortable working with electricity, stop here and call a qualified HVAC technician.
You'll need the following tools:
* Non-contact voltage tester * Multimeter * Screwdrivers (various sizes) * Wire strippers/crimpers * Needle-nose pliers1. Checking the Transformer
The transformer is a critical component. A faulty transformer can prevent the control board and other components from receiving the necessary voltage. Using the wiring diagram, locate the transformer. It will have a primary side (usually 120V) and a secondary side (usually 24V).
- Voltage Check: With the power OFF, visually inspect the transformer for any signs of damage, such as burning or swelling. Restore power ONLY to perform the voltage test, and then turn it off again immediately afterward. Set your multimeter to AC voltage. Carefully test the voltage on the primary side of the transformer. You should read approximately 120V. Then, test the voltage on the secondary side. You should read approximately 24V. If you don't get the correct voltage readings on either side, the transformer is likely faulty and needs to be replaced by a qualified technician.
- Continuity Check: If you suspect a short in the transformer itself (and have confirmed there's no voltage), turn off the power completely. Use the multimeter set to continuity mode. Touch the probes to the primary and secondary windings of the transformer. There should be no continuity between them. If there is, the transformer is shorted.
2. Examining the Thermostat Wiring
The thermostat sends signals to the furnace to turn on and off. Problems in the thermostat wiring can cause the furnace to malfunction.
- Visual Inspection: Remove the thermostat from its base. Inspect the wires for any signs of damage, such as fraying, breaks, or loose connections.
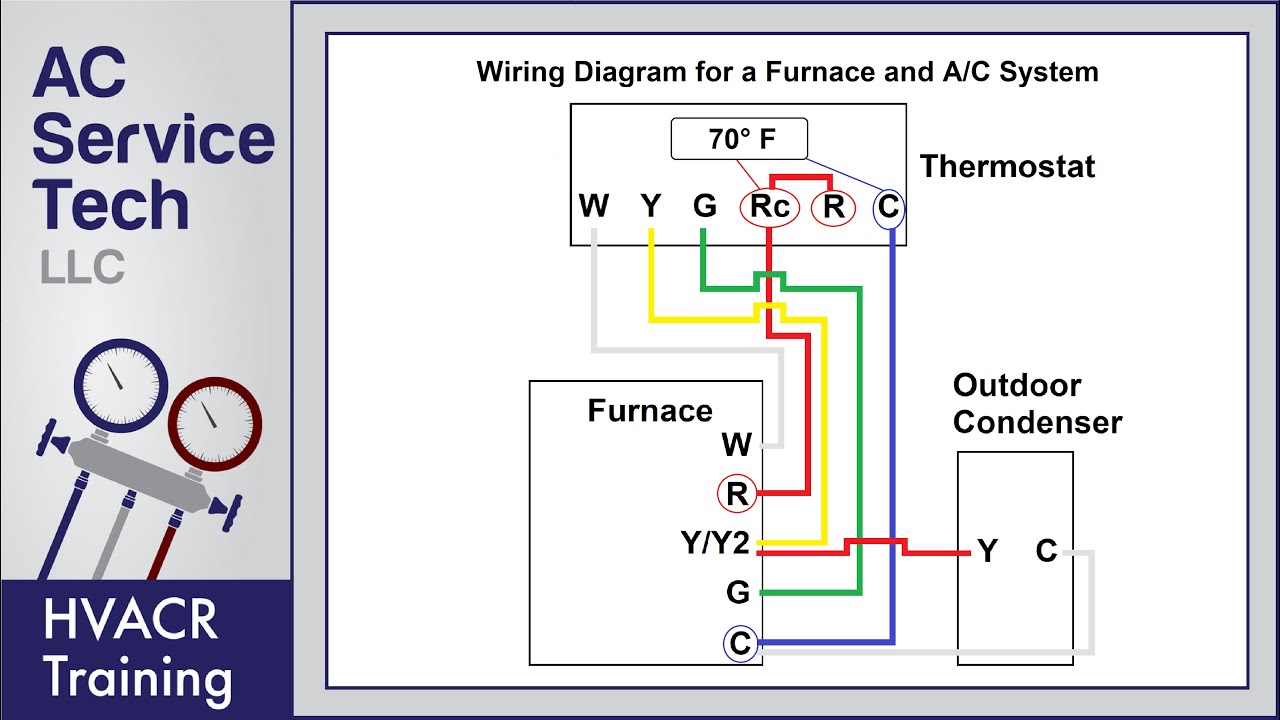
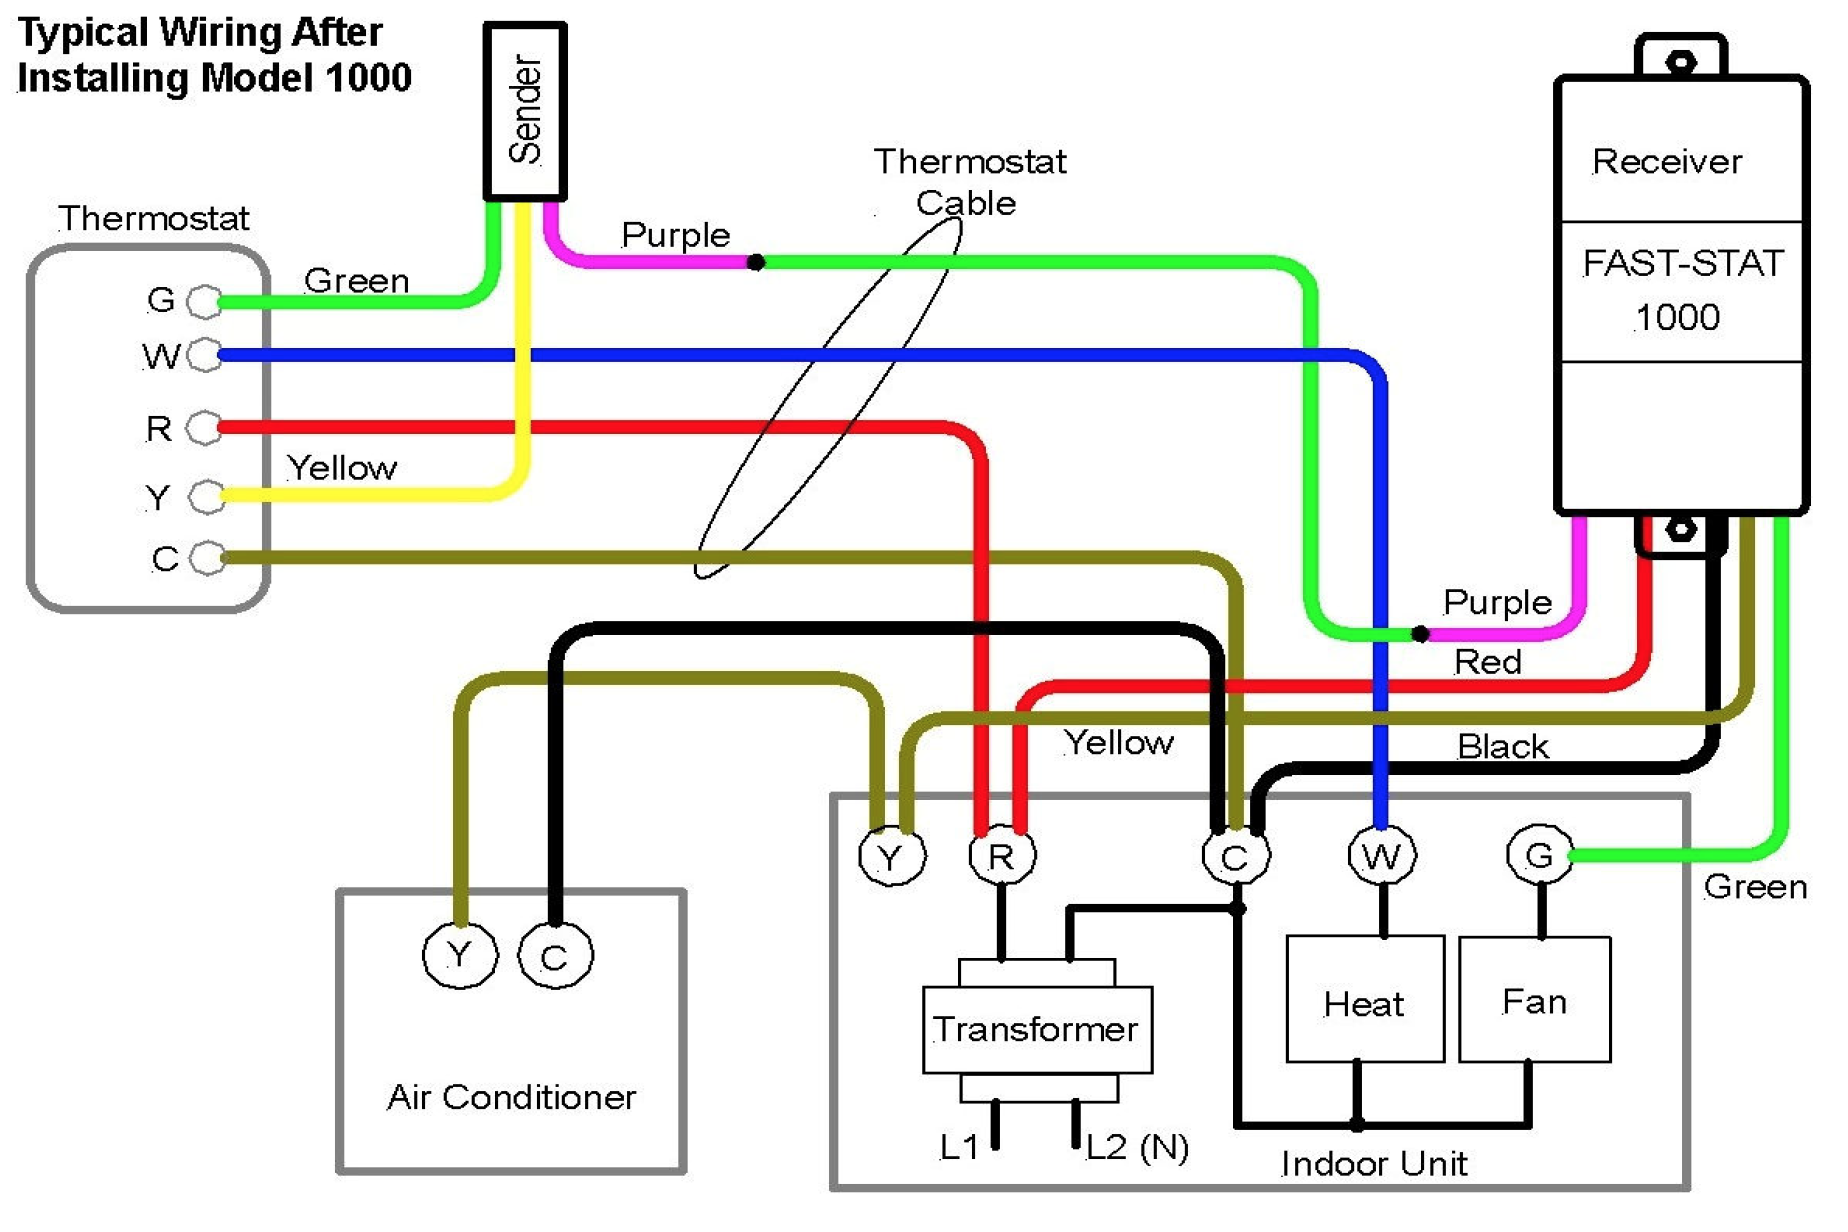
- Wire Connections: Ensure that the wires are securely connected to the correct terminals on the thermostat. Refer to the thermostat's wiring diagram (usually printed on the back of the thermostat) and your furnace wiring diagram. Common terminals include R (power), W (heat), Y (cooling), G (fan), and C (common). Note: Some newer thermostats require a "C" wire (common wire) to function correctly. If you don't have a "C" wire, you may need to have one installed or upgrade to a thermostat that doesn't require one.
- Continuity Test: Turn off the power to the furnace. Disconnect the wires from the thermostat terminals. Using a multimeter set to continuity, test the continuity between the R and W wires when the thermostat is calling for heat. You should get a reading close to zero ohms (indicating continuity). If you don't, the thermostat might be faulty or there might be a break in the wiring between the thermostat and the furnace.
3. Inspecting Safety Switches (Limit Switch and Rollout Switch)
Safety switches are designed to shut down the furnace in case of overheating or other unsafe conditions. These are typically wired in series, meaning if one switch opens, the entire circuit is broken.
- Location: Use your furnace wiring diagram to locate the limit switch (usually on the furnace housing near the heat exchanger) and the rollout switch (usually near the burners).
- Visual Inspection: Check for any signs of damage, such as burning or corrosion.
- Continuity Test: Turn off the power to the furnace. Disconnect the wires from the switch. Using a multimeter set to continuity, test the continuity across the switch terminals. Normally, the switch should be closed (showing continuity). If the switch is open (no continuity), it has tripped. Resetting the switch may be possible (some have a reset button), but first, identify the underlying cause of the trip. Do not bypass the safety switch! This is extremely dangerous. A tripped safety switch usually indicates a serious problem, such as overheating or a blocked flue. Consult a qualified HVAC technician to diagnose and repair the underlying problem.
4. Checking the Flame Sensor
The flame sensor is a thin metal rod located near the burner. It detects the presence of a flame and signals the control board to keep the gas valve open. A dirty or faulty flame sensor is a common cause of the furnace turning on briefly and then shutting off.
- Location: Locate the flame sensor near the burner.
- Cleaning: Turn off the power to the furnace. Carefully remove the flame sensor. Use a piece of fine-grit sandpaper or steel wool to gently clean the rod. Reinstall the flame sensor.
- Testing: After cleaning, reassemble and turn power on. If the flame sensor still causes the furnace to turn off, it needs replacement from a qualified technician.
5. Control Board
The control board is the central hub of the furnace's electrical system. It controls the sequence of operations, monitors safety switches, and communicates with other components. Control board problems are often complex and require specialized knowledge and equipment.
Diagnosis: Visually inspect the control board for any signs of damage, such as burnt components, cracked traces, or bulging capacitors. Smell for burnt plastic. If you see any signs of damage, the control board needs to be replaced by a qualified HVAC technician.
When to Call a Professional
While these troubleshooting steps can help you identify and resolve some common furnace wiring problems, there are situations where you should always call a qualified HVAC technician:
* If you are uncomfortable working with electricity. * If you suspect a gas leak. * If you see signs of fire damage or burning. * If the furnace is making unusual noises (e.g., banging, grinding, hissing). * If you suspect a problem with the heat exchanger. A cracked heat exchanger can leak carbon monoxide, which is deadly. * If you are unable to diagnose the problem after following these troubleshooting steps. * If you are dealing with high voltage components. * Any work with the gas valve or gas lines. * Repairing or replacing the control board. * Replacing the heat exchanger. * Anything involving refrigerant in heat pumps (if your furnace system is also a heat pump).Attempting repairs beyond your skill level can be dangerous and can potentially damage your furnace or even cause a fire. It's always better to err on the side of caution and call a professional.
Conclusion
Understanding your furnace wiring diagram and performing basic troubleshooting can empower you to resolve some common heating problems. However, always prioritize safety and know when to call a qualified HVAC technician. By following these steps and exercising caution, you can keep your furnace running safely and efficiently, ensuring a warm and comfortable home during the winter months. Remember to always turn off power before working on your system!