Gas Stove With Built In Vent
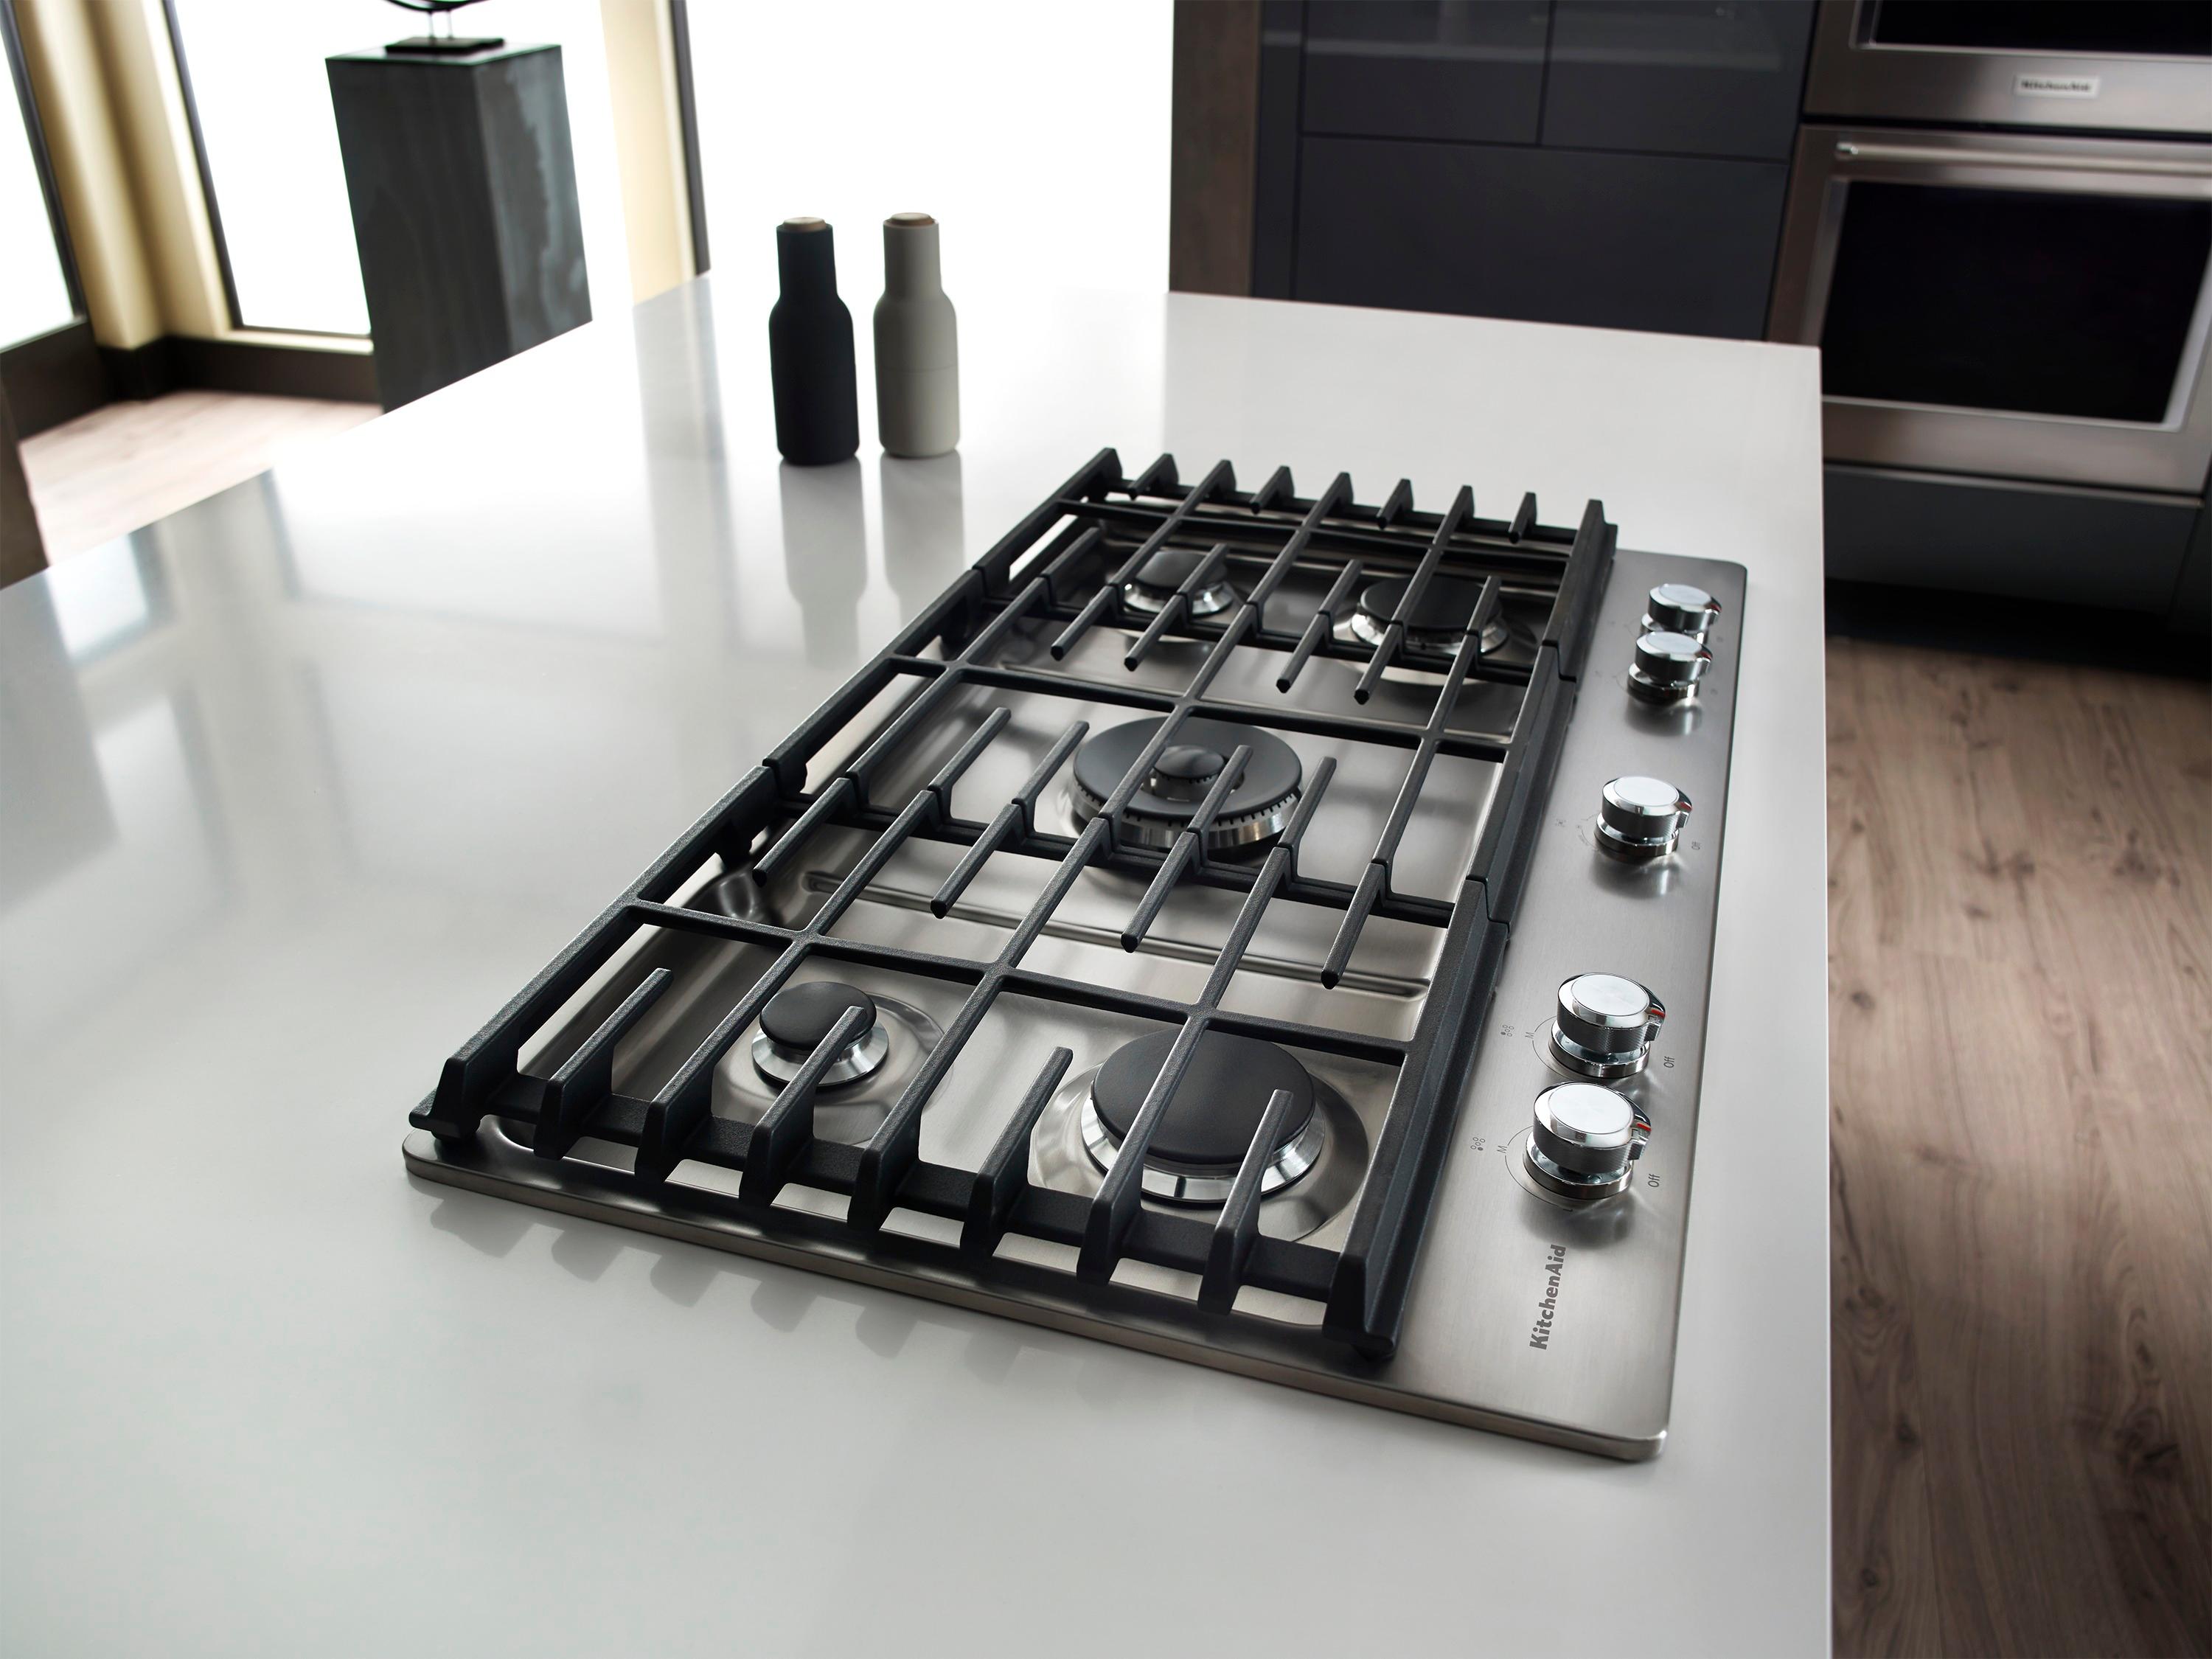
A gas stove with a built-in vent offers a sleek and efficient way to manage cooking fumes and odors. However, a common frustration homeowners face is a ventilation system that isn't working as powerfully as it should. This can lead to lingering smells, greasy residue buildup, and even trigger smoke alarms. Before you call a repair technician, let's walk through some simple troubleshooting steps you can take to diagnose and potentially fix the problem yourself.
Understanding Your Vent System
First, it's important to understand the basics of your specific built-in vent system. These systems typically fall into two categories:
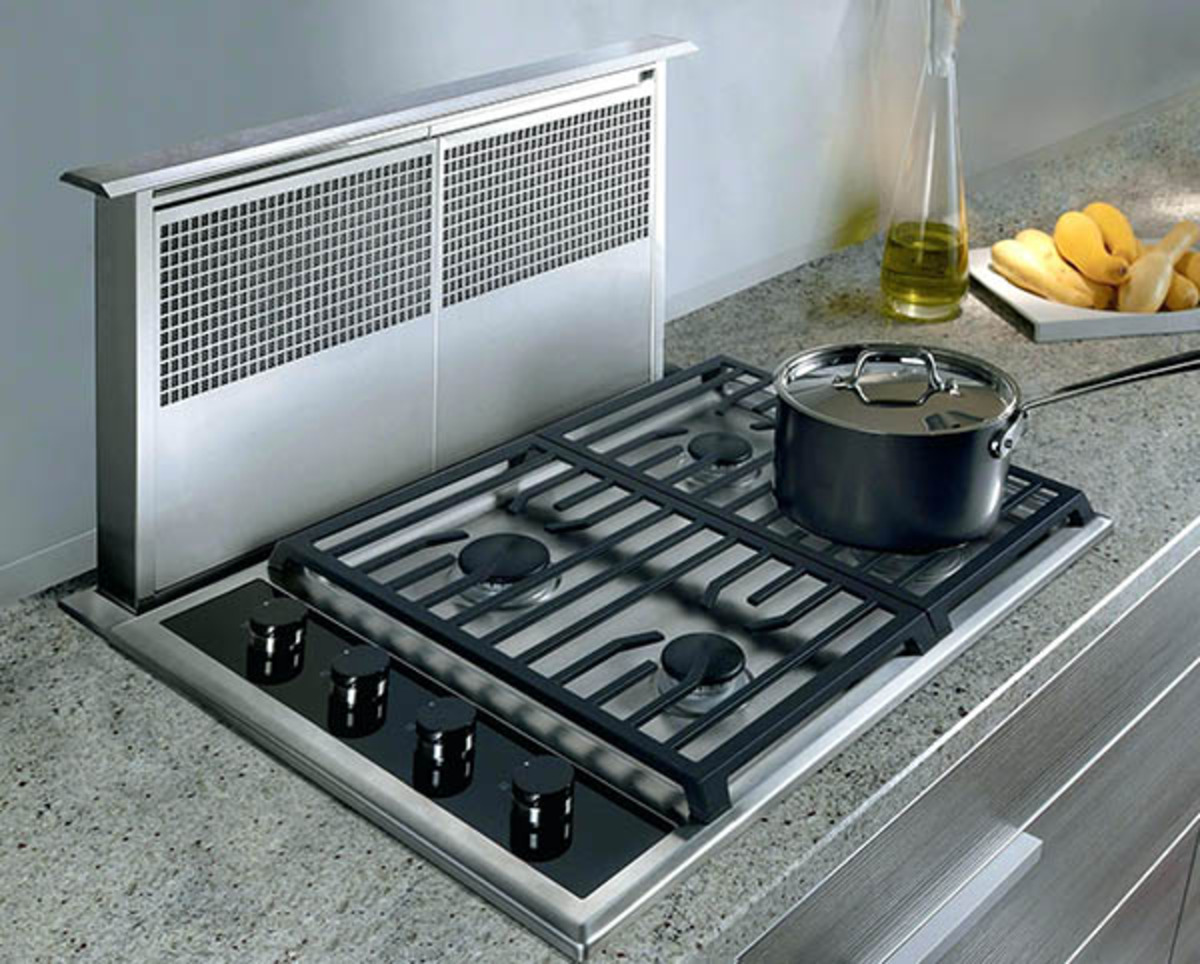
- Downdraft Vents: These vents are integrated into the stovetop itself, drawing air downwards and typically venting outside.
- Updraft Vents with Integrated Hoods: Some gas stoves feature an integrated range hood above the burners, operating like a traditional range hood and venting upwards.
Knowing which type you have will help you target your troubleshooting efforts.
Problem: Weak or Non-Existent Vent Suction
Let's address the most common issue: the vent isn't sucking up fumes effectively. Here's a step-by-step approach to diagnose and fix the problem:
Step 1: Check the Power Supply
This might seem obvious, but always start with the basics. Is the vent fan actually receiving power?
- Verify the Power Cord: Ensure the vent is plugged securely into a working outlet. Try plugging another appliance into the same outlet to confirm the outlet is functioning.
- Check the Circuit Breaker: Go to your electrical panel and check the circuit breaker that controls your stove and vent. If the breaker has tripped (is in the "off" or middle position), flip it fully "off" and then back "on".
If the power supply is the issue, fixing it here can solve the whole problem! If not, move on to the next step.
Step 2: Inspect and Clean the Vent Filter(s)
Clogged filters are a major culprit behind weak vent performance. Grease and debris accumulate over time, restricting airflow.
- Locate the Filter(s): Consult your stove's owner's manual to find the location of the filter(s). They are usually located underneath the vent opening or within the range hood.
- Remove the Filter(s): Typically, you can slide the filter(s) out or unlatch them. Be careful, as they may be coated in grease.
- Clean the Filter(s): Wash the filter(s) thoroughly with hot, soapy water. Use a degreasing agent for stubborn grease buildup. You can also clean them in the dishwasher, but check your owner's manual first to ensure they are dishwasher-safe.
- Dry Completely: Before reinstalling the filter(s), ensure they are completely dry to prevent mold or mildew growth.
- Reinstall the Filter(s): Carefully slide or latch the clean, dry filter(s) back into place.
After cleaning the filter(s), test the vent's suction. If it's improved, you've likely found the problem! If not, continue troubleshooting.
Step 3: Examine the Vent Ductwork (If Accessible)
For downdraft vents in particular, obstructions in the ductwork can severely restrict airflow. While this step might require a bit more effort, it can uncover hidden blockages.
- Safety First: Always turn off the power to the stove at the circuit breaker before attempting to inspect or work on the ductwork.
- Locate the Ductwork Access: The access point to the ductwork may be behind the stove, under the floor, or in the cabinet beneath the stovetop. Refer to your owner's manual for specific instructions.
- Visually Inspect the Ductwork: Use a flashlight to examine the ductwork for any visible obstructions, such as debris, nests, or collapsed sections.
- Remove Obstructions: If you find any removable obstructions, carefully remove them. A long-handled brush or vacuum cleaner attachment can be helpful.
- Check for Duct Leaks: Look for any signs of gaps or disconnections in the ductwork. Seal any leaks with aluminum foil tape specifically designed for HVAC systems. Do not use duct tape, as it degrades over time.
- Reassemble and Test: Reassemble any components you disassembled to access the ductwork. Turn the power back on and test the vent's suction.
Important Note: If the ductwork is difficult to access or you're uncomfortable working with it, it's best to consult a professional HVAC technician.
Step 4: Test the Vent Fan Motor
If the previous steps haven't resolved the issue, the problem may lie with the vent fan motor itself.
- Listen for the Motor: Turn on the vent fan and listen carefully. Do you hear the motor running at all? If not, the motor may be completely dead.
- Check for Unusual Noises: If the motor is running but making strange noises (e.g., grinding, squealing), it may be failing.
- Inspect the Fan Blades: If accessible, inspect the fan blades for any damage or obstructions. Sometimes, a bent blade can impede airflow and strain the motor.
Important Note: Working directly with the vent fan motor can be dangerous. This step is best left to a qualified appliance repair technician unless you have experience with electrical repairs.
Problem: Vent is Noisy
A noisy vent can be annoying and indicate a problem. Here's how to troubleshoot:
Step 1: Check for Loose Components
Vibrations can cause parts to loosen over time, leading to rattling or buzzing noises.
- Inspect Screws and Fasteners: Carefully examine all screws and fasteners that hold the vent system together. Tighten any loose screws.
- Check for Rattling Ductwork: If the ductwork is accessible, ensure it's properly secured and not rattling against surrounding structures. Add insulation or padding to dampen vibrations.
Step 2: Clean the Fan Blades
As mentioned before, dirty fan blades can not only reduce airflow but also cause imbalance and noise.
- Follow the steps in "Step 2: Inspect and Clean the Vent Filter(s)" to access and clean the fan blades. Ensure they are free of grease and debris.
Step 3: Lubricate the Motor (If Applicable)
Some vent fan motors have lubrication points that can dry out over time, causing squealing noises.
- Consult Your Owner's Manual: Check your owner's manual to see if your vent fan motor has lubrication points.
- Use the Correct Lubricant: Use a small amount of light machine oil specifically designed for electric motors.
- Apply Lubricant Sparingly: Avoid over-lubricating the motor. A few drops of oil on each lubrication point is usually sufficient.
Important Note: If you're unsure about lubricating the motor, it's best to consult a professional.
Problem: Vent Smells Bad
A lingering bad odor coming from the vent is a common complaint. Here's how to address it:
Step 1: Thoroughly Clean the Filters
As with weak suction, dirty filters are a prime source of odors.
- Refer back to "Step 2: Inspect and Clean the Vent Filter(s)". Consider soaking the filters in a solution of baking soda and water to neutralize odors.
Step 2: Clean the Vent Housing
Grease and food particles can accumulate inside the vent housing, creating a breeding ground for bacteria and odors.
- Safety First: Turn off the power to the stove at the circuit breaker before cleaning the vent housing.
- Wipe Down Surfaces: Use a degreasing cleaner and a damp cloth to wipe down all accessible surfaces inside the vent housing.
- Pay Attention to Corners: Use a small brush to reach into corners and crevices.
- Rinse and Dry: Rinse the cleaned surfaces with clean water and dry thoroughly.
Step 3: Check the Ductwork for Food Debris
Sometimes, food particles can accidentally get sucked into the ductwork and decompose, causing a foul odor.
- Refer back to "Step 3: Examine the Vent Ductwork (If Accessible)". Pay close attention to any areas where food debris might accumulate.
When to Call a Professional
While many vent problems can be resolved with simple DIY troubleshooting, there are situations where professional intervention is necessary:
- Electrical Problems: If you suspect an electrical problem with the vent fan motor or wiring, do not attempt to repair it yourself. Contact a qualified electrician.
- Gas Leaks: If you smell gas, immediately evacuate your home and call your gas company or fire department. Do not attempt to troubleshoot or repair any gas-related issues yourself.
- Difficult Ductwork Access: If the ductwork is difficult to access or you're uncomfortable working with it, it's best to consult an HVAC technician.
- Motor Replacement: Replacing the vent fan motor is a complex task that requires specialized knowledge and tools. It's best left to a qualified appliance repair technician.
- Persistent Problems: If you've tried all the troubleshooting steps and the vent still isn't working properly, it's time to call a professional.
By following these steps, you can confidently troubleshoot common problems with your gas stove's built-in vent. Remember to prioritize safety and don't hesitate to seek professional help when needed. With a little effort, you can keep your vent system running smoothly and efficiently for years to come.