Goodman Ck24 1b Specs

The Goodman CK24-1B is a compact and efficient air conditioning condenser unit designed for smaller homes or apartments. Understanding its specifications is crucial for proper maintenance, troubleshooting, and making informed decisions about repairs or replacements. This article will delve into the specifics of the CK24-1B, offering practical advice for homeowners and DIY enthusiasts.
Goodman CK24-1B: Core Specifications
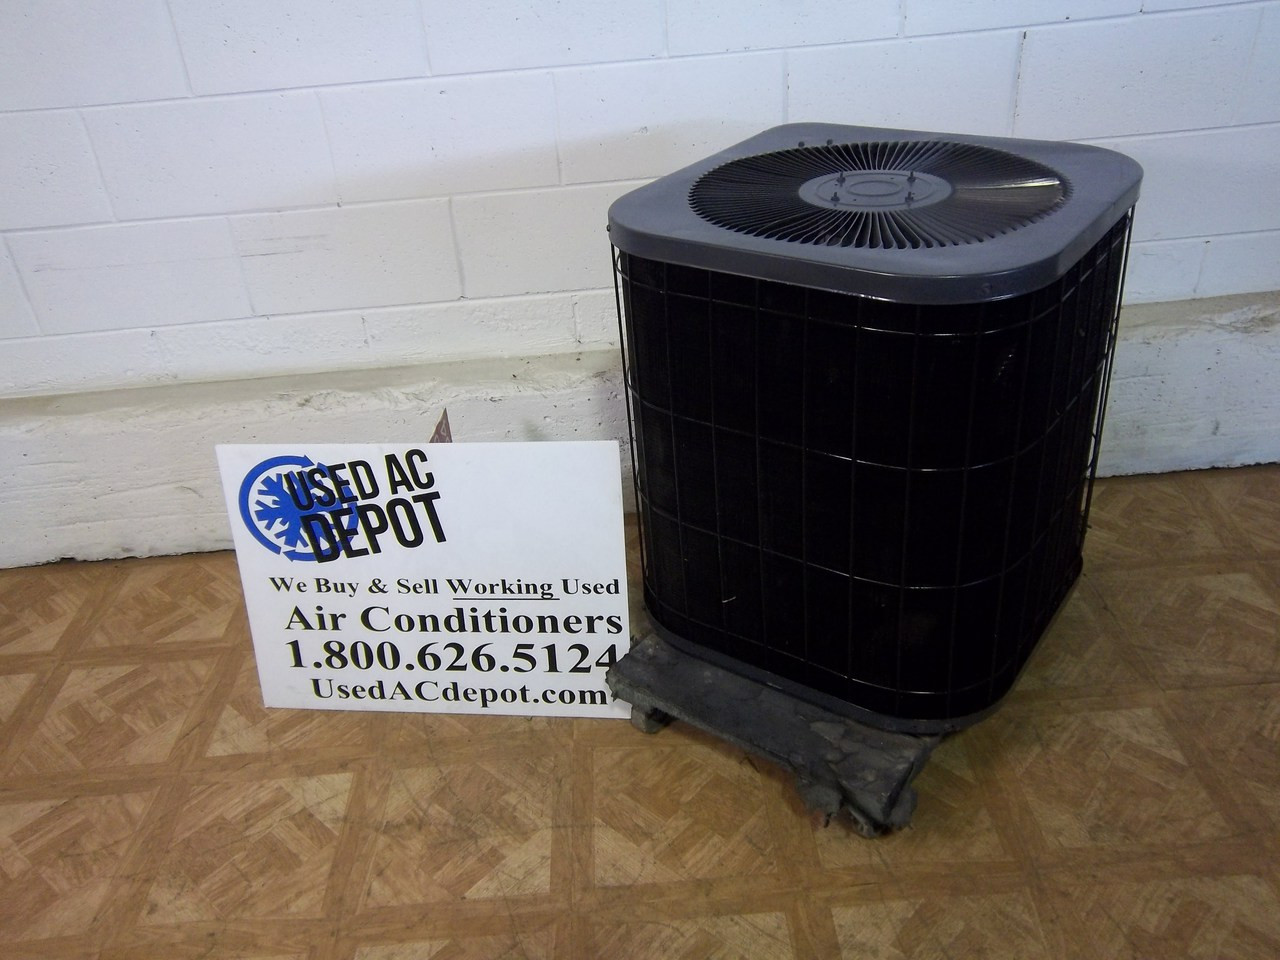
The CK24-1B is a 2-ton (24,000 BTU) air conditioning condenser designed to provide cooling for a relatively small space. Here's a breakdown of key specs:
- Cooling Capacity: 24,000 BTU/h (2 tons)
- SEER Rating: Typically between 13 and 14 SEER (Seasonal Energy Efficiency Ratio). This rating indicates the unit's energy efficiency; higher SEER ratings translate to lower energy bills.
- Refrigerant: R-410A. Note: R-22 is an older refrigerant and should not be used.
- Voltage: 208-230V, single phase, 60Hz. Always verify the voltage before working on any electrical components.
- Minimum Circuit Ampacity (MCA): Check the unit's nameplate for the precise MCA. This is the minimum amperage the circuit supplying power to the unit must be rated for.
- Maximum Overcurrent Protection (MOCP): Again, refer to the nameplate. This is the maximum size breaker or fuse that can be used to protect the circuit.
- Compressor Type: Typically a scroll compressor. Scroll compressors are known for their efficiency and quiet operation.
- Dimensions: Height, width, and depth will vary slightly, but generally, expect a relatively compact footprint. Refer to the Goodman product specifications sheet for the exact dimensions.
- Weight: Varies depending on the exact configuration, but generally around 150-200 lbs.
Troubleshooting Common Issues
Many AC problems can stem from simple issues. Here are some common problems associated with air conditioners, including the Goodman CK24-1B, and potential DIY solutions, along with clear warnings about when to call a professional.
1. Unit Not Cooling
- Possible Cause: Dirty air filter.
- DIY Solution: Replace the air filter. A dirty filter restricts airflow, causing the unit to work harder and cool less efficiently. Check your filter monthly and replace it as needed (usually every 1-3 months).
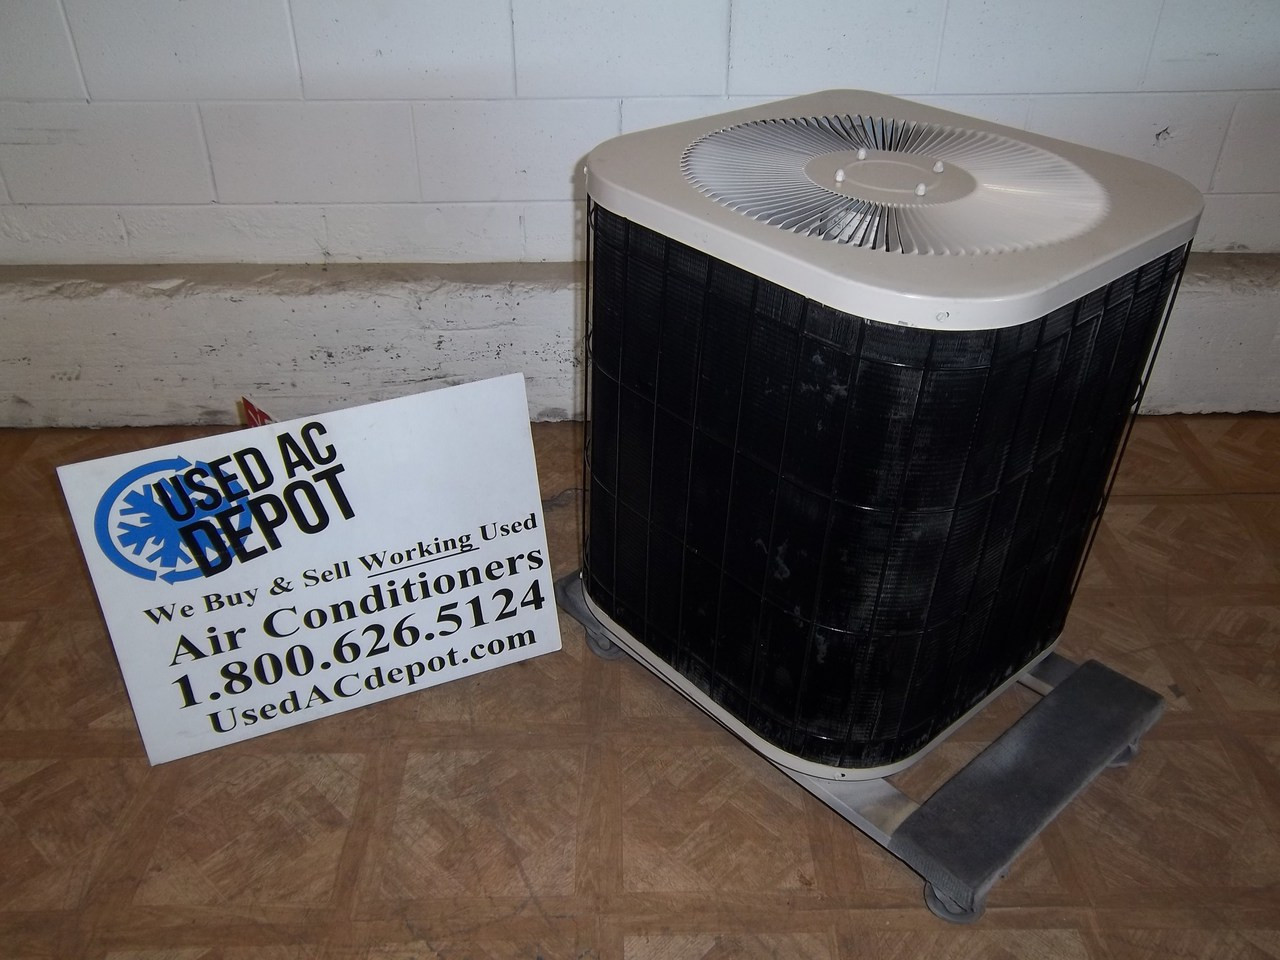
- Possible Cause: Dirty condenser coils.
- DIY Solution: Clean the condenser coils. Turn off the power to the unit at the breaker. Use a garden hose (with gentle pressure) and a fin comb to carefully clean the coils from the outside in. Avoid bending the fins.
- Possible Cause: Refrigerant leak.
- DIY Solution: STOP! Do not attempt to repair a refrigerant leak yourself. Refrigerant handling requires specialized equipment and certifications. Call a licensed HVAC technician immediately. Leaking refrigerant is an environmental hazard and can cause serious health problems.
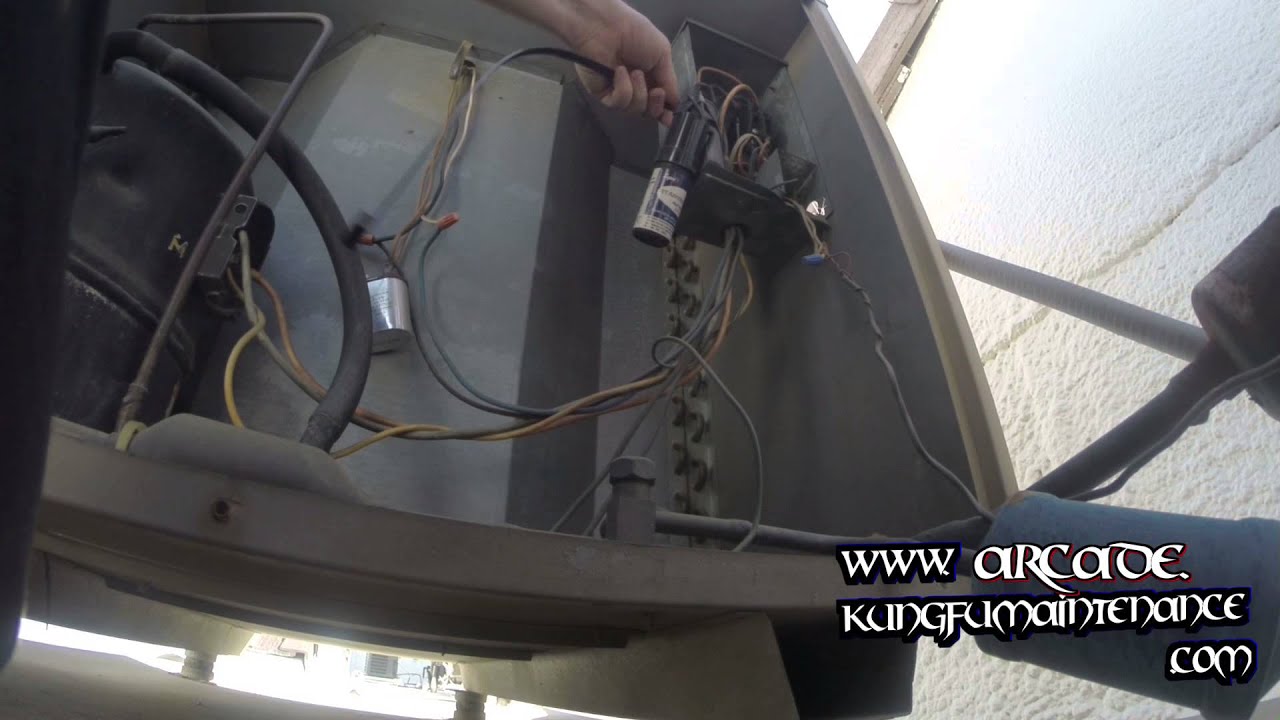
- Possible Cause: Failed capacitor.
- DIY Solution: Working with capacitors can be extremely dangerous, as they store a significant electrical charge even when the power is off. Only attempt to replace a capacitor if you are a qualified technician and follow all safety precautions, including discharging the capacitor before handling it. Otherwise, call a professional.
- Possible Cause: Compressor failure.
- DIY Solution: Compressor repairs are complex and require specialized tools and knowledge. This is a job for a licensed HVAC technician.
2. Unit is Running Constantly
- Possible Cause: Thermostat setting.
- DIY Solution: Check your thermostat setting. Ensure it's set to "cool" and the temperature is appropriate.
- Possible Cause: Air leaks in your home.
- DIY Solution: Seal any air leaks around windows, doors, and ductwork.
- Possible Cause: Undersized unit.
- DIY Solution: Consult with an HVAC professional to determine if your unit is appropriately sized for your home. If it's too small, it will run constantly trying to keep up.
- Possible Cause: Ductwork issues.
- DIY Solution: Inspect accessible ductwork for leaks or damage. Seal any leaks with duct tape (foil tape is preferred) or mastic sealant. For extensive ductwork problems or inaccessible ducts, consult an HVAC professional.
3. Unit is Noisy
- Possible Cause: Loose debris inside the unit.
- DIY Solution: Turn off the power and inspect the unit for any loose debris (leaves, twigs, etc.). Remove any obstructions.
- Possible Cause: Loose fan blade.
- DIY Solution: Turn off the power and inspect the fan blade. If it's loose, tighten the set screws. If the fan blade is damaged, replace it. Ensure you purchase the correct replacement part.
- Possible Cause: Worn bearings in the motor.
- DIY Solution: Motor repairs or replacements are often best left to professionals. The cost of the motor and the expertise required can make DIY repairs impractical.
4. Unit is Leaking Water
- Possible Cause: Clogged condensate drain line.
- DIY Solution: Locate the condensate drain line (usually a PVC pipe) and try to clear it using a wet/dry vacuum or by carefully using a stiff wire. You can also pour a cup of vinegar down the drain line to help dissolve any buildup.
- Possible Cause: Cracked or damaged condensate pan.
- DIY Solution: Inspect the condensate pan for cracks or damage. If it's damaged, it will need to be replaced.
Essential Tools and Parts for DIY Maintenance
Having the right tools and a basic understanding of common replacement parts can save you time and money. Here's a list of items to consider:
Tools
- Screwdrivers (Phillips and flathead)
- Wrench set
- Multimeter (for electrical testing – use with extreme caution and only if you are qualified)
- Fin comb (for straightening condenser coil fins)
- Wet/dry vacuum
- Garden hose with adjustable nozzle
- Duct tape (foil tape is preferred)
- Safety glasses
- Gloves
Common Replacement Parts
- Air filters
- Capacitors (handle with extreme caution!)
- Contactor
- Fan motor
- Fan blade
- Condensate pump
Cost Considerations: Repairs vs. Replacement
Understanding the costs associated with HVAC repairs versus replacement is crucial. Here are some general guidelines:
- Minor Repairs (e.g., replacing a capacitor, cleaning coils, unclogging drain line): $100 - $500
- Moderate Repairs (e.g., replacing a fan motor, replacing a contactor): $300 - $800
- Major Repairs (e.g., compressor replacement, refrigerant leak repair): $800 - $2000+
When considering a major repair, weigh the cost against the age and condition of the unit. A 10+ year old unit nearing the end of its lifespan may be better off replaced, especially if it's an inefficient model. A new unit will offer improved energy efficiency, potentially saving you money on your energy bills over the long term.
When to Call a Professional
While some HVAC maintenance and minor repairs can be tackled by homeowners, certain situations require the expertise of a licensed professional. Always call a professional in the following situations:
- Refrigerant leaks
- Compressor issues
- Electrical problems (especially involving high voltage)
- Any work involving refrigerant handling
- If you are uncomfortable or unsure about any aspect of the repair
Safety is paramount. Never attempt a repair that you are not qualified to perform. Working with electricity and refrigerant can be dangerous and can lead to serious injury or death.
Preventative Maintenance for Long-Term Performance
Regular preventative maintenance is key to extending the life of your Goodman CK24-1B and ensuring optimal performance. Consider the following:
- Schedule annual professional maintenance: A qualified HVAC technician can inspect the unit, clean the coils, check refrigerant levels, and identify potential problems before they become major issues.
- Regularly clean the condenser coils: As described earlier, keep the coils free of dirt and debris.
- Maintain proper airflow: Ensure that the area around the unit is clear of obstructions and that air vents are not blocked inside your home.
- Consider a surge protector: A surge protector can protect the unit from electrical surges, which can damage sensitive components.
By understanding the specifications of your Goodman CK24-1B and following these maintenance tips, you can ensure its efficient and reliable operation for years to come.