Goodman Furnace Evaporator Coil Cleaning

Goodman Furnace Evaporator Coil Cleaning: A Homeowner's Guide
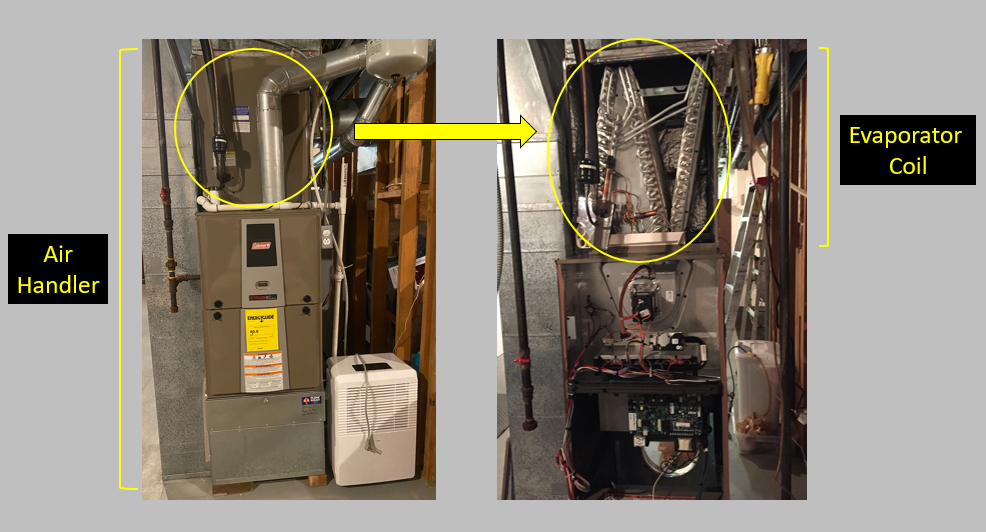
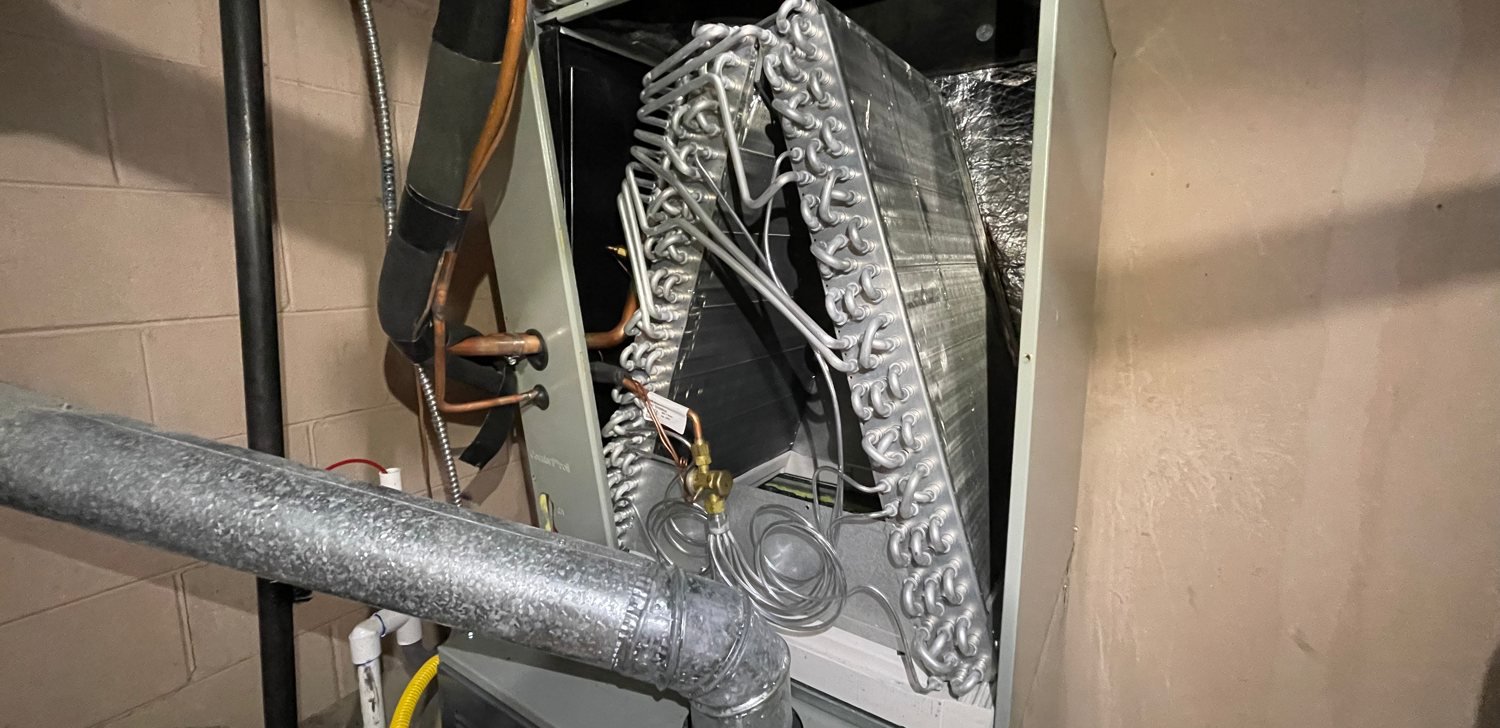
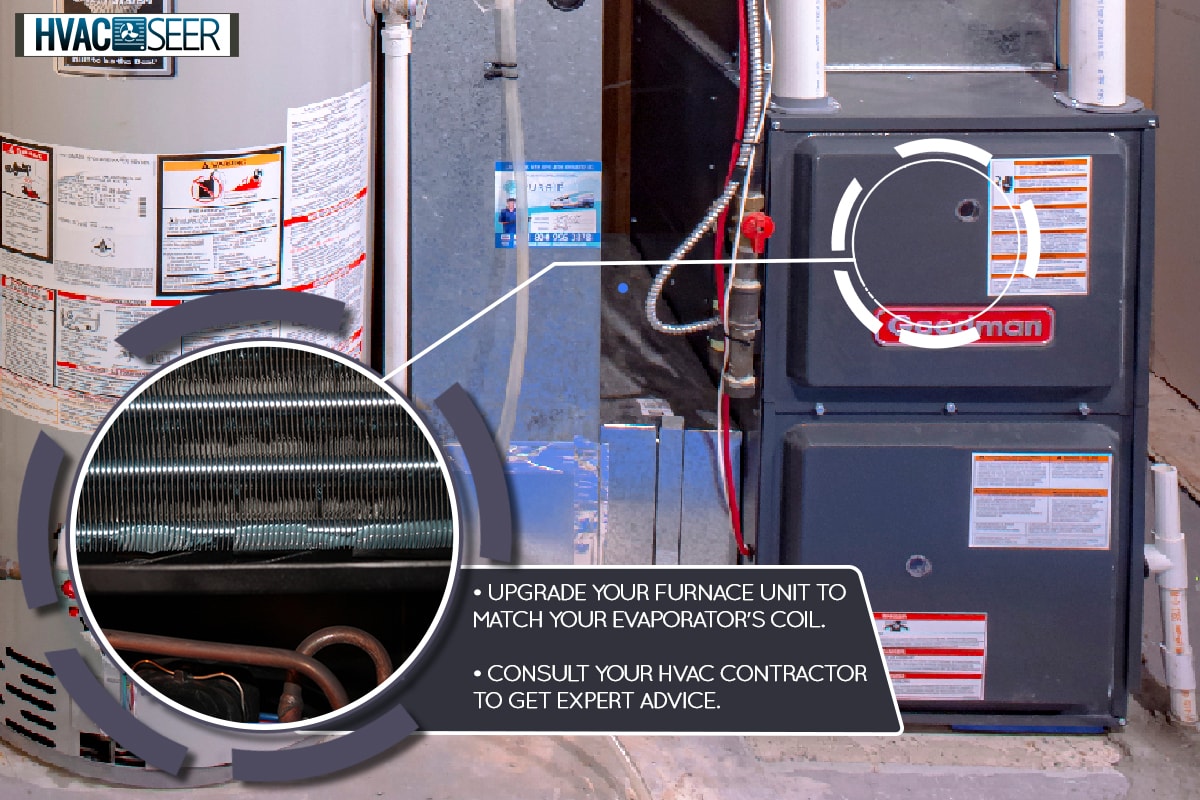
The evaporator coil is a critical component of your Goodman furnace and air conditioning system. Located within the indoor air handler, it's responsible for absorbing heat from your home's air, providing cool, comfortable temperatures. A dirty evaporator coil reduces efficiency, increases energy bills, and can even lead to system failure. This guide will walk you through the process of cleaning your Goodman furnace's evaporator coil, helping you maintain a healthy and efficient HVAC system. Remember, safety is paramount; if you're uncomfortable with any of these steps, contact a qualified HVAC technician.
Understanding Your Goodman Furnace and Evaporator Coil
Before you begin, it's important to understand the basics. The evaporator coil works in conjunction with the outdoor condenser unit to provide cooling. Refrigerant circulates through the coil, absorbing heat as air passes over it. Over time, dust, dirt, pollen, and other contaminants can accumulate on the coil's surface, hindering its ability to transfer heat efficiently. Goodman furnaces are generally reliable, but neglecting maintenance can lead to problems.
Signs Your Evaporator Coil Needs Cleaning
Several telltale signs indicate that your evaporator coil might be dirty:
- Reduced Cooling Performance: Your home isn't cooling as effectively as it used to.
- Higher Energy Bills: Your energy consumption is increasing despite consistent usage.
- Frozen Evaporator Coil: Ice buildup on the coil is a common symptom of restricted airflow due to dirt.
- Musty Odor: Mold and mildew can grow on dirty coils, producing unpleasant smells.
- Water Leaks: A clogged coil can cause condensation to overflow.
Safety First! Precautions Before You Start
Working with HVAC equipment involves inherent risks. Prioritize safety by following these precautions:
- Turn Off the Power: Disconnect power to the furnace and air conditioning system at the breaker box. This is the most important step.
- Wear Safety Glasses and Gloves: Protect your eyes and hands from debris and cleaning solutions.
- Read the Manual: Consult your Goodman furnace's owner's manual for specific instructions and safety recommendations.
- Work in a Well-Ventilated Area: Ensure adequate ventilation to avoid inhaling fumes from cleaning products.
- When in Doubt, Call a Professional: If you are uncertain about any step, it's best to consult a qualified HVAC technician.
Tools and Materials You'll Need
Gather these tools and materials before you begin:
- Screwdrivers: Both Phillips head and flathead screwdrivers may be necessary.
- Wrench Set: For disconnecting refrigerant lines (only if you're comfortable and qualified – highly discouraged for DIY).
- Fin Comb: To straighten bent coil fins.
- Soft Brush: For gently removing loose debris.
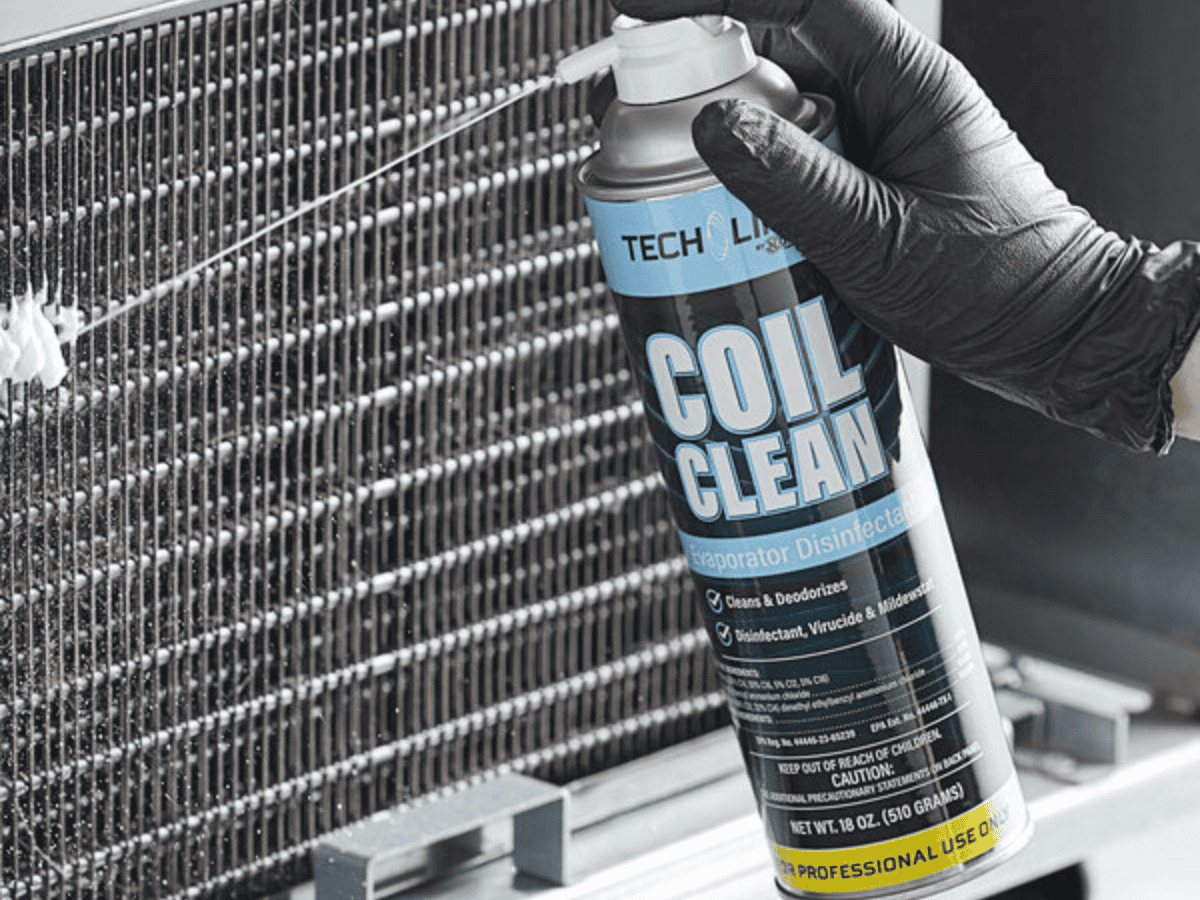
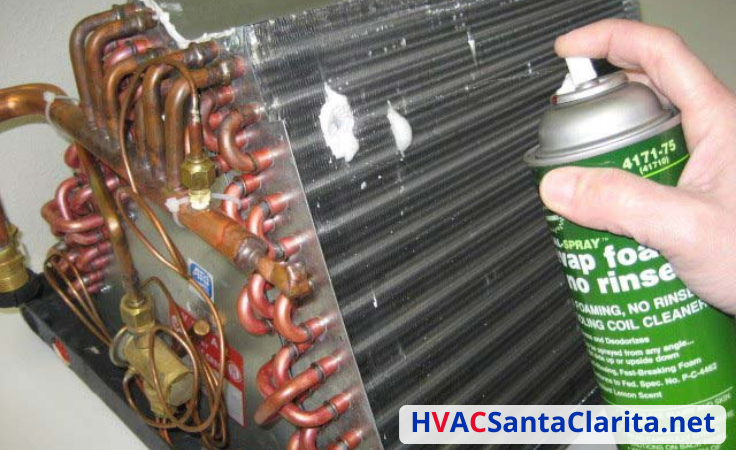
- Coil Cleaner: Use a non-acidic, foaming coil cleaner specifically designed for HVAC systems.
- Wet/Dry Vacuum: To remove debris and excess cleaner.
- Spray Bottle: For applying cleaner.
- Safety Glasses and Gloves: Essential for protection.
- Flashlight or Work Light: To illuminate the work area.
- Clean Rags: For wiping surfaces.
Step-by-Step Guide to Cleaning Your Goodman Evaporator Coil
Follow these steps carefully to clean your Goodman furnace's evaporator coil:
- Locate the Evaporator Coil: Find the indoor air handler unit of your Goodman furnace. The evaporator coil is typically located inside this unit, behind an access panel.
- Remove the Access Panel: Use a screwdriver to remove the screws securing the access panel. Carefully detach the panel and set it aside.
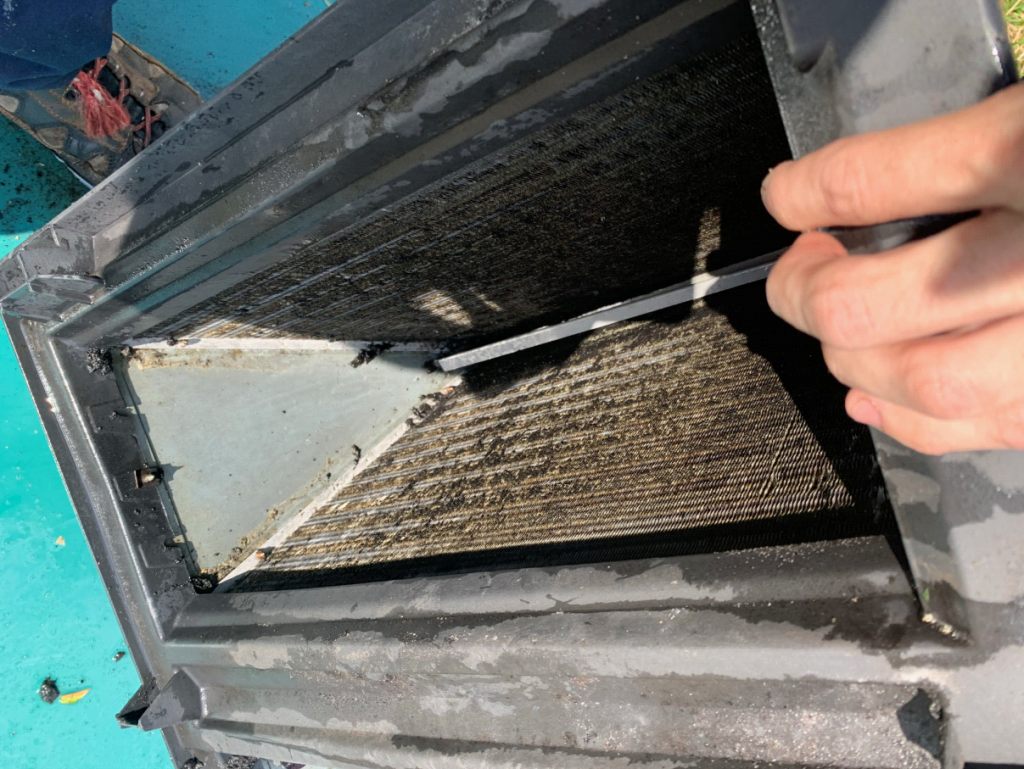
- Inspect the Coil: Visually inspect the evaporator coil for dirt, dust, and debris. Note the extent of the buildup.
- Straighten Bent Fins: Use a fin comb to gently straighten any bent fins on the coil. This will improve airflow.
- Remove Loose Debris: Use a soft brush or a vacuum with a brush attachment to remove loose dirt and dust from the coil.
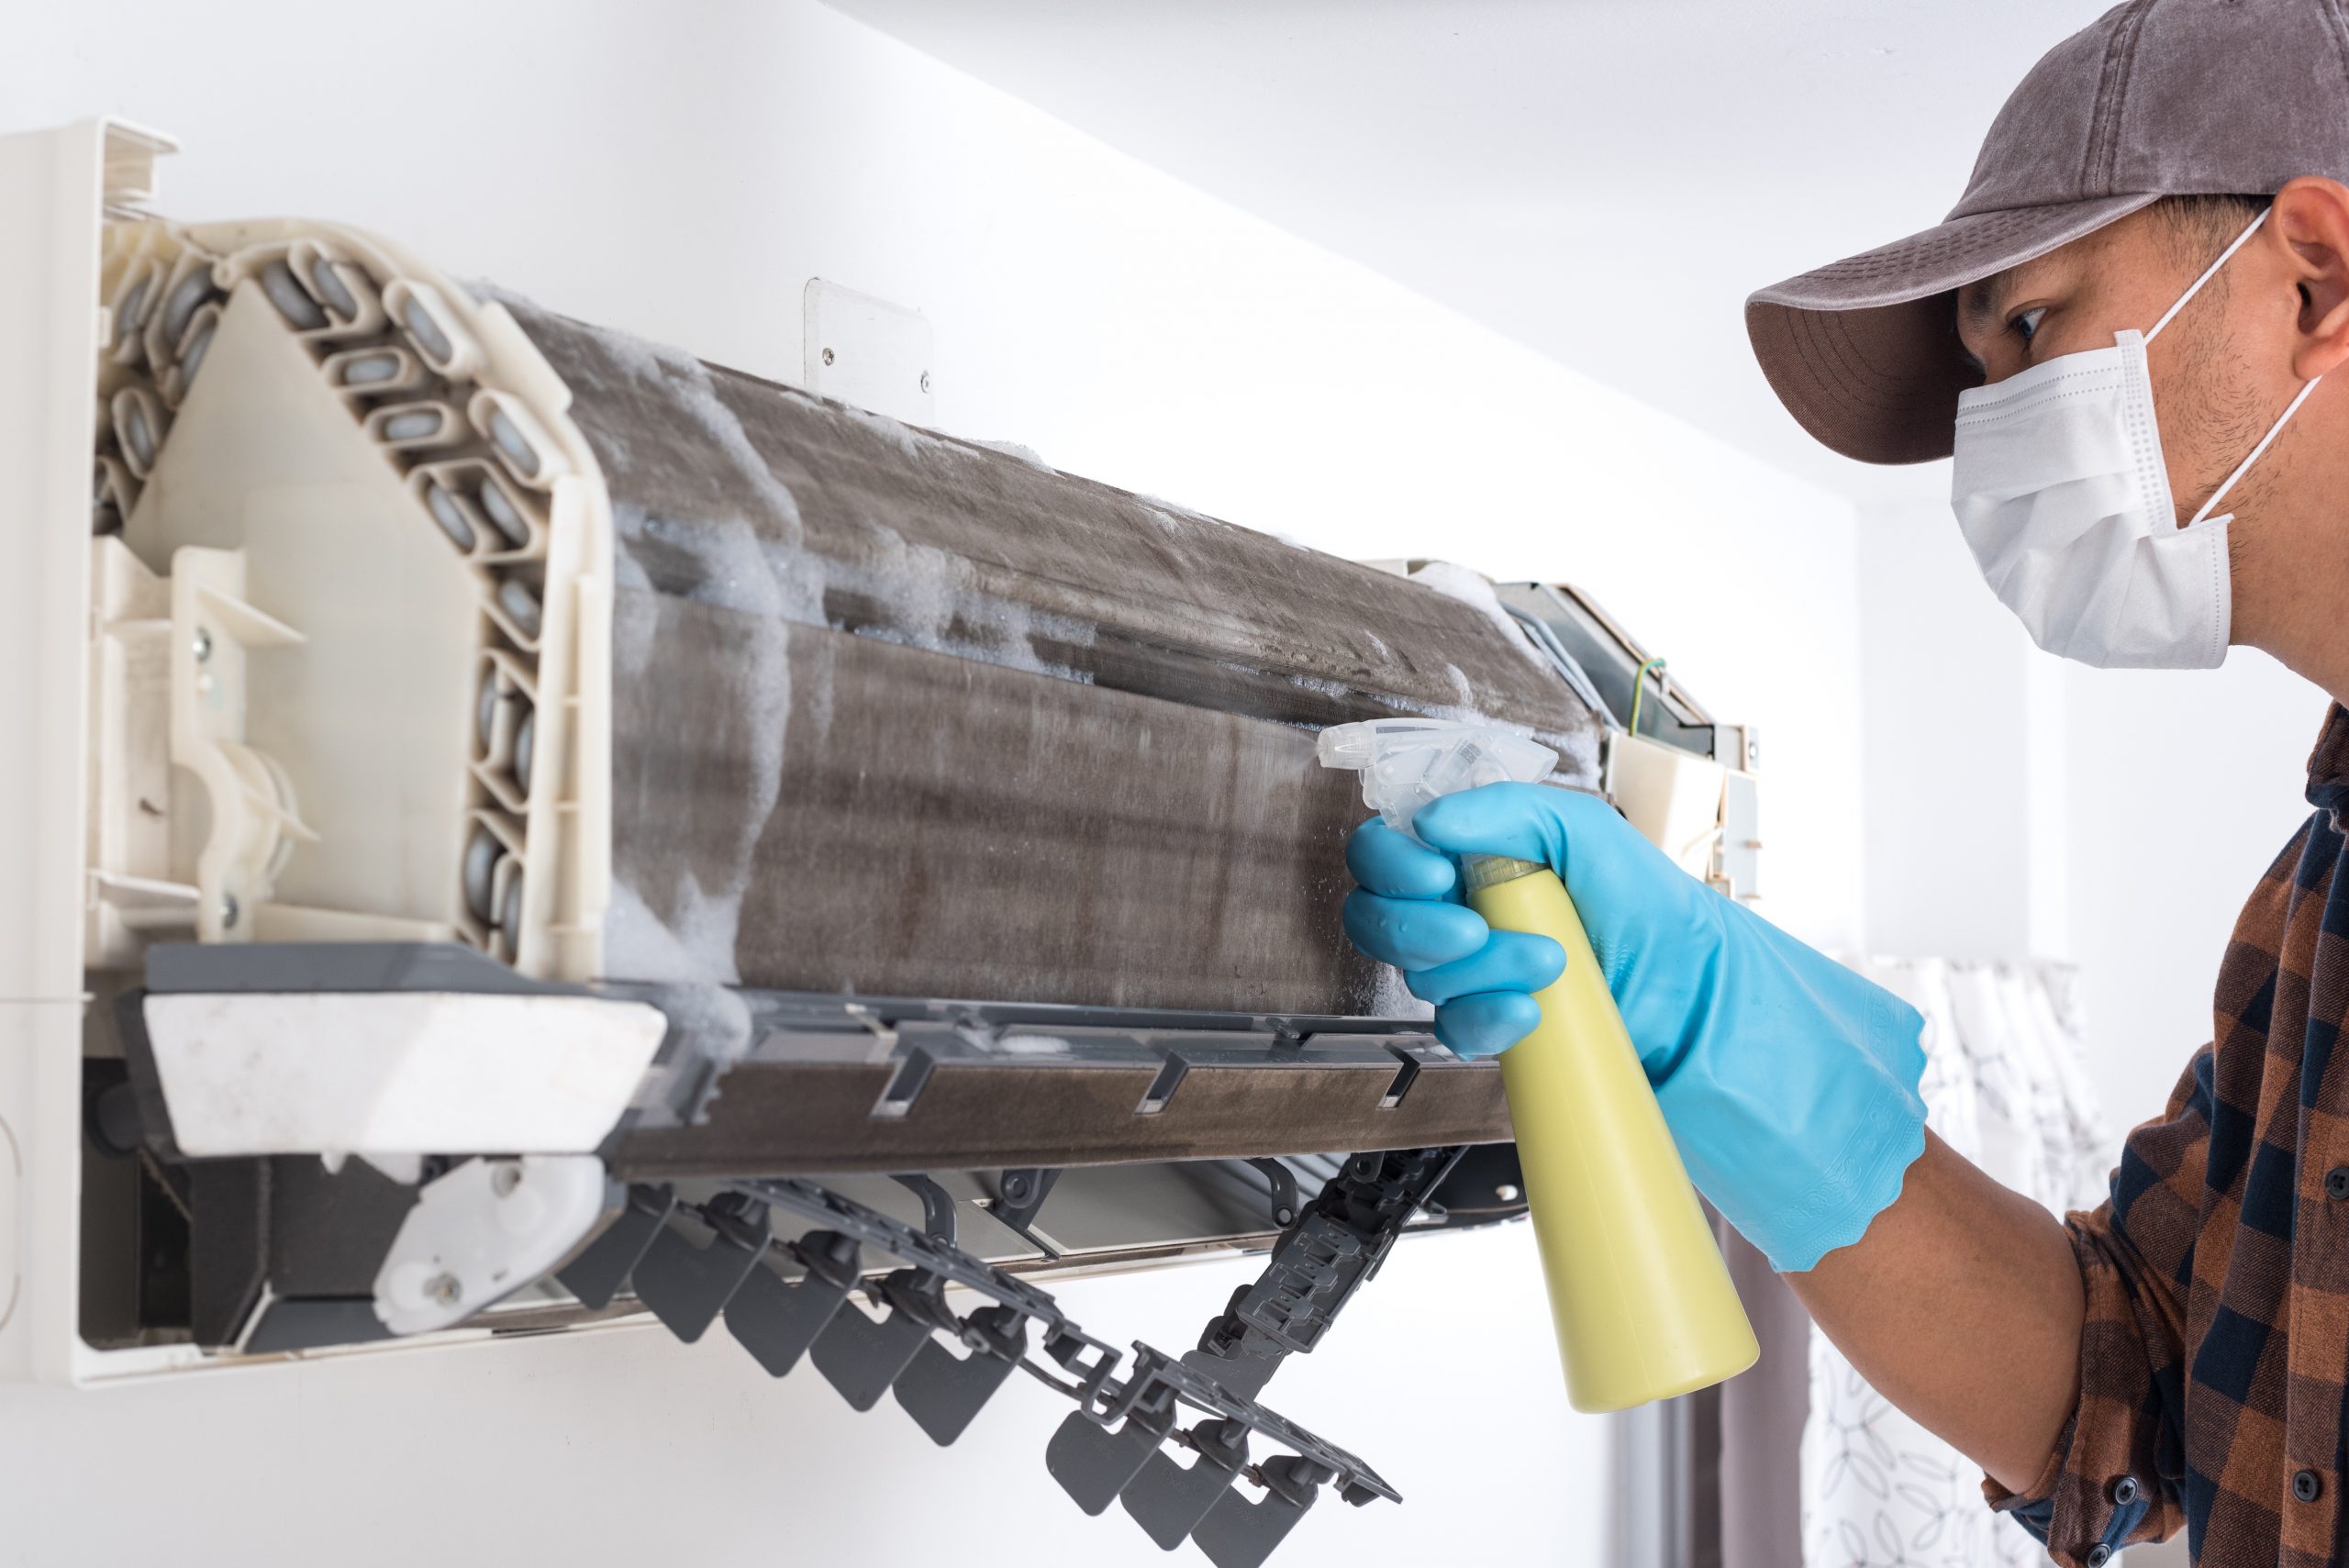
- Apply Coil Cleaner: Spray the evaporator coil with a non-acidic, foaming coil cleaner. Follow the manufacturer's instructions for application and dwell time. Ensure even coverage of the coil surface.
- Allow Cleaner to Dwell: Let the cleaner sit on the coil for the recommended dwell time (usually 10-15 minutes). This allows the cleaner to dissolve dirt and grime.
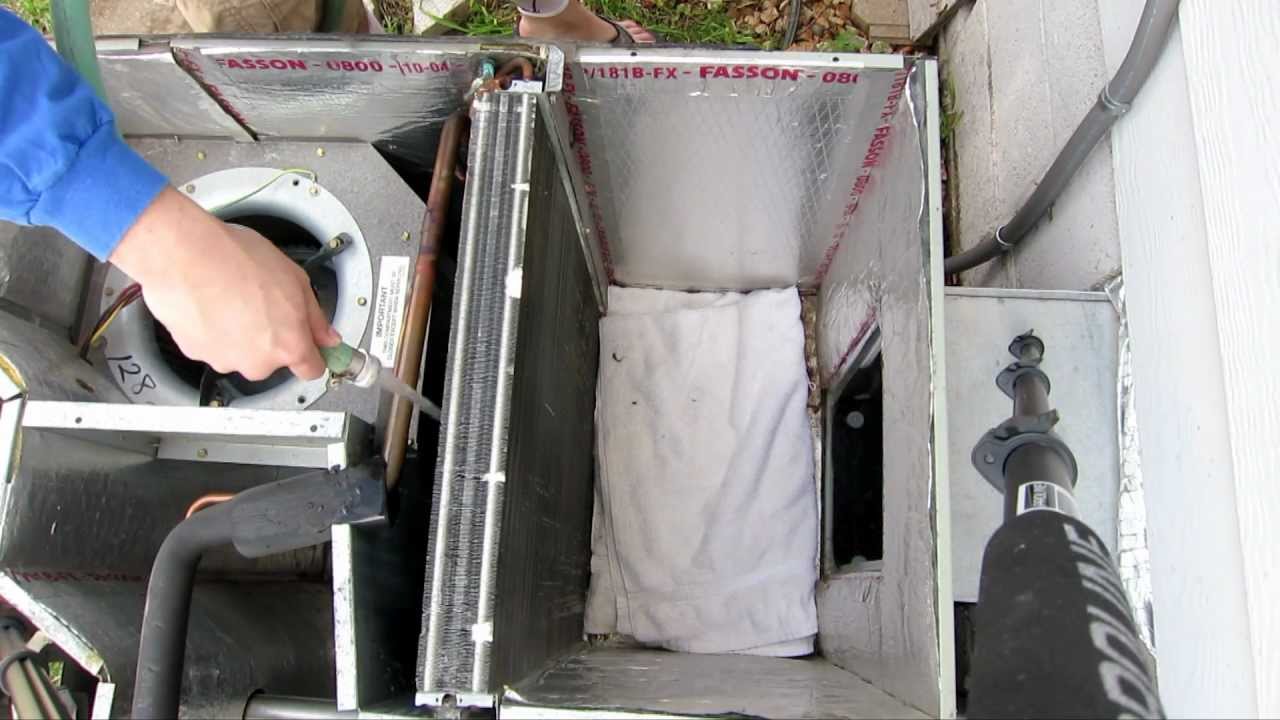
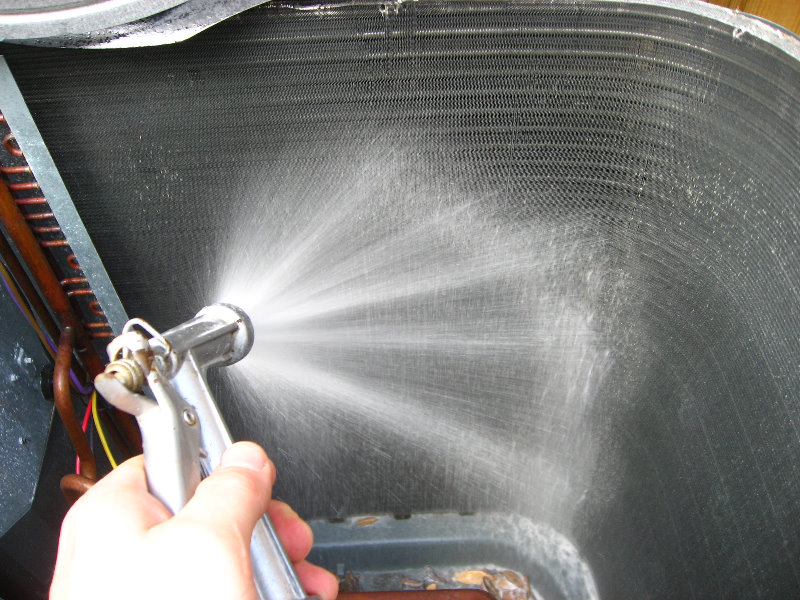
- Rinse the Coil (If Required): Some coil cleaners require rinsing with water. Check the product instructions. If rinsing is necessary, use a gentle stream of water to avoid damaging the fins.
- Vacuum Excess Cleaner: Use a wet/dry vacuum to remove any remaining cleaner or water from the drain pan.
- Clean the Drain Pan: Inspect and clean the drain pan to ensure proper drainage. Clogged drain pans can lead to water leaks and mold growth.
- Reassemble the Unit: Reattach the access panel to the air handler unit, securing it with the screws you removed earlier.
- Restore Power: Turn the power back on to the furnace and air conditioning system at the breaker box.
- Test the System: Turn on your air conditioning system and monitor its performance. Check for improved cooling and airflow.
When to Call a Professional HVAC Technician
While cleaning your evaporator coil is a manageable DIY task for some, certain situations warrant professional assistance:
- Refrigerant Leaks: If you suspect a refrigerant leak, do not attempt to repair it yourself. Refrigerant handling requires specialized equipment and training. Contact a qualified HVAC technician immediately.
- Severe Coil Damage: If the evaporator coil is severely damaged, corroded, or inaccessible, a professional may be needed to repair or replace it.
- Lack of Experience: If you're uncomfortable working with electrical components or HVAC equipment, it's best to leave the job to a professional.
- System Malfunctions: If your HVAC system is experiencing other problems, such as compressor issues or electrical faults, consult a qualified technician.
Cost Considerations
The cost of cleaning your Goodman furnace's evaporator coil can vary depending on whether you do it yourself or hire a professional:
- DIY Cleaning: The cost of DIY cleaning is typically minimal, involving the purchase of coil cleaner (around $15-$30) and possibly a fin comb (around $10-$15).
- Professional Cleaning: Professional evaporator coil cleaning can range from $100 to $300, depending on the complexity of the job and the technician's hourly rate.
- Evaporator Coil Replacement: Replacing a damaged evaporator coil can be a significant expense, ranging from $800 to $2500 or more, including parts and labor.
Troubleshooting Common Problems
Here are some common issues you might encounter and how to address them:
- Frozen Evaporator Coil: A dirty coil is a primary cause. Ensure the coil is clean and the air filter is clean. If the problem persists, check for refrigerant leaks.
- Water Leaks: A clogged drain line or a full drain pan can cause water leaks. Clear the drain line and ensure the drain pan is properly draining.
- Reduced Airflow: A dirty coil restricts airflow. Clean the coil and replace the air filter.
Preventative Maintenance Tips
To prevent future evaporator coil problems, follow these preventative maintenance tips:
- Change Air Filters Regularly: Replace your air filters every 1-3 months, depending on usage and air quality.
- Schedule Annual HVAC Tune-Ups: Have your HVAC system professionally inspected and tuned up annually.
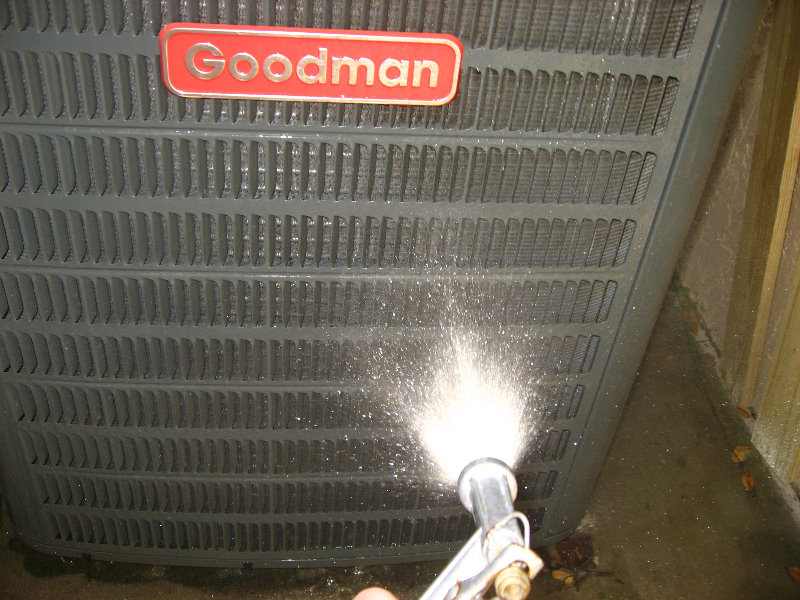
- Keep the Area Around the Outdoor Unit Clean: Remove debris, leaves, and vegetation from around the outdoor condenser unit to ensure proper airflow.
- Consider a UV Light: Installing a UV light in your air handler can help prevent mold and mildew growth on the evaporator coil.
Choosing the Right Coil Cleaner
Selecting the appropriate coil cleaner is crucial for effective cleaning and preventing damage to your evaporator coil. Opt for a non-acidic, foaming coil cleaner specifically designed for HVAC systems. Avoid using harsh chemicals or abrasive cleaners, as they can corrode the coil and reduce its lifespan. Always follow the manufacturer's instructions for application and safety precautions.
Final Thoughts
Cleaning your Goodman furnace's evaporator coil is a valuable maintenance task that can improve system efficiency, reduce energy bills, and extend the lifespan of your HVAC equipment. By following the steps outlined in this guide and prioritizing safety, you can keep your system running smoothly. Remember to consult a qualified HVAC technician for any complex repairs or if you're uncomfortable performing the work yourself. Proper maintenance is key to enjoying a comfortable and efficient home environment.