Heat And Air Conditioning Repair Near Me
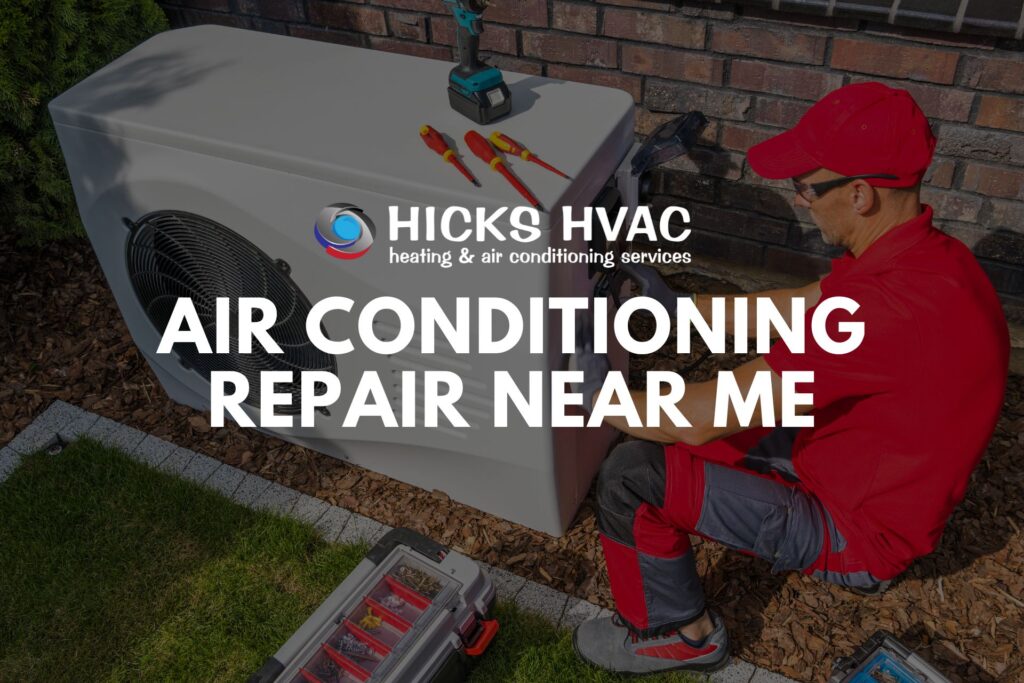
Is your home feeling more like an igloo than a haven during winter, or a sauna instead of a cool retreat in summer? Before you frantically search "Heat and Air Conditioning Repair Near Me," let's walk through some basic troubleshooting steps. Many common HVAC issues can be identified and even resolved with a little DIY know-how, saving you time and money. This guide focuses on one common problem: lack of airflow, which can lead to both heating and cooling problems.
Diagnosing the Airflow Issue
Lack of airflow is often the culprit when your HVAC system seems to be running but isn't effectively heating or cooling your home. The goal here is to systematically identify the blockage or malfunction. This diagnosis proceeds with checks you can do without tools and then progresses to checks requiring basic equipment. Safety is paramount, so always turn off the power to your HVAC system at the breaker box before attempting any of the following checks.
Step 1: Preliminary Checks (No Tools Required)
Start with the simplest things first. These checks take only a few minutes and can often pinpoint the problem immediately.
A. Thermostat Setting:
- Check the basics: Is the thermostat set to "Heat" in the winter and "Cool" in the summer? Sounds obvious, but it's easily overlooked.
- Temperature setting: Is the set temperature significantly different from the current room temperature? A small difference might mean the system is struggling, but a large difference indicates a more significant problem.
- Fan setting: Is the fan set to "Auto" or "On"? If it's set to "On," the fan will run constantly, even when the system isn't actively heating or cooling. This can mask a problem with the heating or cooling cycle itself. Set it to "Auto" for proper cycling.
- Thermostat batteries: If your thermostat has batteries, make sure they're fresh. A low battery can cause erratic behavior and inaccurate readings.
B. Air Vents and Registers:
- Check for obstructions: Are any air vents or registers blocked by furniture, rugs, or curtains? Even partial obstructions can significantly reduce airflow.
- Open all vents: Ensure all vents in your home are fully open. Closing vents in unused rooms might seem like a good way to save energy, but it can actually strain your system and reduce overall airflow.
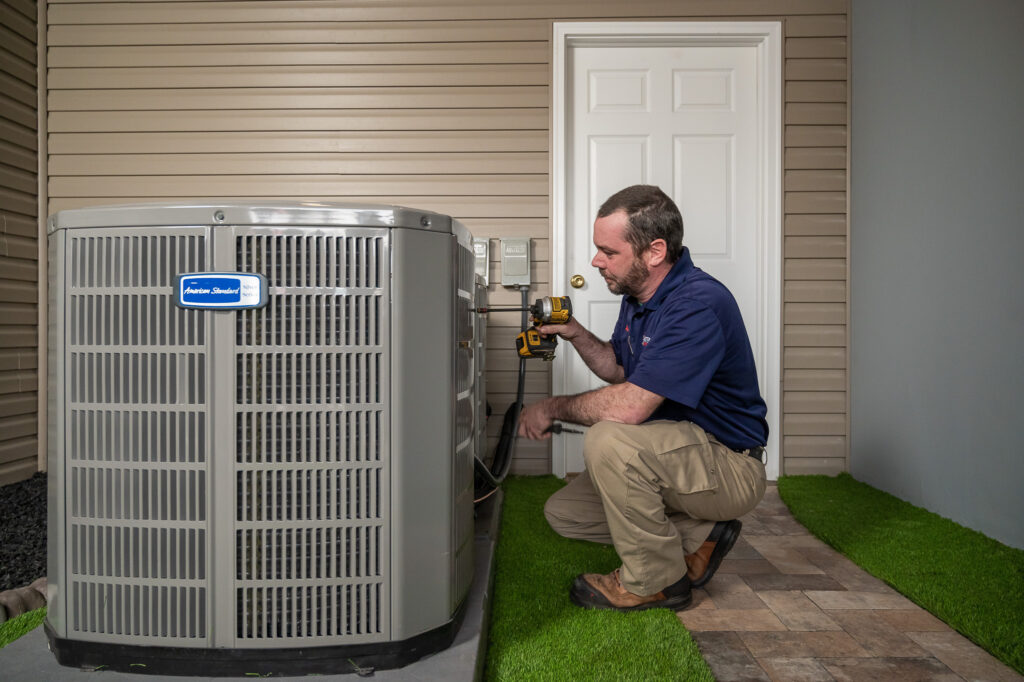
C. Outdoor Unit (if applicable):
- Visual inspection: In the summer, check your outdoor air conditioning unit. Is it free of debris like leaves, branches, and overgrown vegetation? These can restrict airflow and cause the unit to overheat.
- Ice buildup: In the winter, check for ice buildup on the outdoor heat pump unit. A thin layer of frost is normal, but thick ice can indicate a problem with the defrost cycle.
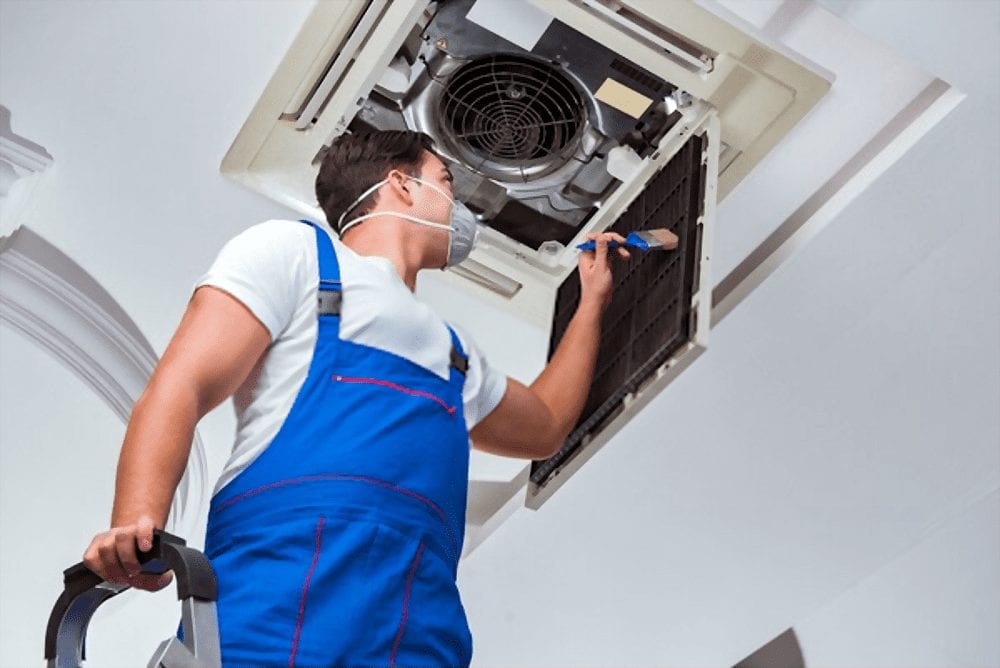
Step 2: Filter Inspection and Replacement (No Tools Required)
A dirty air filter is the most common cause of reduced airflow. It restricts the amount of air that can pass through the system, forcing it to work harder and less efficiently. This is the first real step towards resolving the issue and should be performed monthly.
A. Locate the filter: The filter is typically located near the blower fan unit, often in a slot in the return air duct. Common locations include the furnace itself, a wall-mounted return air grille, or the attic. Check your system's manual for the exact location.
B. Inspect the filter: Remove the filter and hold it up to the light. If you can't see light through it, it's definitely dirty and needs to be replaced.
C. Replace the filter: Use a filter of the correct size and MERV rating for your system. This information is usually printed on the old filter or in your system's manual. Don't use a filter with a higher MERV rating than recommended, as this can restrict airflow even when clean.
D. Observe: After replacing the filter, turn the system back on and see if airflow improves. If so, you've likely solved the problem!
Step 3: Checking the Blower Fan (Requires Basic Equipment – Screwdriver & Flashlight)
If replacing the filter didn't solve the problem, the next step is to inspect the blower fan. Always turn off the power at the breaker before proceeding!
A. Locate the blower fan: The blower fan is usually located inside the furnace or air handler unit. You'll typically need to remove an access panel to reach it. Refer to your system's manual for the exact location and instructions.
B. Visual inspection: Use a flashlight to inspect the blower fan blades. Are they clean and free of debris? Dust, dirt, and pet hair can accumulate on the blades, reducing their efficiency. Also, check for any signs of damage, such as bent or broken blades.
C. Cleaning the blower fan: If the blades are dirty, carefully clean them with a soft brush or vacuum cleaner attachment. Be gentle to avoid damaging the blades.
D. Blower motor check: With the power OFF, try to manually spin the blower fan. It should spin freely. If it's difficult to turn or makes a grinding noise, the blower motor may be failing. This is a task for a qualified HVAC technician. Do not attempt to repair or replace the motor yourself unless you have extensive electrical and HVAC experience.
Step 4: Ductwork Inspection (Requires Basic Equipment – Flashlight & Duct Tape)
Damaged or disconnected ductwork can leak air, reducing airflow to specific rooms or areas of your home. This requires a more thorough inspection.
A. Visual Inspection: Inspect accessible ductwork (typically in the attic, basement, or crawl space) for obvious signs of damage, such as tears, holes, or disconnected sections.
B. Seal any leaks: Use foil duct tape to seal any small leaks or cracks you find. Don't use regular duct tape, as it will dry out and lose its adhesion over time. Foil duct tape is designed specifically for HVAC systems and can withstand higher temperatures and humidity levels.
C. Check for disconnected sections: Reconnect any disconnected sections of ductwork. Secure them with foil duct tape and clamps if necessary.
D. Listen for air leaks: With the system running, listen for air leaks around ductwork connections. If you hear or feel air escaping, seal the area with foil duct tape.
When to Call a Professional HVAC Technician
While many airflow issues can be resolved with DIY troubleshooting, some problems require the expertise of a qualified HVAC technician. Here are some situations where you should call for professional help:
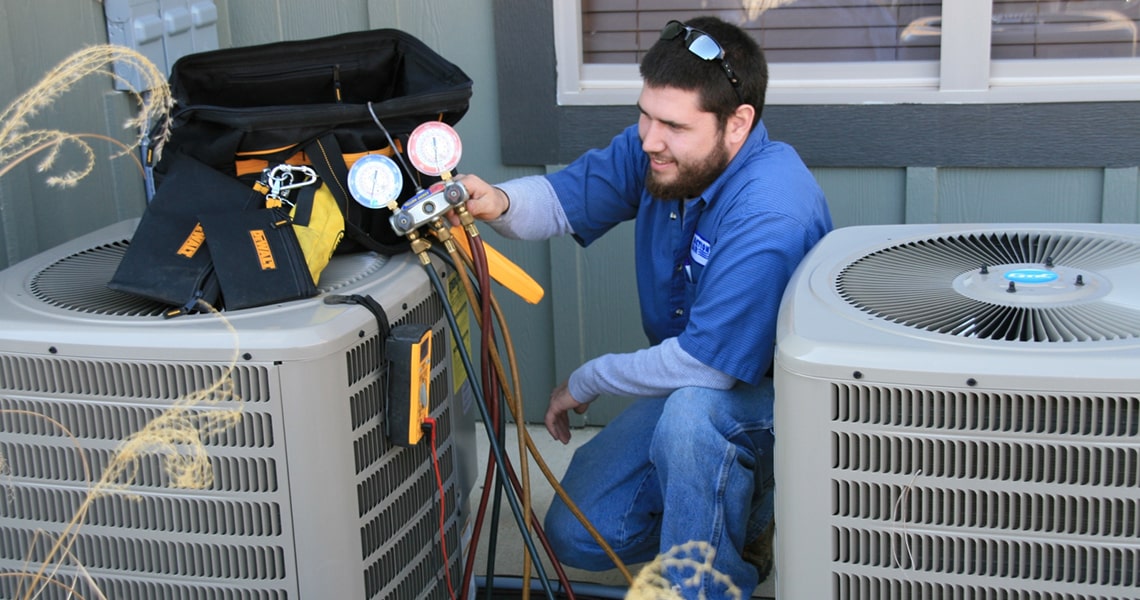
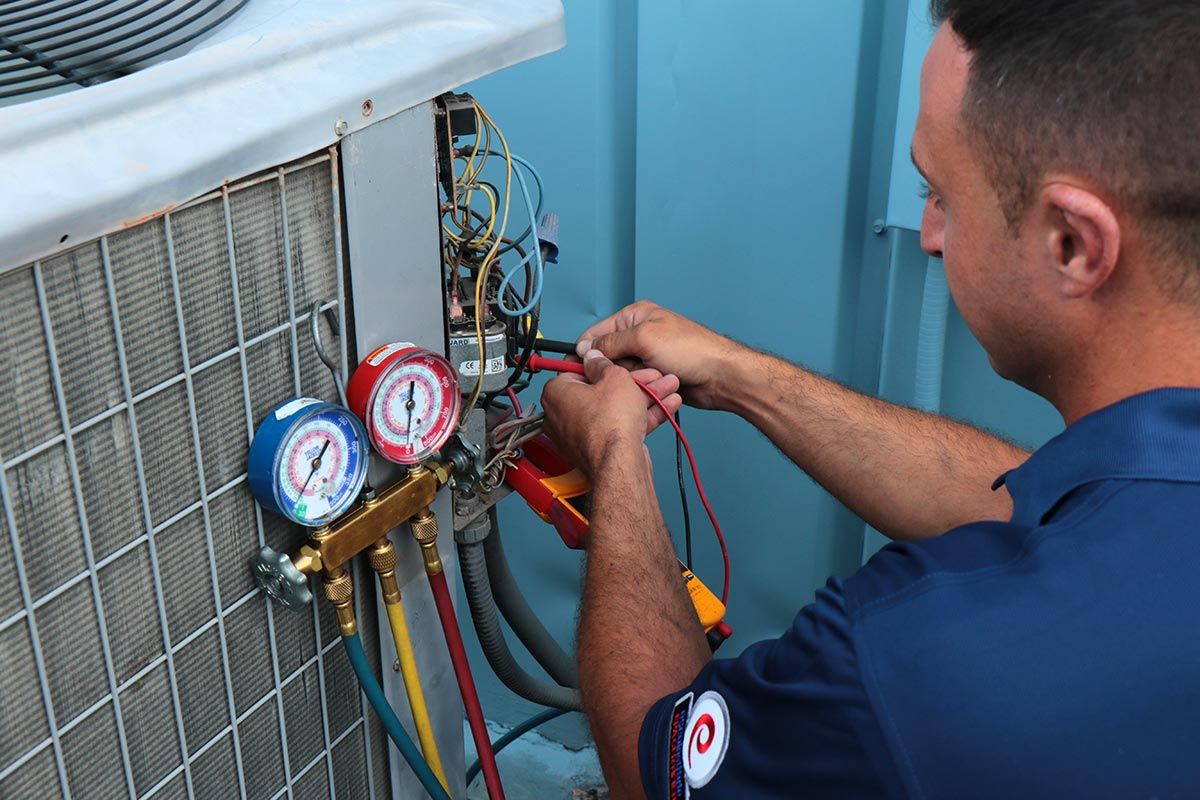
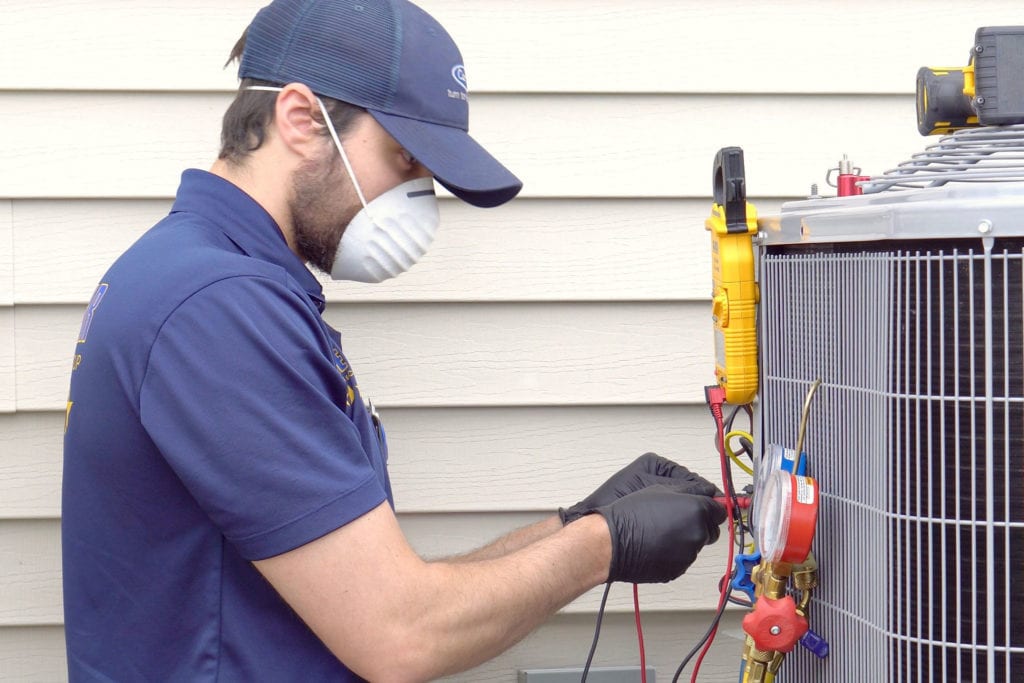
- Refrigerant leaks: If you suspect a refrigerant leak (e.g., hissing sound, ice buildup on the evaporator coil, poor cooling performance), do not attempt to repair it yourself. Refrigerant is a hazardous substance that requires specialized equipment and training to handle safely.
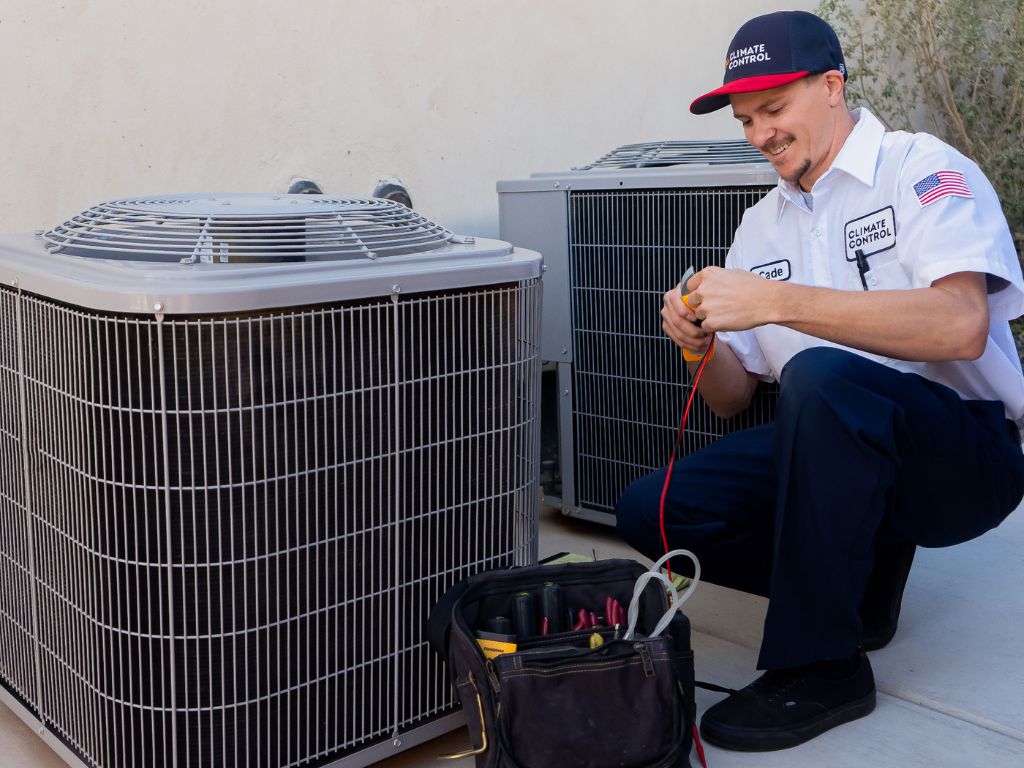
- Electrical problems: If you suspect an electrical problem (e.g., tripped breakers, burning smell, sparking wires), do not attempt to repair it yourself. Electrical work can be dangerous and should only be performed by a qualified electrician or HVAC technician.
- Blower motor failure: If the blower motor is making unusual noises, not running, or difficult to turn, it likely needs to be replaced. This is a complex repair that requires specialized tools and knowledge.
- Compressor problems: The compressor is the heart of your air conditioning system. If it's making loud noises, not running, or overheating, it likely needs to be replaced. This is a major repair that requires specialized equipment and training.
- Defrost cycle issues: If your heat pump is not defrosting properly, it can lead to ice buildup on the outdoor unit, reducing its efficiency and potentially damaging the system. Diagnosing and repairing defrost cycle issues requires specialized knowledge and equipment.
- You've tried the DIY steps and airflow is still poor: If you've followed all of the troubleshooting steps outlined above and your system is still not performing correctly, it's time to call a professional. There may be an underlying issue that requires specialized diagnostic tools and expertise.
- You are not comfortable working on the system: If at any time you feel uncomfortable or unsure about working on your HVAC system, stop and call a professional. It's better to be safe than sorry.
Important Considerations:
- Warranty: Before attempting any repairs, check your system's warranty. DIY repairs may void the warranty.
- Local codes: Be aware of local building codes and regulations regarding HVAC repairs. Some repairs may require a permit.
By following these troubleshooting steps, you can often identify and resolve common airflow issues, saving you time and money. However, remember that safety is paramount, and some repairs should only be performed by a qualified HVAC technician. When in doubt, always err on the side of caution and call a professional "Heat and Air Conditioning Repair Near Me."