Heat Pump Replacement Madison Heights Mi
A malfunctioning heat pump can be a major headache, especially during the cold Michigan winters. In Madison Heights, MI, where temperatures can drop significantly, a reliable heating system is crucial for comfort and safety. While some heat pump issues require professional attention, many common problems can be diagnosed and even resolved with a bit of know-how. This guide provides a structured approach to troubleshooting your heat pump, empowering you to identify potential issues and perform basic fixes safely.
Understanding Common Heat Pump Failures
Before diving into troubleshooting, it's helpful to understand the most frequent causes of heat pump malfunctions. These often include:
- Refrigerant Leaks: Low refrigerant levels can significantly reduce heating and cooling efficiency.
- Frozen Outdoor Unit: Ice buildup can prevent the unit from effectively extracting heat from the air.
- Dirty Filters: Clogged filters restrict airflow, forcing the system to work harder and potentially overheat.
- Electrical Issues: Problems with the power supply, wiring, or capacitors can cause the unit to shut down.
- Compressor Failure: The compressor is the heart of the system, and its failure requires professional intervention.
- Fan Motor Problems: Malfunctioning fan motors can prevent proper airflow and lead to overheating.
Step-by-Step Troubleshooting Guide
Step 1: Initial Assessment and Safety Precautions
Safety First! Before you begin any troubleshooting, ensure the power to the heat pump is OFF. Locate the circuit breaker for the heat pump and switch it to the "OFF" position. This will protect you from electrical shock.
Next, perform a visual inspection of both the indoor and outdoor units. Look for:
- Ice buildup on the outdoor unit.
- Debris blocking the outdoor unit's coils.
- Visible damage to any components.
- Unusual noises coming from either unit.
- Water leaks around the indoor or outdoor unit.
Note down any observations you make. These details will be helpful in pinpointing the problem.
Step 2: Checking the Thermostat and Settings
The thermostat is the control center for your heat pump. Make sure it's set correctly and functioning properly:
- Check the batteries: Replace them if they're old or weak.
- Verify the mode: Ensure the thermostat is set to "HEAT" and not "COOL" or "OFF".
- Set the temperature: Make sure the set temperature is higher than the current room temperature.
- Check the fan setting: Try setting the fan to "AUTO" instead of "ON." "ON" keeps the fan running continuously, which might not be desirable in all situations.
- Look for error codes: Some thermostats display error codes that can provide valuable clues about the problem. Consult your thermostat's manual for a list of error codes and their meanings.
If the thermostat isn't responding or displaying correctly, consult its manual or consider replacing it. A faulty thermostat can mimic more serious heat pump issues.
Step 3: Inspecting the Air Filter
A dirty air filter is one of the most common causes of heat pump problems. A clogged filter restricts airflow, making the system work harder and reducing its efficiency. It can also lead to overheating and damage to the compressor.
To check and replace the air filter:
- Locate the filter: The filter is typically located in the indoor unit, either in a wall-mounted return air grille or in the unit itself. Consult your heat pump's manual if you're unsure where to find it.
- Remove the old filter: Slide out the old filter and observe its condition. If it's visibly dirty or clogged, it needs to be replaced.
- Install a new filter: Make sure the new filter is the correct size and type for your heat pump. The filter should have an arrow indicating the direction of airflow. Install the filter with the arrow pointing in the direction of airflow.
Tip: Replace your air filter every 1-3 months, depending on usage and air quality. More frequent changes may be necessary if you have pets or live in a dusty environment.
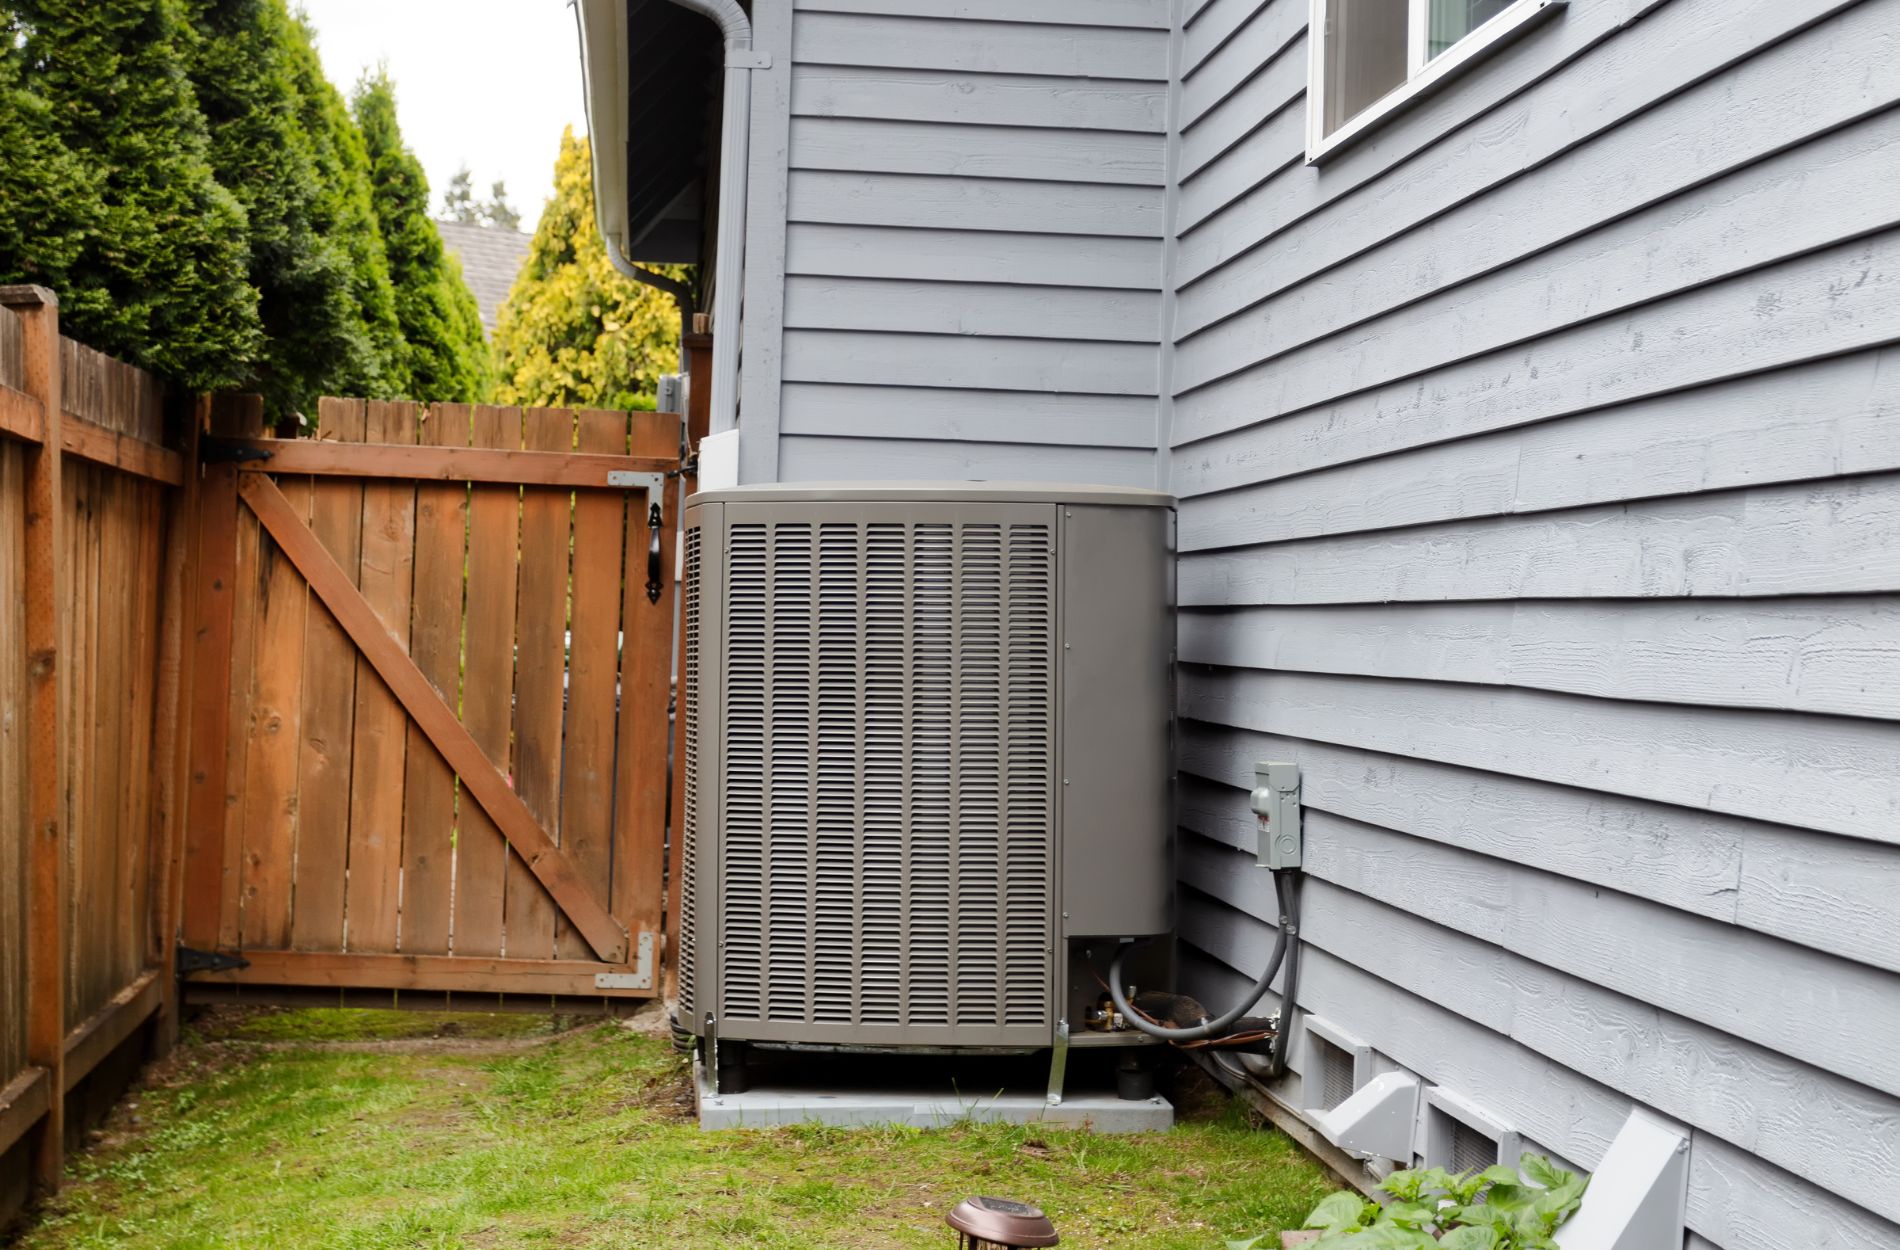
Step 4: Examining the Outdoor Unit
The outdoor unit is responsible for extracting heat from the air (or releasing heat during cooling). Proper airflow around the outdoor unit is essential for its efficient operation.
- Remove debris: Clear away any leaves, branches, snow, or other debris that may be blocking the unit's coils. Use a garden hose to gently rinse the coils from the outside in. *Never use a pressure washer, as it can damage the delicate fins.*
- Check for ice buildup: A thin layer of frost on the coils is normal during cold weather, but excessive ice buildup can indicate a problem. If the unit is heavily iced over, try running it in defrost mode (if your heat pump has one). If the ice doesn't melt, it's a sign of a more serious issue that requires professional attention.
- Inspect the fan: Make sure the fan blades are clean and free of obstructions. Manually spin the fan blade (with the power OFF) to ensure it rotates freely. If it's stiff or makes noise, the fan motor may be failing. *Replacing a fan motor is best left to a qualified technician.*
Step 5: Checking the Circuit Breaker and Power Supply
Even if you already turned off the breaker before starting, it's a good idea to double-check that the heat pump is receiving power. A tripped circuit breaker is a common cause of heat pump failures.
- Locate the circuit breaker: Find the circuit breaker that controls the heat pump in your electrical panel.
- Check the breaker position: If the breaker is tripped (in the "OFF" or middle position), reset it by switching it all the way to the "OFF" position and then back to the "ON" position.
- Monitor for tripping: If the breaker trips again shortly after being reset, it indicates a more serious electrical problem. Do not repeatedly reset the breaker, as this could damage the heat pump or create a fire hazard. Call a qualified electrician to diagnose and repair the problem.
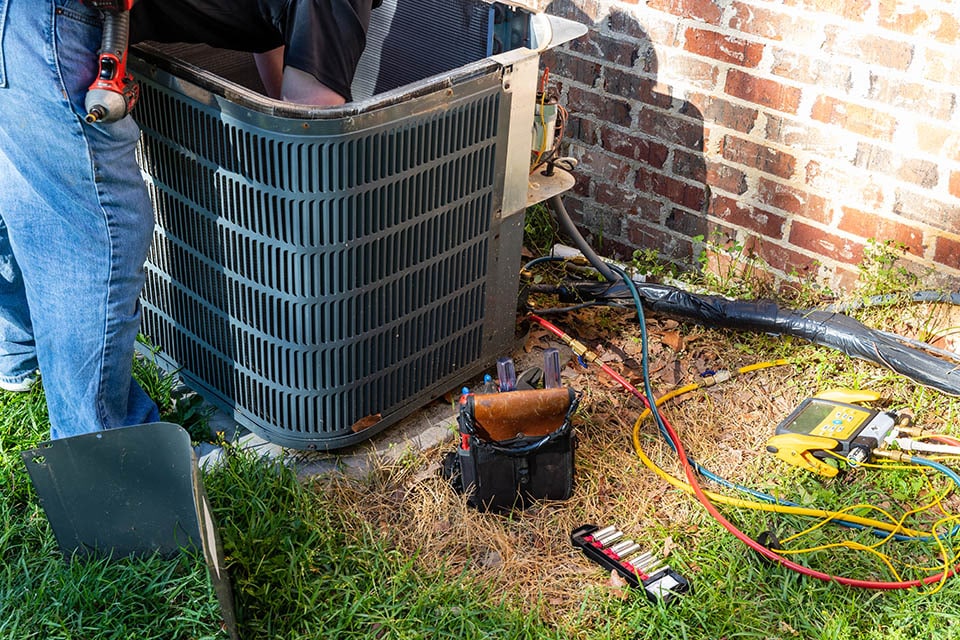
If the breaker is not tripped, use a multimeter to check the voltage at the heat pump's disconnect switch (located near the outdoor unit). *This step should only be performed by someone with experience using a multimeter and working with electricity. Incorrect readings or procedures can be dangerous.* If there's no voltage, there may be a problem with the wiring or power supply to the unit.
Step 6: Basic Component Checks (Advanced - Proceed with Caution)
Warning: This section involves checking components that carry electricity and can be dangerous if not handled correctly. If you are not comfortable working with electricity, *do not attempt these checks and call a qualified HVAC technician.* Always disconnect the power before working on any electrical components.
- Capacitors: Capacitors store electrical energy and help start the fan motors and compressor. A failing capacitor can prevent the unit from starting or cause it to run inefficiently. *Capacitors can store a charge even after the power is disconnected, so it's important to discharge them properly before handling them.* This usually involves using a screwdriver with an insulated handle to short the terminals. *This procedure should only be performed by someone with experience.* A bulging or leaking capacitor is a clear sign that it needs to be replaced.
- Contactor: The contactor is an electrical switch that controls the flow of power to the compressor and fan motors. A faulty contactor can prevent the unit from turning on or cause it to cycle on and off frequently. Check the contactor for burned or pitted contacts. If the contacts are damaged, the contactor needs to be replaced.
Replacing capacitors and contactors requires specific tools and knowledge of electrical wiring. It's generally best to leave these repairs to a qualified HVAC technician.
When to Call a Professional in Madison Heights, MI
While many minor heat pump issues can be resolved with DIY troubleshooting, certain problems require the expertise of a qualified HVAC technician. Call a professional if:
- You suspect a refrigerant leak: Refrigerant leaks require specialized equipment and training to repair.
- The compressor is making loud or unusual noises: Compressor problems are often complex and require replacement of the compressor or other major components.
- The unit is not heating or cooling properly after performing basic troubleshooting: This could indicate a more serious problem with the system's internal components.
- You are uncomfortable working with electricity or gas: Never attempt repairs that you are not qualified to perform.
- You suspect a gas leak: If you smell gas, evacuate the area immediately and call your gas company.
- The unit is old or beyond its expected lifespan: In some cases, it may be more cost-effective to replace the heat pump than to continue repairing it.
- You live in Madison Heights, MI, and need reliable, experienced HVAC service. Local professionals understand the specific weather challenges and building codes.
By following this troubleshooting guide, you can confidently assess your heat pump's condition, perform basic repairs, and know when it's time to call in the professionals. Remember, safety is paramount, and it's always best to err on the side of caution when dealing with electricity or gas. A well-maintained heat pump will provide reliable comfort for years to come, even during the harshest Michigan winters.