Hepa Filter Best Air Purifier For Home
Many homeowners invest in HEPA filter air purifiers to improve their indoor air quality, alleviate allergies, and create a healthier living environment. However, even the best air purifiers can sometimes experience issues that impact their performance. A common frustration is the feeling that your air purifier isn't working as well as it used to. The air might still feel stuffy, allergies might flare up despite the purifier running, or you might notice lingering odors.
Troubleshooting Your HEPA Air Purifier: A Step-by-Step Guide
Don't panic! Often, the issue is something simple that you can resolve yourself. Let's walk through a methodical troubleshooting process.
Step 1: Visual Inspection & Preliminary Checks
Before diving into anything complex, start with a thorough visual inspection.
Check the Power Cord and Outlet: Is the air purifier properly plugged in? Test the outlet with another device to ensure it's working. A loose connection or a faulty outlet is a surprisingly common culprit.
Inspect the Air Intake and Exhaust Vents: Are they obstructed? Dust, pet hair, or even furniture can block airflow, significantly reducing the purifier's efficiency. Vacuum or wipe down these areas to ensure they're clear.
Examine the Exterior: Look for any visible damage to the air purifier's housing. Cracks or dents can indicate internal issues and affect performance.
Step 2: Filter Inspection and Cleaning/Replacement
This is the most crucial step. HEPA filters are the heart of your air purifier, and their condition directly impacts its effectiveness.
Locate and Access the Filters: Consult your air purifier's manual for specific instructions on accessing the filter compartment. Most models have a removable front or back panel.
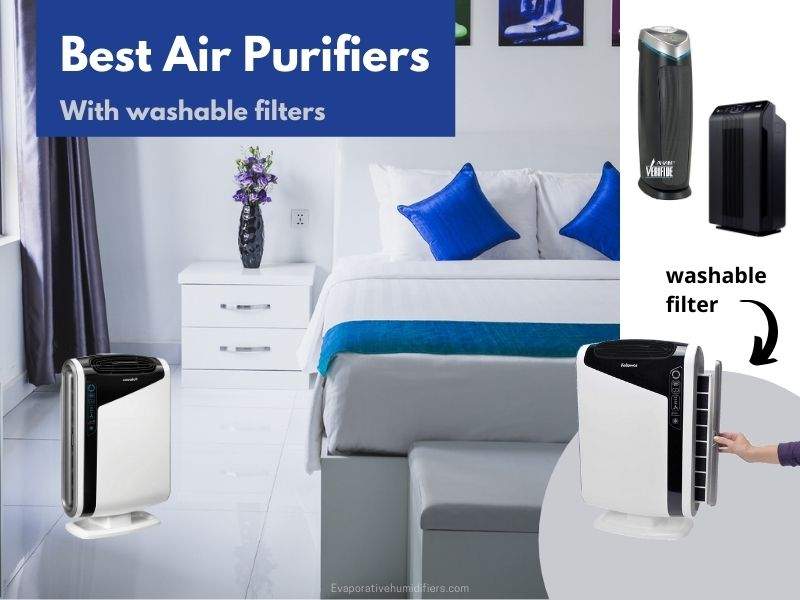
Inspect the Pre-Filter: The pre-filter is designed to capture larger particles like dust, hair, and pet dander. A heavily soiled pre-filter restricts airflow and forces the HEPA filter to work harder, shortening its lifespan. If it's washable, gently rinse it with water and allow it to dry completely before re-installing. If it's disposable, replace it.
Examine the HEPA Filter: Carefully remove the HEPA filter. *Do not wash a HEPA filter.* Washing will damage the delicate fibers and render it ineffective. Inspect it for signs of excessive dust buildup, discoloration, or damage. Many HEPA filters are white or off-white when new. A significant graying or darkening indicates it's time for a replacement.
Check the Recommended Filter Replacement Schedule: Your air purifier's manual will specify how often the HEPA filter should be replaced. This is usually every 6-12 months, but it can vary depending on usage and air quality. Exceeding the recommended replacement schedule drastically reduces the filter's ability to capture pollutants.
Replace the HEPA Filter: If the filter is visibly dirty, damaged, or past its replacement date, install a new, genuine HEPA filter recommended for your specific air purifier model. Using a non-genuine filter can compromise performance and even damage the unit.
Step 3: Addressing Odors
If you're primarily using your air purifier to eliminate odors, the HEPA filter might not be the sole solution. Many air purifiers include an activated carbon filter specifically designed to absorb odors, gases, and volatile organic compounds (VOCs).
Locate and Inspect the Carbon Filter: Similar to the HEPA filter, the carbon filter typically resides in the filter compartment. Check its condition. Carbon filters are often black or gray. If it's heavily saturated with odors or appears clogged, it needs to be replaced. Carbon filters usually need replacement more often than HEPA filters.
Replace the Carbon Filter: Install a new carbon filter according to the manufacturer's instructions. Ensure you're using the correct type and size for your air purifier model.
Consider Additional Odor Control Measures: If odors persist even after replacing the carbon filter, investigate the source of the odors. Common culprits include pet odors, cooking smells, mold, and mildew. Addressing the underlying source is crucial for long-term odor control. Consider using odor-absorbing gels, baking soda, or professional cleaning services to eliminate the source.
Step 4: Cleaning the Air Purifier
Dust and debris can accumulate inside the air purifier itself, affecting its performance and potentially damaging internal components.
Unplug the Air Purifier: Always disconnect the air purifier from the power outlet before cleaning.
Vacuum the Interior: Use a vacuum cleaner with a brush attachment to carefully remove dust and debris from the interior of the unit, focusing on areas around the fan and motor.
Wipe Down the Exterior: Use a damp (not wet) cloth to wipe down the exterior surfaces of the air purifier. Avoid using harsh chemicals or abrasive cleaners, as they can damage the finish.
Allow to Dry Completely: Before reassembling and plugging in the air purifier, ensure all components are completely dry. This prevents electrical hazards and mold growth.
Step 5: Checking Fan Speed and Settings
Sometimes, the issue isn't a mechanical problem but a simple settings adjustment.
Verify Fan Speed: Ensure the fan speed is set to an appropriate level. A low fan speed might not be sufficient to circulate air effectively, especially in larger rooms. Increase the fan speed to see if it improves performance.
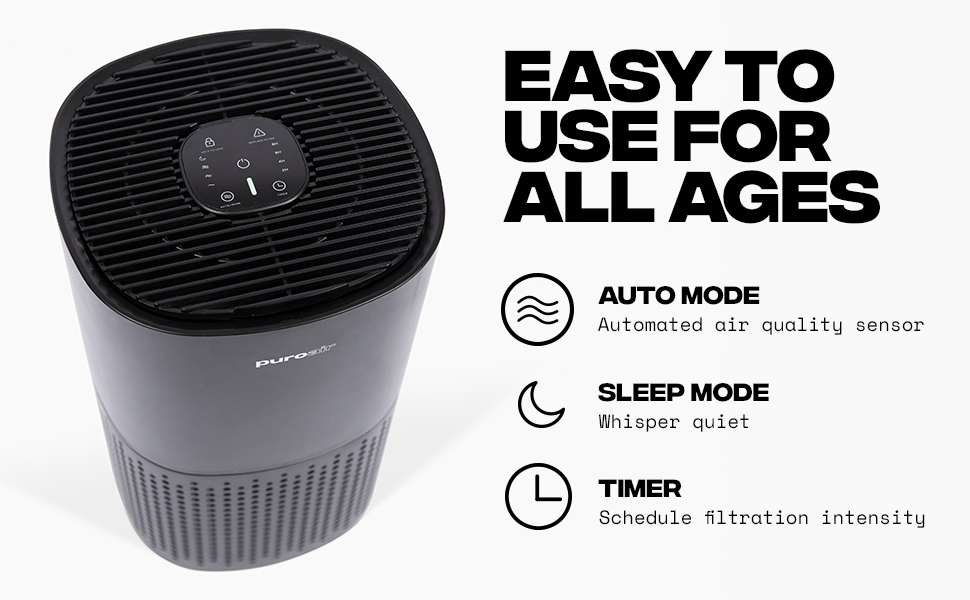
Check Timer and Sleep Mode Settings: Some air purifiers have timers or sleep modes that automatically reduce fan speed or turn off the unit after a certain period. Make sure these settings aren't interfering with the purifier's operation.
Experiment with Different Modes: If your air purifier has multiple modes (e.g., auto mode, allergy mode, turbo mode), try experimenting with them to see if one performs better in your specific situation.
Step 6: Room Size and Placement
An air purifier's effectiveness is heavily influenced by the size of the room it's intended for and its placement within the room.
Verify Room Size Compatibility: Air purifiers are rated for specific room sizes, often expressed in square footage. Using an air purifier that's too small for the room will result in inadequate air purification. Check the manufacturer's specifications to ensure your air purifier is suitable for the room it's in.
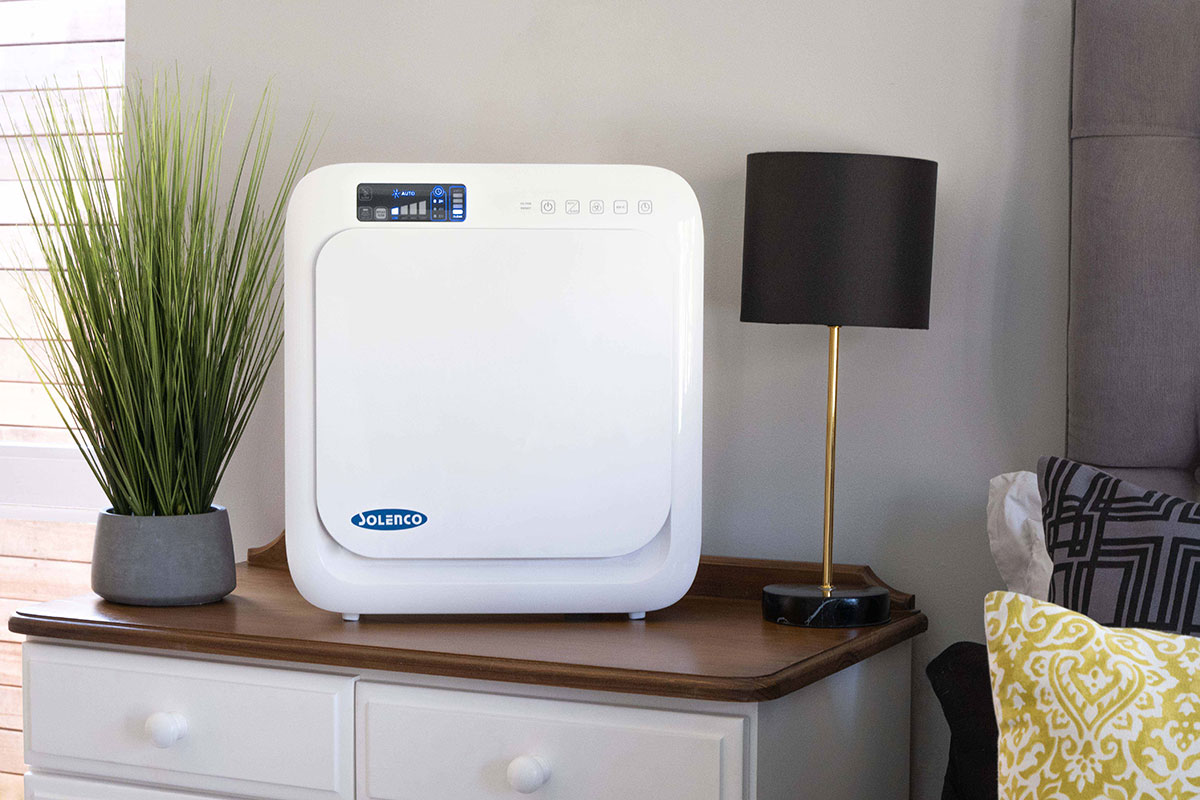
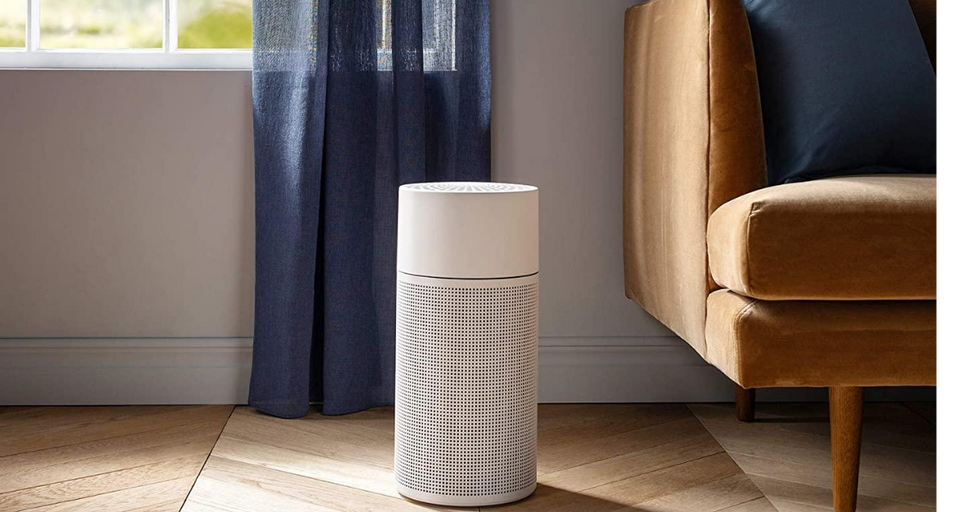
Optimize Placement: Place the air purifier in a central location in the room, away from obstructions like furniture or walls. This allows for optimal air circulation. Avoid placing the air purifier in corners or behind large objects, as this can limit its effectiveness.
When to Call a Professional
While many air purifier problems can be resolved with simple DIY fixes, certain issues require professional attention. Here are some red flags:
Unusual Noises: Loud grinding, squealing, or rattling noises coming from the air purifier can indicate a problem with the fan motor or other internal components. Continuing to run the unit could cause further damage.
Burning Smell: A burning smell is a serious warning sign of an electrical issue. Immediately unplug the air purifier and contact a qualified appliance repair technician.
Electrical Malfunctions: If the air purifier is sparking, short-circuiting, or failing to turn on despite being properly plugged in, it's best to seek professional help.
Persistent Performance Issues: If you've followed all the troubleshooting steps outlined above and your air purifier still isn't performing as expected, there could be a more complex underlying problem. A qualified technician can diagnose the issue and recommend appropriate repairs.
Warranty Concerns: If your air purifier is still under warranty, attempting to repair it yourself could void the warranty. Contact the manufacturer or an authorized service center for assistance.
Remember: Safety is paramount. If you're uncomfortable working with electrical appliances or suspect a serious problem, don't hesitate to call a professional. An experienced technician can diagnose and repair your air purifier safely and effectively.
By following these troubleshooting steps, you can often resolve common issues with your HEPA air purifier and restore its optimal performance. Regular maintenance, including filter replacement and cleaning, is key to ensuring long-term effectiveness and a healthier indoor environment.
:max_bytes(150000):strip_icc()/rsp-product-clorox-large-room-air-purifier-hwortock-006-3056c222c61045b099f6976d06f27794.jpeg)