Hepa Filters For Window Air Conditioners
Many homeowners enjoy the cool relief a window air conditioner provides during the hot summer months. Installing a HEPA filter can further improve air quality, capturing dust, pollen, and other allergens. However, a common problem arises: the air conditioner's performance degrades over time, often accompanied by reduced airflow and less effective cooling. This is frequently due to a clogged HEPA filter. Let's troubleshoot this issue and explore DIY solutions before calling in a professional.
Identifying the Problem: Reduced Airflow and Cooling
The first step is recognizing that your HEPA filter might be the culprit. Here are some key indicators:
- Reduced airflow: The air coming from the unit feels weaker than usual.
- Ineffective cooling: The room isn't cooling down as quickly or as much as it used to.
- Increased energy bills: The unit is working harder to cool the room, leading to higher electricity consumption.
- Unusual noises: The air conditioner might be making strange humming or rattling sounds as it struggles to pull air through the clogged filter.
- Visible dust buildup: Inspect the filter itself (after safely turning off and unplugging the unit, of course!). If it's visibly coated in dust and debris, it's definitely time for action.
If you're experiencing one or more of these symptoms, proceed with the following troubleshooting steps.
Step-by-Step Troubleshooting and DIY Fixes
Step 1: Safety First - Disconnect the Power!
Before you do anything, unplug your window air conditioner from the power outlet. This is absolutely crucial to prevent electric shock. Double-check that the power cord is completely disconnected.
Step 2: Locate and Access the Filter
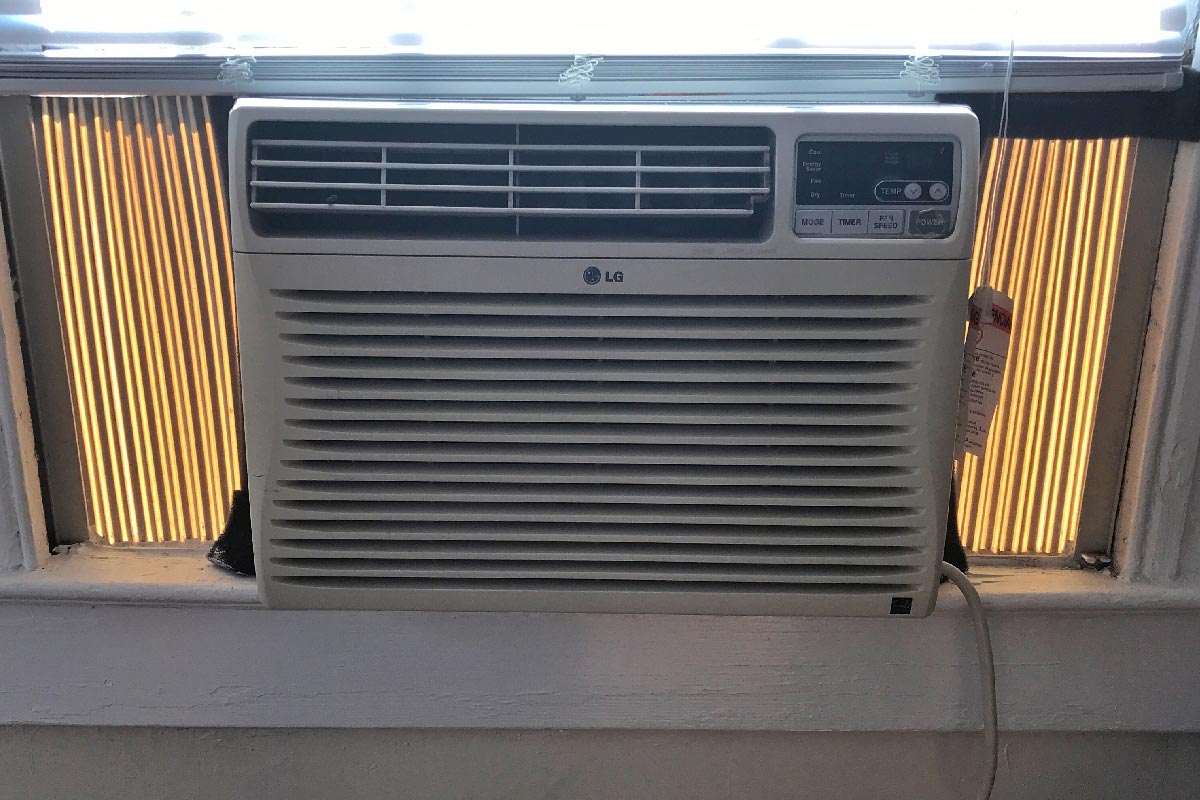
The location of the filter varies depending on the model of your window air conditioner. Consult your owner's manual for specific instructions. However, in most cases, the filter is located behind the front grille of the unit.
Typically, you'll need to:
- Open the front grille. This might involve releasing clips or removing screws (keep the screws in a safe place!).
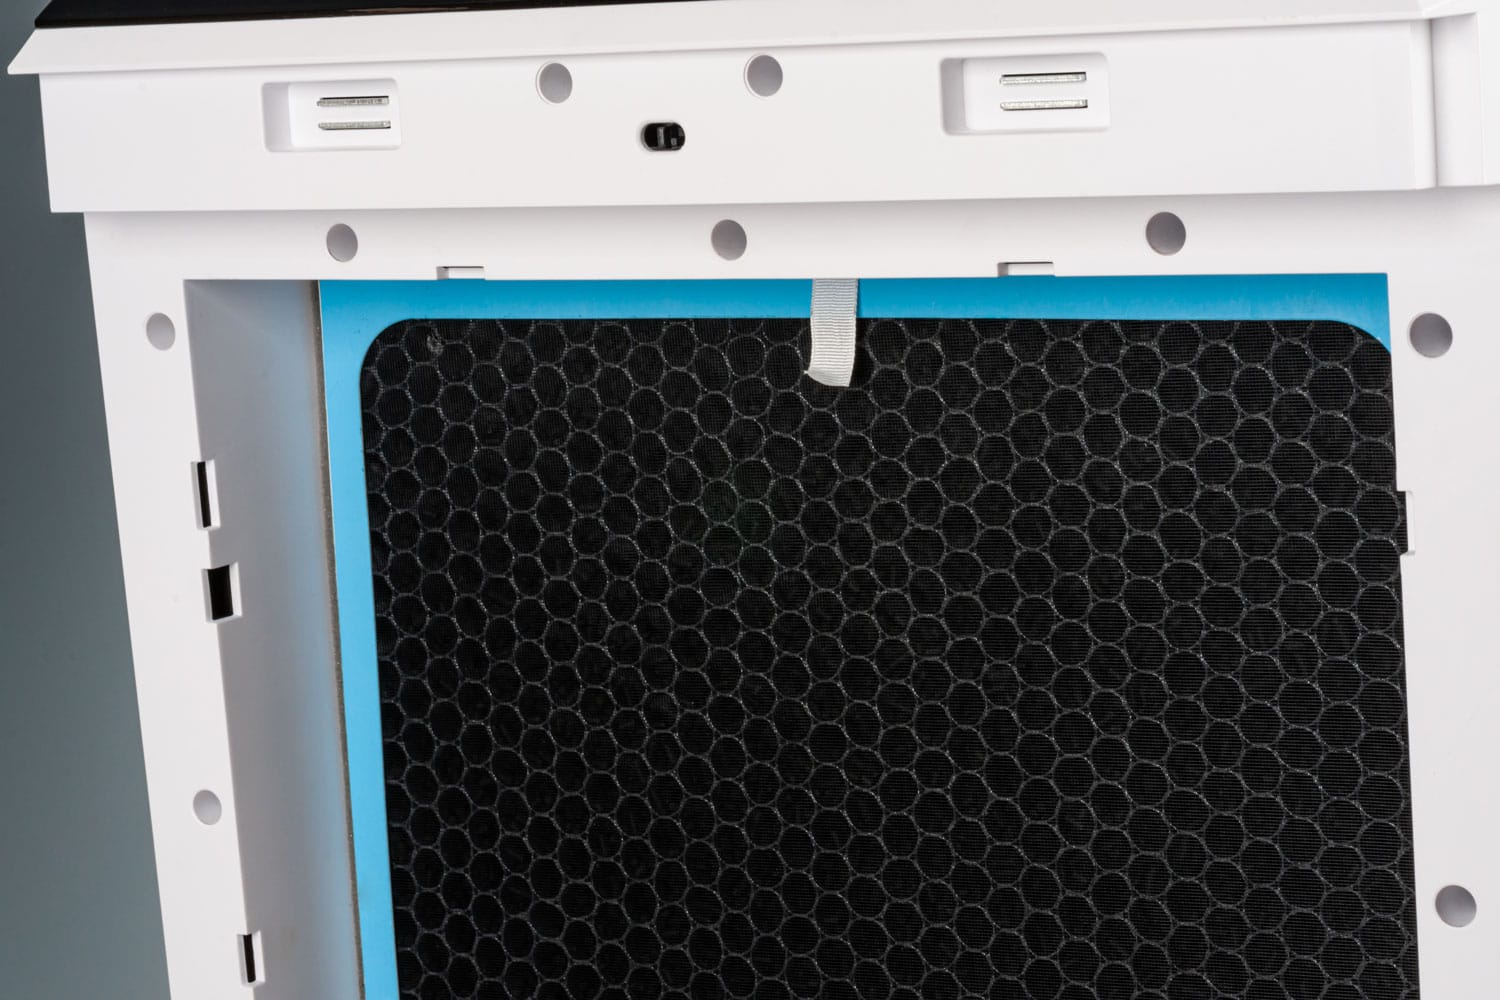
- Carefully remove the HEPA filter. Note its orientation so you can replace it correctly later.
Step 3: Inspect the Filter
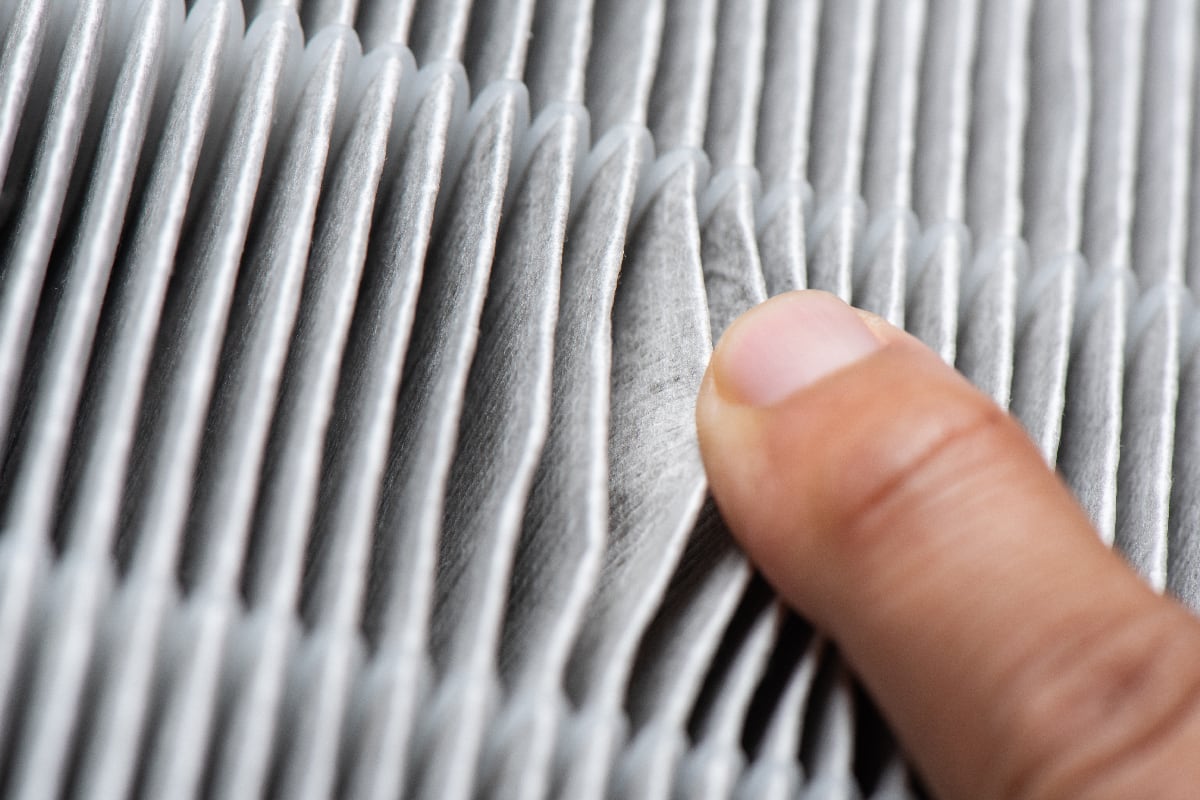
Carefully examine the HEPA filter. Is it visibly dirty, clogged with dust, pet hair, or other debris? A significant buildup is a clear sign that it needs cleaning or replacement.
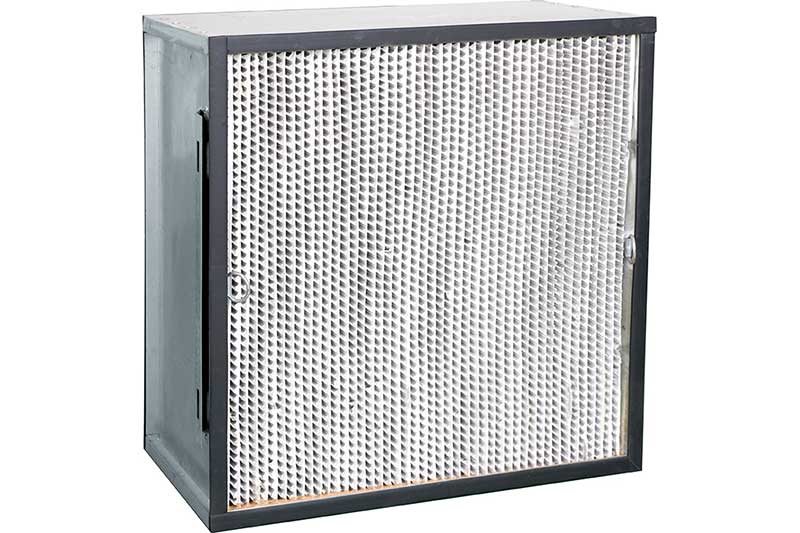
Note: HEPA filters are designed to trap very fine particles. They are usually more effective than standard air conditioner filters.
Step 4: Cleaning the HEPA Filter (If Applicable)
Whether or not you can clean your HEPA filter depends on the type of filter. Some HEPA filters are disposable and cannot be cleaned. Attempting to clean a disposable filter will damage it and reduce its effectiveness. Always refer to the manufacturer's instructions to determine if your HEPA filter is washable.
If your HEPA filter is washable:
- Vacuum the filter: Use a vacuum cleaner with a brush attachment to gently remove loose dust and debris from the filter's surface. Work from the clean side (the side that faces the inside of the air conditioner) to the dirty side to avoid pushing debris further into the filter.
- Wash the filter (if allowed): If vacuuming isn't enough, you can try washing the filter. Use cool or lukewarm water and a mild detergent. Gently agitate the filter in the soapy water to loosen the remaining dirt.
- Rinse thoroughly: Rinse the filter thoroughly with clean water until all traces of soap are gone.
- Dry completely: Allow the filter to air dry completely before reinstalling it. This is crucial to prevent mold and mildew growth. You can place it in a well-ventilated area or use a fan to speed up the drying process. Do not use a hairdryer or other heat source to dry the filter, as this can damage it.
Important: Even if washable, HEPA filters have a limited lifespan. Over time, the filter material will degrade and lose its effectiveness. Washing it too frequently can also shorten its lifespan. Check the manufacturer's recommendations for when to replace the filter.
Step 5: Cleaning the Air Conditioner Coils (Optional but Recommended)
While you have the filter removed, take the opportunity to clean the air conditioner's cooling coils. These coils can accumulate dust and debris, further reducing the unit's efficiency.
You can use a coil cleaning spray specifically designed for air conditioners. Follow the instructions on the can carefully.
Alternatively, you can gently vacuum the coils with a brush attachment. Be careful not to damage the delicate fins.
Step 6: Reinstall the Filter and Test
Once the filter is completely dry (or you have a new filter), reinstall it in the air conditioner. Make sure it's oriented correctly, as you noted in Step 2.
Replace the front grille and secure it properly.
Plug the air conditioner back into the power outlet and turn it on. Observe its performance. Is the airflow stronger? Is the unit cooling more effectively? Are the unusual noises gone?
When to Call a Professional
If you've followed all the steps above and your air conditioner is still not performing properly, it's time to call a qualified HVAC technician. Here are some situations where professional intervention is necessary:
- The problem persists after cleaning or replacing the filter: If the reduced airflow and poor cooling continue despite your efforts, there may be a more serious underlying issue, such as a refrigerant leak or a malfunctioning compressor.
- You notice signs of refrigerant leaks: These signs include a hissing sound, oily residue on the coils, or a sweet, musty odor. Refrigerant leaks can be harmful to the environment and require professional repair.
- The air conditioner is making loud or unusual noises: Persistent rattling, grinding, or squealing noises could indicate a mechanical problem that needs to be addressed by a technician.
- You're uncomfortable working with electrical components: If you're hesitant to disassemble or troubleshoot the air conditioner's electrical components, it's best to leave it to a professional.
- The air conditioner is under warranty: Attempting to repair the unit yourself could void the warranty. Contact the manufacturer or an authorized service center for assistance.
Specifically regarding HEPA filters, consider these situations:
- If after cleaning a washable HEPA filter, the air conditioner's performance does not improve significantly, the HEPA filter might need to be replaced.
- If you suspect the HEPA filter is damaged, especially if the filter material is torn or warped, replace it immediately. A damaged HEPA filter cannot effectively remove particles from the air.
Trying to fix an issue you are not qualified to handle can potentially cause more damage to your unit or cause harm to yourself. Contacting a professional HVAC technician can ensure the issue is resolved correctly and safely.
Preventive Maintenance for Optimal Performance
To prevent future problems and ensure your window air conditioner with a HEPA filter operates efficiently, follow these preventive maintenance tips:
- Clean or replace the filter regularly: Check the filter every month and clean or replace it as needed. The frequency will depend on the air quality in your area and how often you use the air conditioner.
- Clean the coils periodically: As mentioned earlier, cleaning the coils helps maintain efficient cooling.
- Keep the area around the air conditioner clear: Ensure that there's no furniture or other obstructions blocking the airflow around the unit.
- Seal gaps and cracks around the window: This will prevent air leaks and improve the air conditioner's efficiency.
- Consider a window air conditioner cover for the winter months: To protect the unit when it's not in use during the off-season.
By taking these proactive steps, you can extend the life of your window air conditioner, maintain good air quality, and save money on energy bills. Regular maintenance and timely HEPA filter cleaning or replacement are essential for optimal performance.