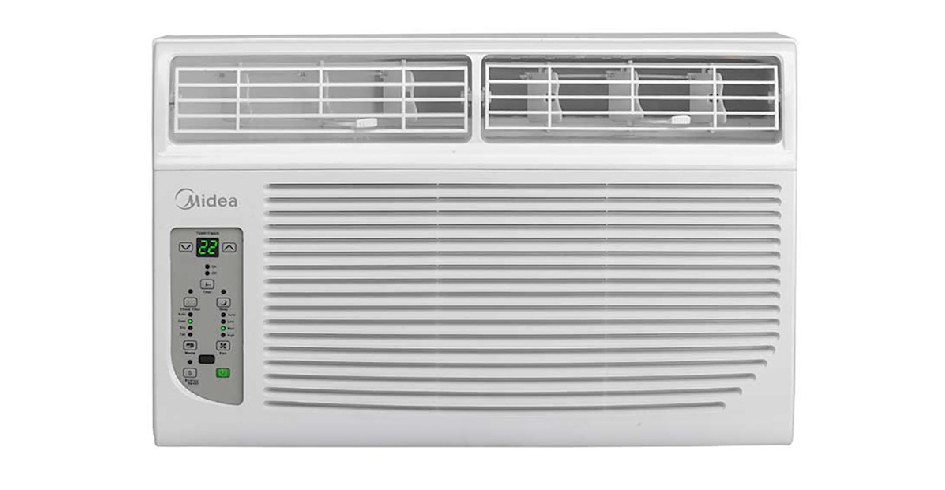
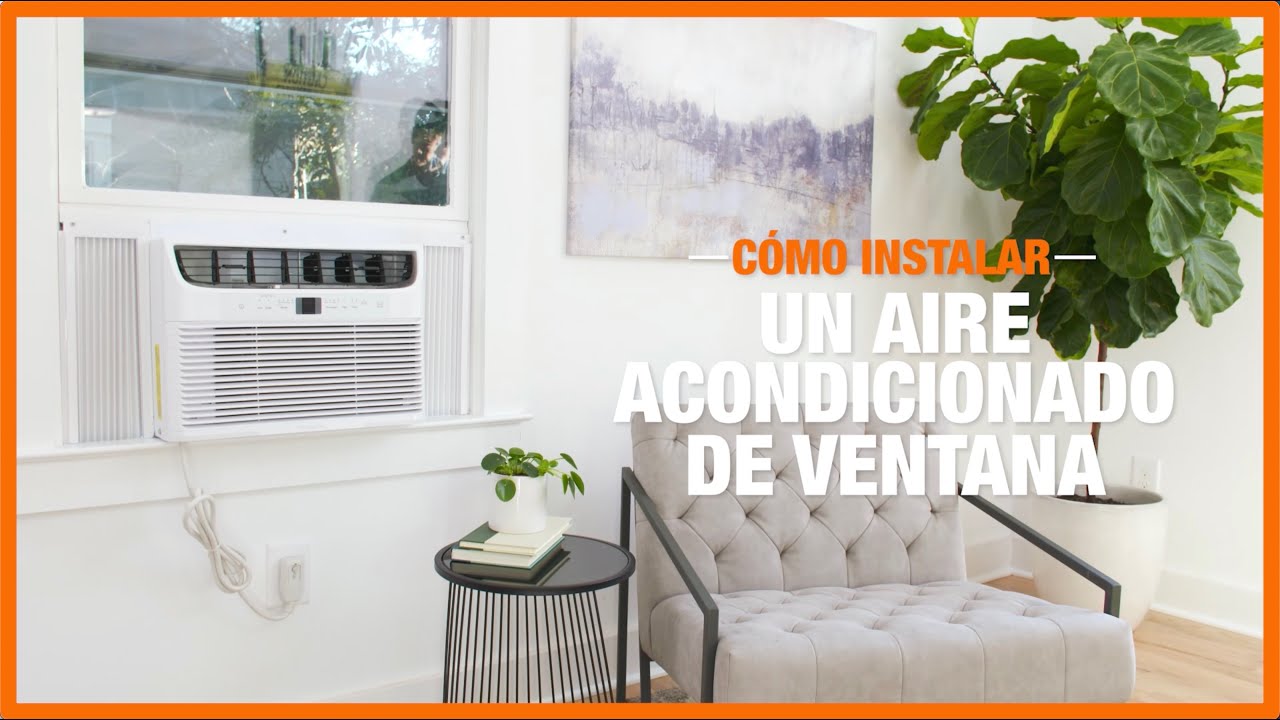
Home Depot Aire Acondicionado De Ventana

Window air conditioners are a lifesaver during hot weather, but like any appliance, they can sometimes fail. One of the most common issues is the unit simply not cooling as effectively as it should, or not cooling at all. Before you call a professional, there are several simple troubleshooting steps you can take to diagnose and potentially fix the problem yourself. This guide will walk you through those steps, focusing on window AC units often found at Home Depot. Remember to always prioritize safety and unplug the unit before performing any checks.
Preliminary Checks: Is It Really Broken?
Sometimes, the problem isn't a mechanical failure, but a simple oversight. Before diving into more complex troubleshooting, let's rule out these common culprits:
- Power Cord and Outlet: Make sure the air conditioner is properly plugged into a working outlet. Test the outlet with another appliance to confirm it's providing power. If the outlet isn't working, check your circuit breaker.
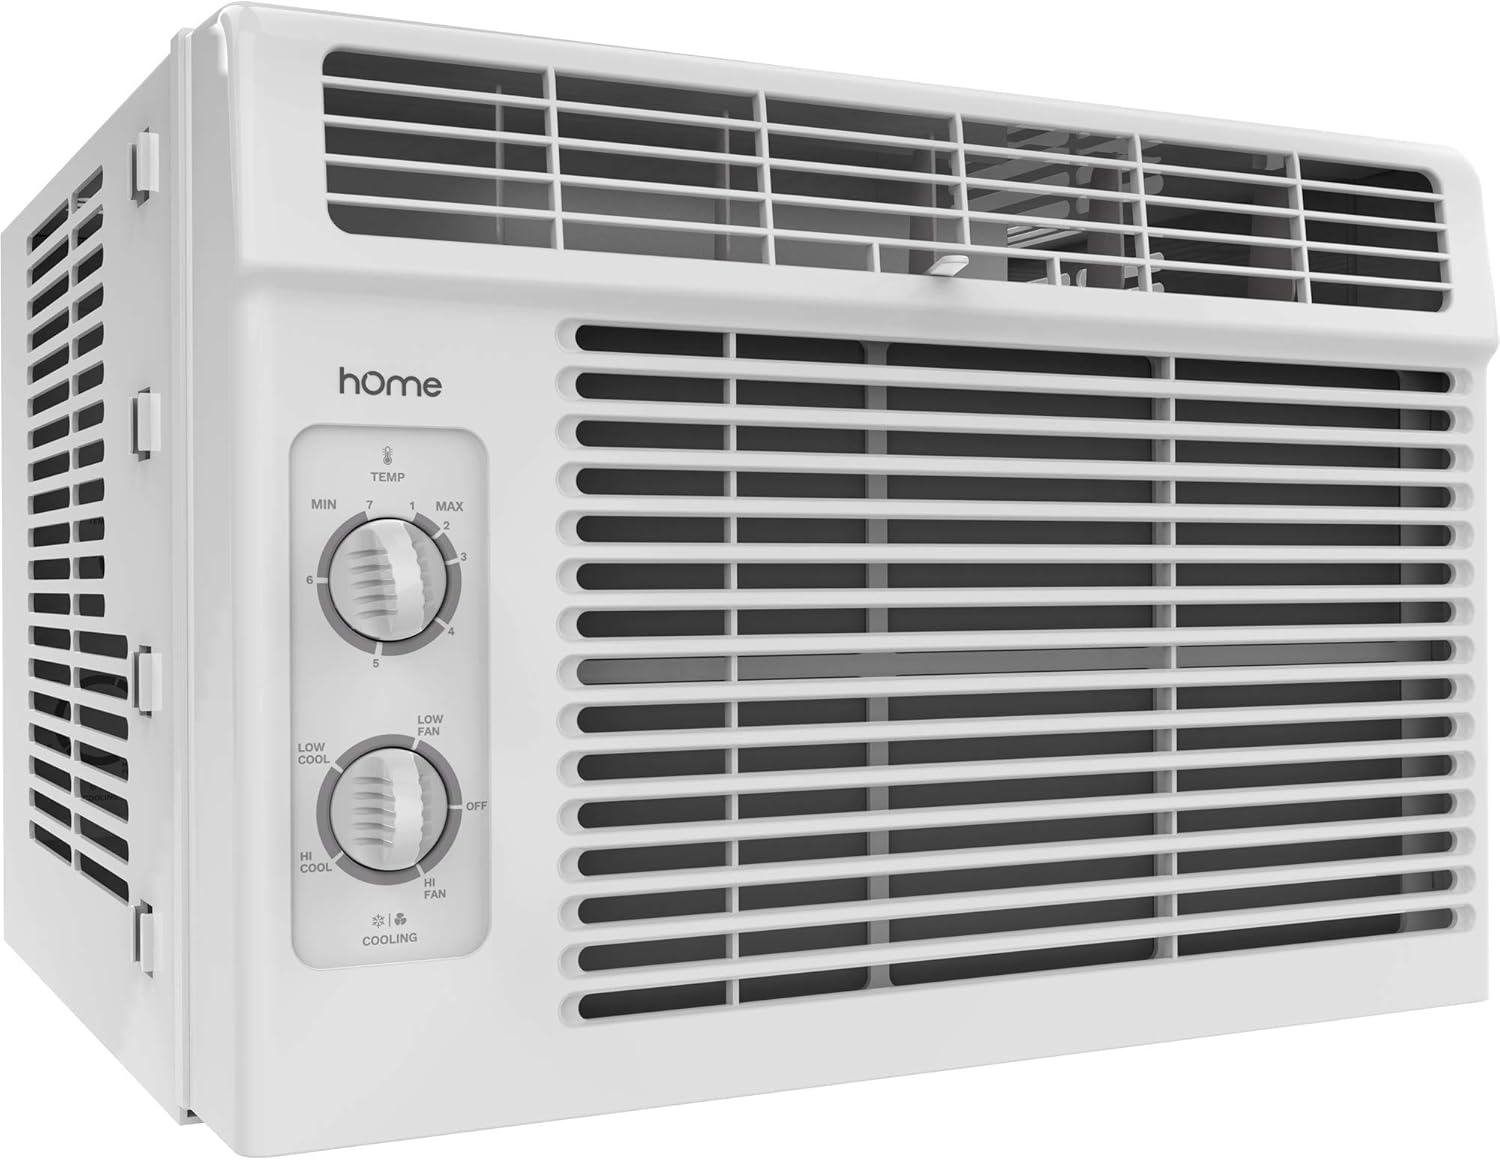
- Thermostat Setting: Ensure the thermostat is set to a sufficiently low temperature and that the unit is set to "Cool" mode, not just "Fan." It sounds obvious, but it's easily overlooked!
- Airflow Obstructions: Make sure there are no curtains, furniture, or other objects blocking the air vents on the front of the unit. Proper airflow is crucial for efficient cooling.
- Dirty Air Filter: A clogged air filter restricts airflow and significantly reduces cooling performance. A dirty filter is one of the most common causes of poor cooling.
Step-by-Step Troubleshooting Guide
If the preliminary checks didn't solve the problem, proceed with these more detailed troubleshooting steps. Remember to unplug the unit before proceeding with any of the following steps.
1. Cleaning the Air Filter
A dirty air filter is the most common cause of reduced cooling efficiency. Here's how to clean it:
- Locate the Air Filter: The air filter is usually located behind a removable panel on the front of the unit. Consult your owner's manual for the exact location if you're unsure.
- Remove the Filter: Carefully remove the air filter.
- Clean the Filter: Vacuum the filter with a brush attachment. If it's heavily soiled, wash it with mild soap and water. Rinse thoroughly.
- Dry the Filter: Allow the filter to dry completely before reinstalling it. Never operate the air conditioner without a filter.
- Reinstall the Filter: Place the cleaned and dried filter back into its designated slot.
After cleaning the filter, wait a few hours and see if the cooling performance improves. If it doesn't, move on to the next step.
2. Cleaning the Condenser Coils
The condenser coils are located on the back of the unit (the part that sits outside the window). Over time, they can become covered in dust and debris, which reduces their ability to dissipate heat. Cleaning these coils can significantly improve cooling performance.
Important Safety Note: The fins on the condenser coils are very delicate and easily bent. Handle them with care.
- Unplug the Unit: This is crucial.
- Access the Coils: In some models, you can access the coils from the back by removing a panel. In others, you may need to slide the entire unit out of the window slightly (with assistance) to access the back.
- Clean the Coils: Use a vacuum cleaner with a brush attachment to gently remove loose dirt and debris. You can also use a fin comb (available at most hardware stores, including Home Depot) to straighten any bent fins. Spray the coils with a coil cleaner solution (also available at Home Depot) and allow it to sit for the recommended time, then rinse with a gentle stream of water from a garden hose. Avoid using high pressure, as this can damage the fins.
- Dry the Coils: Allow the coils to dry completely before reassembling the unit.
- Reassemble and Reinstall: Carefully reassemble any panels you removed and slide the unit back into the window, ensuring it's securely supported.
Cleaning the condenser coils is often enough to restore cooling performance. Allow the unit to run for several hours after cleaning to see if the issue is resolved.
3. Checking the Fan Motor
If the fan isn't running properly, the air conditioner won't be able to circulate cool air effectively. There are two fans in most window units – one on the front that blows cool air into the room, and one on the back that helps dissipate heat.
- Observe the Fan(s): Turn on the air conditioner and observe both fans. Are they both spinning freely? Is one spinning slower than the other, or not at all?
- Check for Obstructions: Carefully inspect the fan blades for any obstructions, such as debris or tangled wires. Remove any obstructions you find.
- Manually Spin the Fan: With the unit unplugged, try manually spinning the fan blades. Do they spin freely, or do they feel stiff or restricted? If they feel stiff, the fan motor may be failing.
Important Note: Replacing a fan motor involves electrical wiring and requires a certain level of technical skill. If you're not comfortable working with electricity, it's best to leave this repair to a qualified HVAC technician. While a new fan motor can be purchased at Home Depot, proper installation is crucial.
4. Checking the Capacitor
The capacitor is an electrical component that helps start the compressor and fan motor. A failing capacitor can prevent the unit from cooling or cause it to run erratically.
Important Safety Note: Capacitors store electricity, even when the unit is unplugged. Touching a charged capacitor can result in a severe electric shock. This repair should only be attempted by someone with experience working with electrical components and who knows how to safely discharge a capacitor.
If you are not experienced with electrical work, DO NOT attempt this repair. Call a qualified HVAC technician.
If you are qualified to proceed:
- Unplug the Unit: Absolutely crucial.
- Locate the Capacitor: The capacitor is typically located inside the control panel of the air conditioner. It's usually a cylindrical component.
- Discharge the Capacitor: Use a properly insulated screwdriver with a resistor to safely discharge the capacitor. This step is essential to prevent electric shock. There are videos available online showing how to safely discharge a capacitor.
- Test the Capacitor: Use a multimeter to test the capacitor's capacitance. If the reading is significantly lower than the value printed on the capacitor, it's likely failing.
- Replace the Capacitor: Replace the capacitor with a new one of the same voltage and capacitance. Make sure to connect the wires to the correct terminals.
- Reassemble and Reinstall: Carefully reassemble the control panel and reinstall the air conditioner.
Again, replacing a capacitor can be dangerous if you are not familiar with electrical work. Always prioritize safety.
5. Checking for Refrigerant Leaks
If your air conditioner is low on refrigerant, it won't be able to cool effectively. Unfortunately, detecting and repairing refrigerant leaks requires specialized equipment and knowledge. Refrigerant leaks are also harmful to the environment. Window AC units are sealed systems, and adding refrigerant yourself is not recommended and can be illegal.
If you suspect a refrigerant leak, call a qualified HVAC technician. They have the tools and expertise to safely and legally repair the leak and recharge the system.
When to Call a Professional
While many common air conditioner problems can be resolved with basic troubleshooting, there are certain situations where it's best to call a professional HVAC technician:
- Refrigerant Leaks: As mentioned above, refrigerant leaks require specialized equipment and expertise.
- Compressor Problems: The compressor is the heart of the air conditioner, and repairs are complex and expensive. If you suspect a compressor problem, it's best to consult a professional.
- Electrical Issues: Any electrical repairs beyond simple checks, such as replacing the capacitor or fan motor, should be handled by a qualified electrician or HVAC technician.
- Gas Leaks: Some older window AC units may use gas. If you suspect a gas leak, evacuate the area immediately and call your gas company and a qualified HVAC technician.
- You're Uncomfortable or Unsure: If you're not comfortable performing any of the troubleshooting steps, or if you're unsure about what you're doing, it's always best to err on the side of caution and call a professional.
Preventative Maintenance Tips
The best way to avoid air conditioner problems is to perform regular preventative maintenance. Here are some tips:
- Clean the Air Filter Regularly: Clean the air filter every month, or more often if you have pets or live in a dusty environment.
- Clean the Condenser Coils Annually: Clean the condenser coils at least once a year, preferably before the start of the cooling season.
- Inspect the Unit Regularly: Check for any signs of damage or wear, such as loose wires, damaged fins, or unusual noises.
- Proper Storage: During the off-season, store the air conditioner in a dry, covered location to protect it from the elements.
By following these troubleshooting steps and preventative maintenance tips, you can keep your Home Depot window air conditioner running efficiently and effectively for years to come. Remember, when in doubt, call a professional! Your safety and the longevity of your appliance are the most important considerations.